




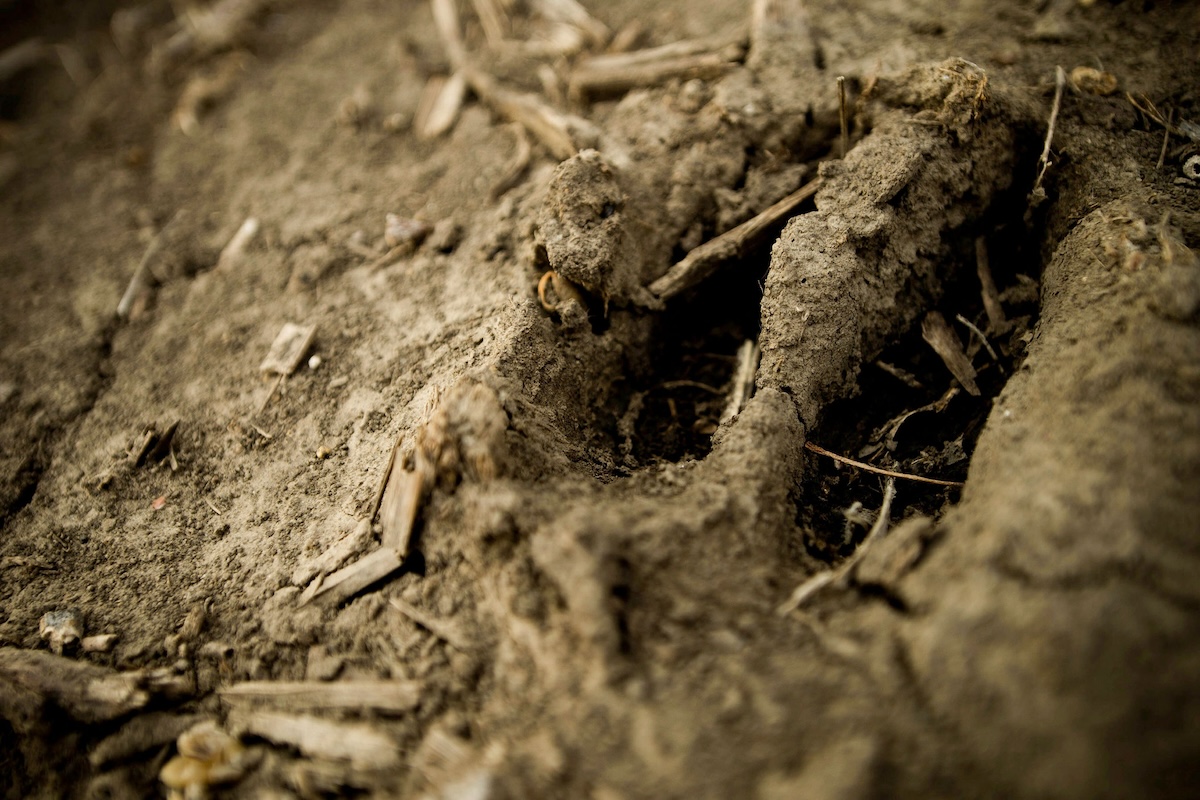

Before trail cameras, you could only wonder what left that deer track.
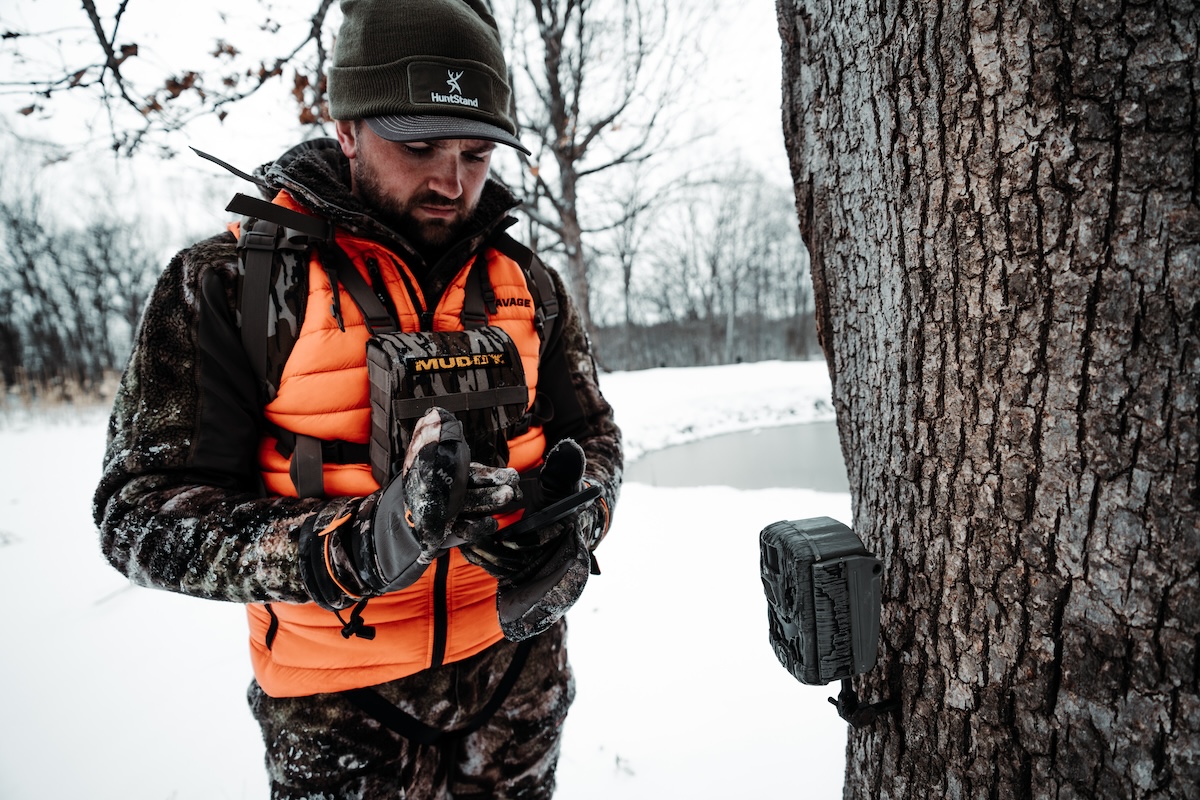
With trail cameras, you know what walked through the area.
Trail cameras are among the most important tools available to modern deer hunters. Sure, you can kill deer without using these. But the many benefits of these elevate hunters in numerous ways. These help monitor deer herds, aid management of hunting properties, assist in important harvest decisions, and much more.
Some hunters don’t get the most from these, though. A great many trail cam owners maintain one-dimensional use of these tools. In reality, these are far more powerful. For those searching for advanced trail camera tactics, here are 10 ways to use trail cameras that you never have before.
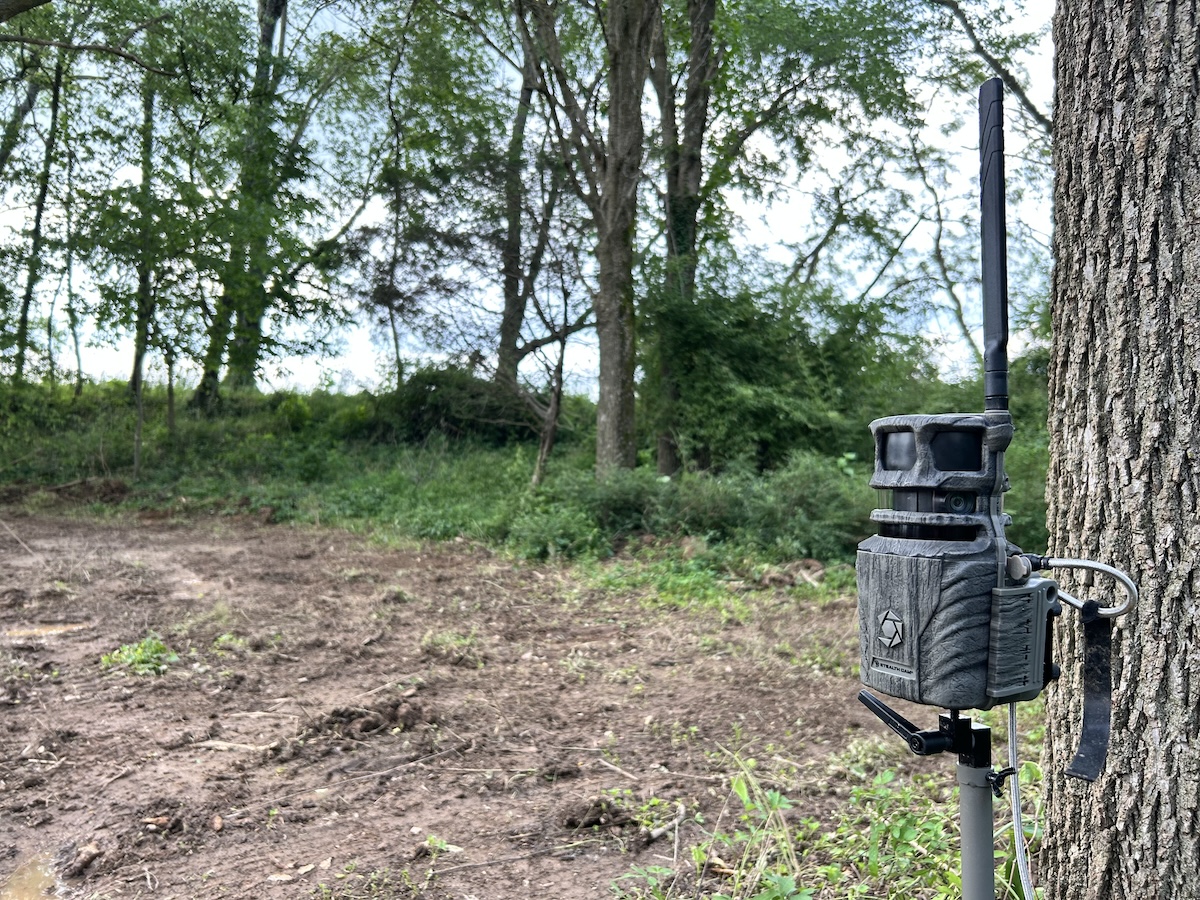
Use cellular trail cameras and enjoy their benefits.
1. Graduating to Cell Cameras
Many hunters — I’d venture to so say most — have used traditional SD-style trail cameras. Without question, the trail camera was among the most revolutionary advancements in the history of hunting. It’s allowed hunters to scout more efficiently and achieve many scouting-related goals and tasks.
That said, as with most things, the times change. The gear takes another step forward. Product innovation occurs.
Enter the cellular trail camera.
Today, unless not permitted by state or local hunting regulations, most hunters use cellular trail cams. These offer everything SD cameras do, and more. Hunters enjoy the many benefits of each camera classification, but in one package.
SD Trail Camera Benefits:
- Trail camera surveys
- General deer herd observations
- Monitoring target buck core areas
- Determining target buck bedding, feeding, and watering locations and tendencies
- Learning general deer herd and target buck lines of movement
- And more
Cellular Trail Camera Benefits:
- SD trail camera benefits, plus:
- Real-time intel
- Less human intrusion (if using external battery sources)
- Lower fuel bill without need to check cameras in person (if using external battery sources)
- Trail camera location management
- Trail camera photo management and filters
- Trail camera photo data analysis
- And more
All things considered, it’s important to realize just how beneficial SD cameras are, and how much more cell cams have to offer.
2. Implementing External Battery Sources
The internal battery life of trail cameras is far better than it once was. Depending on circumstances, cameras can last weeks or months before dying. That said, cameras in areas with poor cell service, or spots with high photo counts, lose battery life faster.
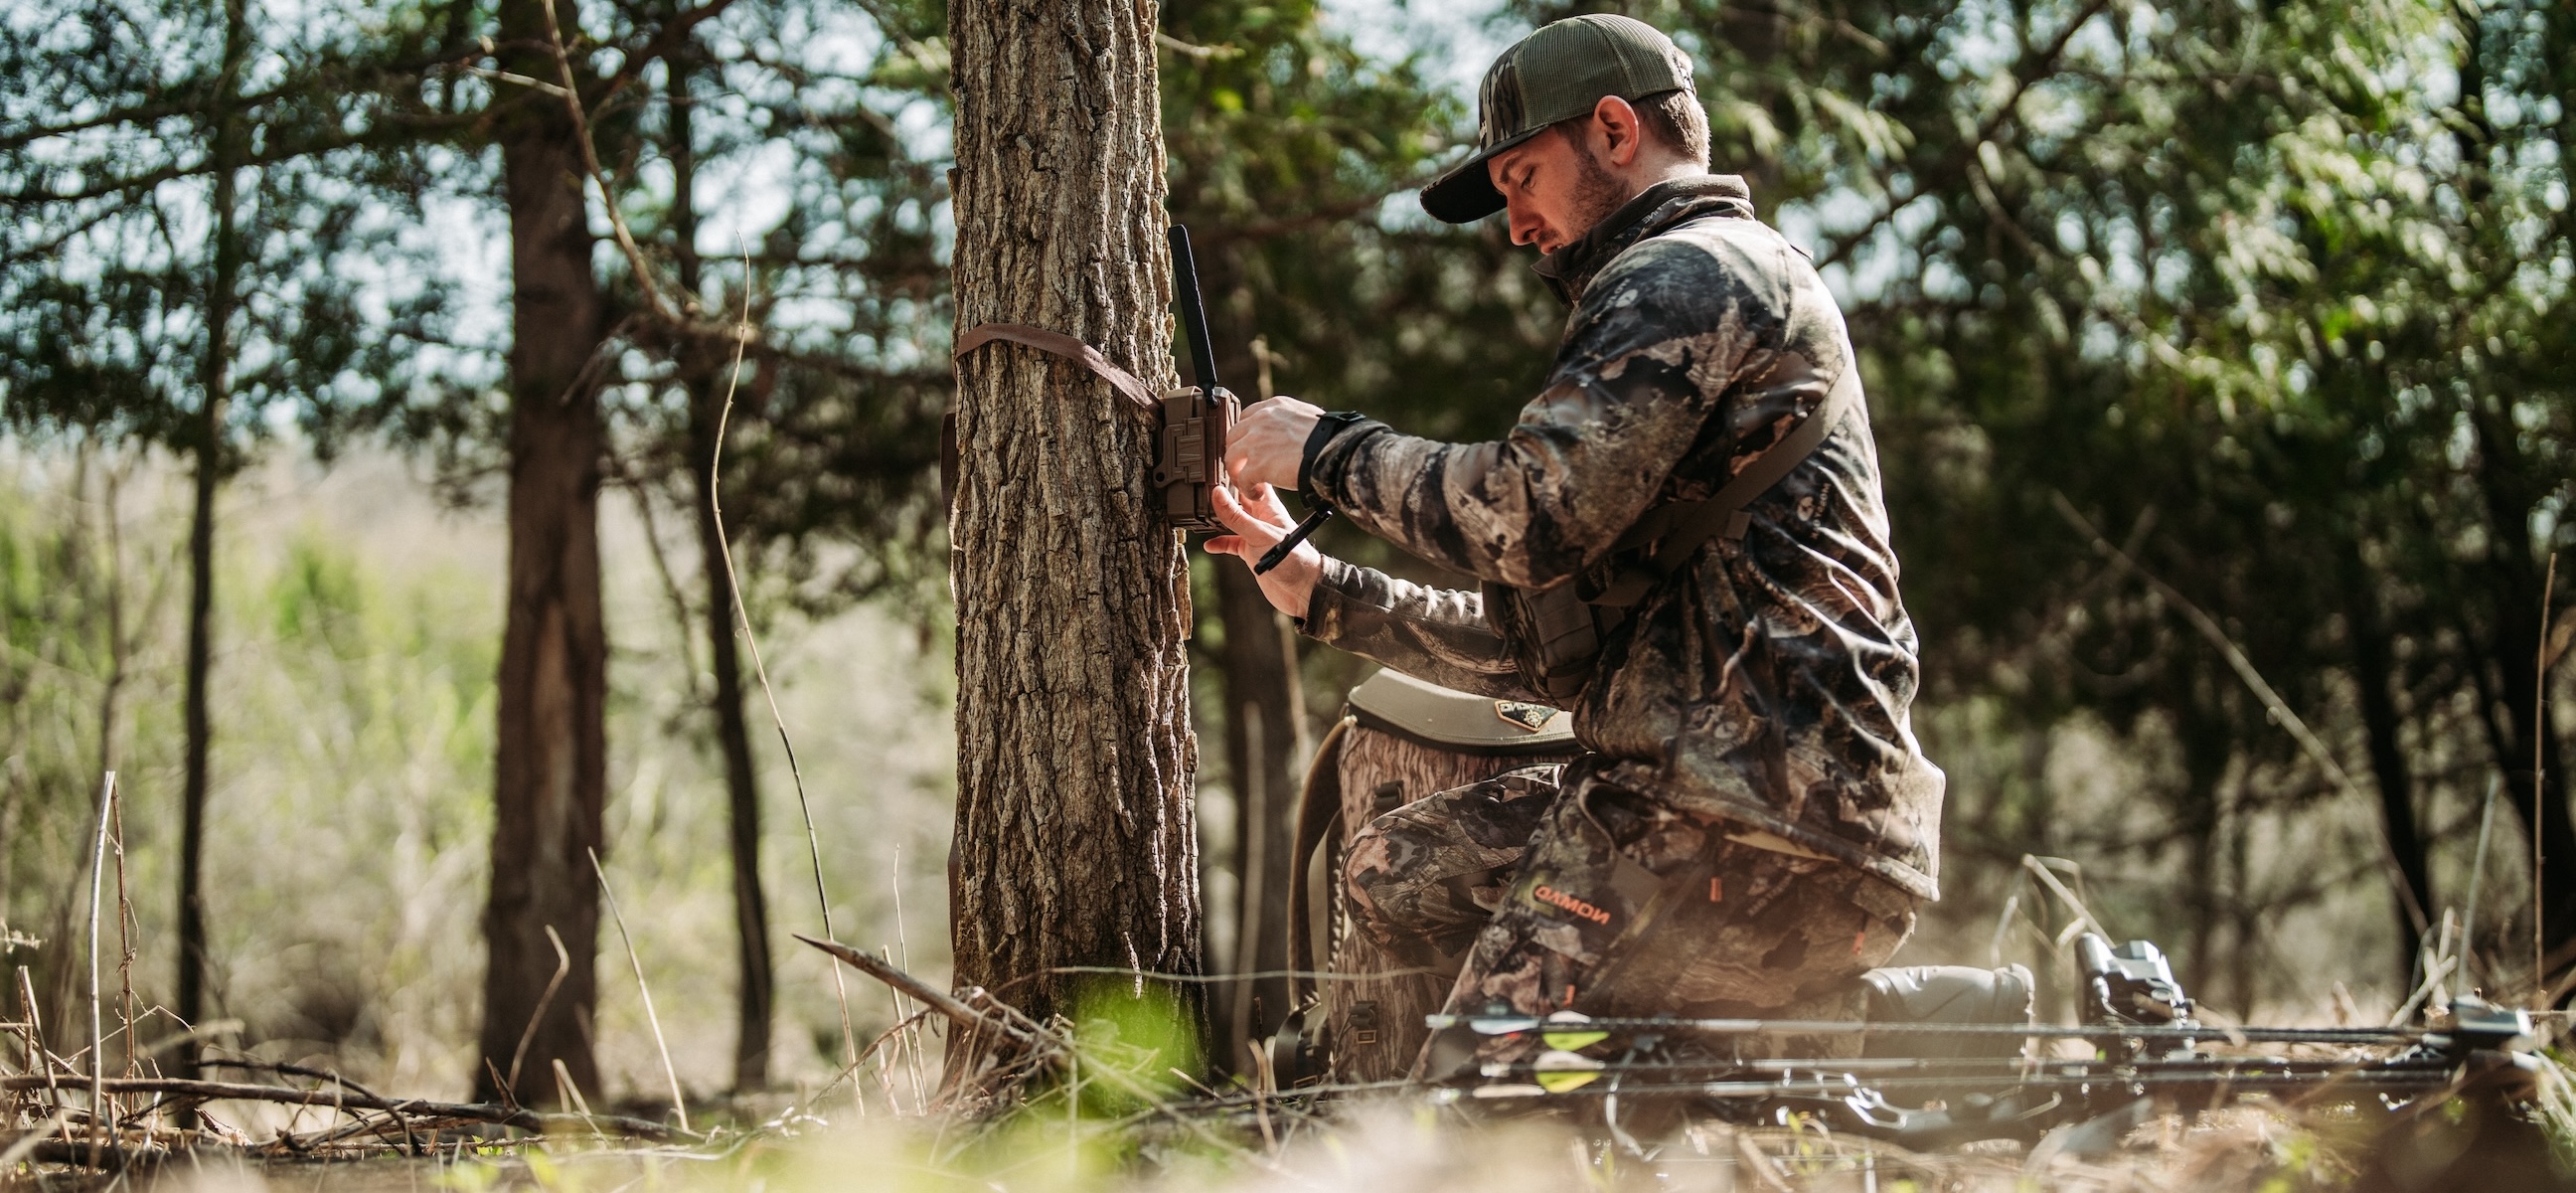
Because of this, it’s important to run external battery sources. Running trail cameras with an external solar panel, battery box, or combination of the two, is an important trail camera integration. Given the right circumstances, this can give a camera many weeks, months, or even a year or more, of battery life. That reduces human intrusion and hunting pressure, and it maintains the quality of your hunting property, streamlines real-time intel, and elevates your overall trail camera experience.
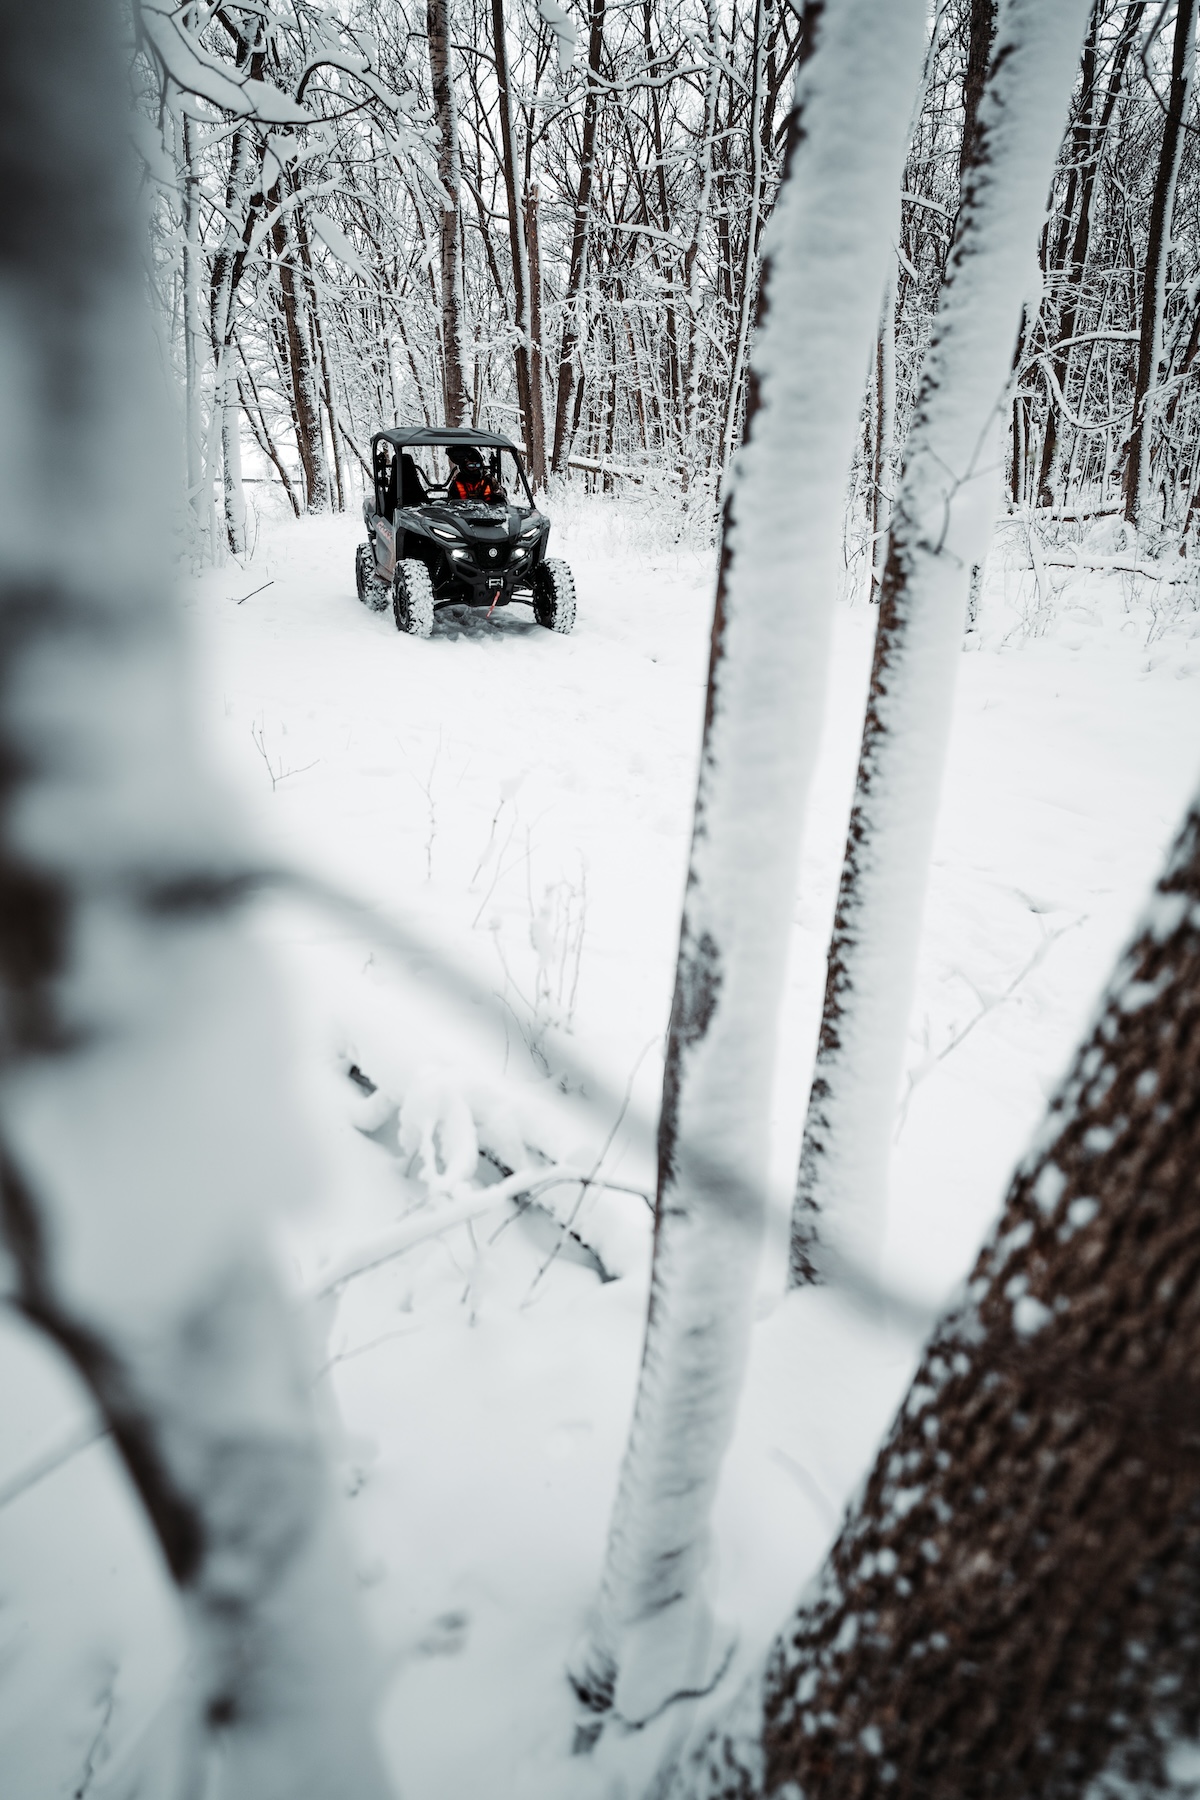
For added security, post cell cams along property entrances and access points.
3. Running Security in Important Areas
Trail cameras — specifically cellular models — are excellent security tools. These can be posted along key areas, including buildings with valuable items and equipment, along property access points, and near problem areas around property borders. Wherever needed, it’s a great way to enhance security on your hunting property.
Advanced Trail Camera Tactics for Deer [HuntClass]
4. Deploying in Layers
Those who have enough trail cameras might deploy these in a layering manner. I called these layer one (or layer A), layer two (or layer B), and layer three (or layer C).
Generally, layer one spots are the least intrusive areas, such as edges of ag fields or oak flats well away from bedding cover. In contrast, layer three areas are very intrusive areas, such as the edges of bedding areas. Generally, layer two cameras are staging areas and major trails between the layer one and three endpoints. Note: Only place cameras in layer three zones if you do so long (months) before deer season begins, and if it’s paired with an external battery source.
Oftentimes, with enough trail cameras, this layering approach offers hunters the ability to cover their property better. Deer might not be hitting layer three (food source) cameras but are hitting layer one (bedding area edge) cams. This helps you realize bucks are still around but utilizing a different food source.
Another benefit of the layering approach is getting bucks on multiple trail cams in a short period. This provides far better line-of-movement information, and helps you home in on the bedding areas and destination food sources that deer are using.
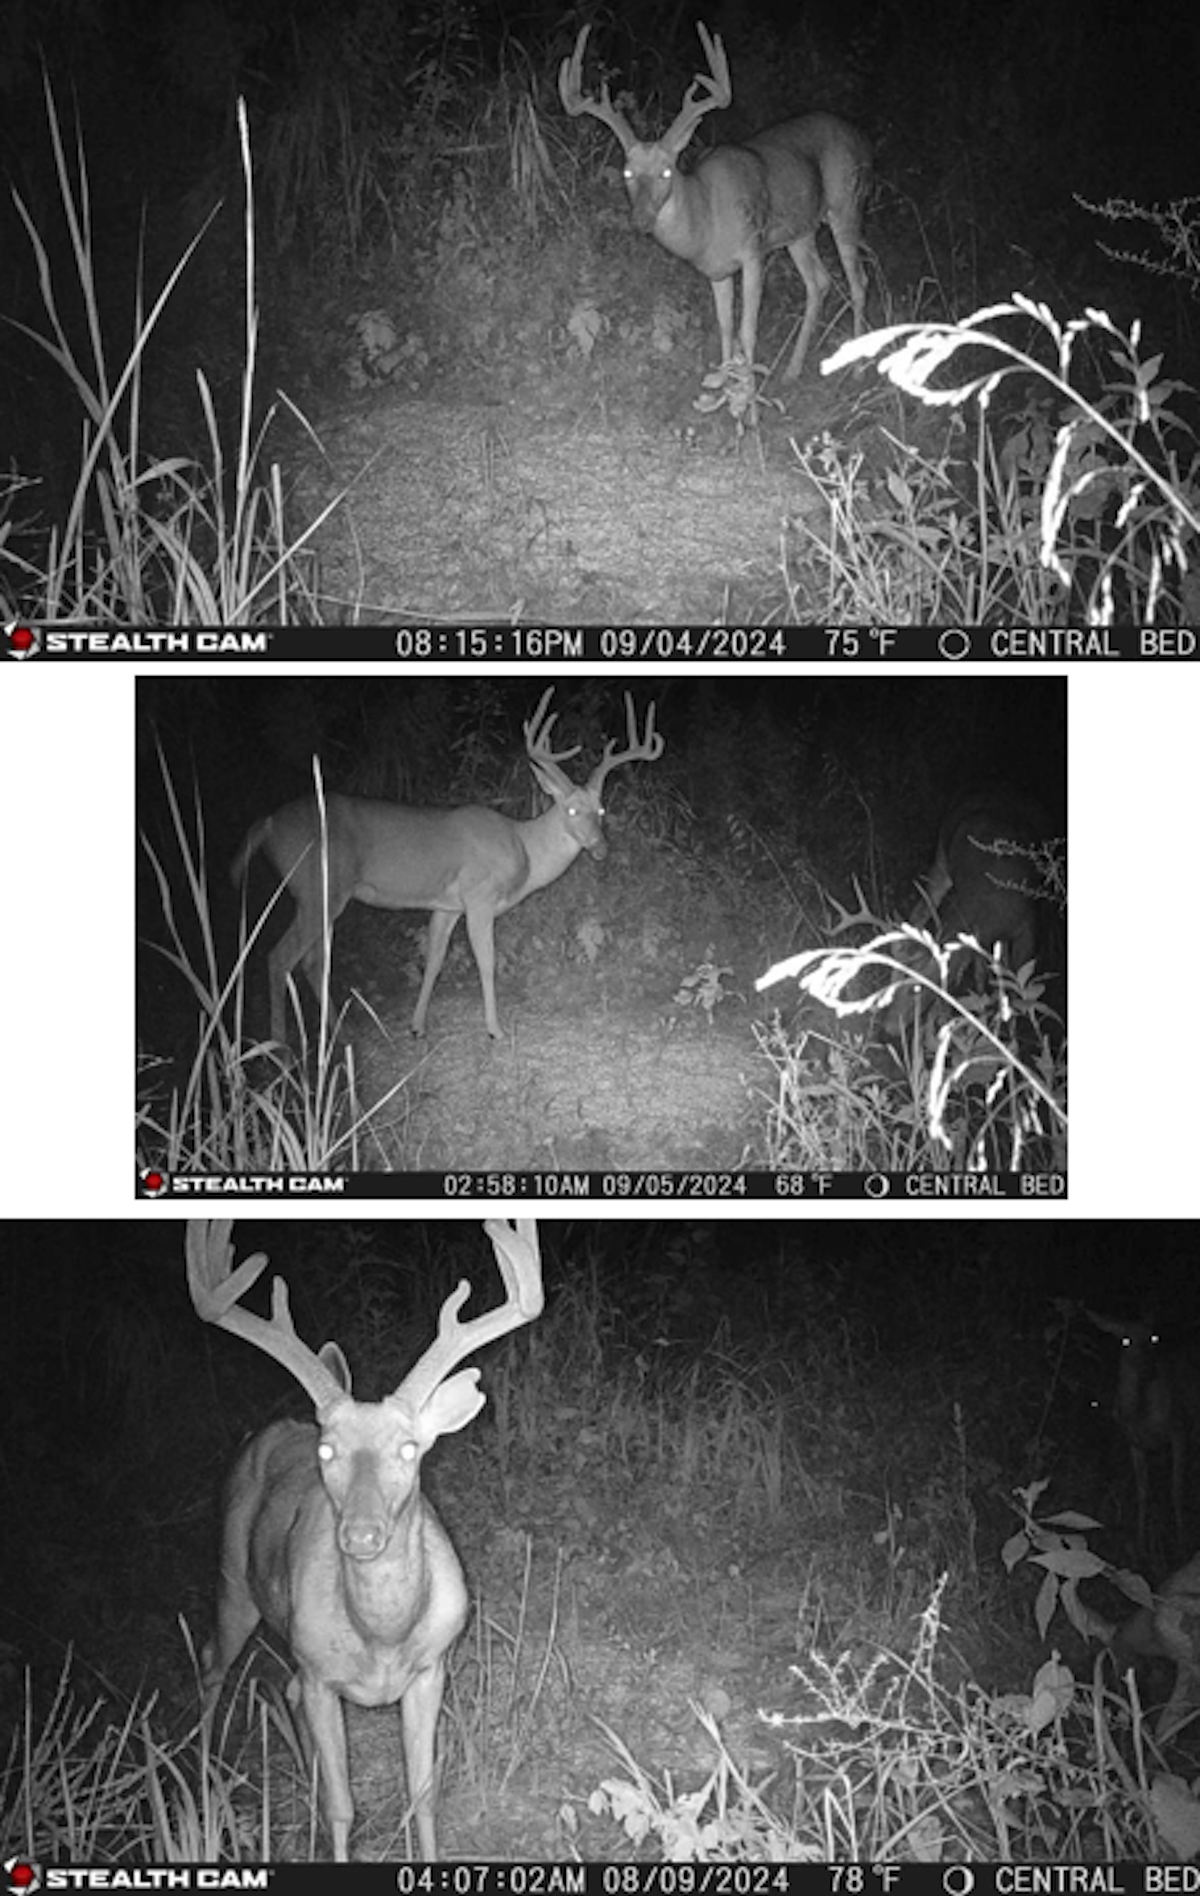
Post cell cameras to learn a buck's core area.
5. Homing in on a Buck’s Core Area
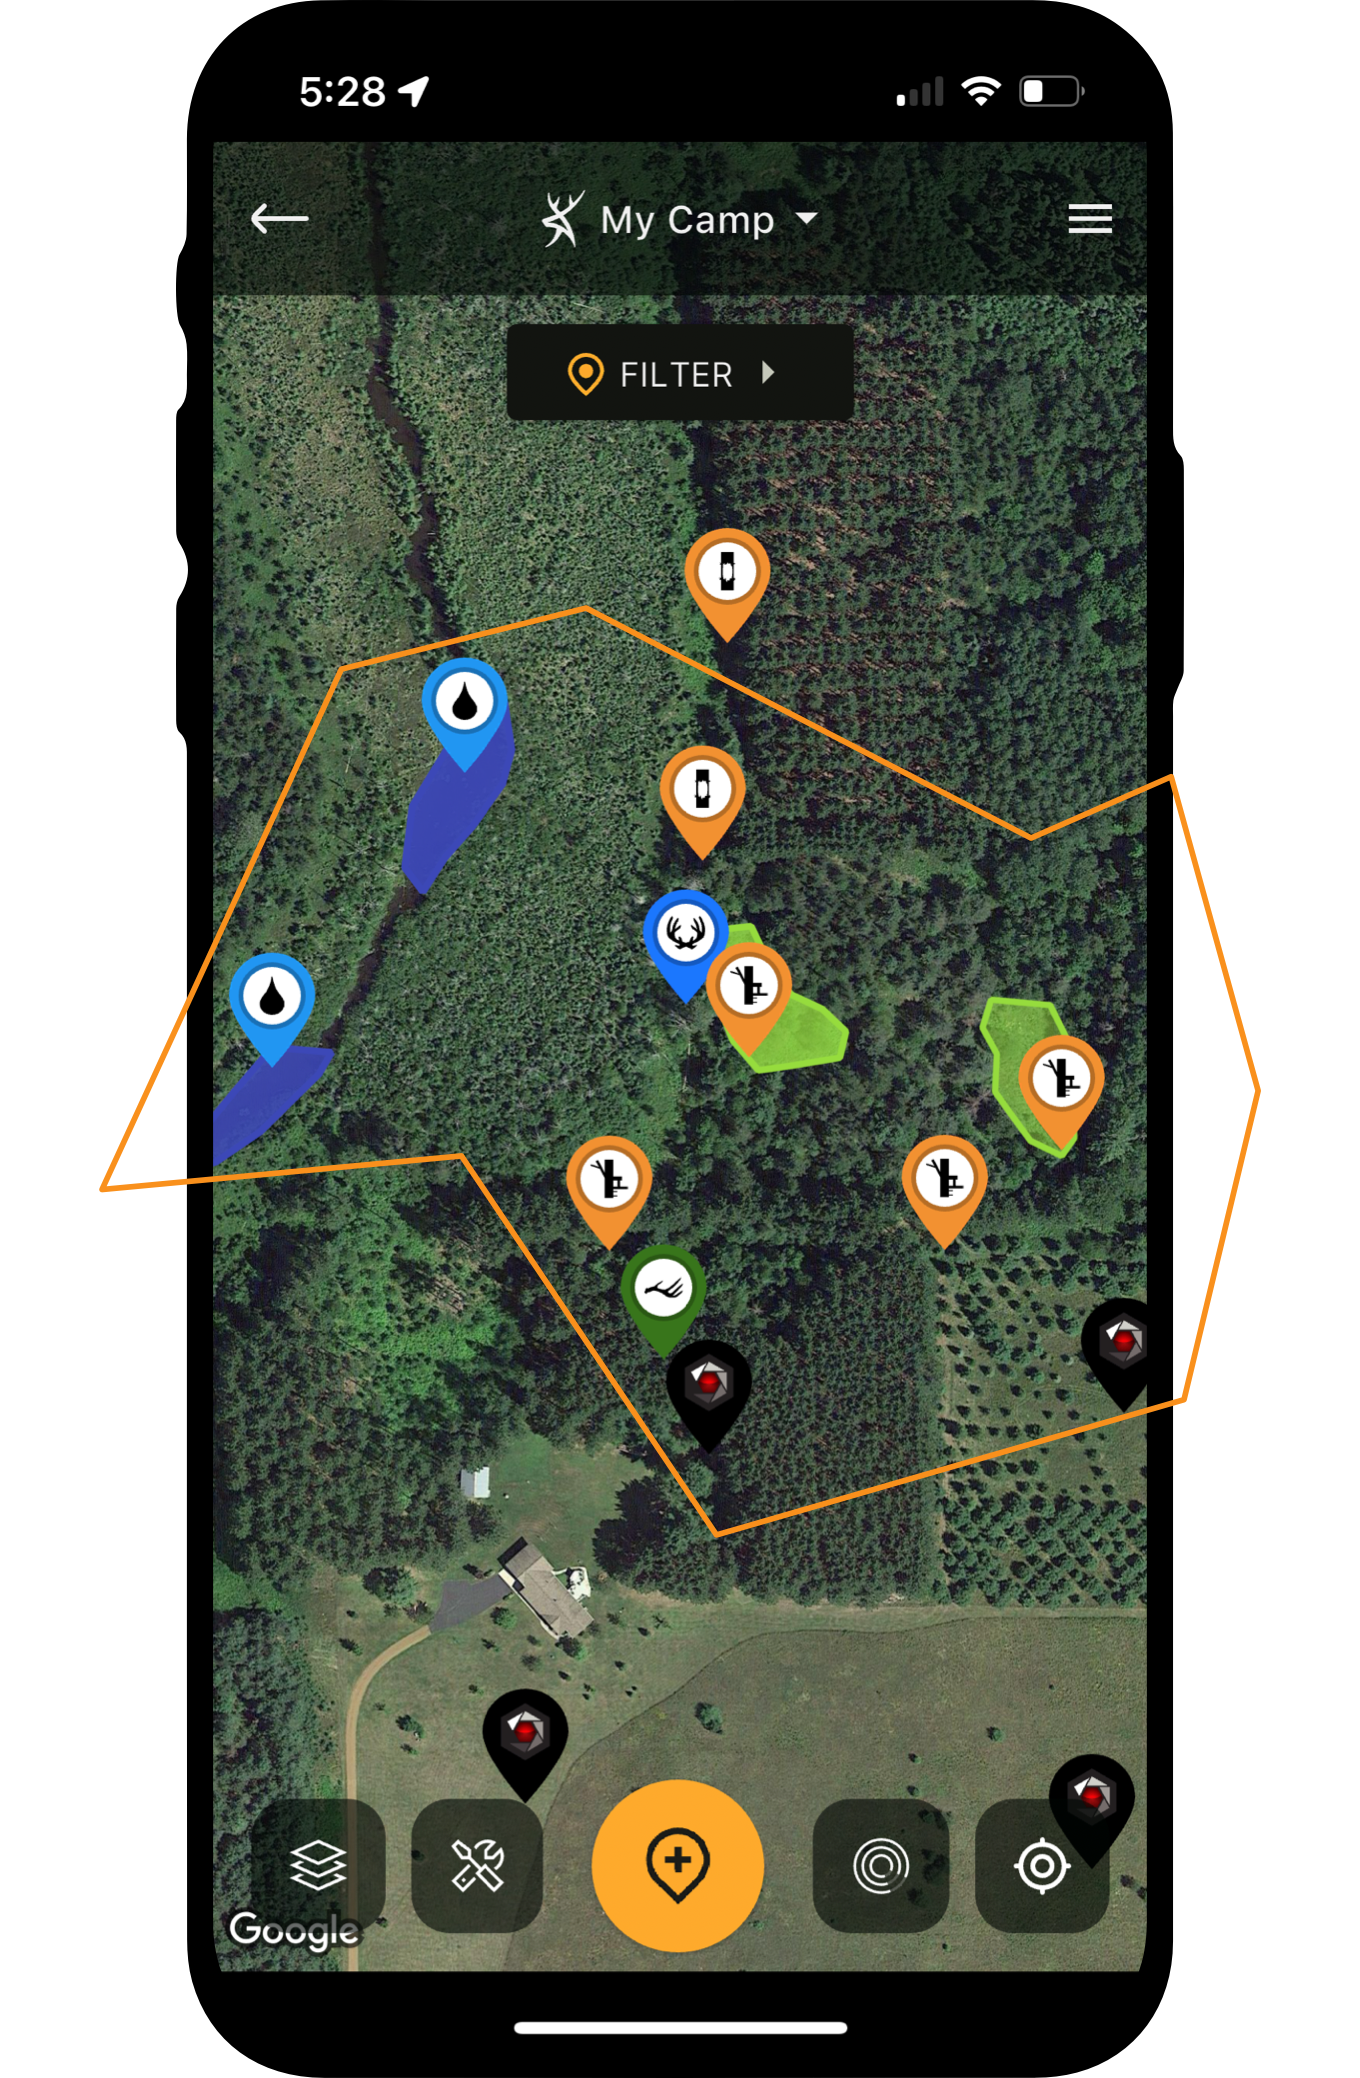
As alluded to above, cell cameras are perfect for homing in on a buck’s core area. This is great for determining where a buck sleeps, eats, drinks, and travels. Paired with app (map) intel, glassing from afar, and boots-on-the-ground efforts, cell cameras are part of an all-encompassing plan to learn a big buck’s core area.
6. Studying Preferred Wind Directions
The timestamp is one of the most important elements of a trail camera photo (with both SD and cellular cams). Therefore, with each daylight trail camera photo of target bucks, study that element. See if the buck tends to pass through during morning or afternoon timeframes.
Furthermore, dive deeper into the details. Plug the exact date and time of the photo into a historical weather data service. (I use Weather Underground.) Then, determine the wind direction for that area at the time the photo was taken. Record this information. Over time, or by studying past trail camera photos of the same deer, a pattern should emerge. It’s your job to determine how to hunt this buck with its preferred wind directions, even if it requires hunting a “just-off” wind direction setup.
How to Shoot a Deer on Opening Day
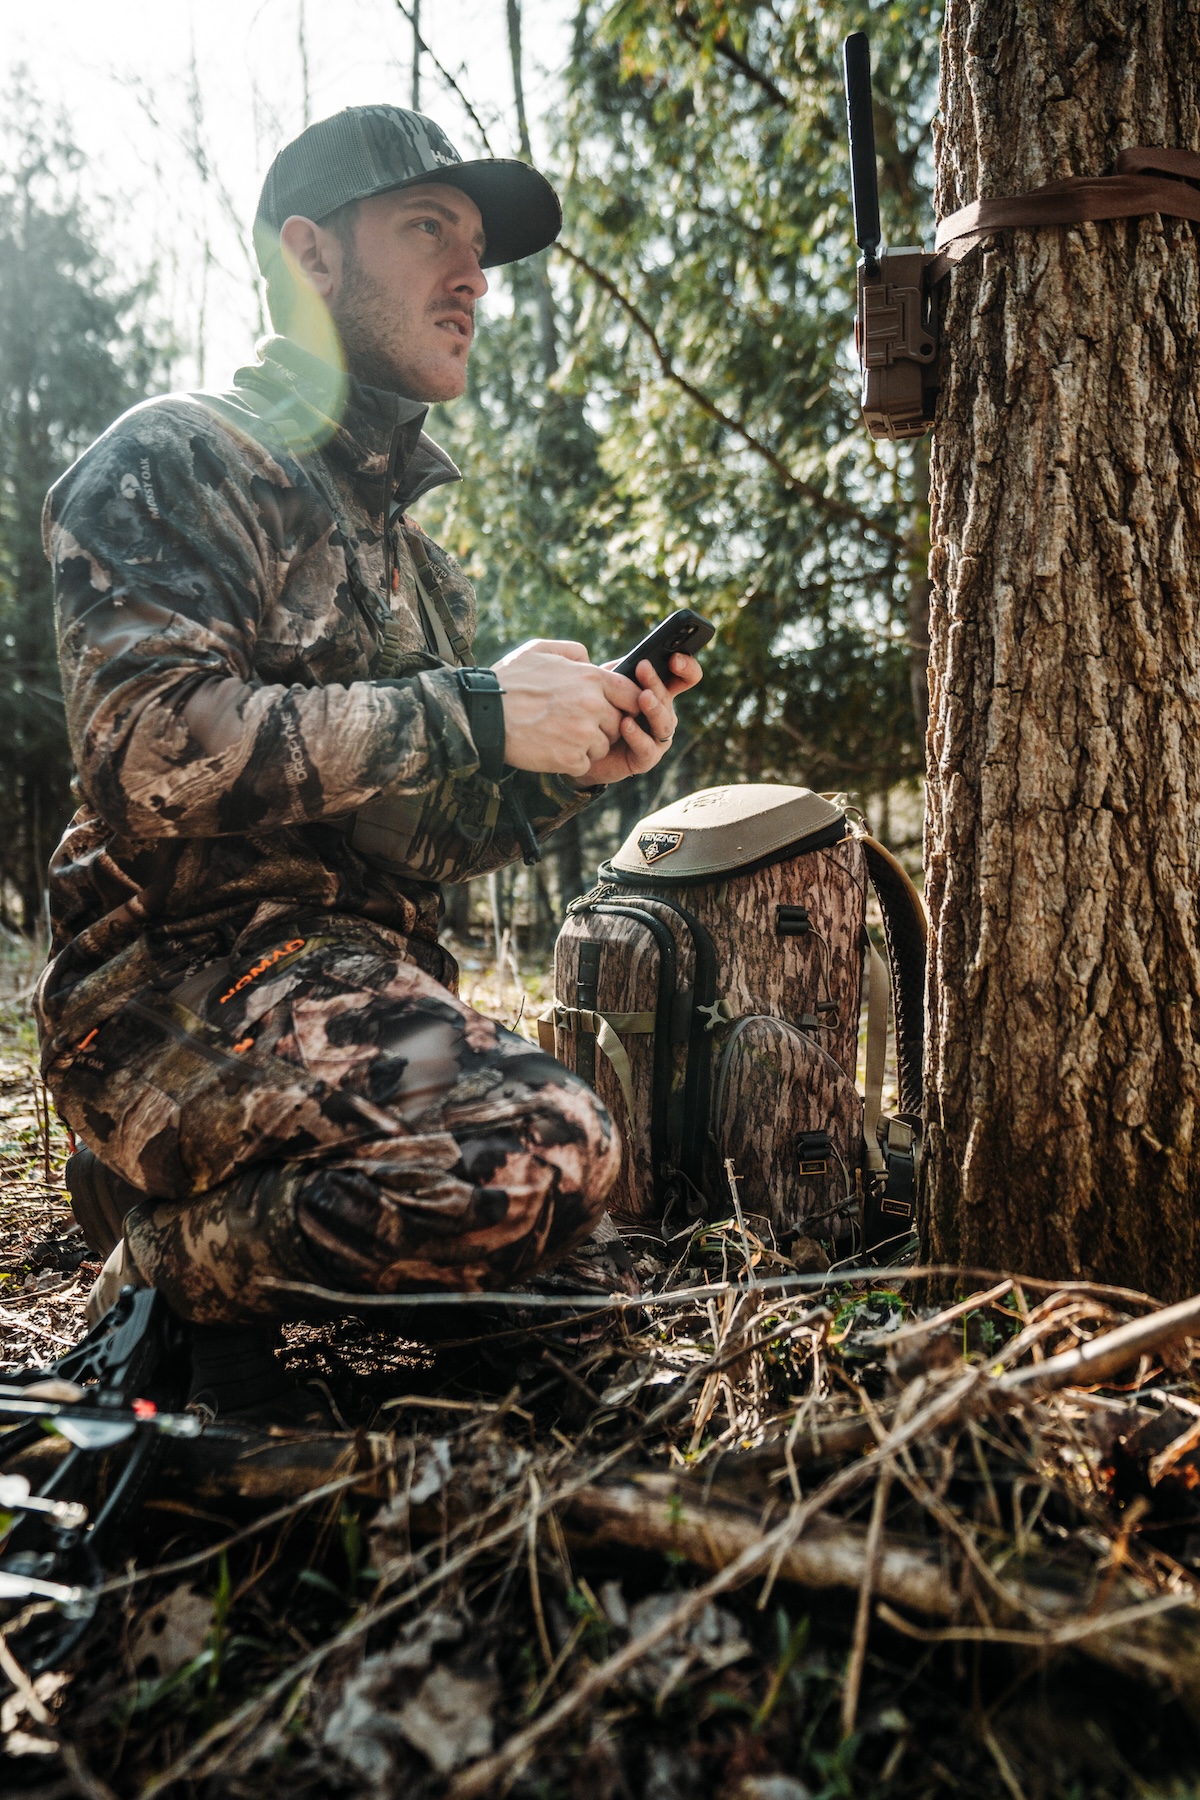
Soaking cell cameras in more sensitive areas, such as bedding areas, can provide valuable scouting intel.
7. Soaking in a Bedding Area
Again, as preluded above, SD and cell cams are great for “soaking” in bedding areas. This concept is where a camera is placed in a general bedding area, or even overlooking a specific bed, and remains untouched for 12 months (or at least through deer season).
Oftentimes, it’s best to hang these during the off-season. Perhaps, this is when post-season scouting and shed hunting. Of course, to ensure battery life stays charged for an entire year, it’s crucial to use an external battery source.
The benefit of using this method is learning the exact areas where deer bed. It helps pinpoint the conditions they prefer and times of year they bed there. In turn, this helps with next season’s hunt plans.
8. Analyzing Direction of Travel
The first and last images in a series of trail camera photos are the most important. Oftentimes, these show definitive directions of travel. Meaning, you see where a deer came from, and where it goes to, during the trail camera event.
Studying these photos, and considering the time of day (i.e.: morning, midday, or afternoon), helps determine where deer are bedding, feeding, etc. Then, it’s possible to make better stand location decisions.
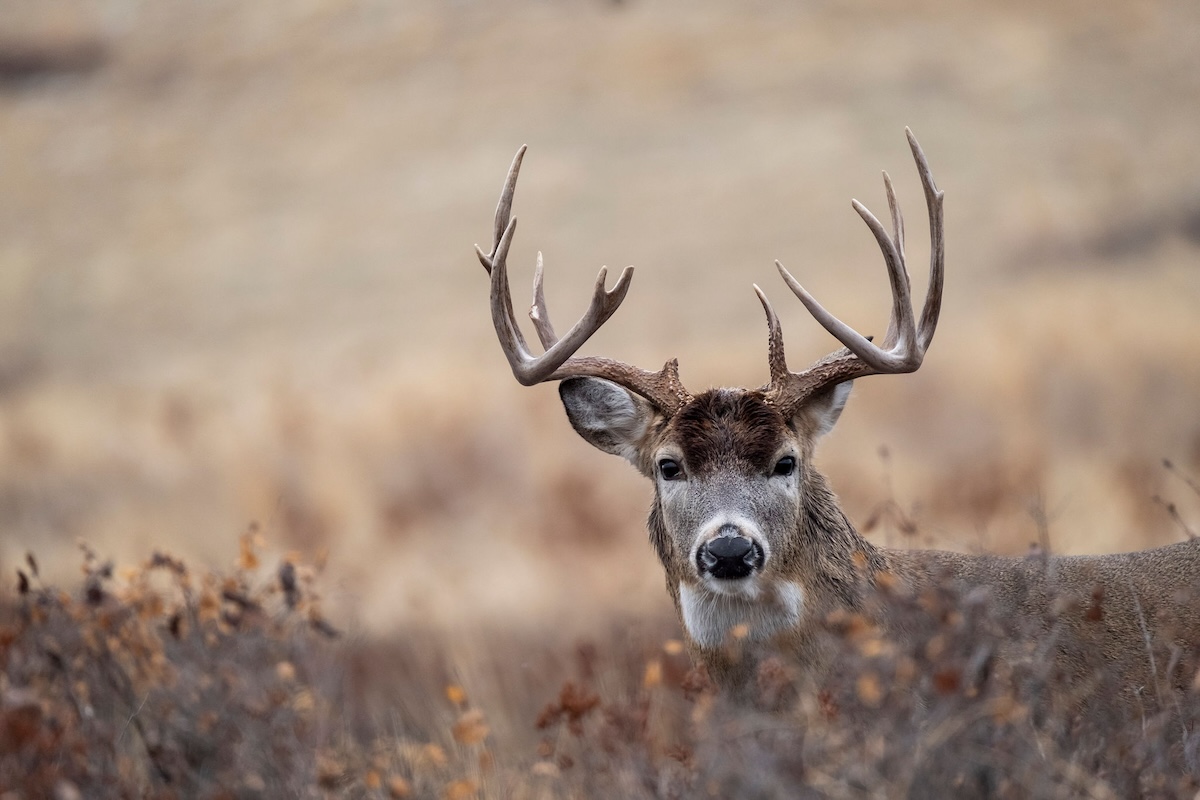
Dig into the trail camera data to learn more about the deer you hunt.
9. Digging Through the Data
In their purest forms, trail cameras are data compilers. These assemble data points for hunters to devise game plans around. Unfortunately, many hunters don’t think this way. Instead, they remain very baseline with trail camera use and don’t “squeeze every ounce of juice.”
To accomplish that, dig through the data. Integrate the Command App (Stealth Cam and Muddy cameras) with HuntStand. Save every buck photo. As noted above, analyze direction of travel. Study wind direction preferences. Refer to historical photos from past seasons and compare those to this year. Glean everything possible from each trail camera photo. And benefit from the data management and analyzation tools available from the Command Pro app.
Next-Level Scouting With HuntStand’s 3D Maps
10. Checking Every Direction at Once
Some spots need a camera looking in every (or most) direction(s). Examples include inside field corners, middle of food plots, at trail intersections, and more. Historically, in such spots, hunters had to deal with only one camera or post several cameras in the same spot that looked different directions.
No longer. Now, hunters have access to the all-new 360-degree camera. Offered by Stealth Cam, the Revolver and Revolver Pro effectively cover every direction at once, with only one cam needed.
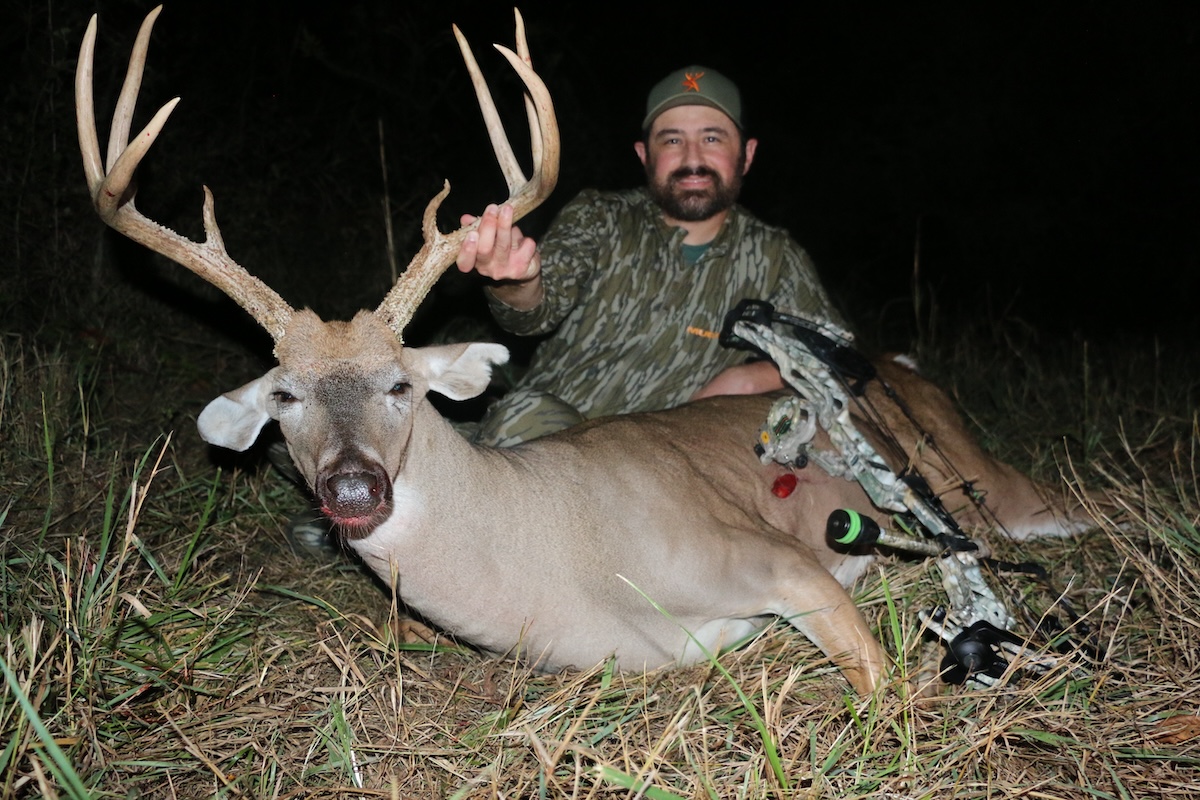
The author used many of the points above when scouting this buck.
Level Up Your Trail Camera Game
Regardless of whether you implement the above tips, or not, get the most from your cams. Hunt the way you like to hunt but use cams to their fullest potential. Do that, and you’ll be happy with your trail camera game this season.
UPGRADE TO HUNTSTAND PRO WHITETAIL