Your Trail Cam Game Plan to Pattern Early Season Public-Land Deer
Armed with an arsenal of game cams and his HuntStand app, the author has found that getting aggressive is the best approach to finding and tagging public-land bucks.
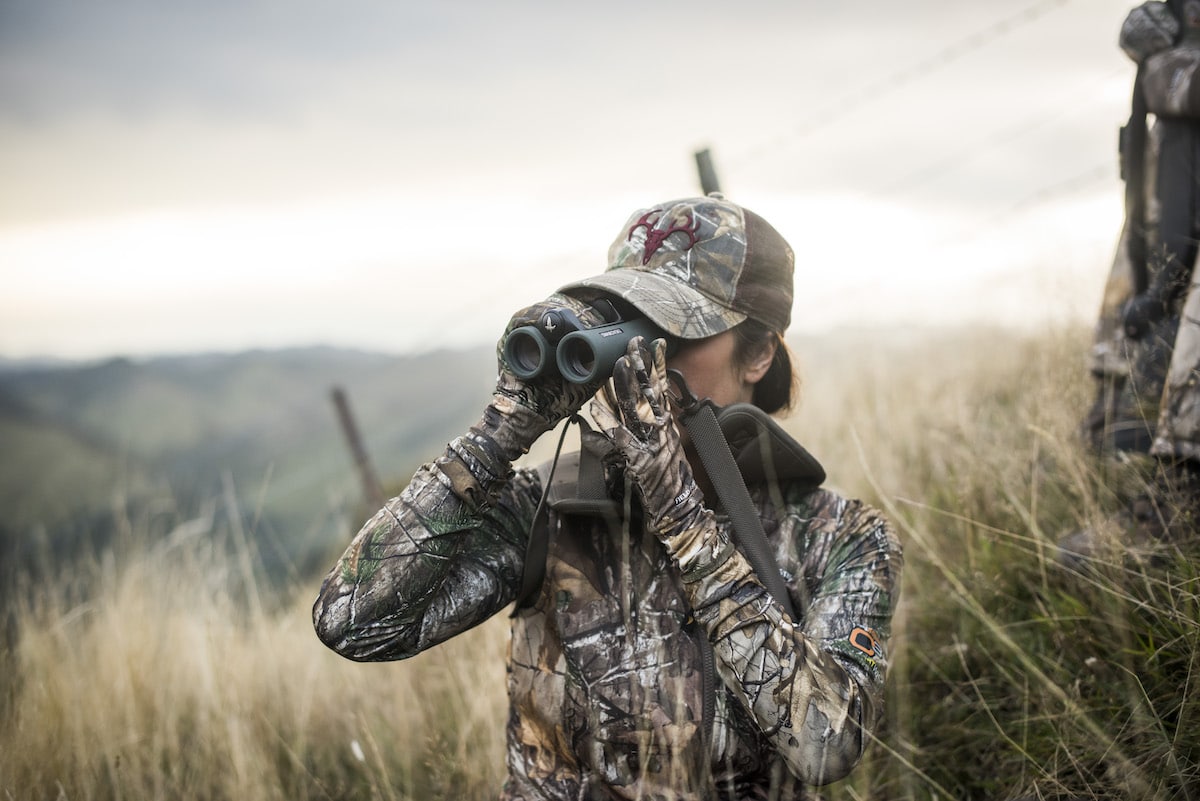
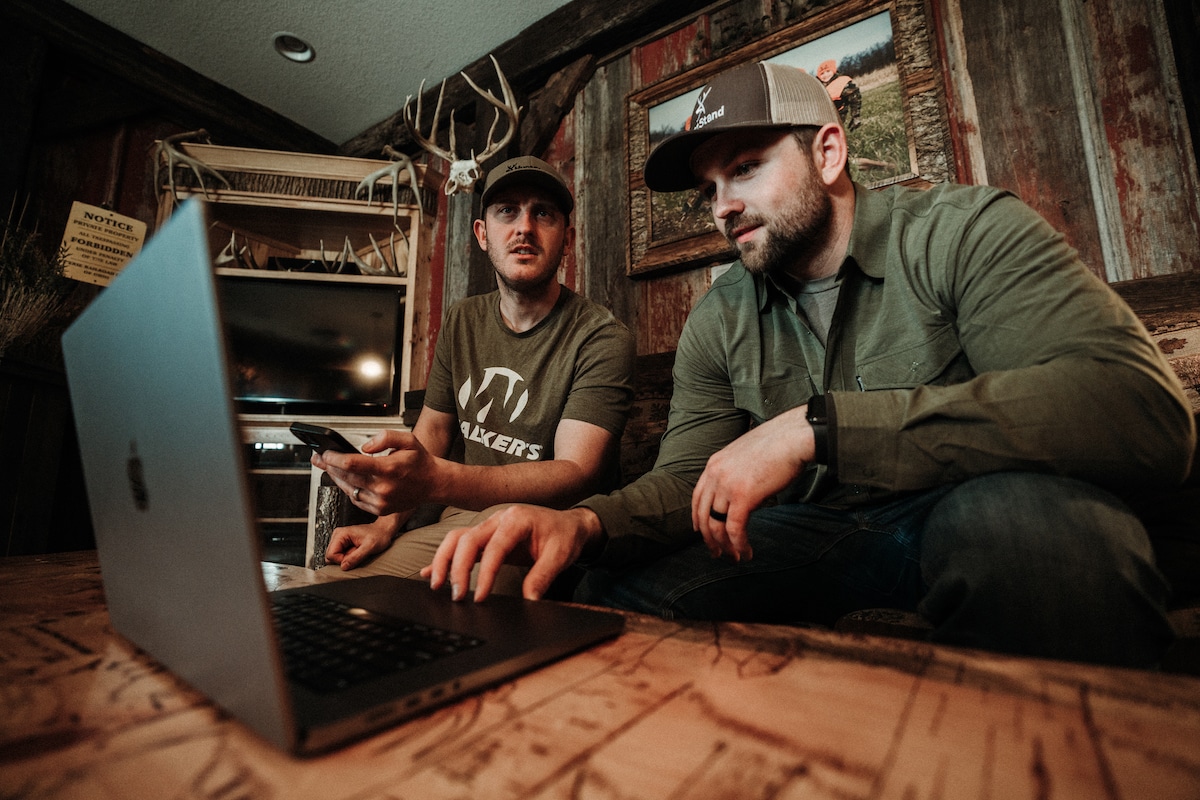
A good glassing effort can produce a starting point for trail camera placement.
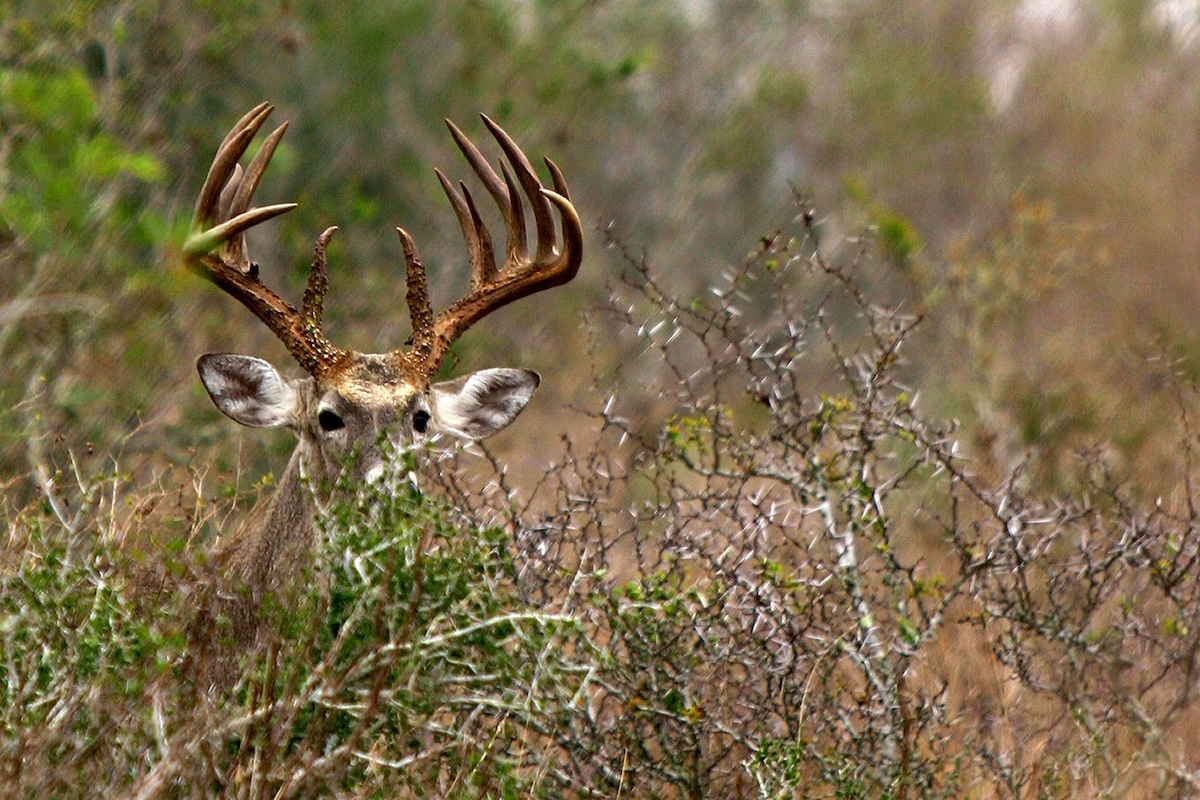
Patterning a buck for opening week is only a set of well-placed trail cameras away.
I have to be honest, I don’t like the word “patterning” when it comes to scouting mature whitetail bucks. I use the word because I haven’t come up with a better one. Bucks are individuals. Some have more-predictable movements than others, but most mature deer, at least to some degree, are fairly random in their daily activities. This is one of the traits that helps them survive to become mature in the first place. So, it isn’t easy to pattern early season public-land deer.
So when I use the word “pattern,” keep in mind that we must simply do the best we can with any information we can gather about these elusive deer. During the summer months, we are compiling a collection of “tendencies and trends” that will increase our odds of wrapping our tag on a particular buck come the hunting season. So, let’s take a look at a scouting system that has worked for me and others. It’s a system designed to figure out the most-likely place and time to shoot an individual buck.
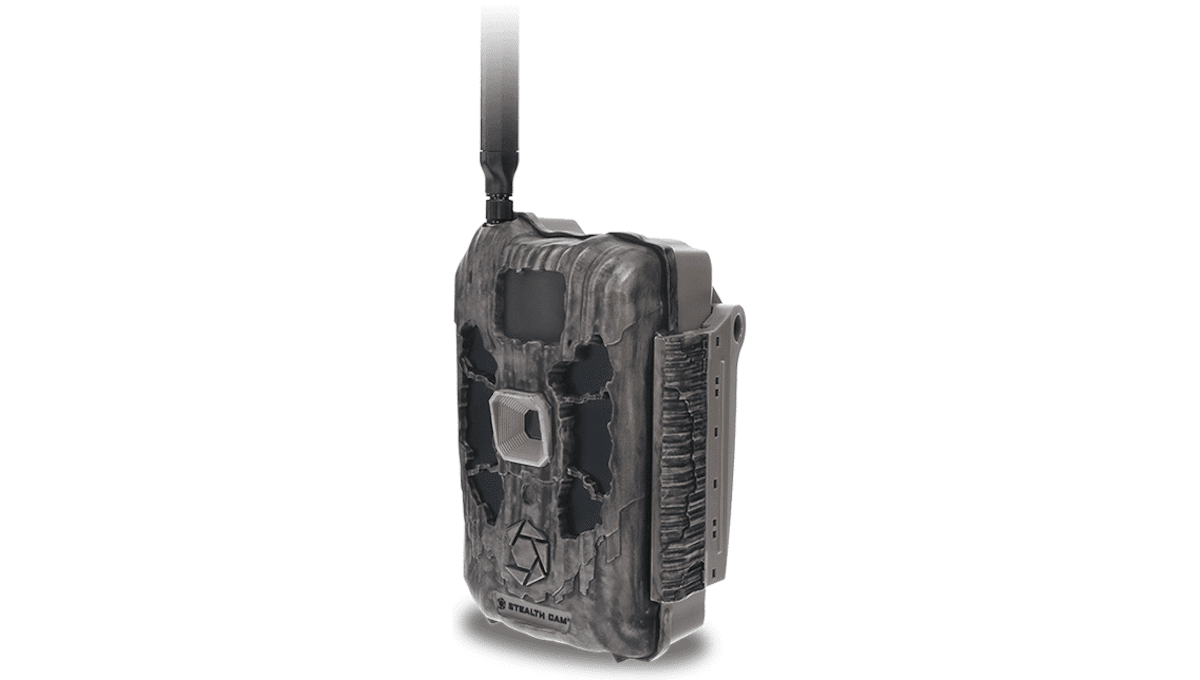
The Stealth Cam Spectre 4K is an excellent cell cam.
Step 1: Assemble the Troops
First, we must find a target buck. I have found many of them through the lens of a spotting scope, but my number-one tool for finding a shooter is the scouting camera, paired with HuntStand. Let me explain.
One of the most-effective ways to learn a buck’s movements and preferences for feeding and bedding is with scouting cameras. I confess to being a bit of an “addict” when it comes to using scouting cameras. I own a pile of them, and I have some in the woods year-round. I’m always excited to see the photos they capture, and I would check them every single day if I wasn’t fully aware that it would be a big mistake to do so.
Keep in mind that while you are trying to pattern a buck, he is patterning you. I hunt mostly public lands, Like many hunters, I was once under the impression that bucks living on public land become somewhat “conditioned” to human scent. After all, there certainly is a lot of foot traffic on many of the properties I hunt. However, mature bucks are wise. Over the years, I have become convinced that any buck that has survived three to four years on public hunting land has become very good at gauging the intentions of the humans he encounters through sight, sound, or scent. He’s a master at learning in a very short time what you are up to.
Because of this, it’s crucial to let non-humans do the bulk of scouting for you. Therefore, assemble as many trail cameras as you can muster. Hunters can score great deals on budget-level cameras that perform really well. Or, if purchasing the needed number of cameras still puts these outside your budget, consider purchasing used trail cameras. (Just know what you’re getting before handing over the cash.)
Cell cameras run a higher risk of getting stolen on public lands, but the increased value is beneficial to scouting efforts.
Step 2: Deploy the Troops
Some may consider my tactics a bit extreme, but I use a lot of cameras. Once I find a piece of public ground that I suspect has some good bucks living on it, I move in with a backpack full of game cameras. I may have stumbled into an area that’s all torn up with rubs and scrapes, or maybe I observed a bachelor group of bucks feeding in a field of soybeans or alfalfa that borders the property. One of the bucks I hunted hard for three years was discovered when he ran through my headlights one night.
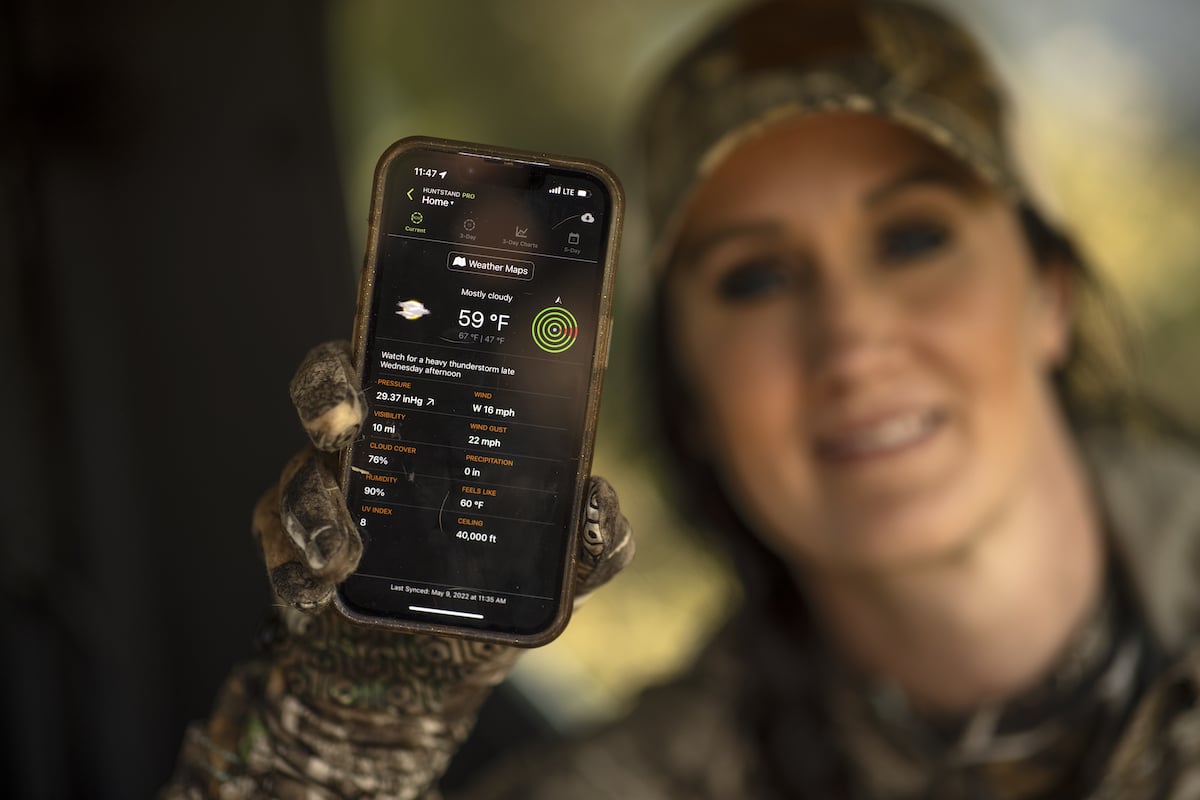
These types of observations give me the clues I need to hang some scouting cameras. I will try to move in and look the area over, right before a rain, if possible. I use HuntStand to check the extended forecast as well as the radar screen, to predict when a rain is coming. Then, I give myself about two to three hours to do my game camera “ground work.” The coming rain will clear out my scent, but I still spray the lower half of my clothing with Scent-A-Way spray in order to minimize scent impact while I’m in the field. The less the bucks know about me, the better.
During this time, I’ll walk right into suspected bedding areas, something I would never do on private land, but on public property I hunt much more aggressively. I try to hang at least a couple cameras on trails where the deer seem to be entering and leaving the bedding areas. I also set cameras along trails that connect bedding areas with each other, and with suspected feeding areas. These areas will be very valuable when hunting during the rut.
If I find an area torn up with rubs and scrapes from last fall, I’ll put a camera on it. As soon as the velvet comes off, bucks will be hitting those rubs. At the edges of the areas where the deer are feeding, there will often be “staging” areas where the bucks hang back for a while before entering the fields. They’ll observe the demeanor of the does and young bucks before exposing themselves. These areas are characterized by nibbled brush, droppings and rubs. Each of these spots will get a camera.
Many people think you must get “way back” off the road into the deepest part of a public property to get to the big bucks. That can be true at times, but I find some of the best places to contact the deer are where they leave the edges of the properties, to feed in surrounding croplands. If one of these areas is well off the beaten path so much the better. In all, I may hang six to eight cameras on any given piece of property.
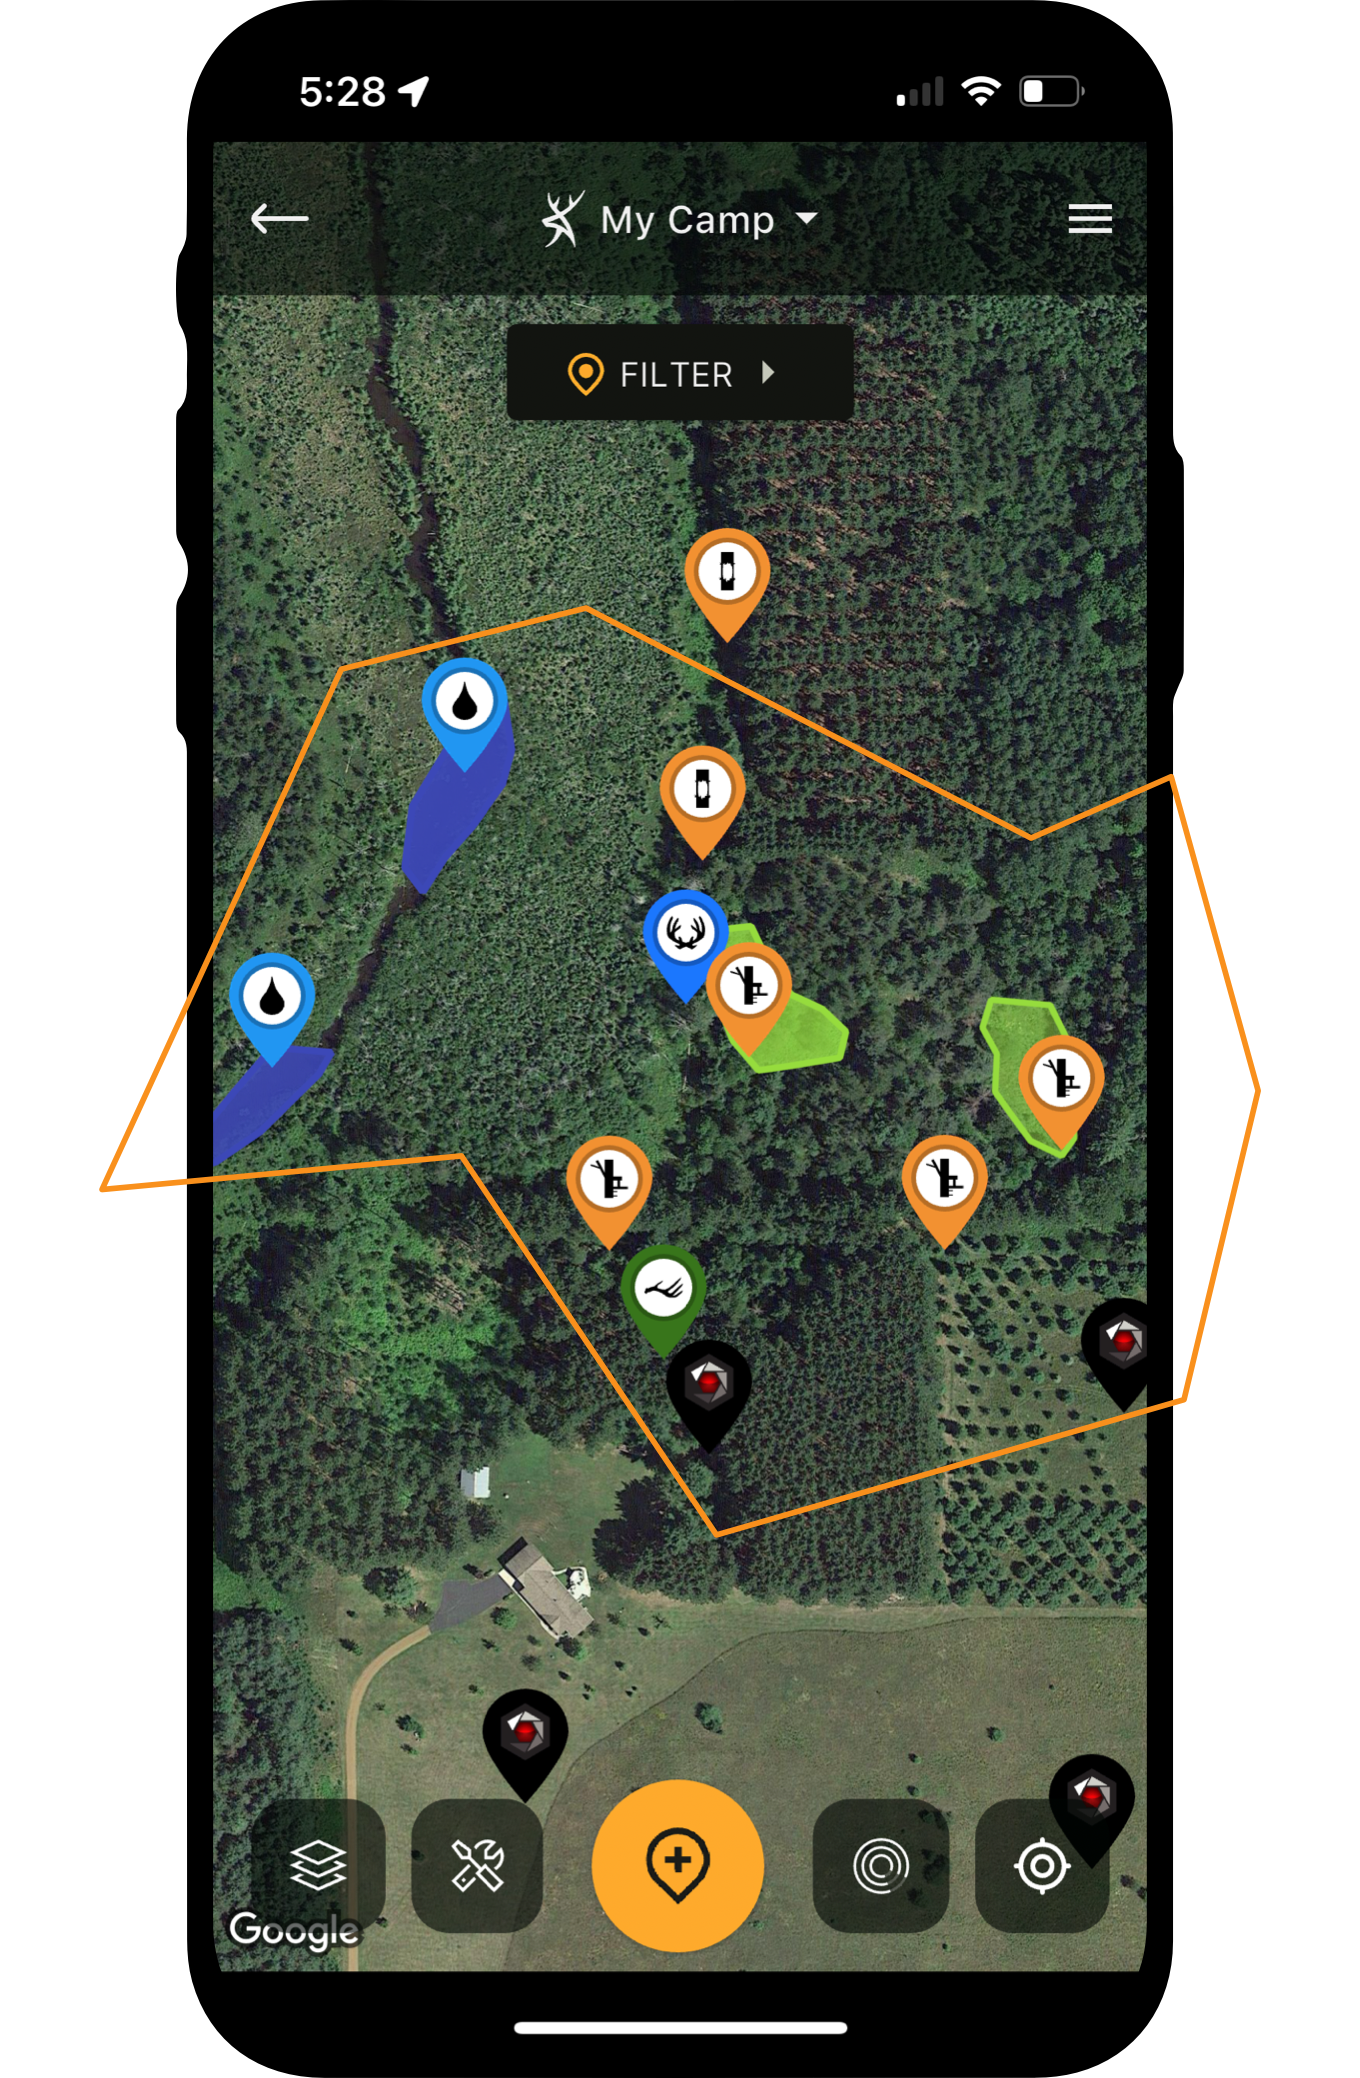
Keep track of trail camera locations so you don't lose gear or waste time bumbling around.
Step 3: Protect Your Trail Cameras
I know a lot of readers shudder at the thought of investing in a bunch of cameras, and leaving that much coin hanging on public land. Yes, I have had some cameras stolen over the years, but I look at cameras as an “overhead expense.” The following tactics have significantly reduced my game cam losses due to theft. Plus, much like gas in your truck tank, you must purchase more every so often.
I have also become very good at protecting my cameras. First, I use “black flash” cameras so neither the deer nor a potential thief sees the flash. Secondly, I often place my cameras in a steel “bear box” with a lock that makes it very difficult for a potential thief to remove the camera. Third, I often camouflage my cameras with some artificial leaves and moss, which makes them shockingly difficult to detect—unless you know exactly where they are. And fourth, I make sure to anchor them high out of reach.
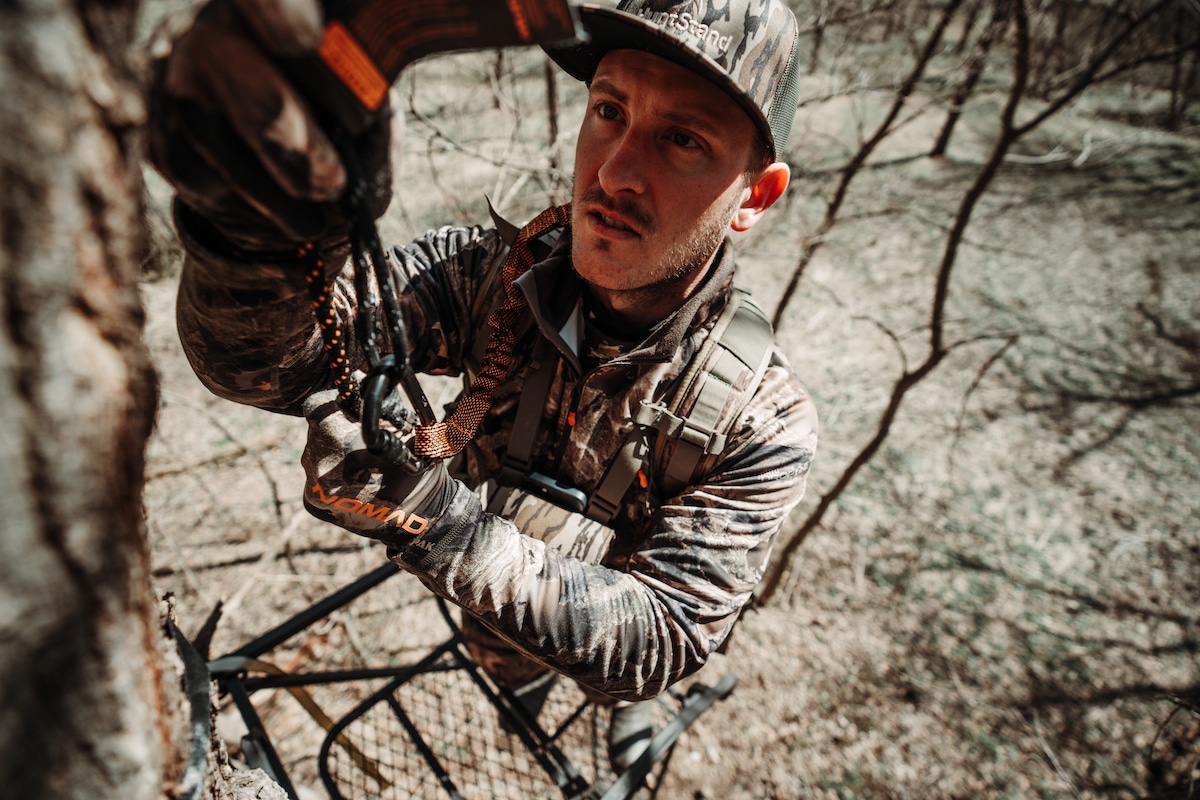
By hanging a camera about 10 feet off the ground, neither the deer nor another person is likely to see it. And if a person does see it, he’s gonna have a heck of a time getting to it. While hanging cameras I always carry one climbing stick with me. From the top of that stick, I can mount the camera angling downward. I then carry the stick back out with me. (Remember to take the climbing stick with you when you check the cameras.)
Move afield to check trail cameras with the weather and wind in your favor.
Step 4: Check Cameras Wisely
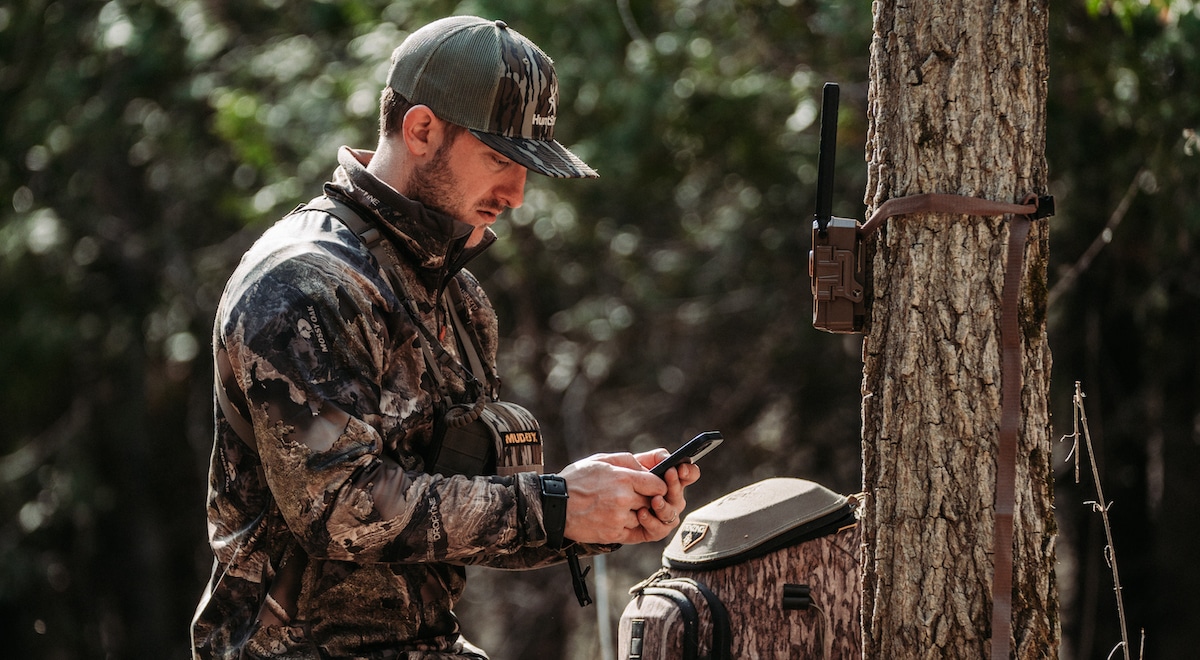
When I set my cameras in place, I mark them in HuntStand, so I can hike directly back to them, and change out their SD cards as needed. I consider HuntStand indispensable for this. My memory isn’t what it used to be, and sometimes you get out in the woods and it all looks the same. Having my cameras marked on my phone is a huge time saver.
I will leave the cameras “soak” for several weeks to a month. Then, head out there right before—or during—a rain to reduce my scent impact (another task for my HuntStand app). I check the SD cards on a tablet that I carry with me, to instantly see if they have taken a lot of photos or not, and decide at that point whether or not to leave the camera in place, or pull it.
In the month before the season opens, I’ll have several thousand photos to sort through, and hopefully have enough “shooter bucks” on camera to generate some assumptions about their tendencies, based on the time and place they appear on camera. I make a special file on my computer for the photos of each specific buck, then organize them in chronological order to see where they were when photographed, and at what time.
With ample trail camera intel, make your big move.
Step 5: Time the Strike
Once you have gathered all available information, you should have a pretty good idea of where and when a particular buck is feeding, bedding and/or traveling. So informed, you will likely have an idea of where you stand a good chance to kill him, but be patient. Now is the time to wait for just the right conditions. Here again, is where HuntStand can lead you to success. A HuntStand Pro subscription provides access to the Whitetail Forecast tool, which is shockingly accurate.
Furthermore, be sure to check the HuntStand HuntZone for a particular stand site before making your move; being able to see how the scent will waft through a particular site during every hour of the day and night, out to seven days in advance, is one of the biggest advantages any hunter can have.
Once you know the best time and place, take a few minutes and sharpen your skinning knife. When season opens and everything is right, all that’s required is to move in and get the job done.
HuntStand is the #1 hunting and land management app in the country. It combines advanced mapping tools with powerful map layers to allow users to create and share the best hunting maps possible.