





It's always special when that perfect trail cam photo pops up.
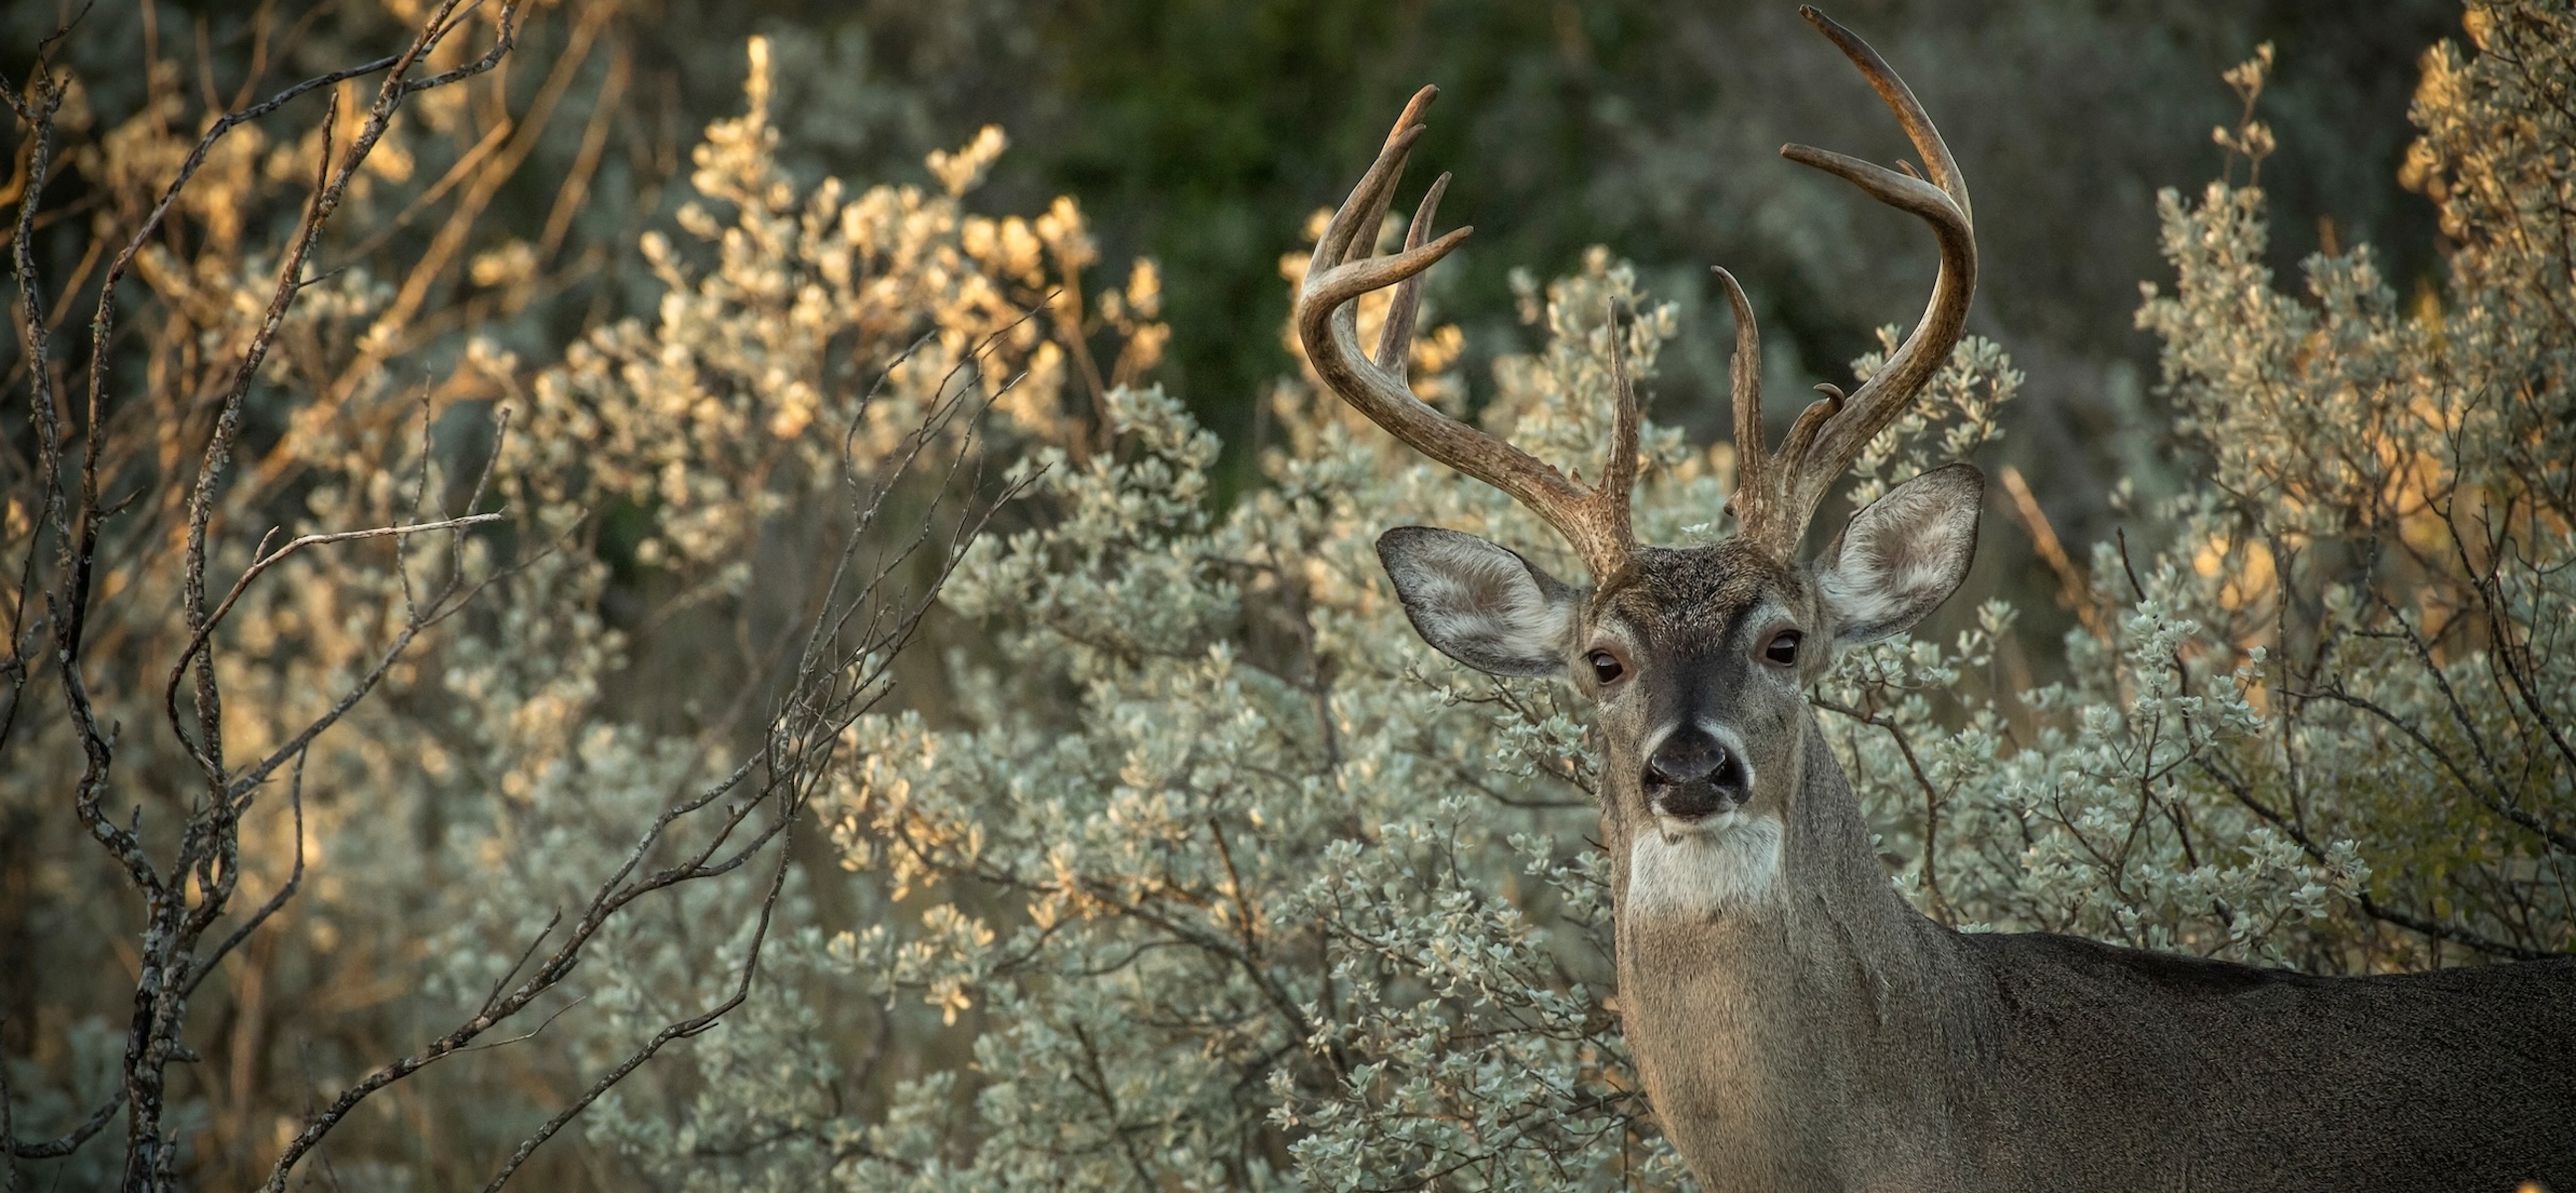
The Command app sends a fresh notification, and you just know it’s an image of that big deer you’ve been watching. You open the app, and boom — it’s that 10-point buck, and it’s the most pristine whitetail trail cam image you’ve ever seen. But that didn’t happen by accident. Certain trail camera tips and tactics improve the odds of capturing photos, and even getting clear, quality images. Here’s how to get the best cellular trail camera photos this season.
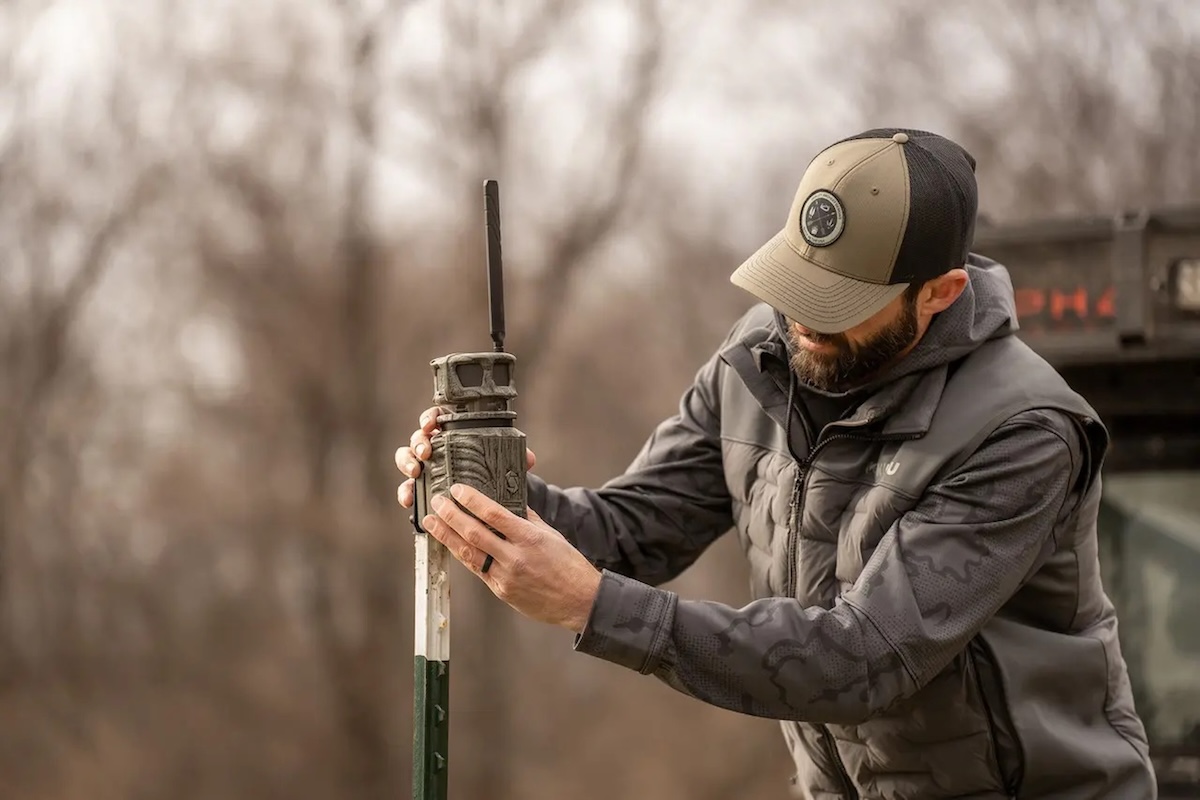
Choose the right camera, and you're already on the right path to capturing the best trail camera photos.
1. Purchase the Right Camera
Some elements of a good photo are reliant on the product user. For example, composition, lighting, space, and more, are all things affected by the person who uses the trail camera. Camera quality will never overcome composition errors.
Other factors are reliant on the camera’s internal components. Some of these include:
- Detection zone
- Detection range
- Trigger speed
- Resolution
- Recovery time
- And more
Of course, selecting the right trail camera is the first step in getting quality trail camera images. When purchasing a trail camera, compare each of the above factors, and choose accordingly. With an understanding of camera specs, it’s easier to wade through available offerings and select the right option. In this way, trail cameras are only capable of what their internal abilities allow.
2. Study Photo Sample Qualities
Some cameras advertise high resolution (large numbers of megapixels), but don’t produce the expected photo quality. This is due to extrapolation. For example, the camera takes a 4-megapixel photo, but internal software increases the number of megapixels by duplicating the megapixels (dots) by two or three times that to create a larger image.
To determine the true quality of a trail camera photo, it’s important to study sample images. Sift through examples for each make and model of interest, and then select a trail camera accordingly.
3. Choose the Right Illumination for You
Because deer are crepuscular animals, they move most during times of low light. To mitigate this, trail cameras use one of several different illumination types. These include:
- No glow: Not visible to the human eye.
- Low glow: Barely visible to the human eye.
- Red glow: Slightly visible to the human eye.
- White flash: Very visible to the human eye.
The more light used to capture the image, the better the photo quality will be. White flash is the most visible to people and wildlife, but it produces the best, brightest low-light and nighttime images. (Studies show that white flash isn’t likely to spook deer.) No Glow produces the least light, and therefore, images aren’t as bright. Most daytime photos are unaffected by a camera’s illumination method.
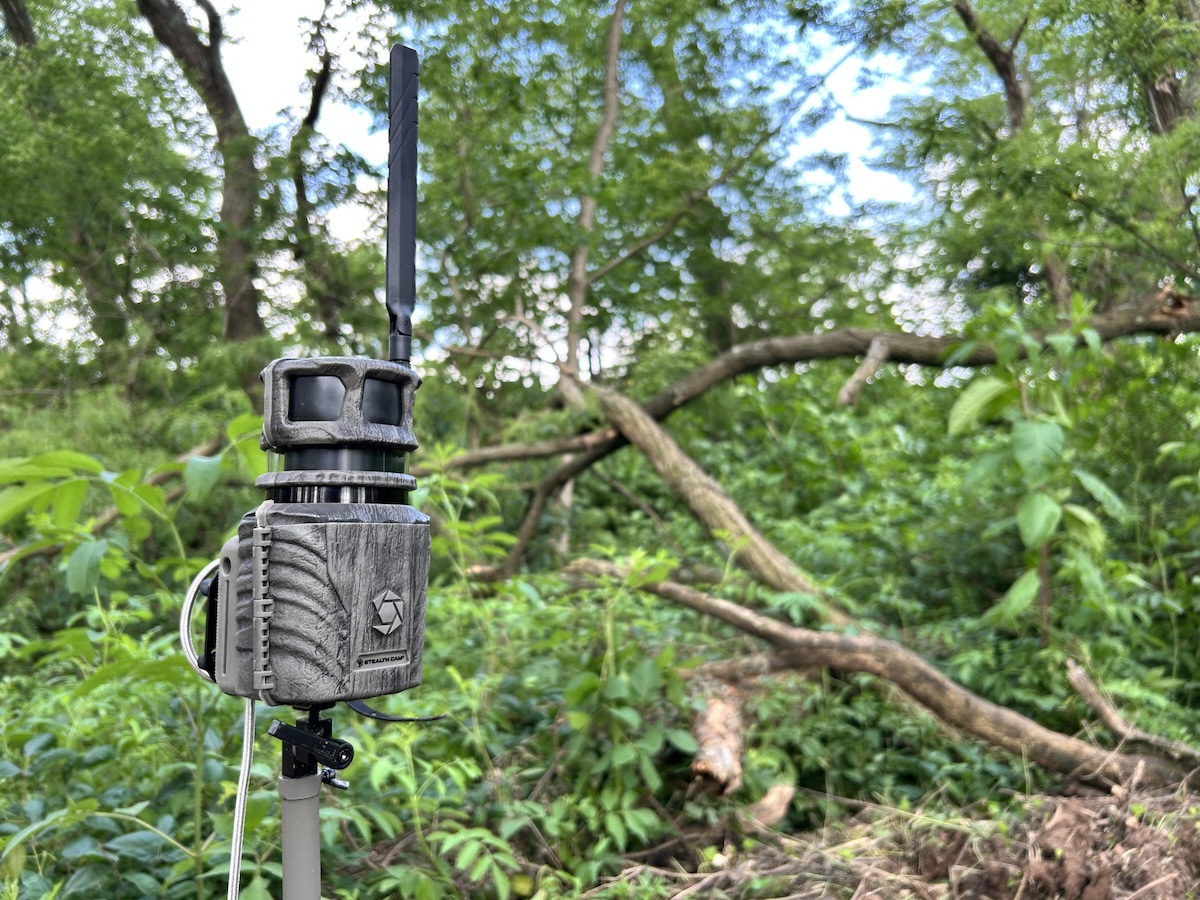
Posting trail cameras on mounting screws or posts can increase photo quality.
4. Deploy a 360-Degree Cell Cam
New to the market for 2026, Stealth Cam’s Revolver Pro 3.0 360 cell cam offers the equivalent of six cameras in one. It has six trigger zones, which increases the odds of detecting and capturing an image of a nearby deer. No longer can deer walk behind or beside a camera, but not in front of it, and get away unseen. With this technology, in theory, the odds of capturing a photo multiply by six.
5. Purchase Good SD Cards
Buying top-shelf SD cards meant for recording video from expensive camcorders and cinematic cameras is overkill. But purchasing the cheapest SD cards possible isn’t advised, either. Consult the trail camera’s manual and use SD cards that it calls for.
How to E-Scout a New Farm for Deer Hunting [Deer Dirt]
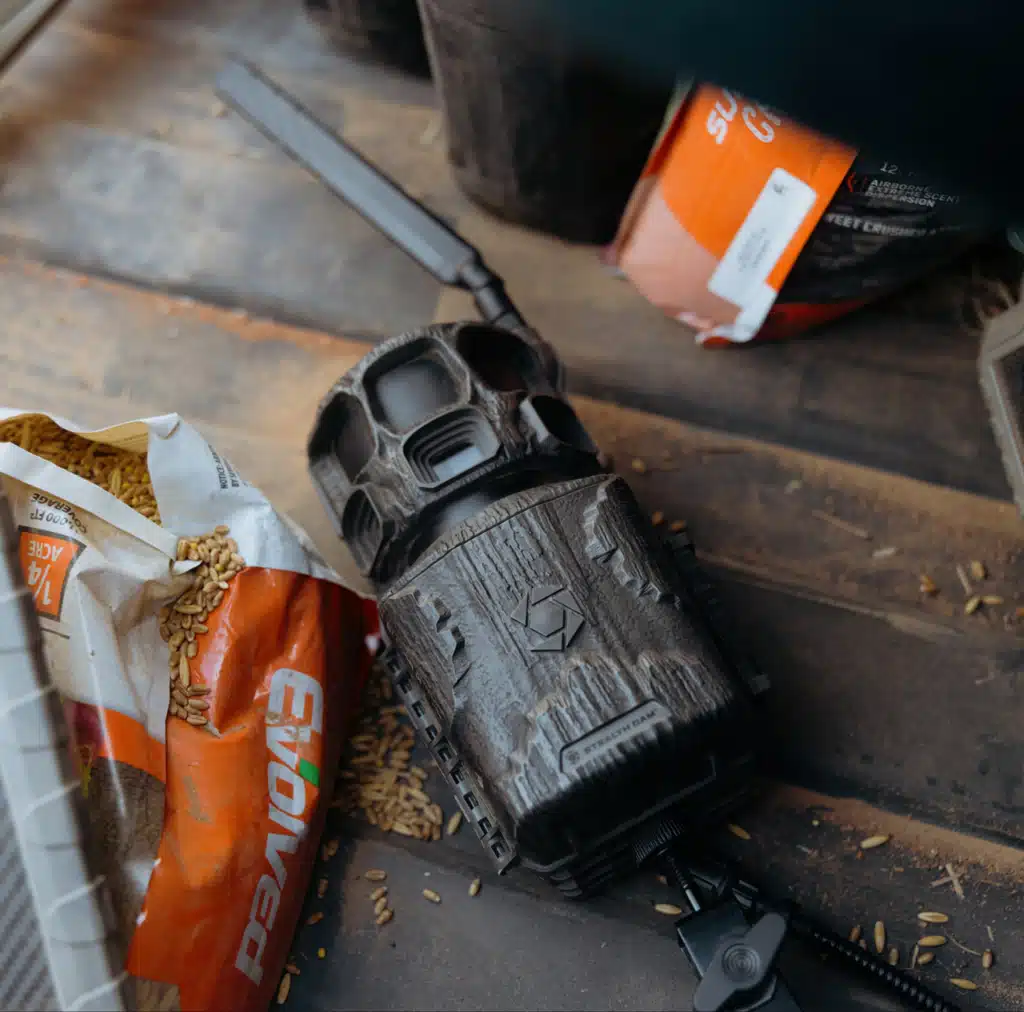
The Stealth Cam Revolver Pro 3.0 360 cellular trial camera is in a class of its own.
6. Use the Right Batteries
One of the primary reasons trail cameras take low-quality images is insufficient power. (That’s especially true for photos captured at dawn, dusk, and at night.) Generally, this is a direct result of poor battery performance.
Alkaline batteries are less expensive, making these attractive for bulk buying, but they aren’t great for trail cameras. These are more susceptible to cold temperatures, lose power faster, and thus, don’t perform as well. Lithium is the way to go. Test various brands and models to find what works best for your trail cameras.
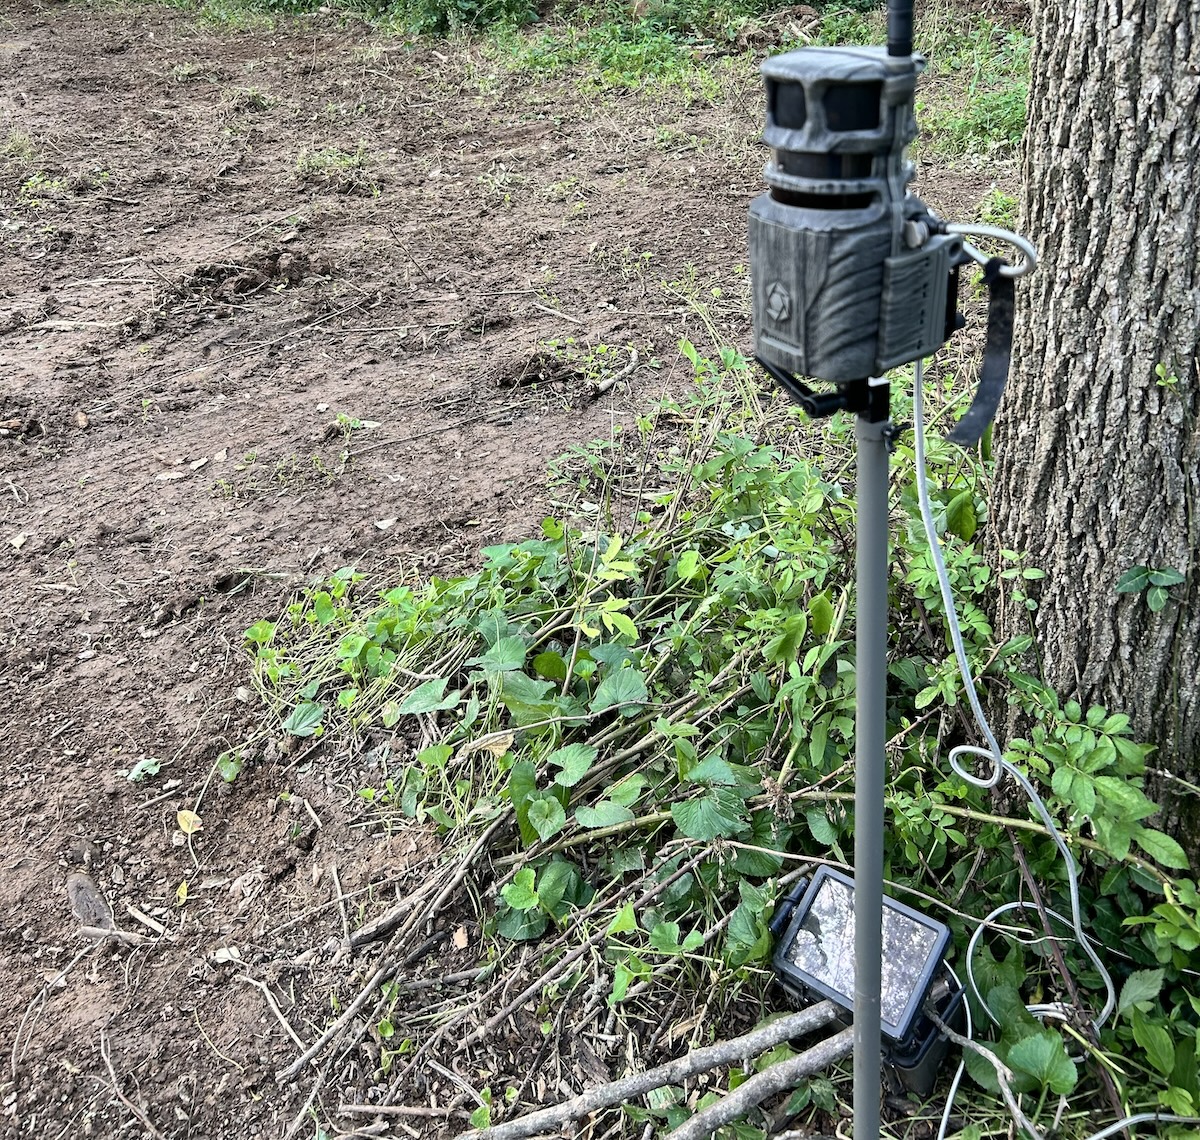
Add a secondary power source to trail cameras to increase photo quality over time, especially during periods of colder weather.
7. Add a Secondary Power Source
As noted, power supply is crucial for capturing the best cellular trail camera photo. While modern cameras offer better battery life than ever before, adding a secondary power source is still advised. A solar battery pack ensures power supply remains sufficient for longer, effectively improving photo quality while minimizing camera maintenance trips afield.
8. Select the Right Settings
Settings are very important for photo quality. Settings influence numerous elements, including photo detection, camera recovery, battery life, image size, and more.
- Image size: A single trail camera might have resolution settings of 4, 8, 16, or 32 megapixels. For the highest-quality image, choose the largest option.
- Photo detection: Generally, you can’t change the detection range, but you can purchase a camera with a greater distance.
- Burst mode: Most trail cameras offering single-photo mode, or a two- or three- photo burst. Burst mode increases the odds of snagging that perfect trail camera photo.
- Camera recovery: A shorter recovery period means the cameras rests for less time, and is prepared to take photos quicker.
- On demand: Cell cameras with On Demand capabilities provide the user with the option to trigger a photo or video capture.
The more strenuous the settings, the more power required, and the faster power supply depletes. Therefore, when needing to conserve battery life, consider using lower settings. Or, use a secondary power source as directed.
Of course, a good cell camera app, such as Command, makes it simple to change settings from afar. This is important when optimizing camera for specific objectives.
9. Hunt with Your Camera
There’s a balance between placing cameras in locations to take great photos and pressuring deer with the human intrusion is takes to post and maintain cameras. That said, hunt with your camera. Think about where great treestand locations exist, and place cameras in those same spots. That’s the best way to put cameras in position to capture great photos.
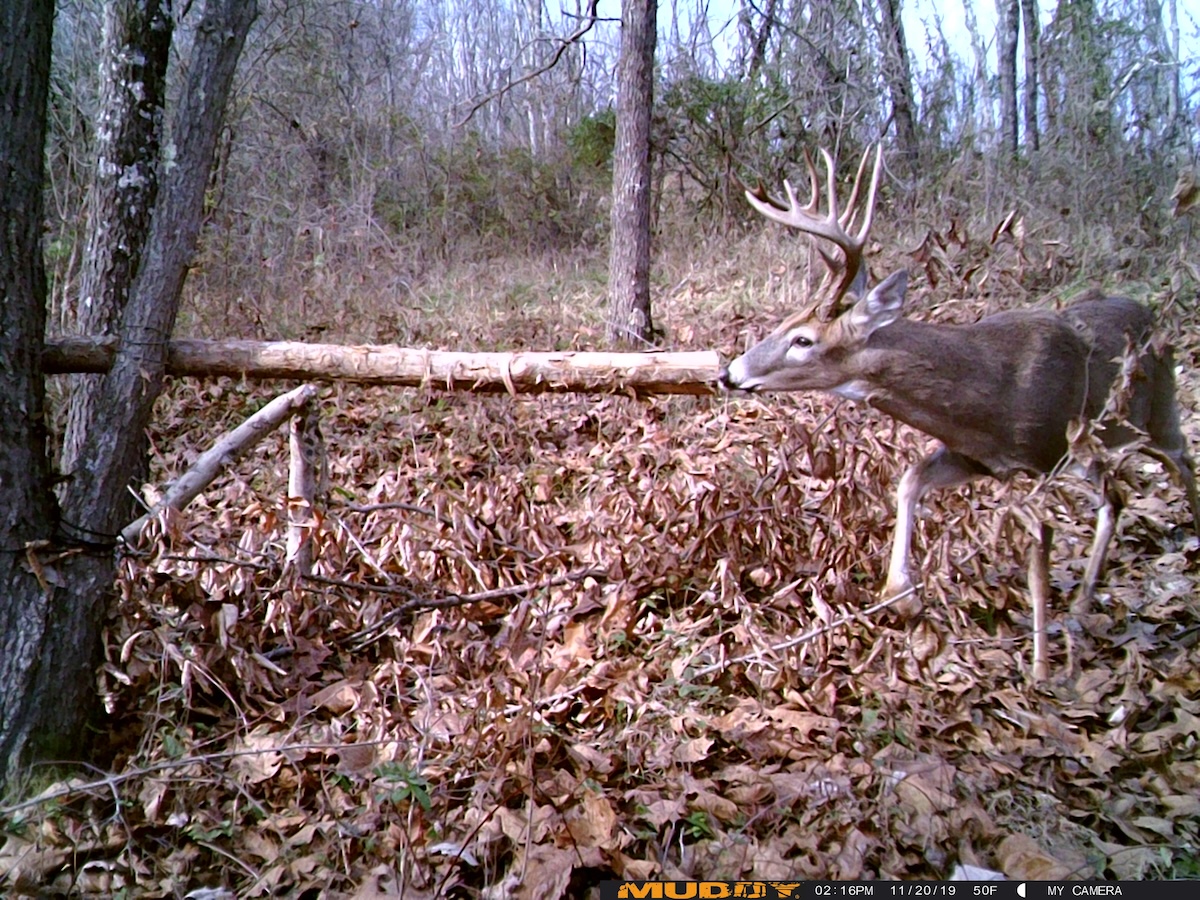
Photo composition is an important part of getting great trail cam photos.
10. Remember Composition
Regardless of the camera type, composition is important. Composing the shot involves studying the foreground, middle ground, and background. Does the landscape offer a good backdrop? Is there a scrape with licking branch that pulls that big buck broadside and center-frame? Will other objects in the photo detract from the quality? Compose the shot with your trail camera just as you would with a camcorder, DSLR, mirrorless, or point-and-shoot camera.
Edge Habitat for Deer (And How HuntStand Helps Find It)
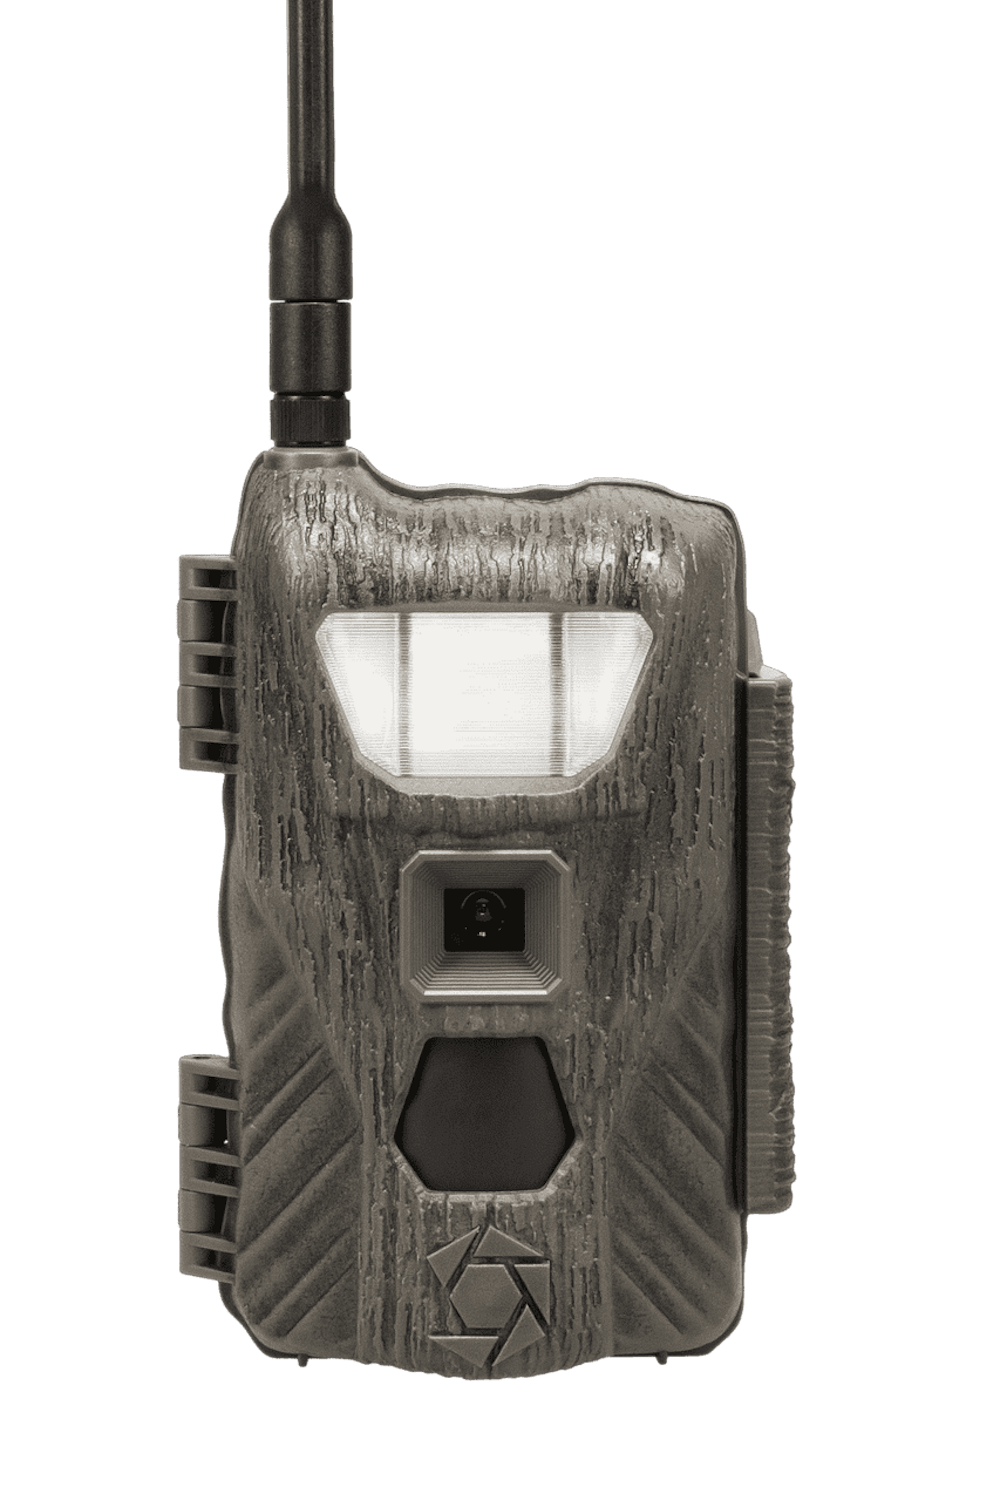
The Stealth Cam FlashBack White Flash integrates old-school swag with modern trail camera technology.
11. Point Cameras North
Lighting is everything, and no one wants a washed-out trail cam photo. Pointing a trail camera east and west is the worst. South can be bad, too, especially in winter. But the sun never soars through the northern sky. Therefore, pointing cameras north ensures the object isn’t swallowed up by overexposed photos.
12. Aim the Cam Correctly
Once on the north side of that tree, or pointing north from a trail camera mounting post, aim that thing correctly. Get the right angle. Too high and it’s nothing but antler tine tips. Too low and it’s hocks and hooves. Align the camera on the X and Y axis correctly, and you’ll capture good, level trail camera photos. This also ensures the maximum coverage area, which is impacted by how well the camera is aimed.
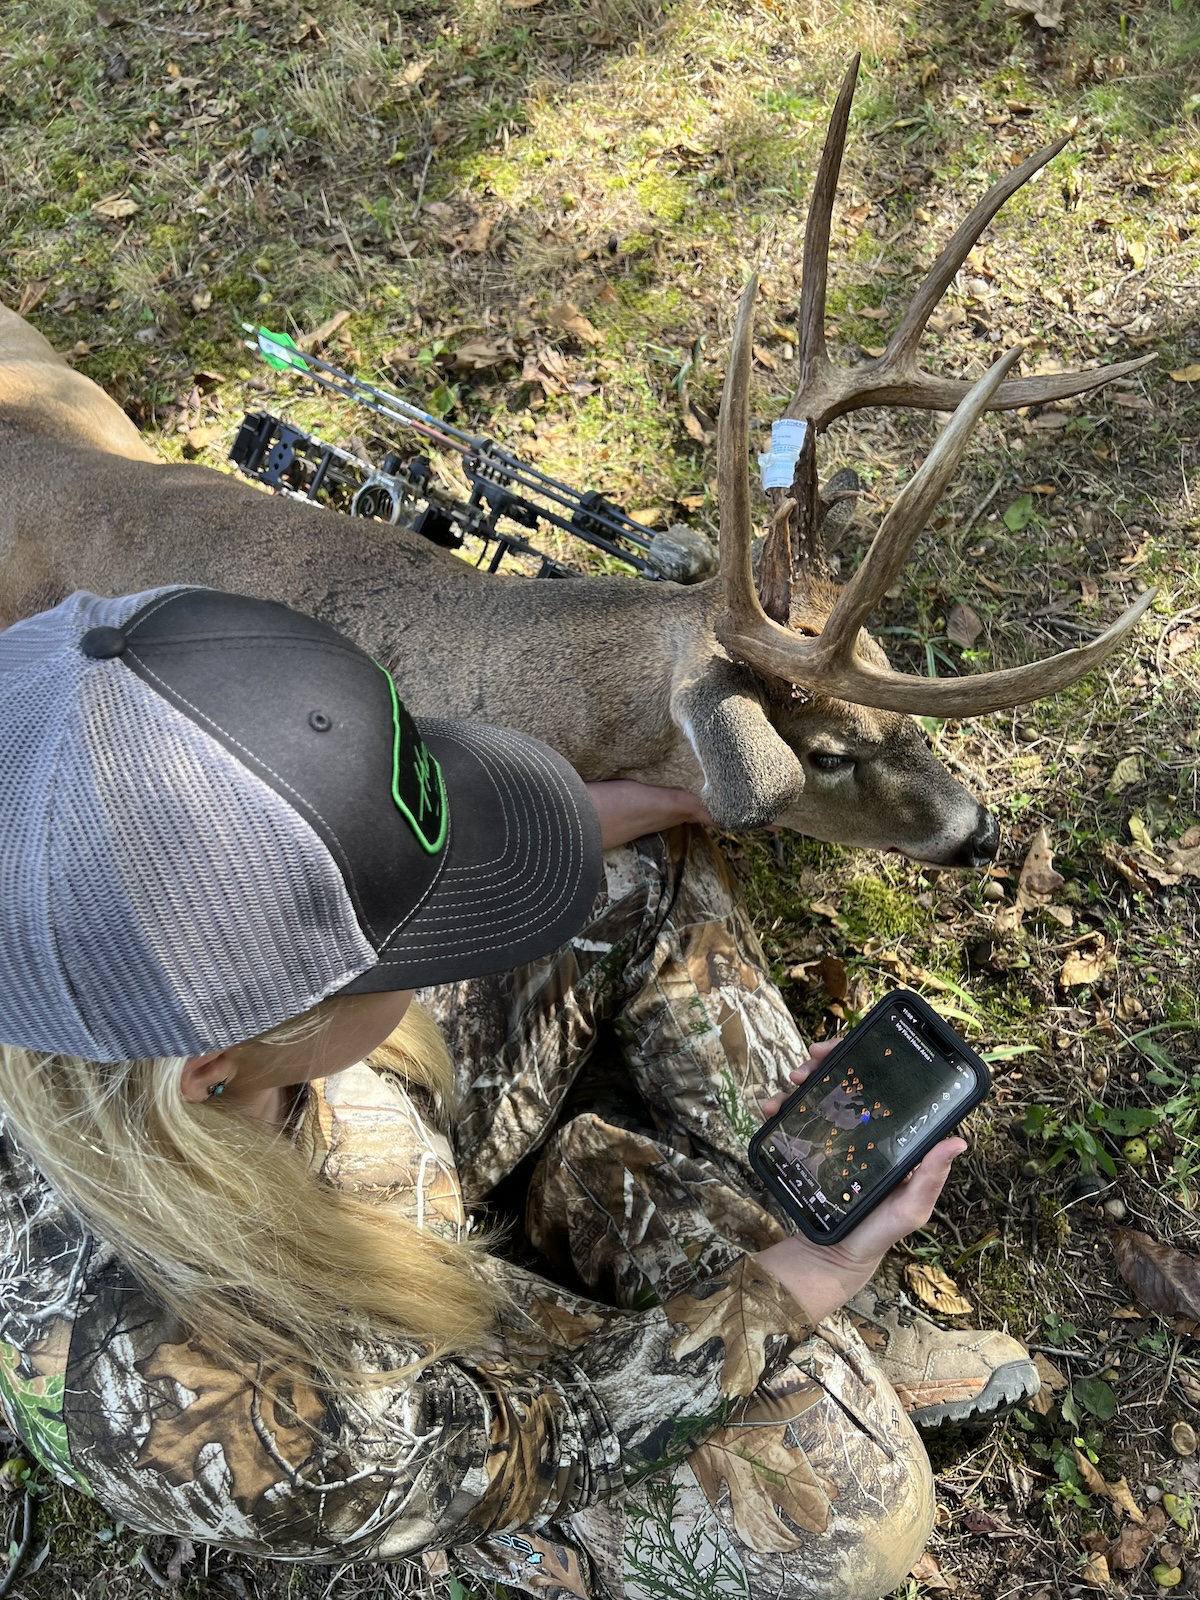
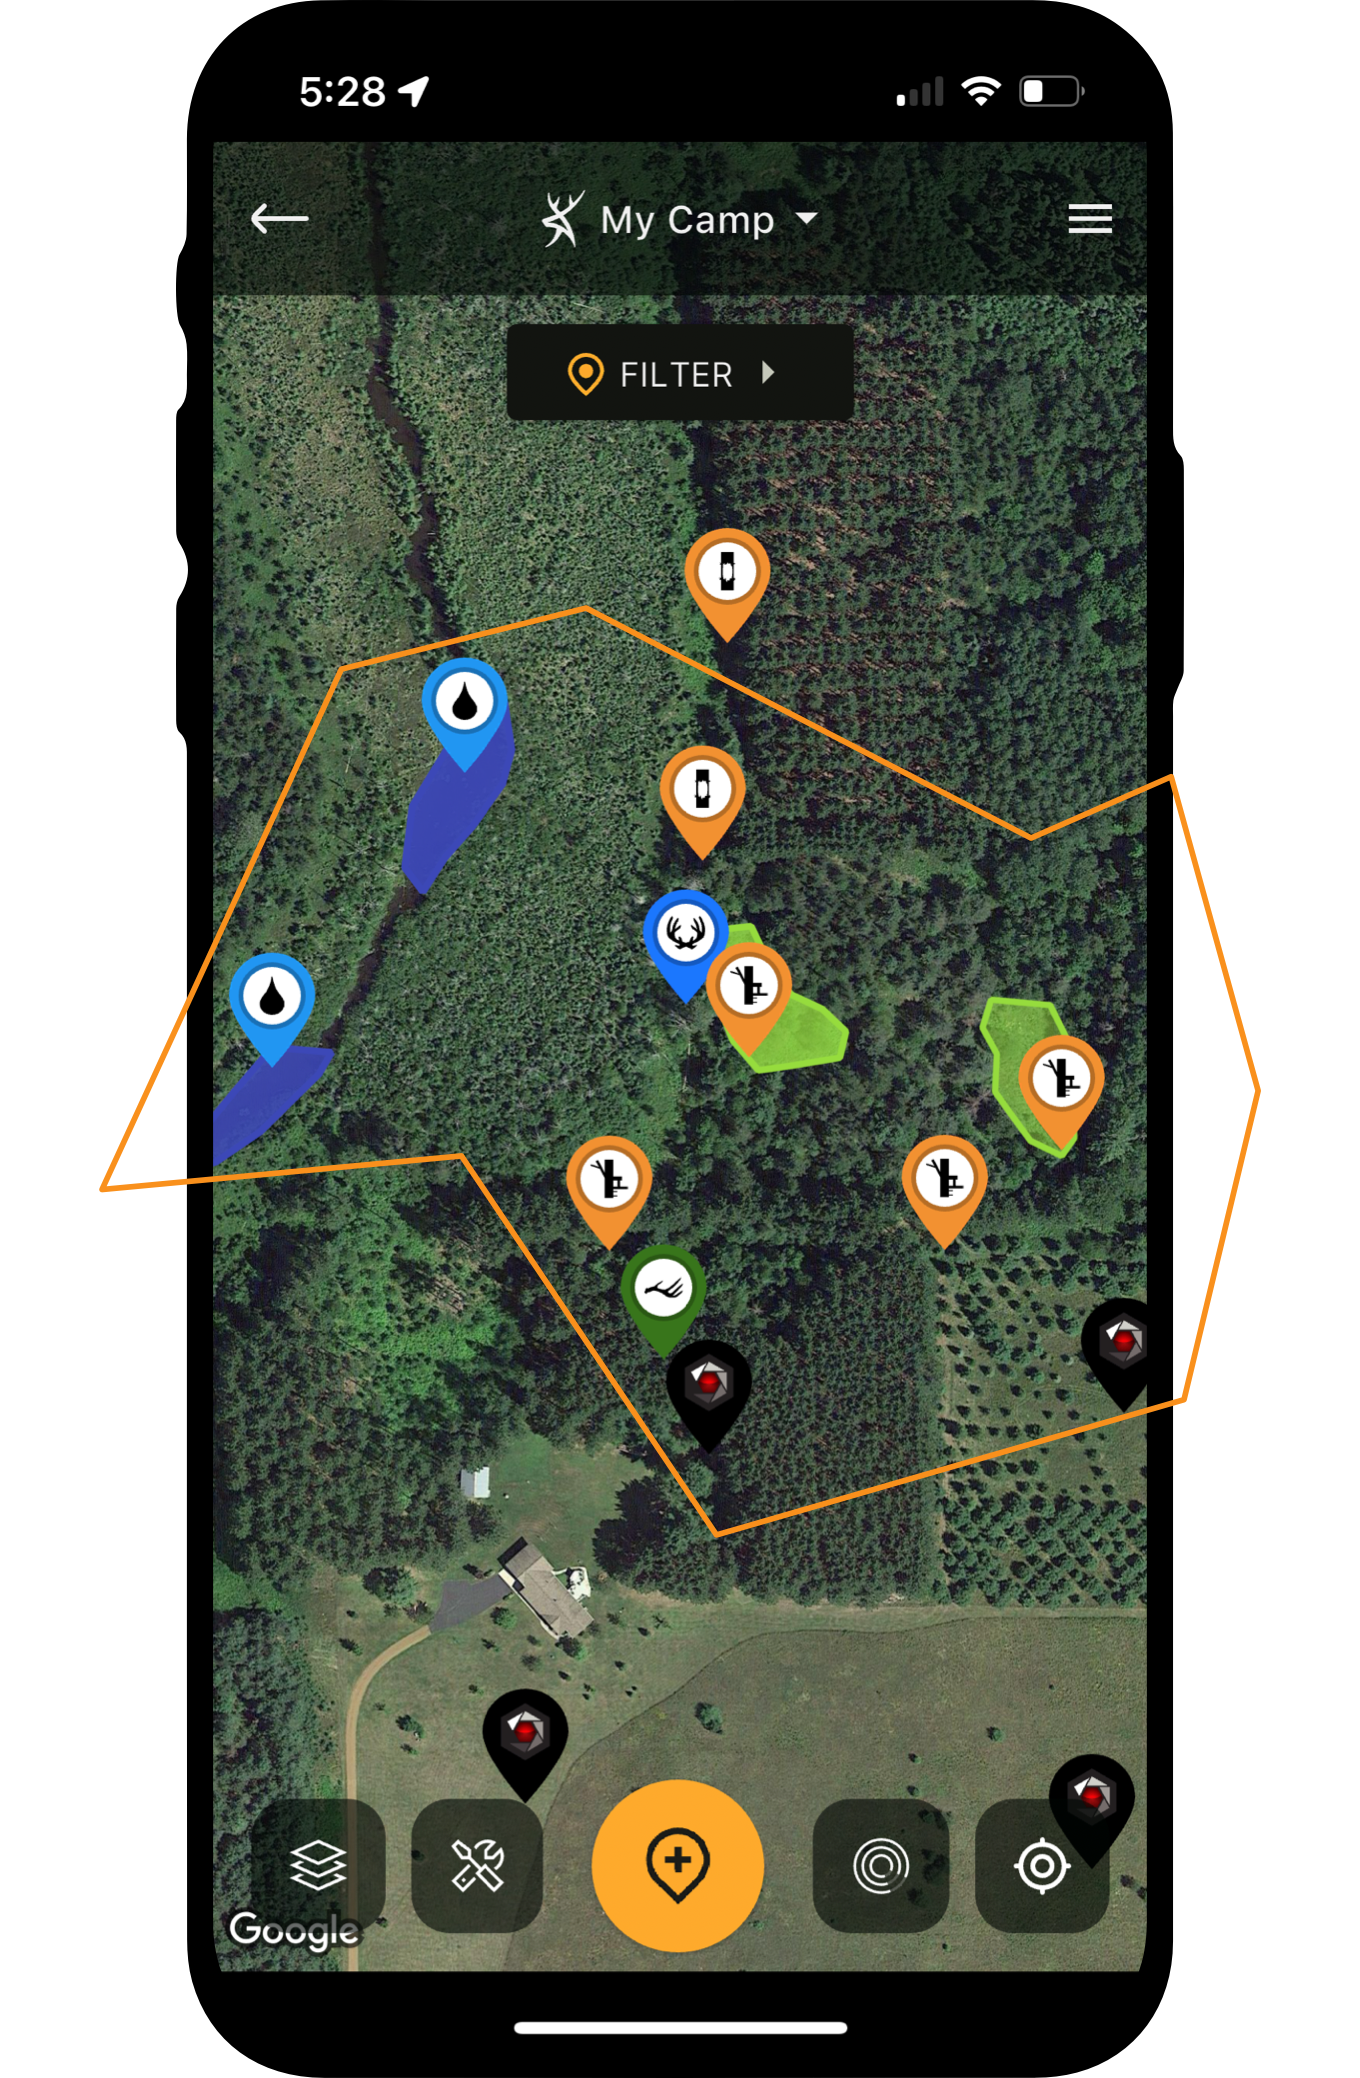
Thanks to the integration of the Command and HuntStand apps, knowing exactly where photos were taken makes patterning deer easier than ever.
13. Use a Trail Camera Mounting Screw or Post
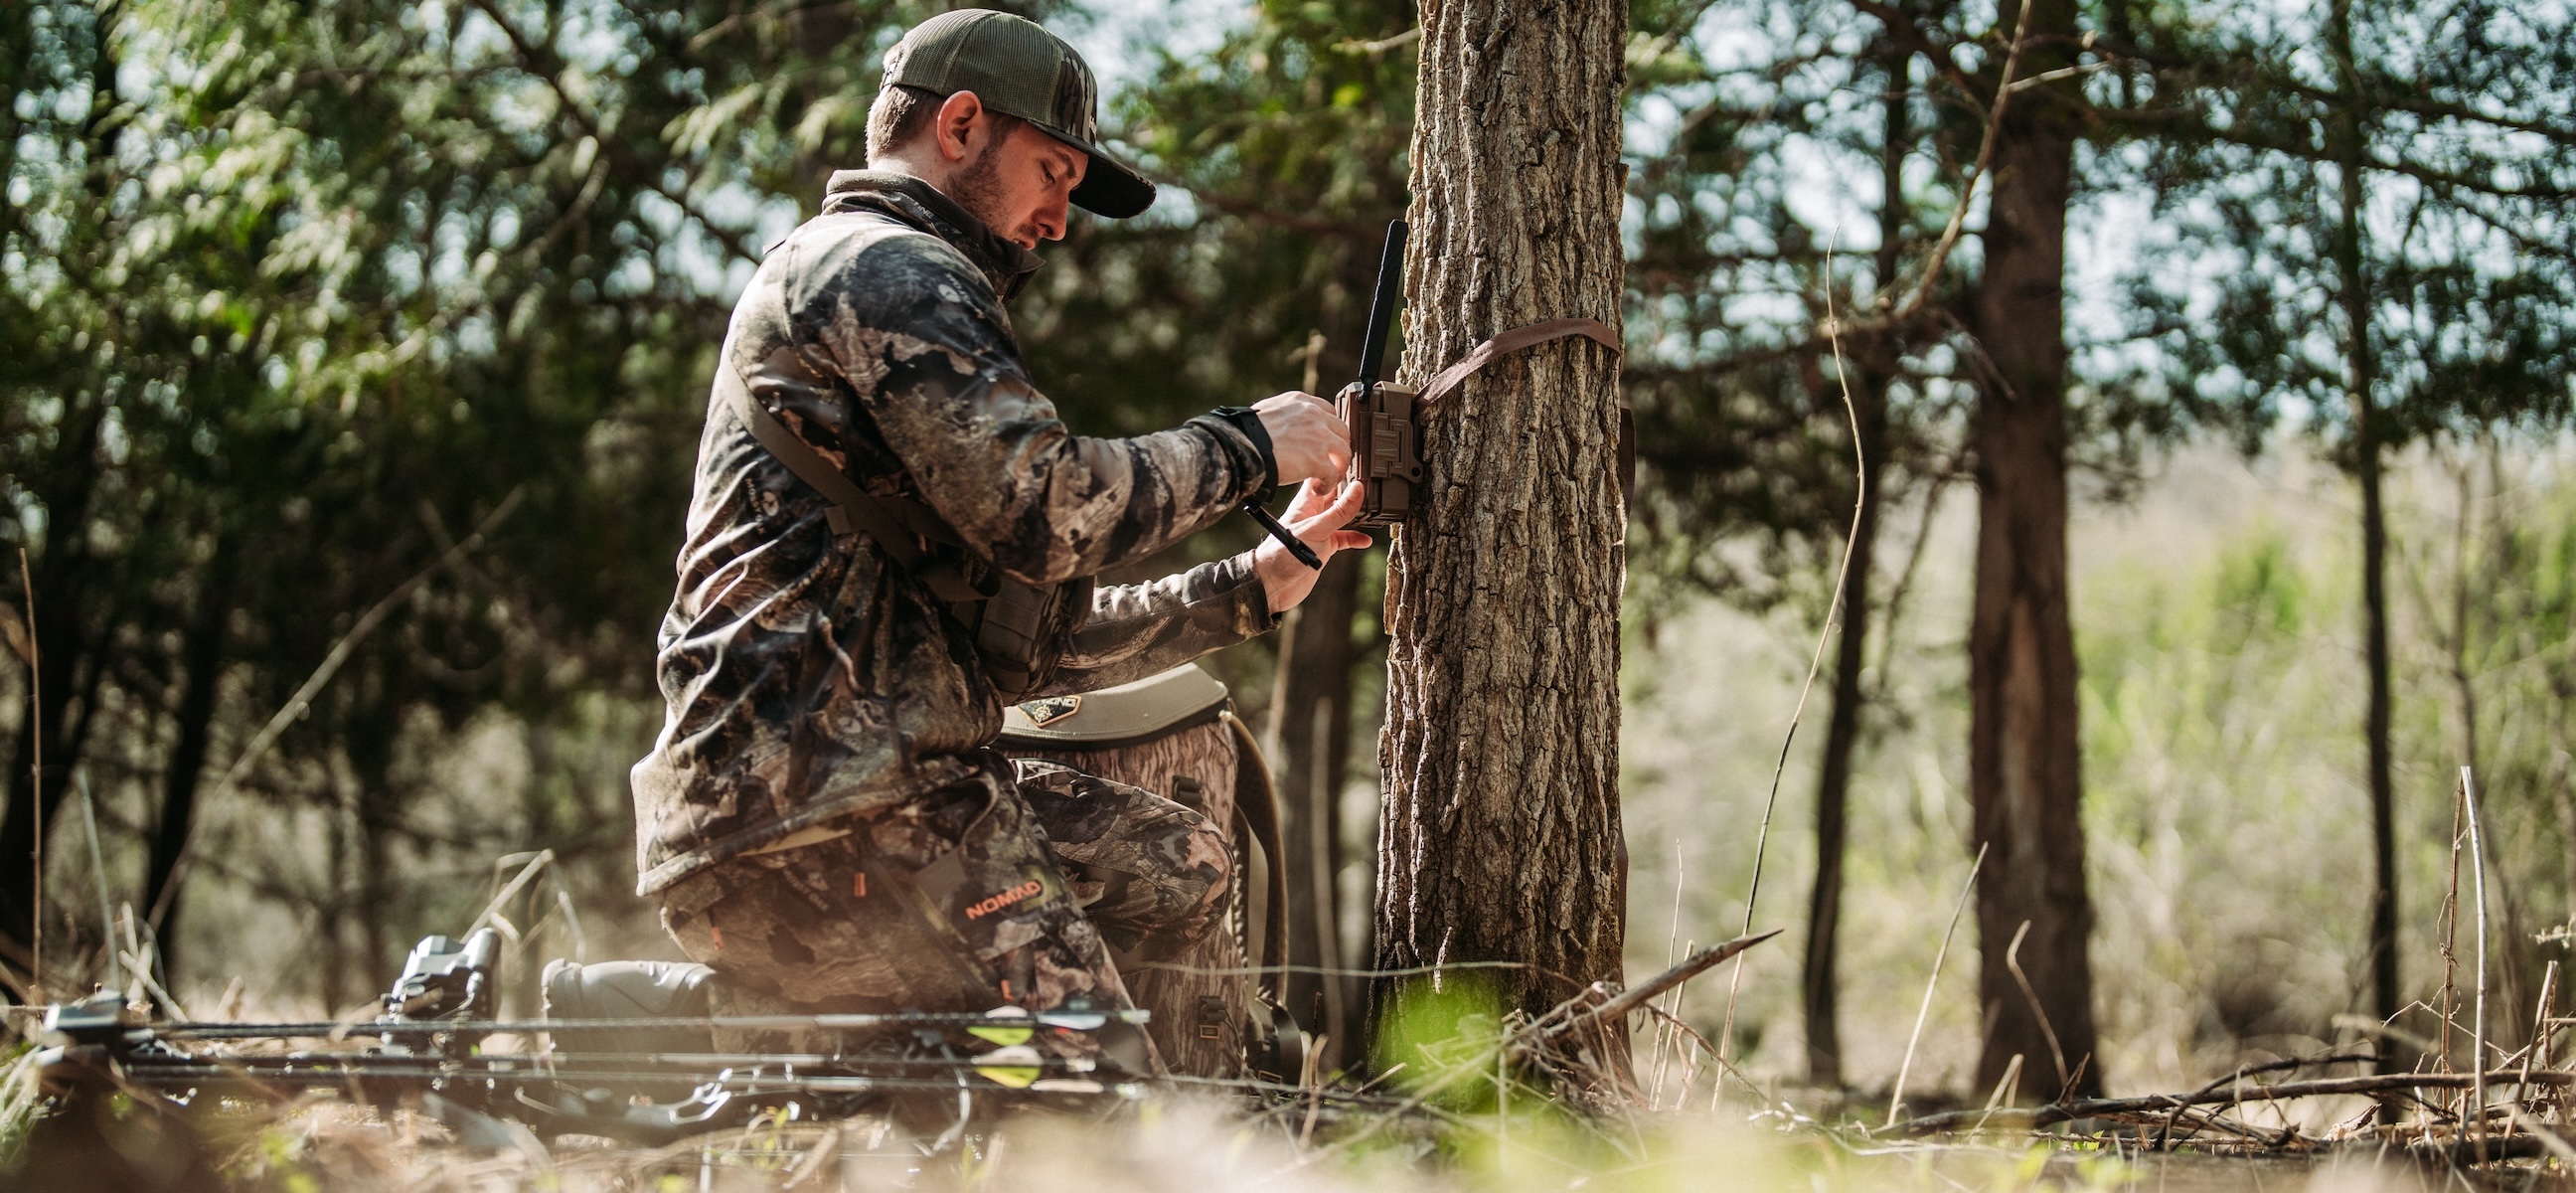
Quit using sticks to level those cameras. Trail cameras come with straps, but trail camera mounting screws and posts are more secure. Furthermore, these are better for keeping a camera still and in place.
14. Remove Debris from Around the Camera and Target Zone
Blades of grass, dangling limbs, pesky weeds, and other debris can ruin a trail camera photo. It can also run down battery life, cause missed captures of deer, and more. Prevent these issues by removing debris from around the camera and target zone.
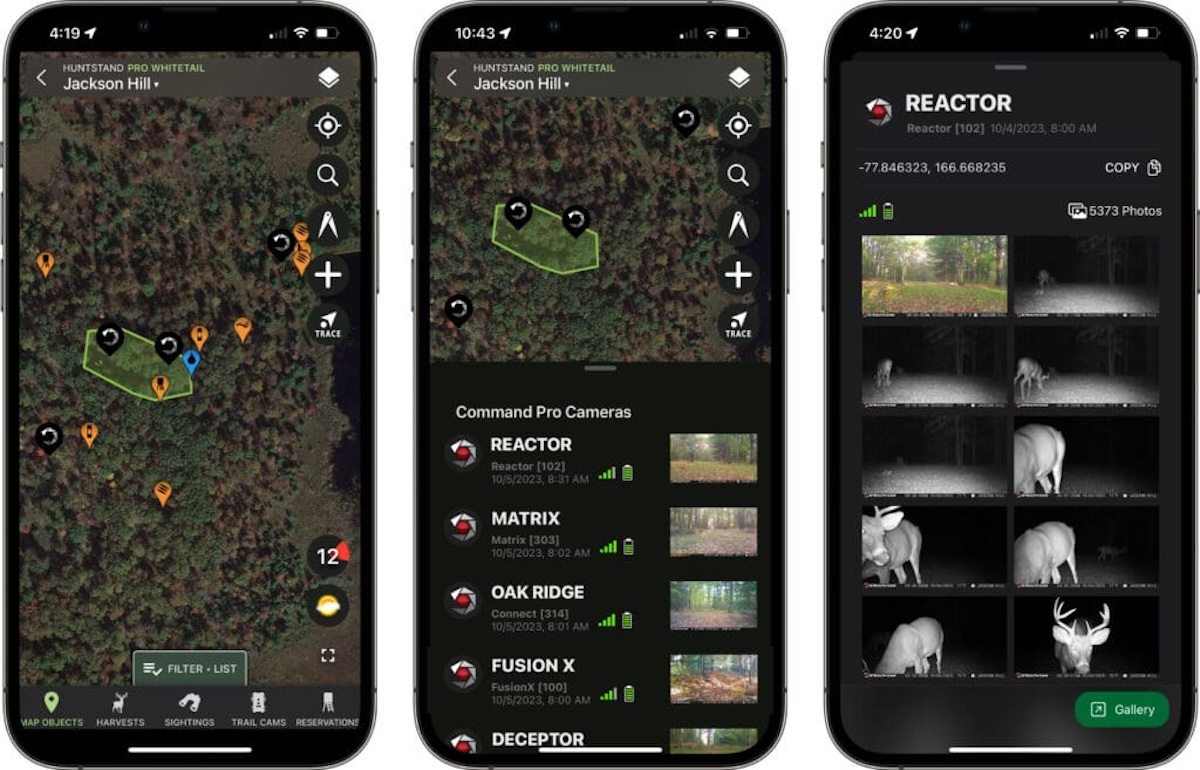
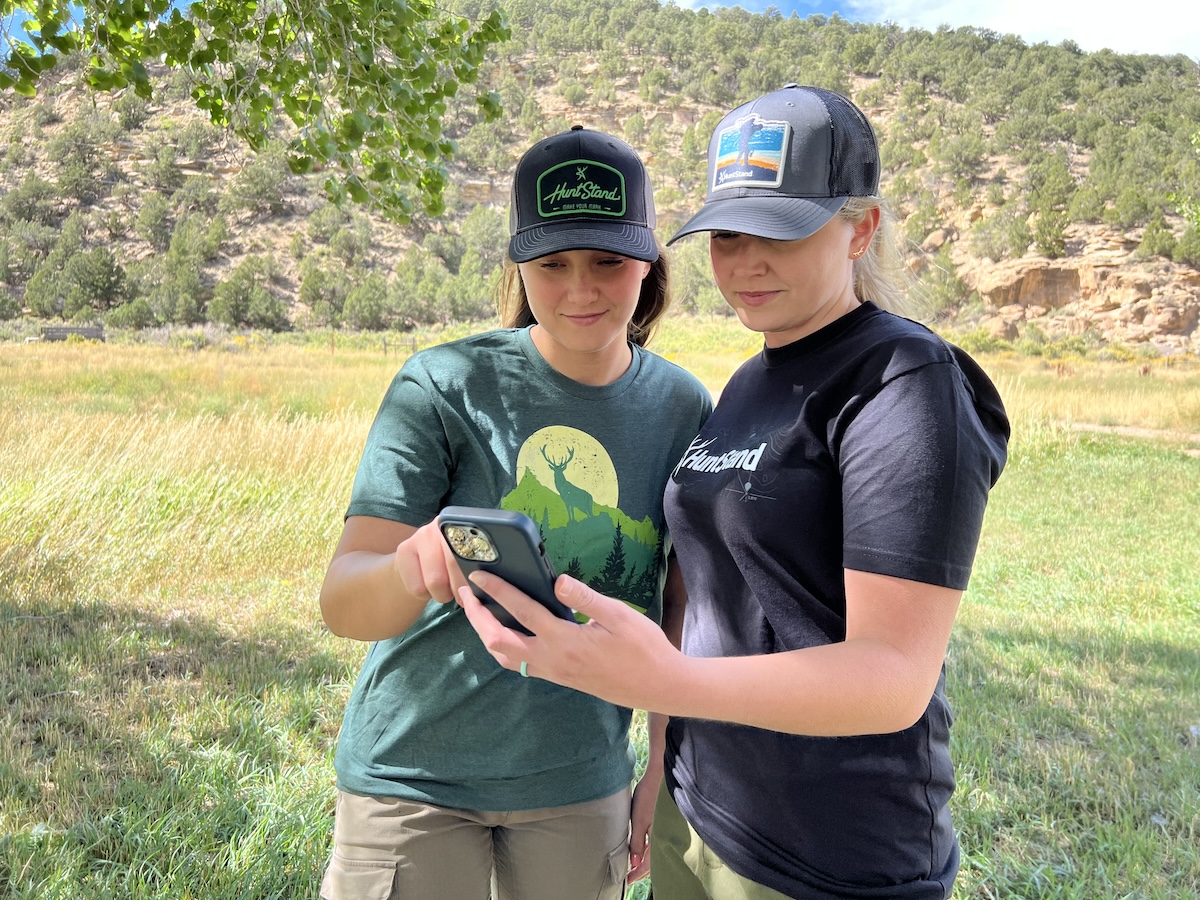
Being able to effectively analyze trail camera data makes getting that perfect shot even sweeter.
15. Benefit From an Intuitive App Structure
Finally, to get the best cellular trail camera photos, it’s good to purchase cell cameras affiliated with a quality app. Hunters benefit greatly from an intuitive structure. Stealth Cam and Muddy live within the Command app, and it offers significant advantages.
In addition to a user-friendly interface, easy photo viewing, fast settings changes, and more, it also integrates with the HuntStand app. This marriage automatically imports cell cam photos into HuntStand, and files them away under the camera’s icon on the map. Knowing exactly where a photo was taken has never been easier.