




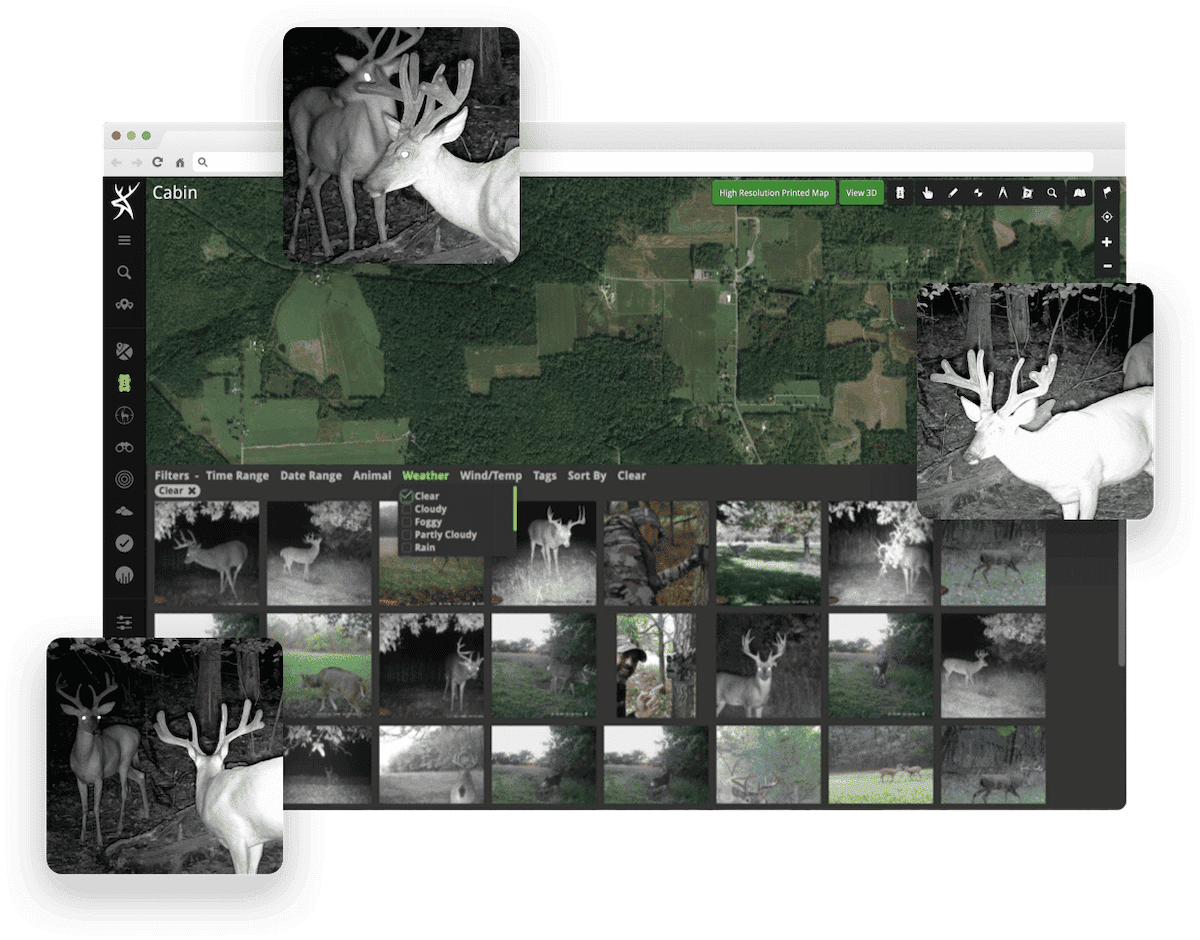

Cell cam photos pouring into the Command Pro app, paired with HuntStand, makes for powerful data analysis.
I knew he’d likely return for the 2023 deer season. He’d spent the previous two years on the property. His core area centered on the 200-acre tract. Why wouldn’t he run it back at least one more time? Finding a buck’s core area is a vital part of the process, and so, I hoped to find this deer yet again.
In August, I received my first photos of the 4 ½-year-old deer. He made a big jump from 140 the previous season to the mid-160s. The buck spent ample time close to property lines, though. So, rather than giving the deer one more season off, I decided to hunt him. The process began.

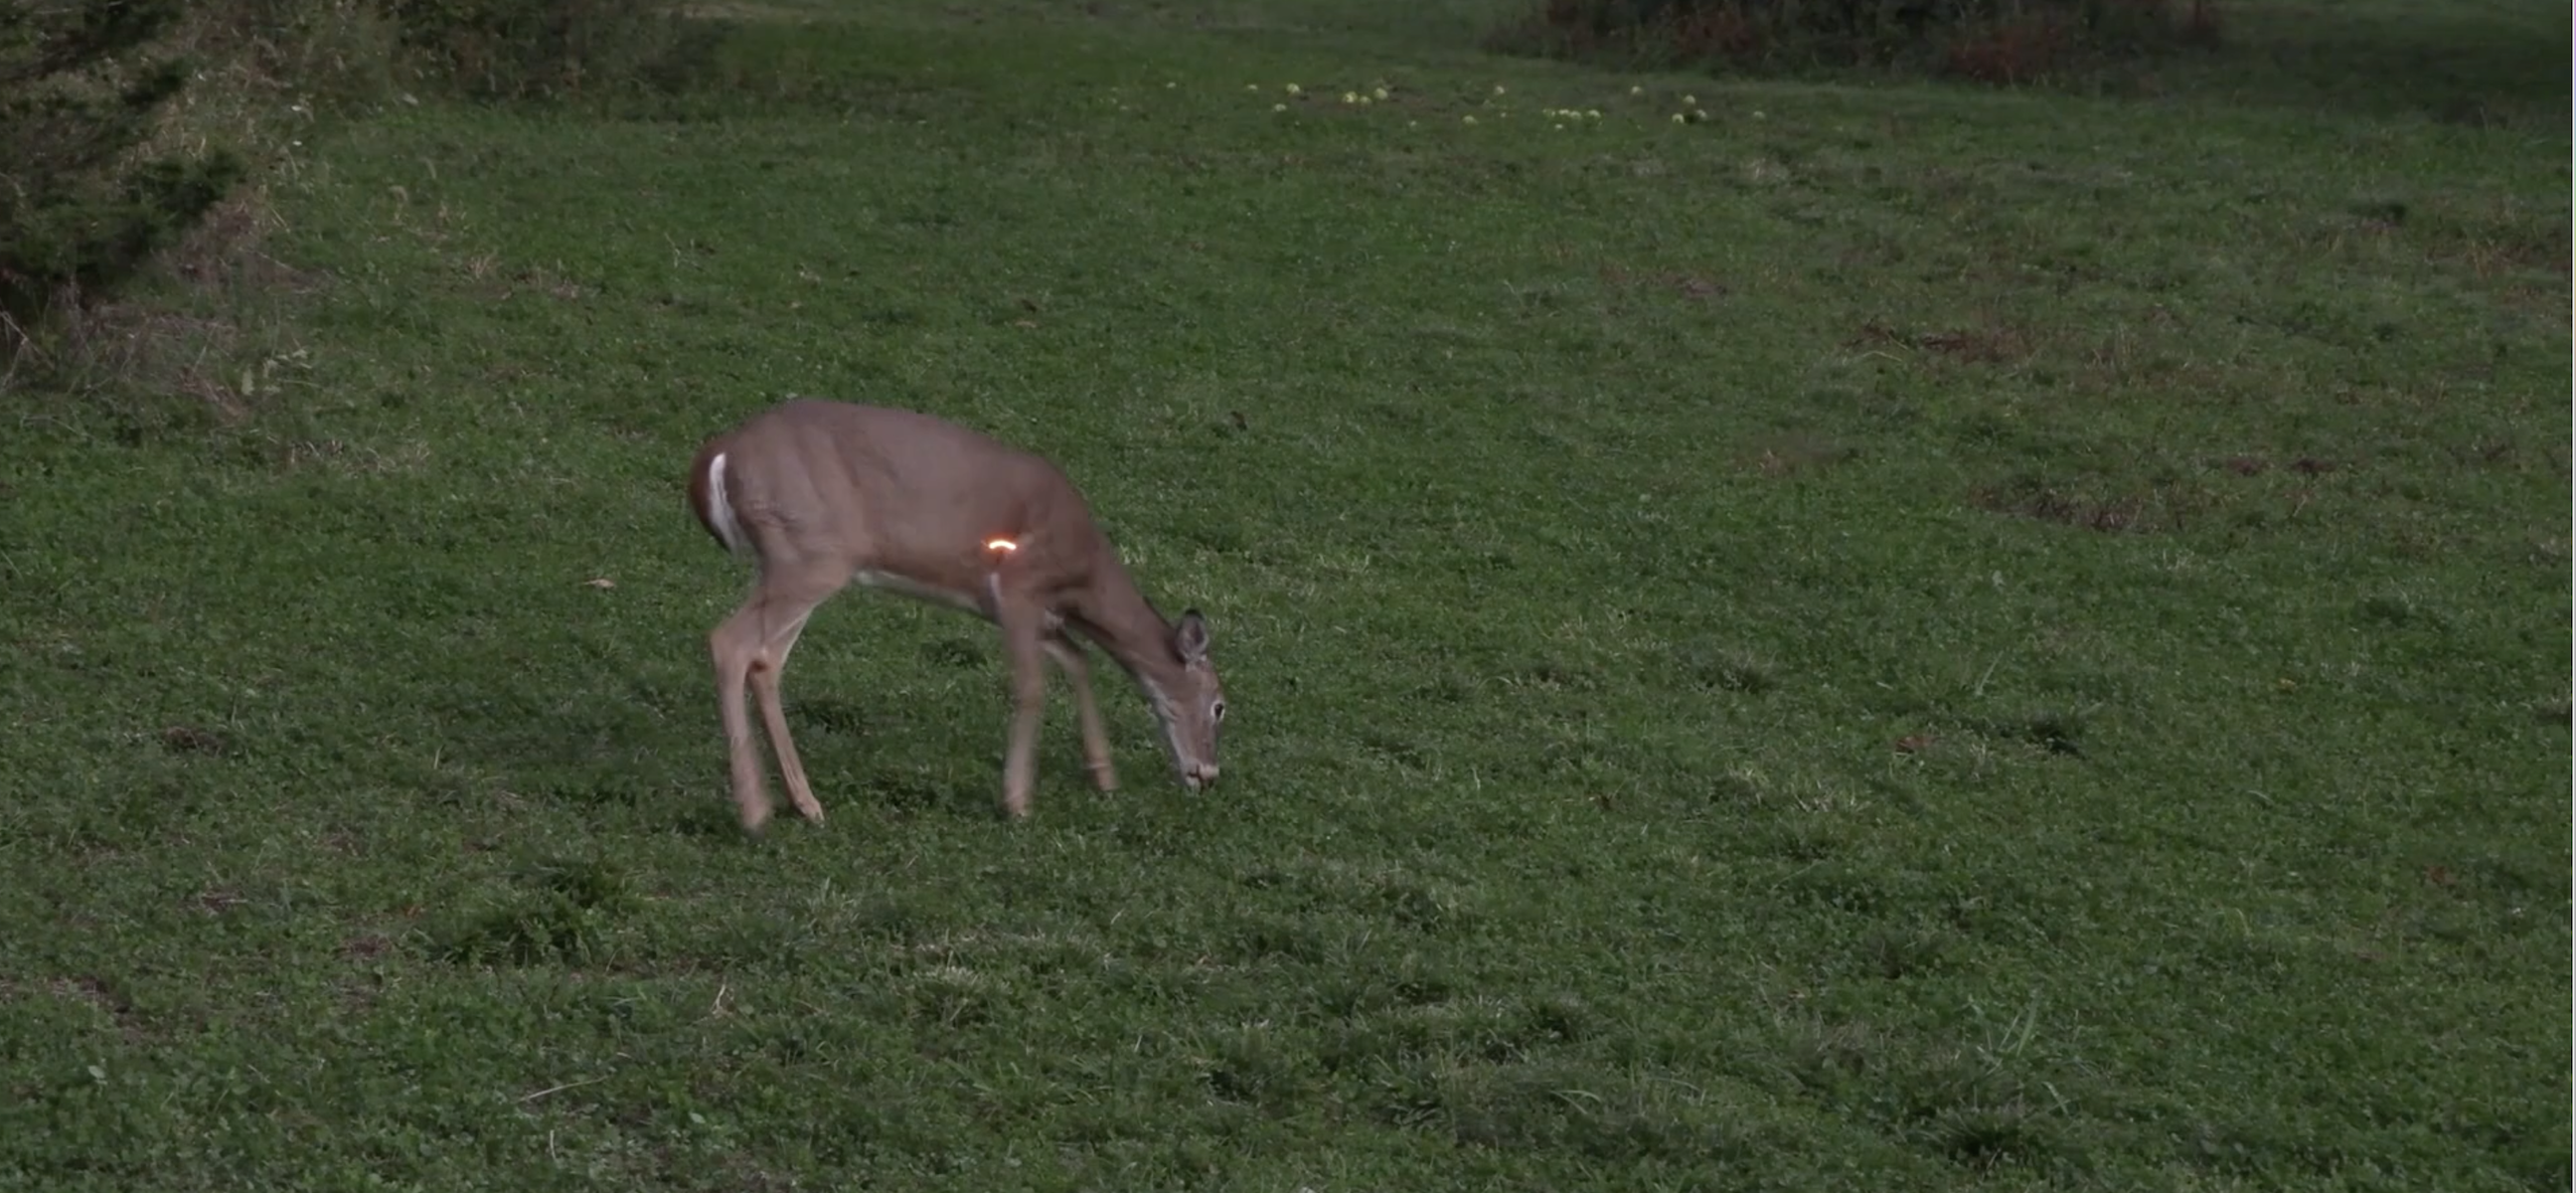
The Big 12 wasn't easy to pattern, but the author eventually learned its habits.
Early August was a time of deploying trail cameras in a loose, widespread manner. First, I found the deer. Then, during the middle of the month, I carefully pushed unproductive and less productive cameras closer to those which produced. By the end of the month, I settled my cameras around his core area. By the first weekend of September, I was ready.
I hunted the deer three times. The first hunt produced no sighting. The second hunt did, but no shot opportunity. On September 12, everything aligned, and I arrowed my biggest whitetail ever. It likely wouldn’t have happened without a good trail camera game plan.
Anecdotal experiences aside, here is the basic game plan that made possible the outcome above. You can duplicate that effort, modify it to fit your specific situation, and walk away with similar results. This is all about finding a buck’s core area with cell cams.
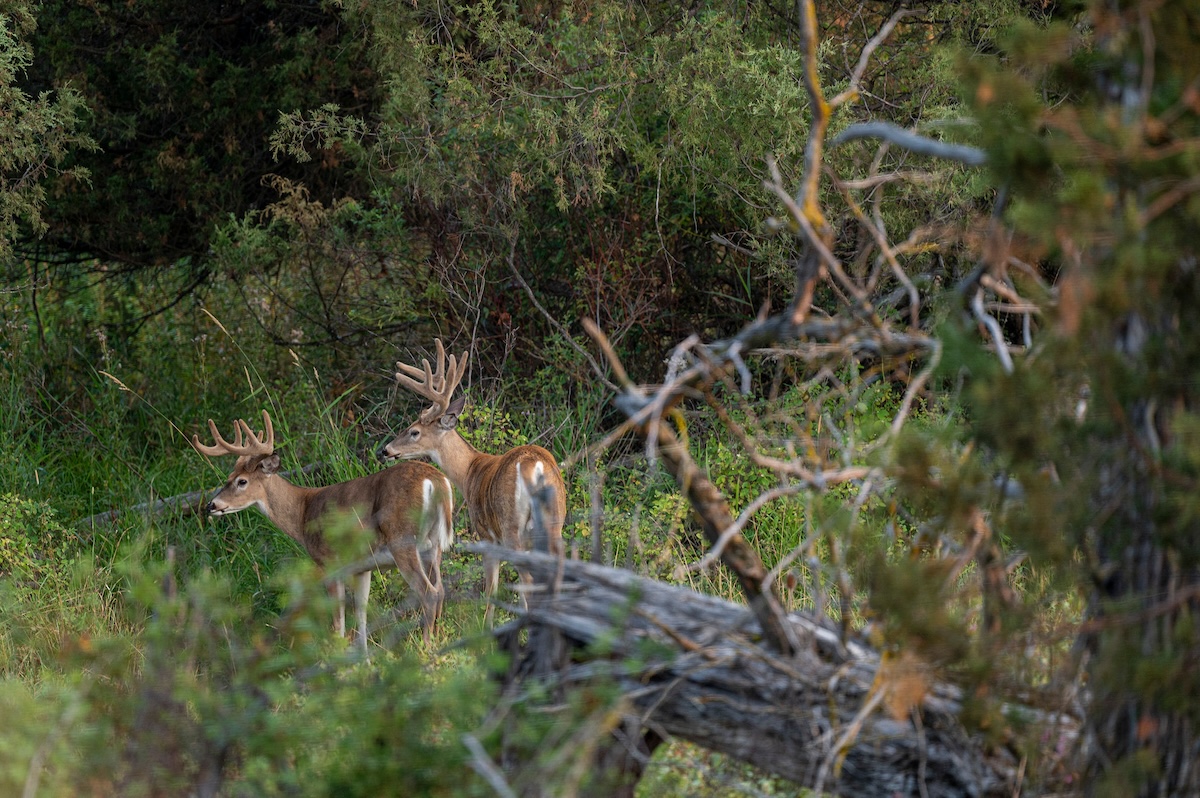
Locating target bucks' core areas is no simple task.
Whitetail Buck Terms and Definitions
Those who hope to find a buck’s core area should know several terms. At least, for the sake of this article, remember the following definitions.
- Home Range: The overarching area that a deer spends its life. Oftentimes, this consists of approximately 650 acres, or one square mile. However, this varies significantly from buck to buck and area to area. For example, poorer habitat types, such as a big woods setting, see larger home ranges. Quality habitat types, such as hardwood timber mixed with ag, see smaller home ranges.
- Core Area: A smaller area within the home range that a buck spends the bulk of its time. Generally, this consists of 30-50 acres that serves as the hub of the buck’s home. It spends 90% of its time within the core area.
- A Core Buck: This is a deer that is on trail cameras at least two to three times per week (sometimes more). It’s a deer that lives close enough to be a reasonable target buck with good odds of a shot opportunity.
- A Non-Core Buck: This is a whitetail that’s on trail cameras sparingly. It might appear once every few weeks, or even months, but doesn’t spend enough time around trail cameras to offer good odds of a daylight encounter.
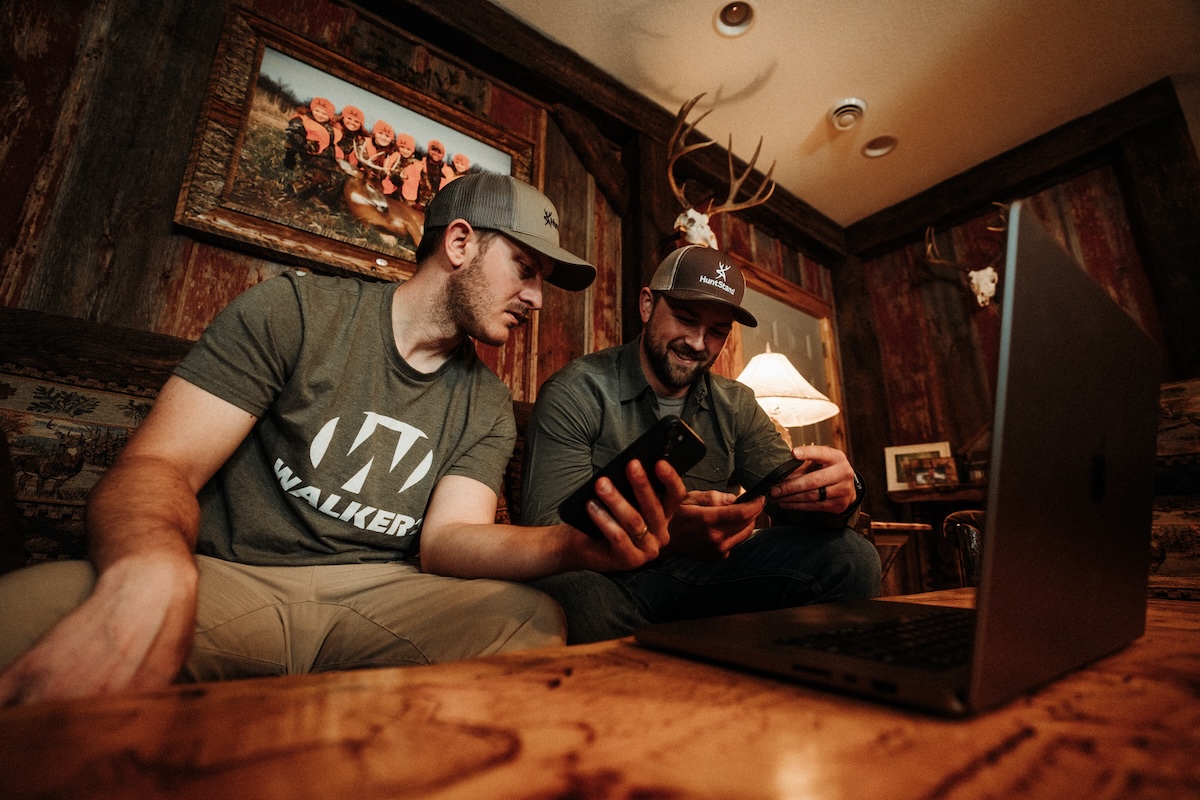
Scouting with HuntStand can improve cell cam deployment.
Step 1: Inventory Bedding Cover
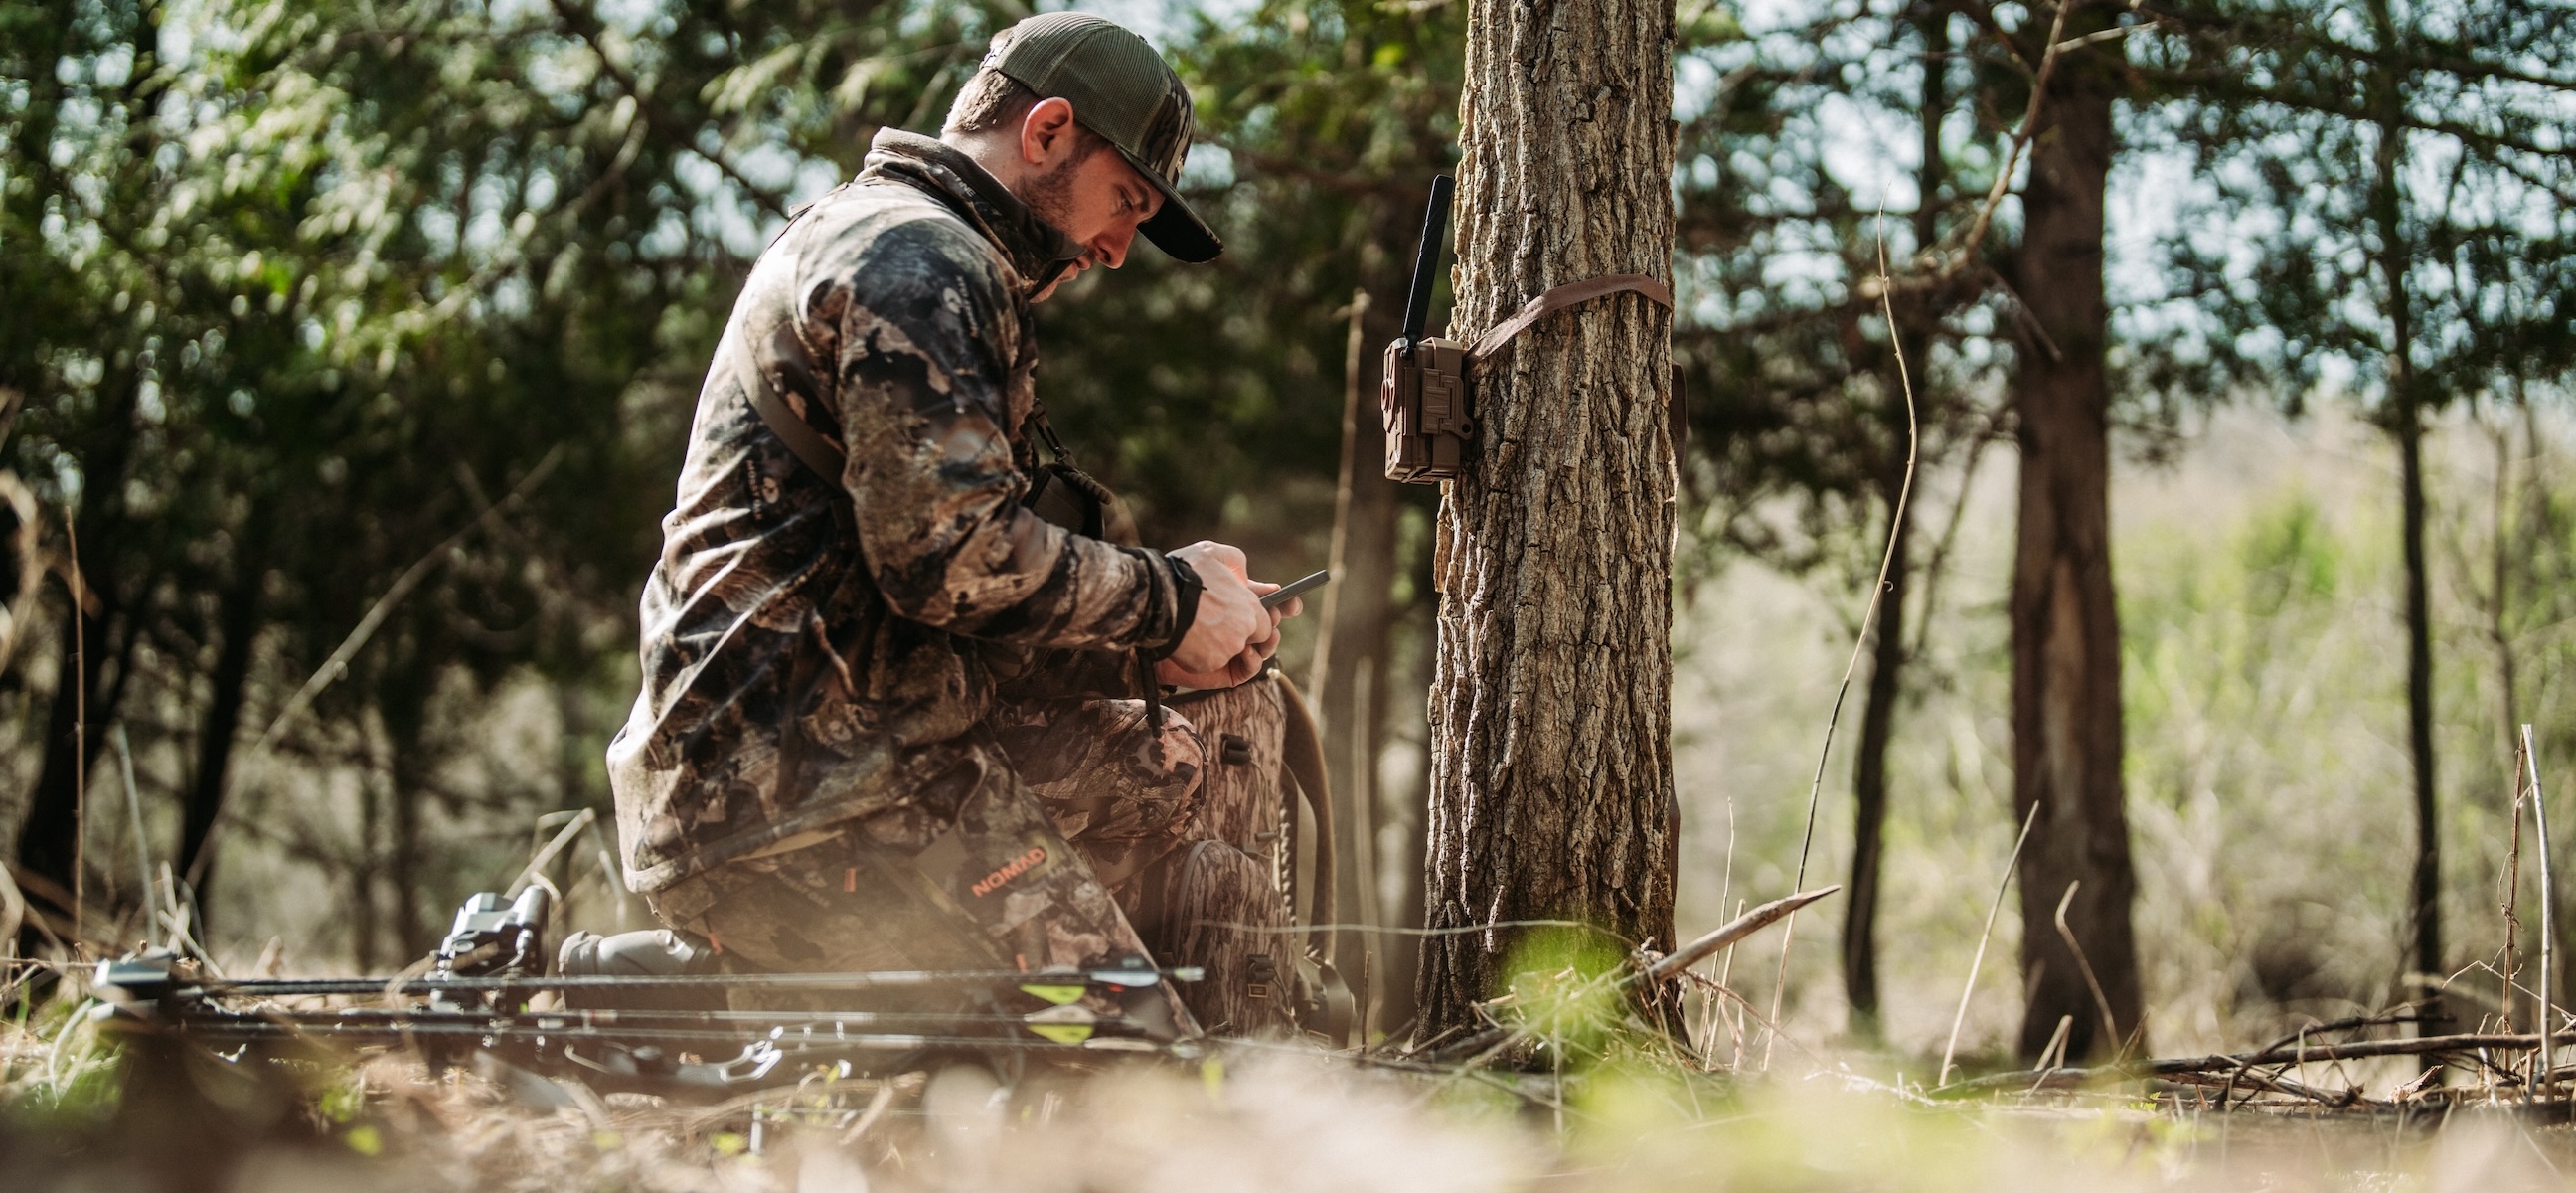
Cellular trail cameras aren’t cheap. But for a serious deer hunter, it’s well worth the investment. So, deploy cameras in a manner that milks the most from their potential.
To do that, survey the best bedding cover that offers security and sanctuary to mature bucks. Where can they live without the fear of constant, or even passive, human intrusion? These are the spots they’ll spend daylight hours. Don’t forget about overlooked pockets of cover, even if small and out of the way. Sometimes, big deer live in these spots.
Step 2: Inventory Food Sources
After discovering good bedding, focus on food sources. For most whitetails, food sources are seasonal, so find the best grub for the time of year. If early fall, focus on standing soybeans, shelled cornfields, white oak acorns, soft mast, high-protein browse, etc. Of course, as the weeks and months pass, continue shifting to the latest food sources.
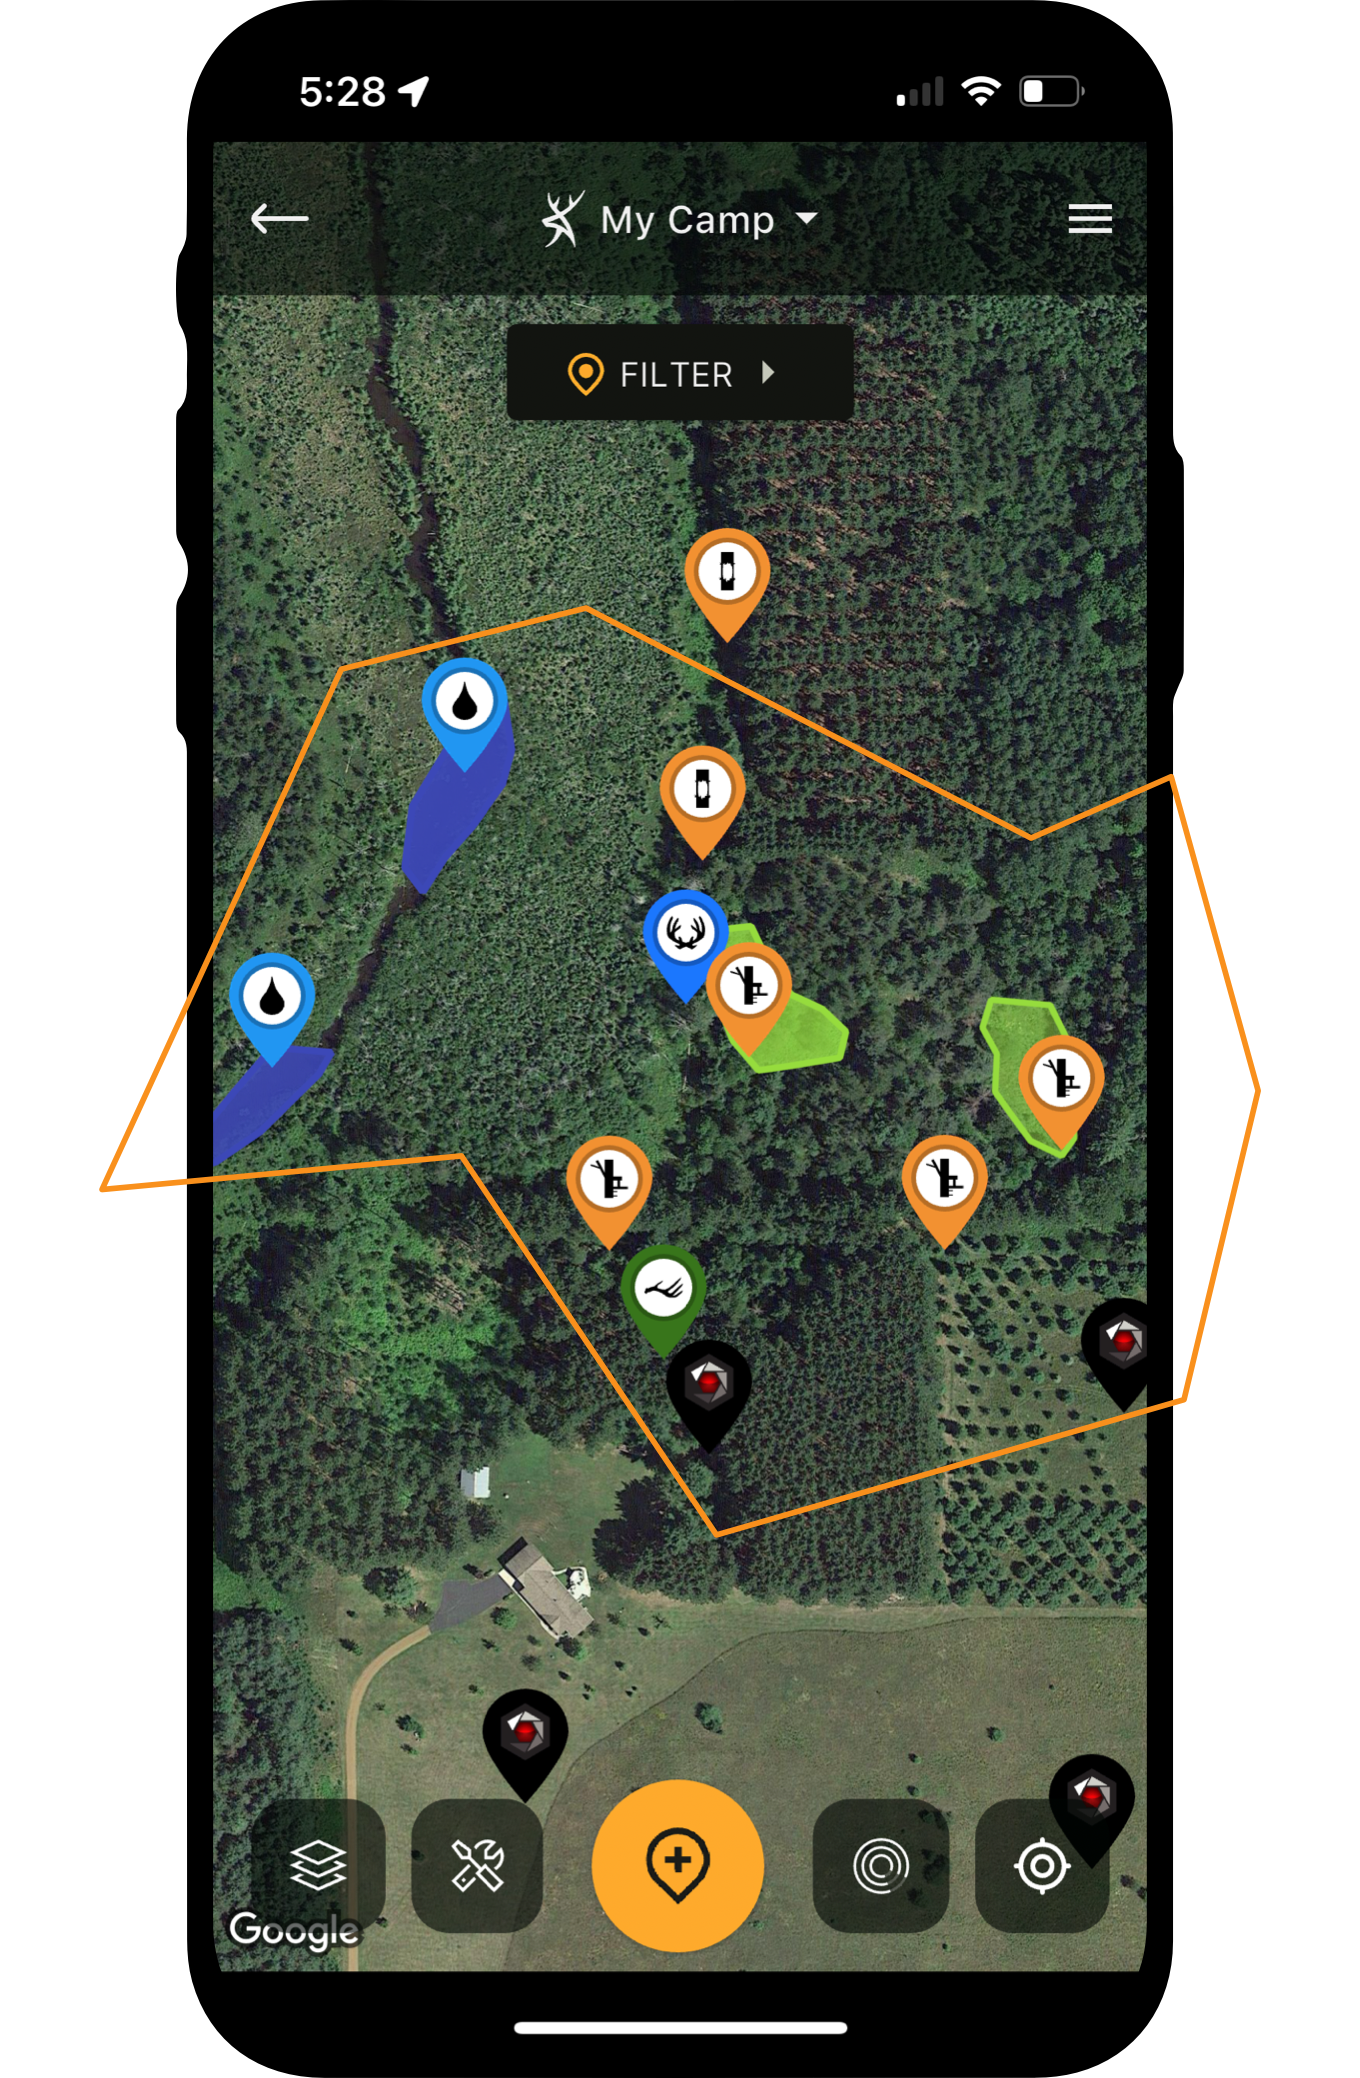
Mark potential food sources, and confirmed food sources, that might serve as cell cam locations. Use your HuntStand app to keep track of ideal spots for cams. Use the variety of unique icons, and type detailed scouting notes, to keep track of important in-the-field discoveries.
Where to Put Water Holes for Deer Hunting

Spend time e-scouting. Record in-the-field discoveries in the app, too.
Step 3: Inventory Water Sources
Often overlooked, find the local water sources. If abundant, it might not be prudent to post cams over water. If limited, it can be an incredible option. It’s even better if isolated water sources are positioned on the fringes of cover or staging areas.
Once again, mark potential water sources, and confirmed water sources, that can be good camera locations. Continue dropping pins in the HuntStand app. Remember these locations once time to deploy cameras.
Step 4: E-Scout with a Purpose
As you continue scouting, study the potential bedding areas, food sources, and water sources the target buck might be using. Study the lines of movement it might be taking and drop pins in locations where a cell cam might intercept it.
Analyze how bedding areas and food sources are positioned in relation to topography. Is there a thermal hub (crow’s feet) at the bottom of a bedding ridge adjacent to an oak flat or ag field? Perhaps there’s a bench with dropping oaks that runs parallel to a leeward (down-wind side bedding ridge) up above? Maybe there’s a major ridge line pinch point between a hilltop bedding area and a destination food source down below, and the prevailing wind carries scent straight off over the downwind-side bluff.
Whatever the case, start piecing together factors that benefit whitetails and encourage them to live there. Furthermore, find quality spots along their travel routes that make good camera locations. After all, these same pin drops might eventually serve as great treestand locations, too.
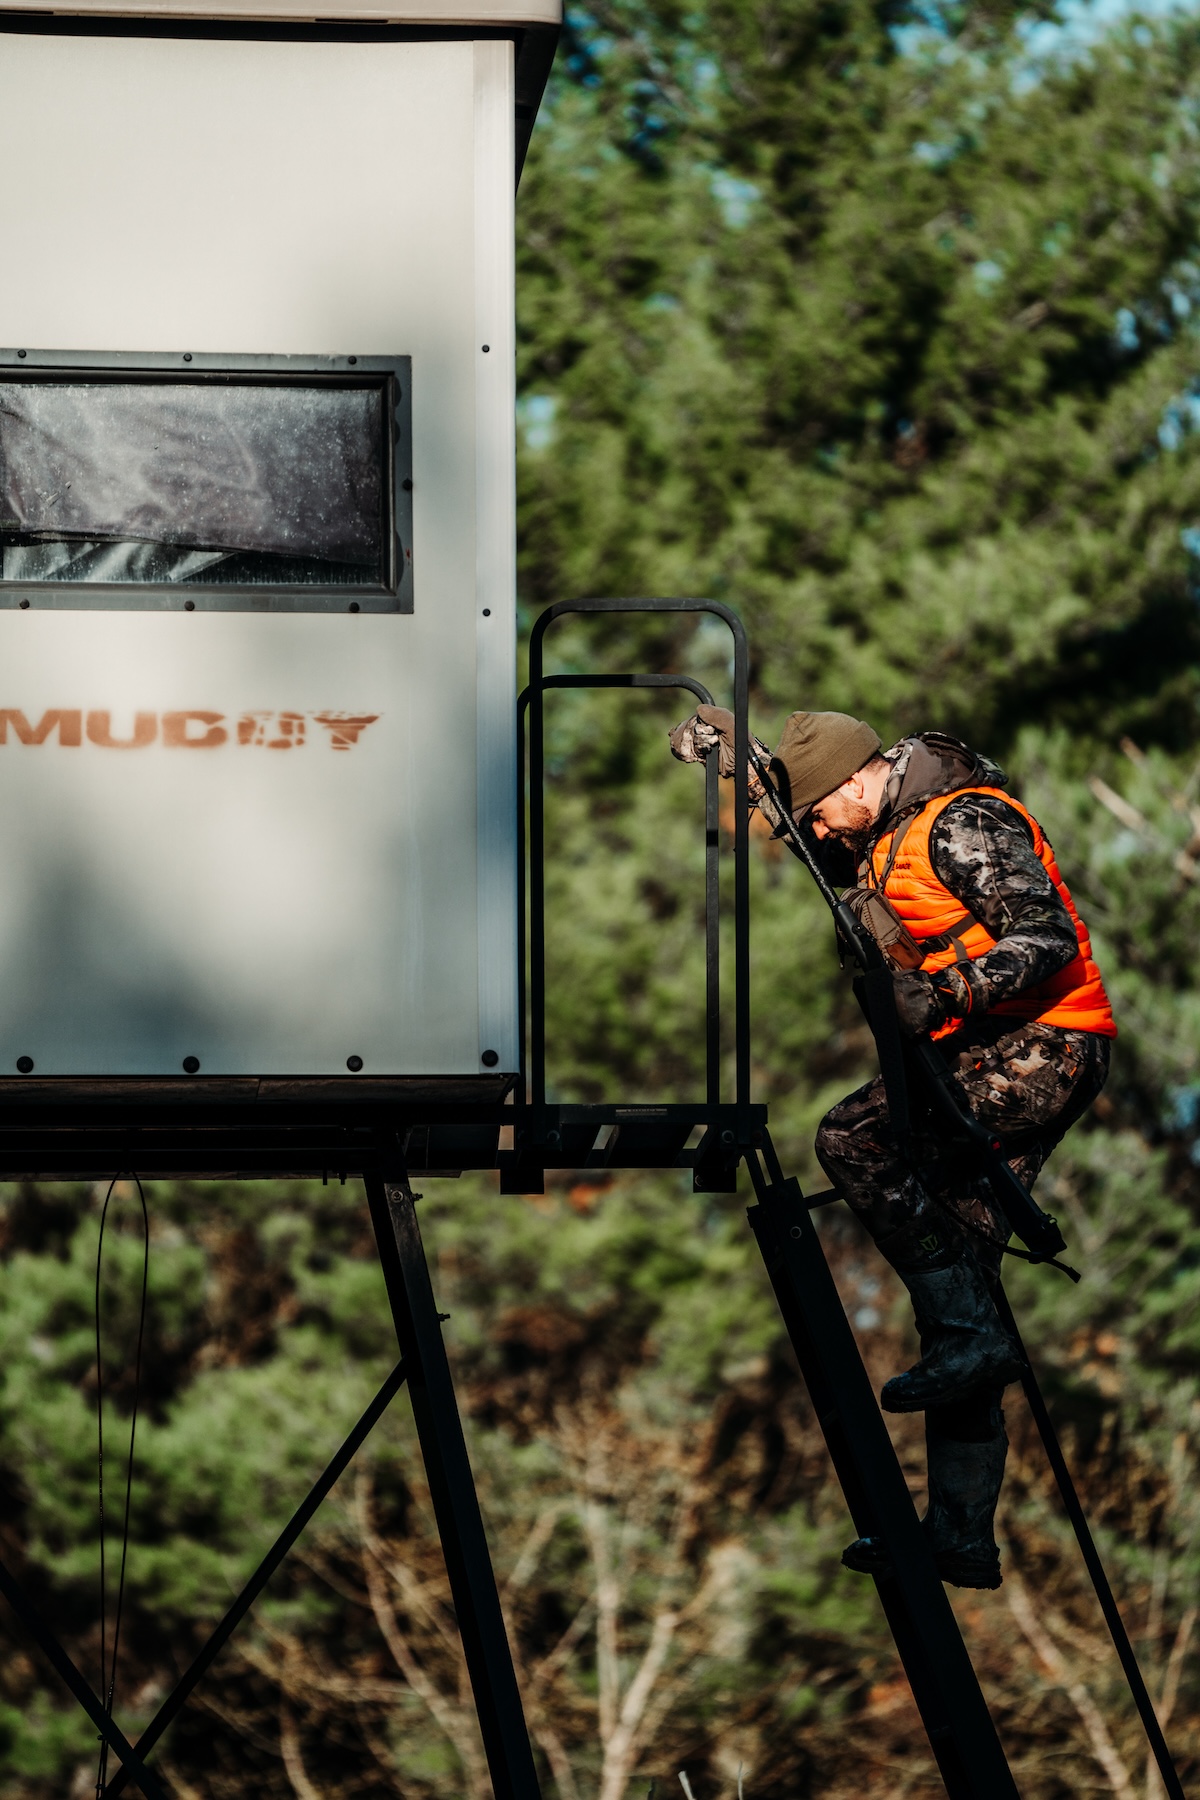
Reflect on past history. The areas that have proven over time carry influential weight.
Step 5: Reflect on Prior History
Use what you know about the property to benefit the effort. Reflect on prior history to predict future activity. This applies to the entire deer herd, but also individual target bucks.
If trying to pin down a big new buck never seen before this season, skip this step. But if there are trail camera photos of the target deer from seasons past, study these in detail. Oftentimes, unless significant changes occur on the property, bucks sometimes carry over property-use habits year-over-year. This can help predict what a deer might do, even before it does it.
15 Public-Land Deer Hunting App Tips
Step 6: Assess and Forecast Human Intrusion
One of the biggest influencers of buck core area location is human intrusion. That might be people hiking trails, squirrel hunters pushing through the hardwoods, or other deer hunters. In most cases, unless deer are conditioned to accept human presence (which takes years or decades), human intrusion is human intrusion, and mature bucks treat all forms of it equally. The only exception is where no hunting takes place, which likely doesn’t apply here.
Therefore, consider the expected hunting pressure. Think about years past. Study where other people currently spend time. Project where they might eventually. In most cases, these are the places mature bucks aren’t or won’t be, and that can help cross off vast areas you need not waste time on.
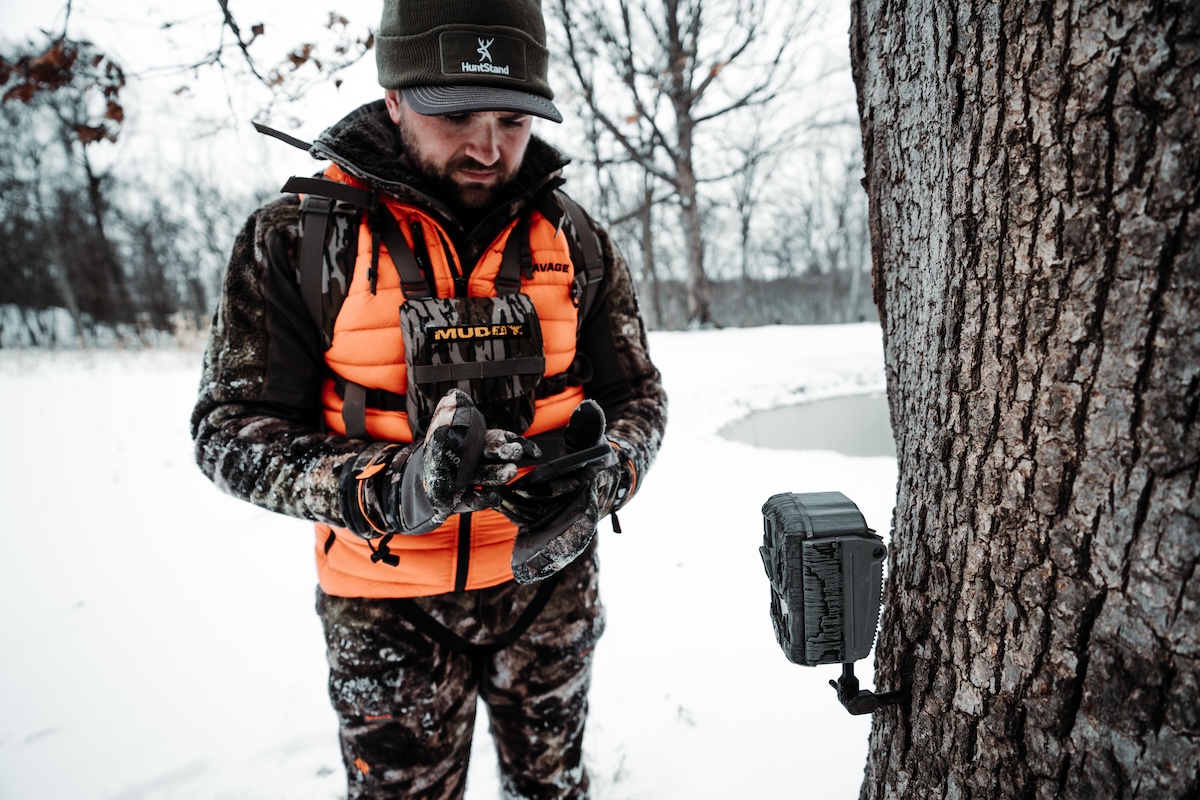
Post SD trail cameras to cover areas you don't have enough cell cams for.
Step 7: Cast a Wide Net
With steps No. 1-6 complete, it’s time to deploy trail cameras. Position all available cell cams in the best spots with the most potential. That said, if you aren’t sure where a deer is spending most of its time, cast a wide net and spread cameras out over a larger area. If you already possess a good idea, or even a strong hunch, positioning cameras closer together can save some time. Bet wrong, though, and it costs you time.
Step 8: Implement a Supporting Cast
Unless invested in an armada of cell cams, it’s likely you don’t have as many as you’d like. Even so, there’s a remedy for that. If there isn’t additional budget for more cellular trail cameras, use available SD trail cameras as a supporting cast. Post these in remaining spots you’d like to use a cell camera, but don’t have one for. After giving these some time, pull SD cards as needed.
30 Reasons HuntStand Pro Whitetail Makes You a Better Deer Hunter
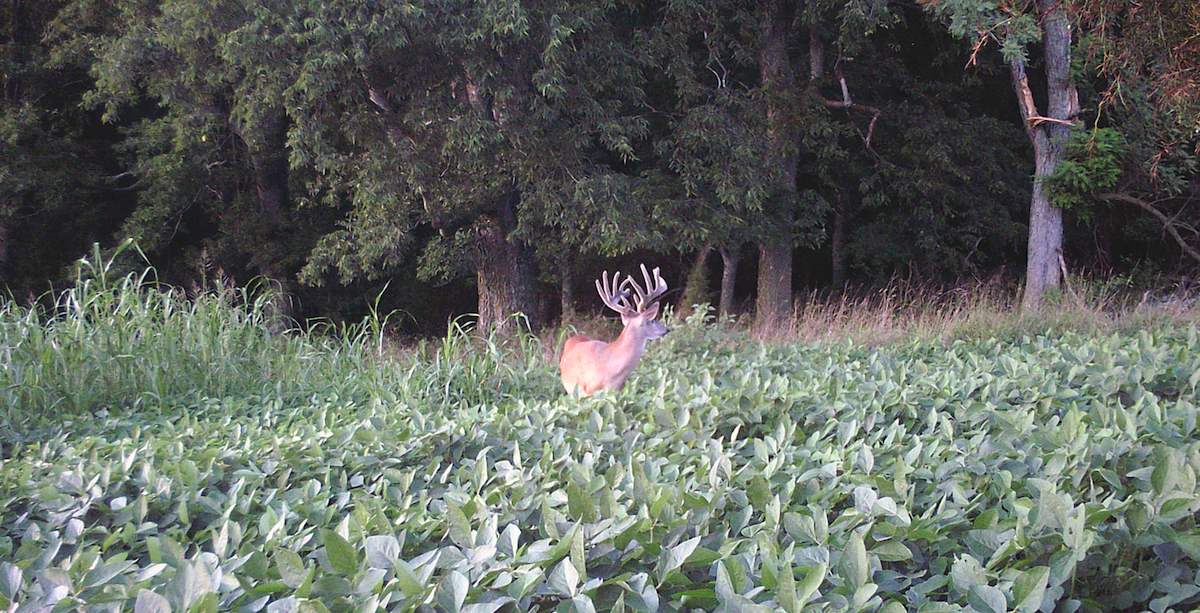
Finding big deer takes significant effort.
Step 9: Narrow the Search
As you begin capturing photos of the target buck, refer to your scouting notes in HuntStand. Further determine where the deer might be bedding, feed, watering, and traveling. Drop additional pins, and add more scouting notes, as needed.
Then, move unproductive cameras closer to producing cell cams. Or, move these to other areas around the buck’s expected core area perimeter. That said, do not dive into the middle of the deer’s projected bedding area. Play it safe and keep cell cams around the perimeter of the deer’s core area. This limits the risk of pressuring the buck but maximizes the reward of learning its behaviors and patterns.
Of course, it’s possible that trail cameras are deployed without yielding photos of the target buck. Without question, trail cameras are great. A proper deployment offers very high odds of snagging pics of most deer in the area. But they don’t always tell the entire story.
For example, savvy deer sometimes evade trail cameras. Perhaps their patterns are just off enough they don’t trigger cameras.
Additionally, just because a deer only hits after dark, doesn’t mean it isn’t close by during daylight. Sometimes, trail cameras aren’t in the right locations to intercept important daytime movements. Therefore, don’t overdo it, balance your in-the-field presence, and fine-tune camera placements as needed. Eventually, you’ll have enough puzzle pieces to craft a great game plan.
Step 10: Soak Some Cams
For a variety of reasons, some target bucks are difficult to figure out. Maybe they have very large home ranges and core areas. Perhaps they’re random and difficult to pattern. Whatever the reason, some deer take years to pin down.
Because of this, soaking some cameras deeper in cover, and in the edges of bedding areas, can garner intel this season to aid in the renewed effort next year. SD trail cameras are best for this. But cell cams paired with external, long-term battery sources (i.e.: battery boxes, solar panels, or combinations of the two) work, too. Either way, cameras used in this manner are placed long before deer season opens and remain there until post-season scouting takes place. No trips to check cards or change batteries.
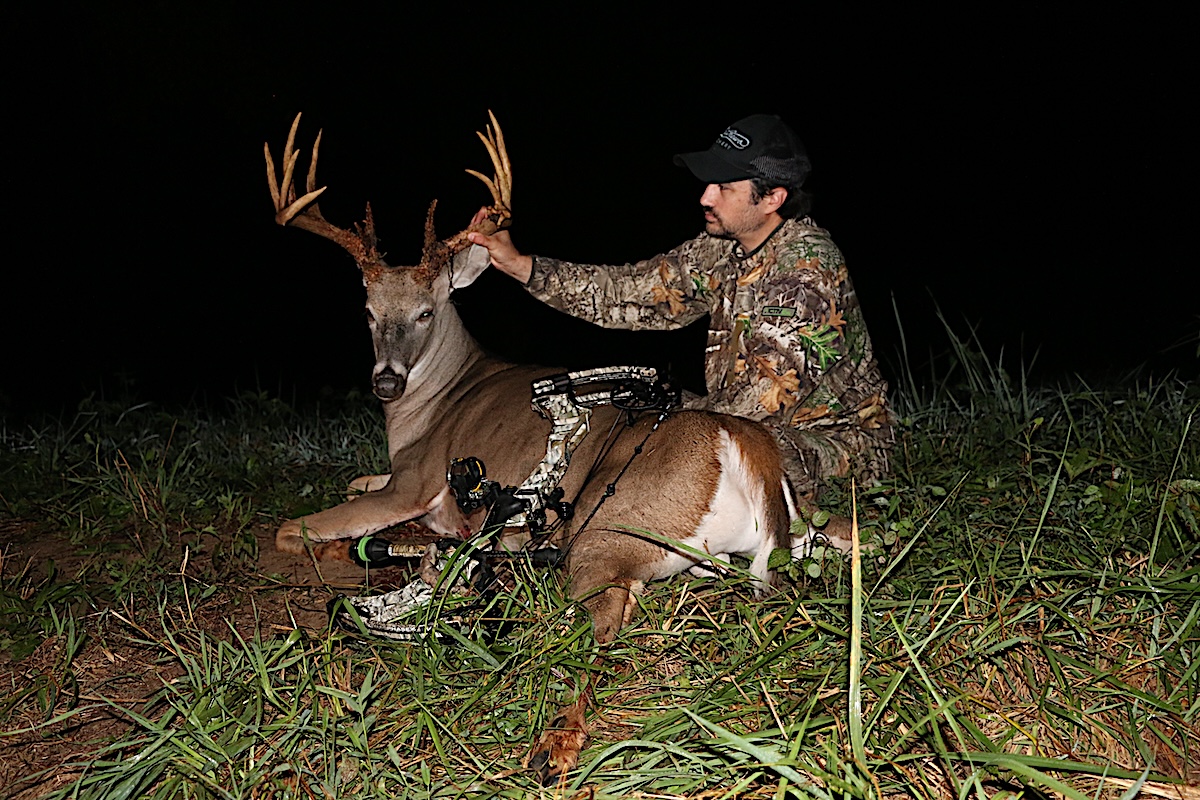
The author and Big 12 were featured on HuntStand's "The Setup."
Interpret the Data
With the process in full force, study all available data. Target buck patterns should emerge. Piece together a game plan. Find the chink in that big, old buck’s armor. Then, wait for the right time to strike. Every whitetail has a soft spot in its core area. Duck hunters call that the “X.” Deer hunters call it the honey hole, and finding it is the biggest challenge in killing big, old bucks. Cell cams make it easier.
UPGRADE TO HUNTSTAND PRO WHITETAIL