





Getting wild game out of the backcountry can be a tough task.
Learning how to retrieve game in the backcountry is a very important task for those who plan to hunt there. Oftentimes, it isn’t easy to recover and get the meat back to your vehicle. But with the right plan, it isn’t nearly as challenging. That reminds me of a past hunt.
At dawn, a gentle breeze swept across the prairies, rain sprinkling on our faces as my wife, Becca, and I hiked and glassed for deer. We were hunting toward an area that had held many whitetails, including a large buck, the previous evening. We soon spotted some mule deer does and fawns. Then, some distant whitetails caught our attention. With no sign of the big buck, we pressed on.
More than a mile from the road, the prairies suddenly issued some more whitetails. I whispered to Becca, “I’m going to put my gun on the sticks and practice aiming at these does since we can’t proceed anyway,” hinting at the lack of cover around us. Of course, I was steady on a doe when the big buck we’d seen the evening before suddenly appeared in my scope behind her. I was steady on the buck and ready to increase the pressure on my Savage 110 Ultralight’s crisp trigger when he followed a doe behind a hill.
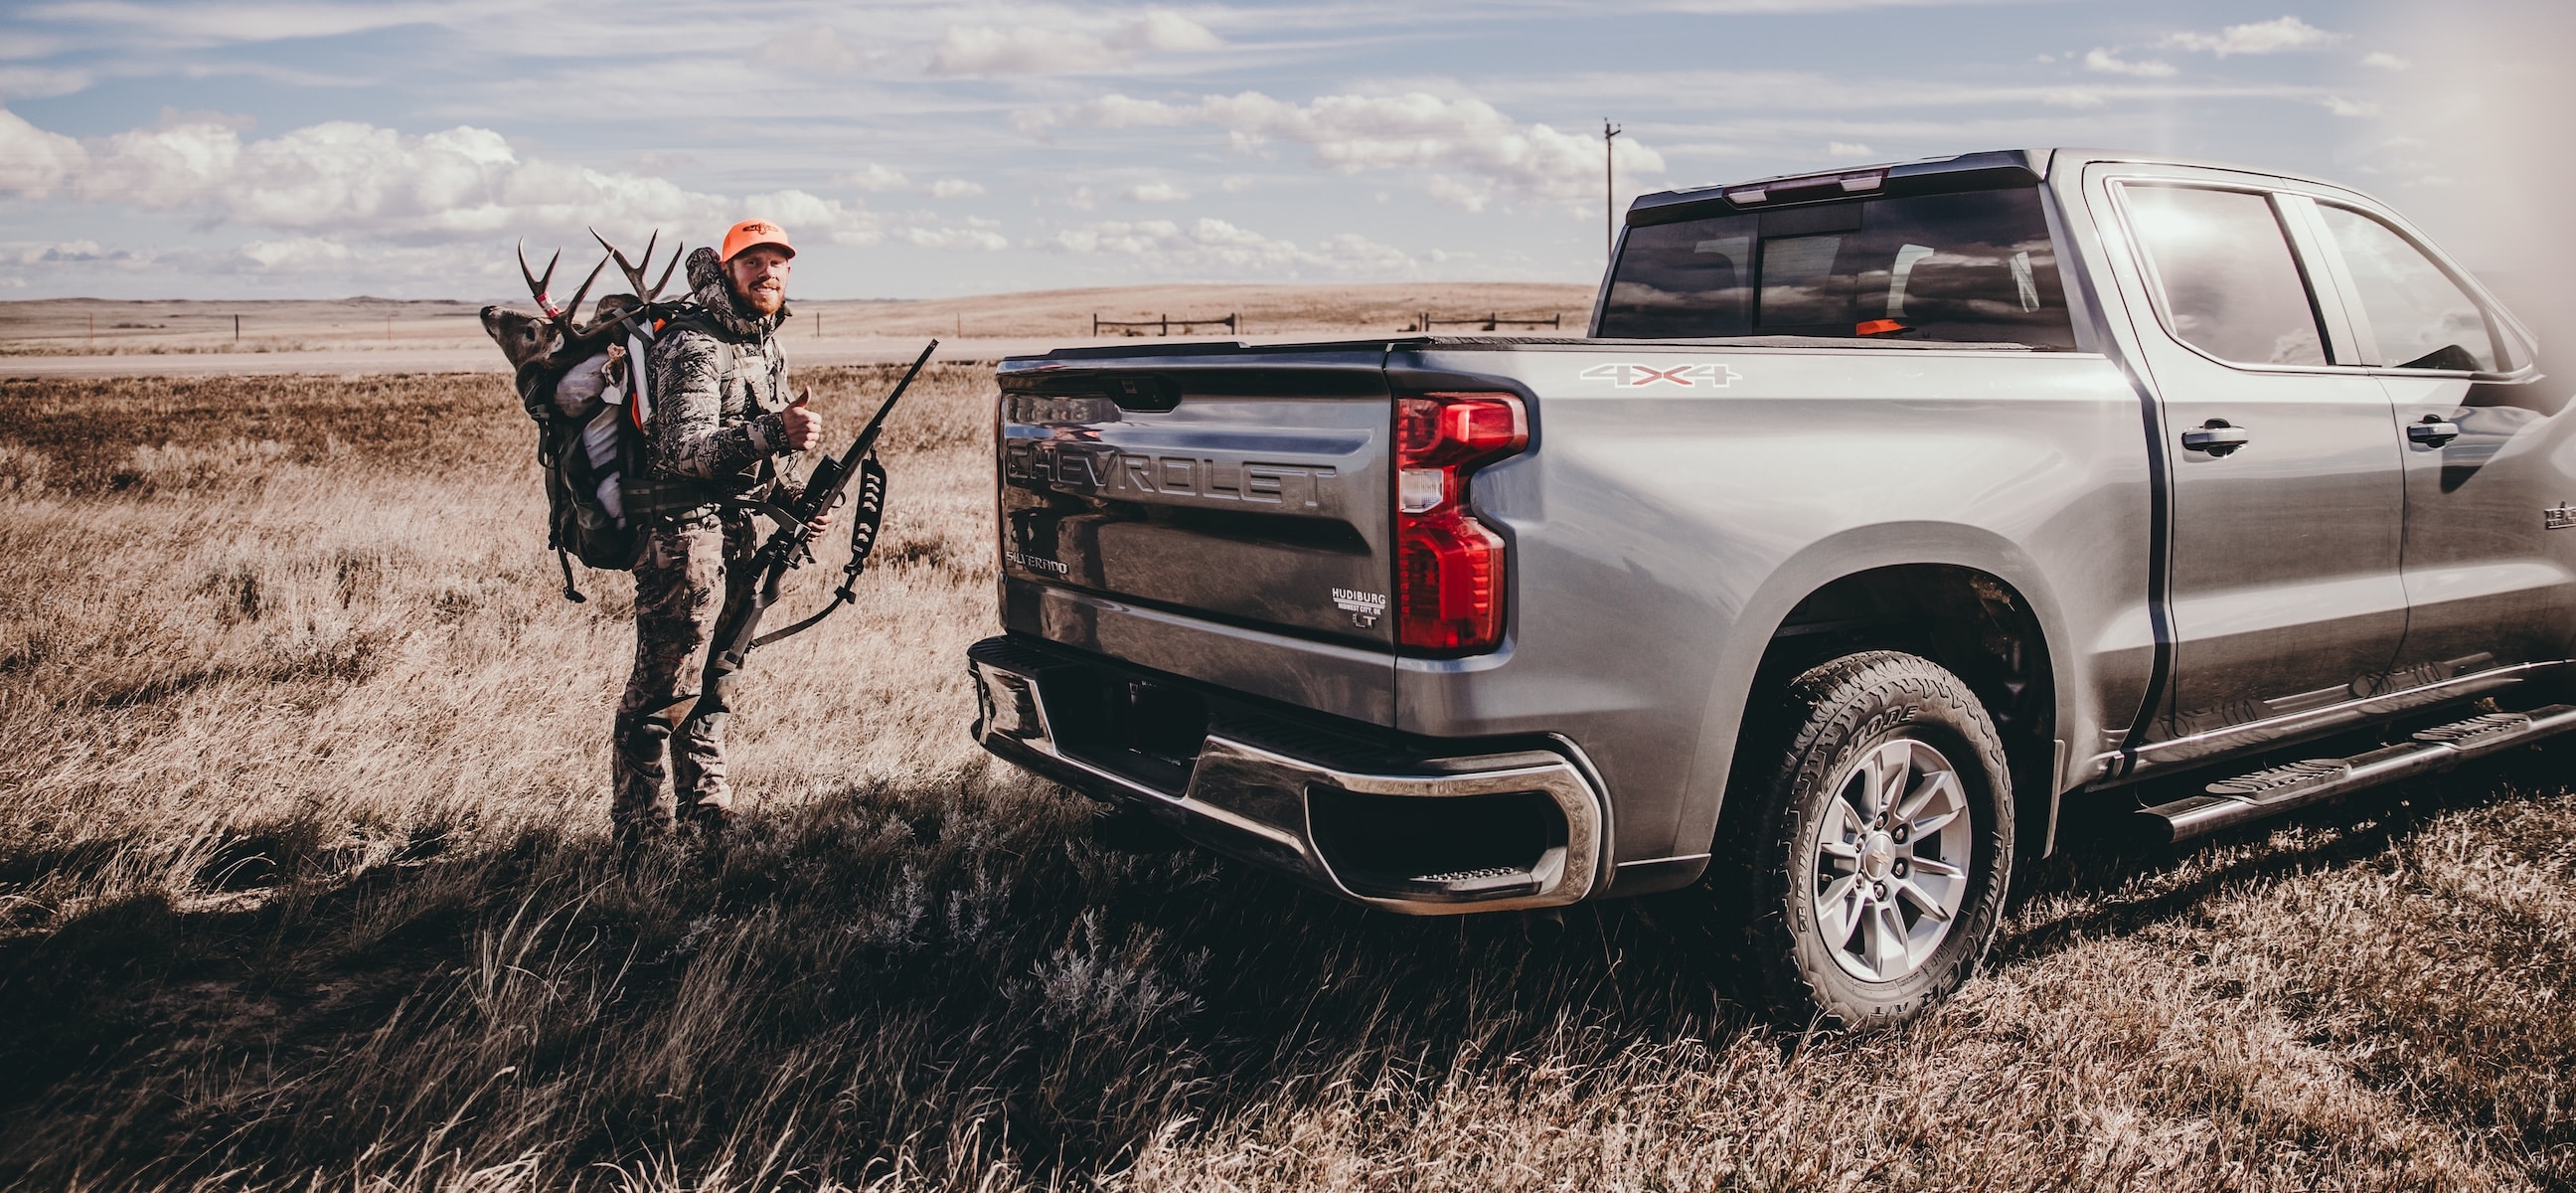
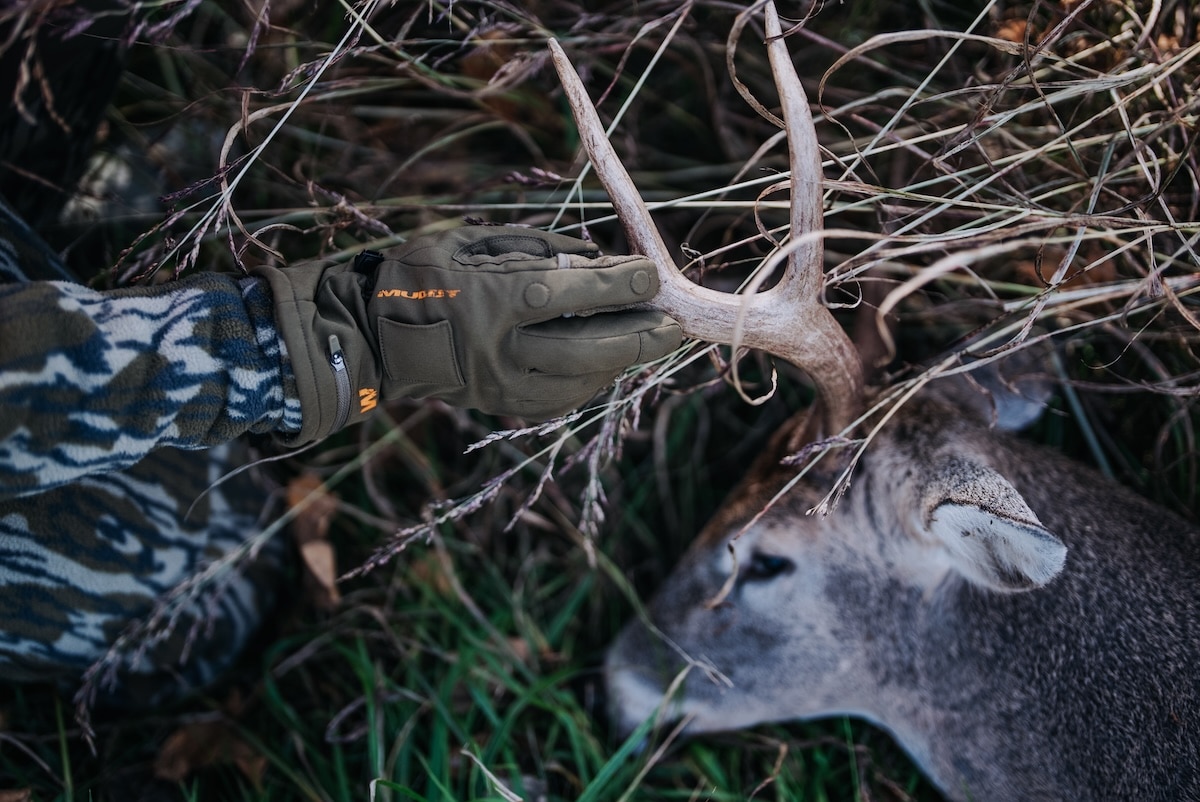
Soon, the buck reappeared and posed 240 yards away. My Savage barked, and the buck bolted out of view. I ran ahead to a vantage. He wasn’t with the fleeing deer, but when I glanced hard left, I noticed a horizontal white belly. As we approached and knelt beside the stunning buck, our admiration and reflection were met with reality: we had about 75 pounds of venison to haul one and a half miles back to the truck.
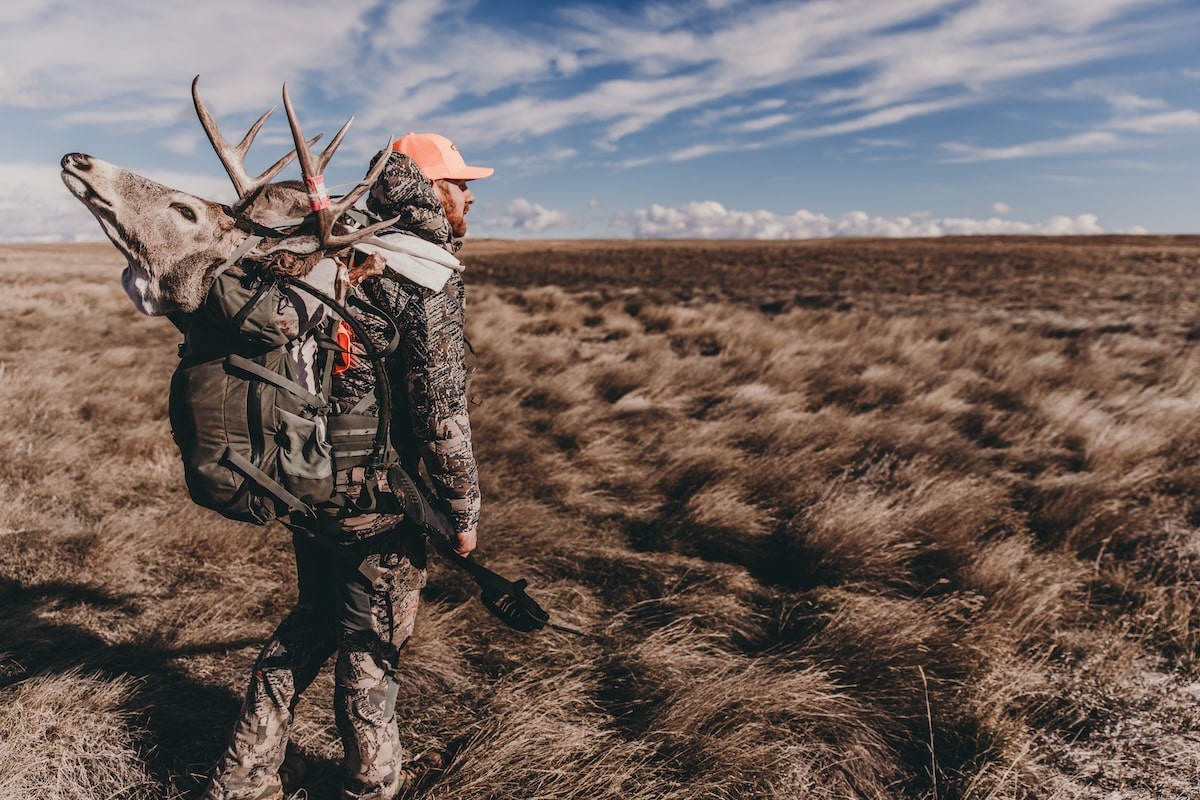
If all of your hunting has transpired where dragging out your kill or using motorized vehicles for retrieval is standard, perhaps you desire to set foot across a wild, unknown landscape, where success entails breaking down the animal on the spot, then hauling it on your back to your camp or vehicle. If so, here’s what the process will entail, along with some tips and suggested tools.
How to Use the HuntStand Distance Measurement Tool
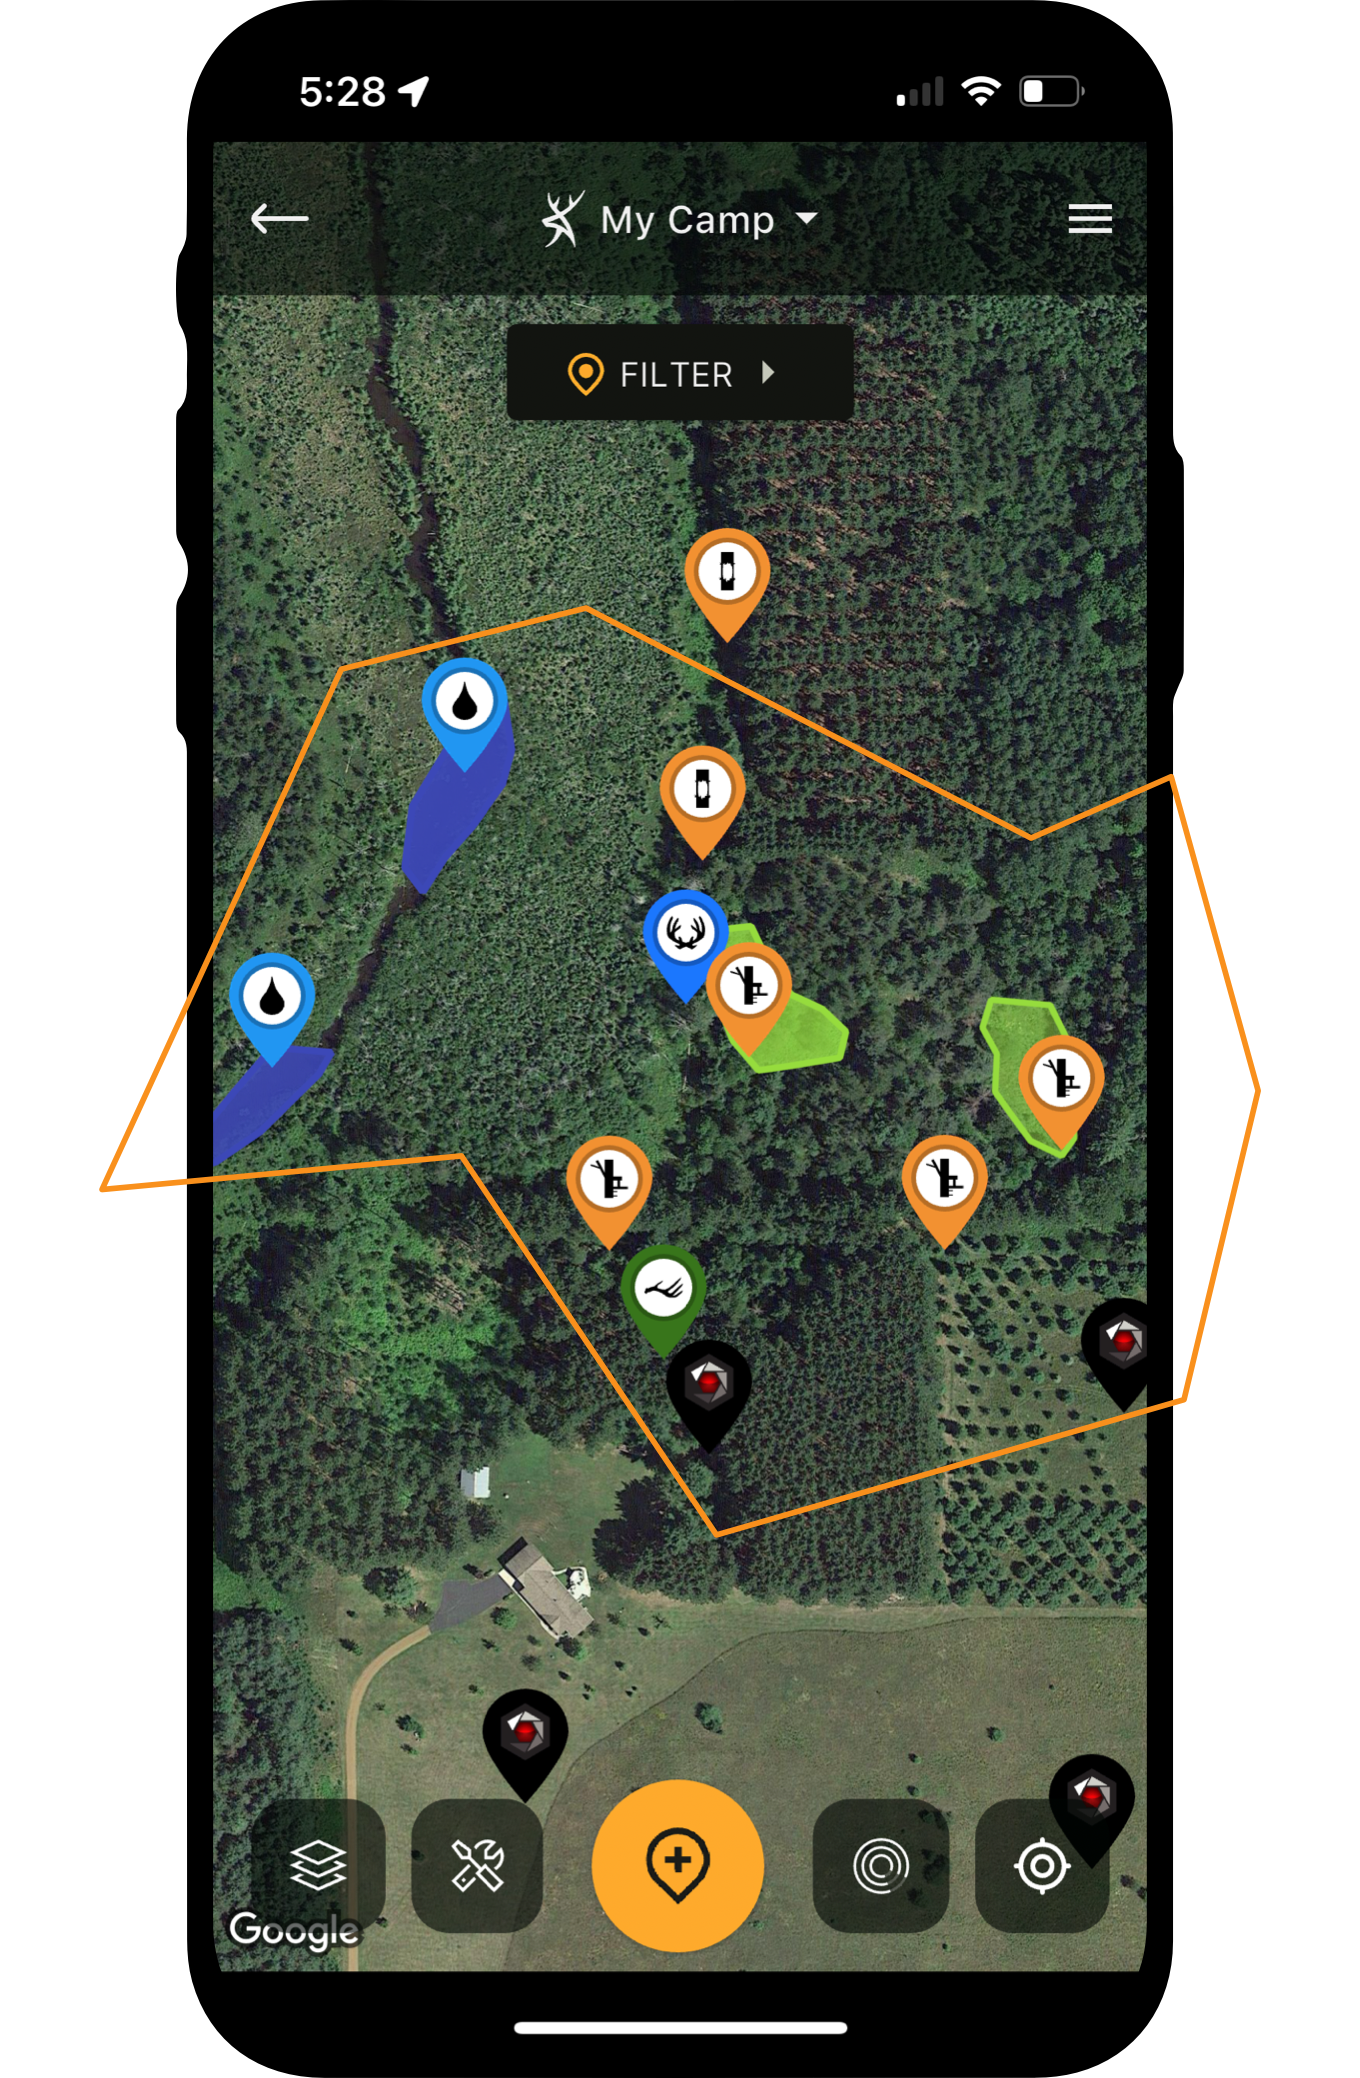
Always mark your game harvest location on HuntStand.
Mark Your Wild Game Kill Site
The very first thing you should do once you recover and tag your animal (if required) and enjoy the moment is mark the kill site in the HuntStand app. Even with landmarks, unfamiliar landscapes can play tricks on you. This is especially true in waning daylight or in the dark. Play it safe and mark it. Then, if you must make more than one trip in and out to haul out the meat and your gear, you’ll be able to easily relocate the kill site. You should also have dropped a marker on your hunt camp or vehicle for easy reference before your hunt. Then, if at any point you become turned around, you’ll be able to find your way.
In areas with large predators — think wolves, bears and mountain lions — always watch your six. The scent of blood and meat can attract hungry, dangerous predators. Often, predators will smell your human scent and leave before you ever know they were near, but some are unafraid of humans and might come to the kill. Sidearms and bear spray are good carries, but a keen mental awareness of your surroundings is the key before and during butchering, as well as the pack-out.
When feeling overwhelmed by the task, just start with small steps, and you'll eventually finish the job.
Separate the Game Recovery Process Into Individual Tasks
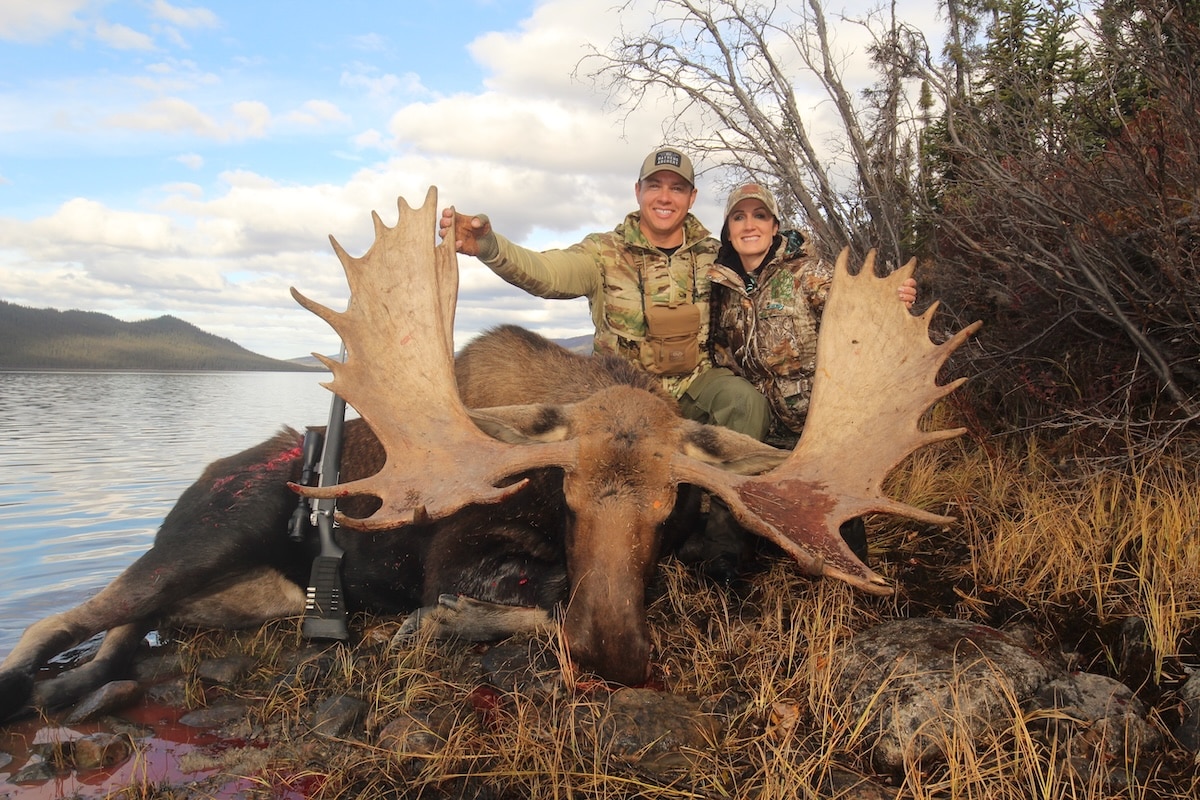
Walking up on a deer or elk that you killed miles from where your hunt began can feel intimidating, especially if you’re alone. Take a deep breath, and plan to eat the elephant one bite at a time. Getting frazzled can lead to mistakes, such as contaminating meat with feces, urine, dirt, etc. Understand that the butchering process will take time, and that rushing could yield spoiled venison. Slow down and stay on task.
The moment your kill hits dirt, the clock begins ticking, especially in warm weather. The goal? Get the meat on ice or frozen ASAP. The first consideration is keeping the meat clean of debris, as you’ll have to butcher it on the ground. A tarp or several garbage bags take up some pack space, but well worth it. In a pinch, you can also use the animal’s hide to prevent dirt and debris from contacting the meat.
What Are the Best Features on a Hunting App?
Cutlery is central to a pleasant butchering experience. People who are used to skinning and deboning a hanging deer might be surprised by what you can accomplish with a small knife, some anatomical knowledge and determination. I’ve butchered entire deer in the backcountry with a simple folding knife. It’s a great way to keep your remote hunting kit as lightweight as possible. SOG’s Adventurer LB ($24.99 MSRP) is a solid choice, and I’d also carry a sharpener such as Cold Steel’s Dual Edge Pocket Knife Sharpener ($17.99 MSRP). Working with a dull knife is frustrating and needlessly prolongs butchering tasks.
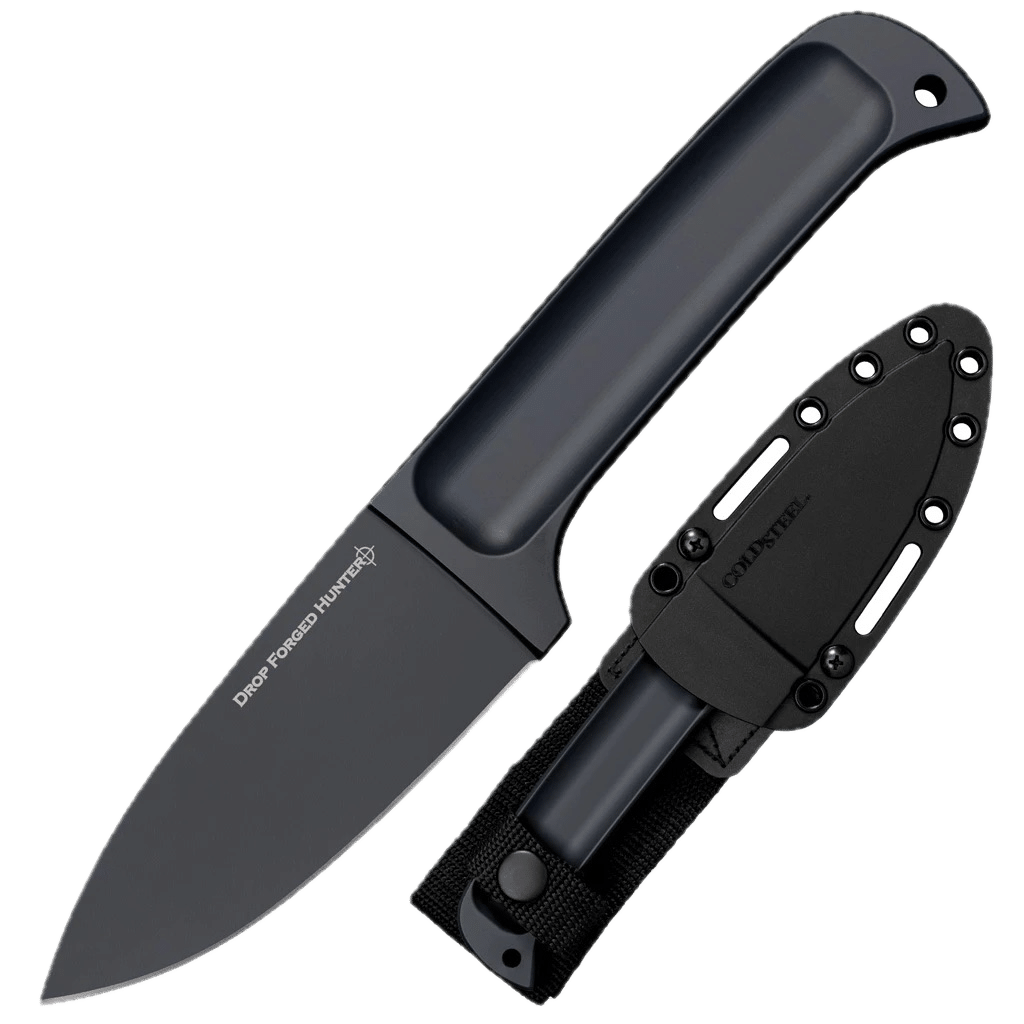
Now, if you have the pack space for additional resources, I’d suggest carrying a larger fixed-blade knife in addition to the small folding knife, which will make it easier to get through joints, quarter the animal, and debone the meat (if necessary). Cold Steel’s Drop Forged Hunter ($59.99 MSRP) is one such workhorse with a comfortable grip and durable powder coating. Although a hunter can use a knife to separate joints when removing the front and rear legs from the quarters, a bone saw speeds the process. The Hunter’s Specialties Command Grip Dual Blade Folding Bone and Wood Saw ($64.99 MSRP) will do all of that and more.
A flashlight is an essential pack item on every hunt, but lighting solutions become even more critical when breaking down an animal in the dark. You’ll surely want a quality headlamp like Cyclops’ Force XP 350 Lumen Headlamp ($29.99 MSRP) to keep your hands free and your workspace (the meat) well-lit. Should you need to address a predator and need a longer-casting beam, a handheld flashlight such as SOG’s A-37 Flashlight ($99.99 MSRP) is ideal to have at the ready.
Finally, getting blood on your arms and camo isn’t the best practice. That’s especially true when you’re camp hunting without a practical way of washing and sanitizing yourself. For that reason, keep HME’s Game Cleaning Kit ($4.99 MSRP) in your pack-out kit. Used properly, it will keep you and your apparel clean.
Within the law, cut and pack the harvested meat as practical and condensed as possible.
Start Processing the Wild Game Meat
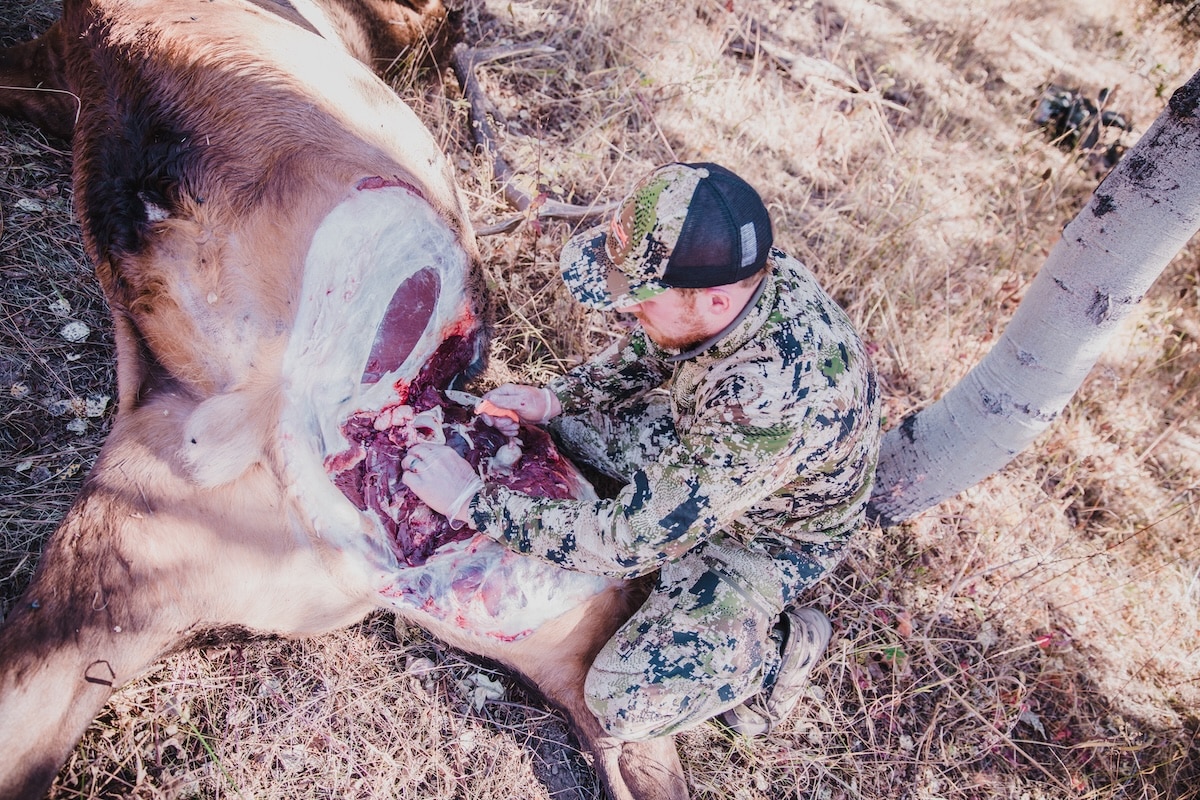
I begin the process by skinning down the animal’s back with the grain of the hair, which minimizes the amount of hair that gets on the meat. If I’m going to cape the animal for a mount, I make a cut around the chest at least six inches behind the shoulder crease. Then, I skin the rear portion of the hide off the ribs, working back and removing the skin from the rear quarter. Next, I extract the backstraps and place them into a meat bag, such as the Quarter Size Game Bag by Hunter’s Specialties ($21.99 MSRP).
Next, I locate the hip joint with my knife blade, popping it loose and detaching the rear quarter to be bagged in a Hunter’s Specialties game bag. Then, I skin forward, avoiding cutting holes in the cape and exposing the front shoulder. I remove the front shoulder, which is connected by muscle and tissues, and then I keep skinning forward to expose as much neck meat as possible. I also harvest as much meat as possible from the neck, brisket and other areas for trim meat.
Once I complete one side and have bagged the meat, I flip the carcass and repeat. The last step is to remove the cape and skull (buck or bull harvests). To do this, I cut around the neck beneath the chin, then grab the antlers and begin twisting them in a circle until I hear a pop, and the head comes free from the neck.
Author’s Note: Keep in mind that some states require sex organs (udder or testes) to be left naturally attached to the meat for transportation. Failure to comply could lead to fines.
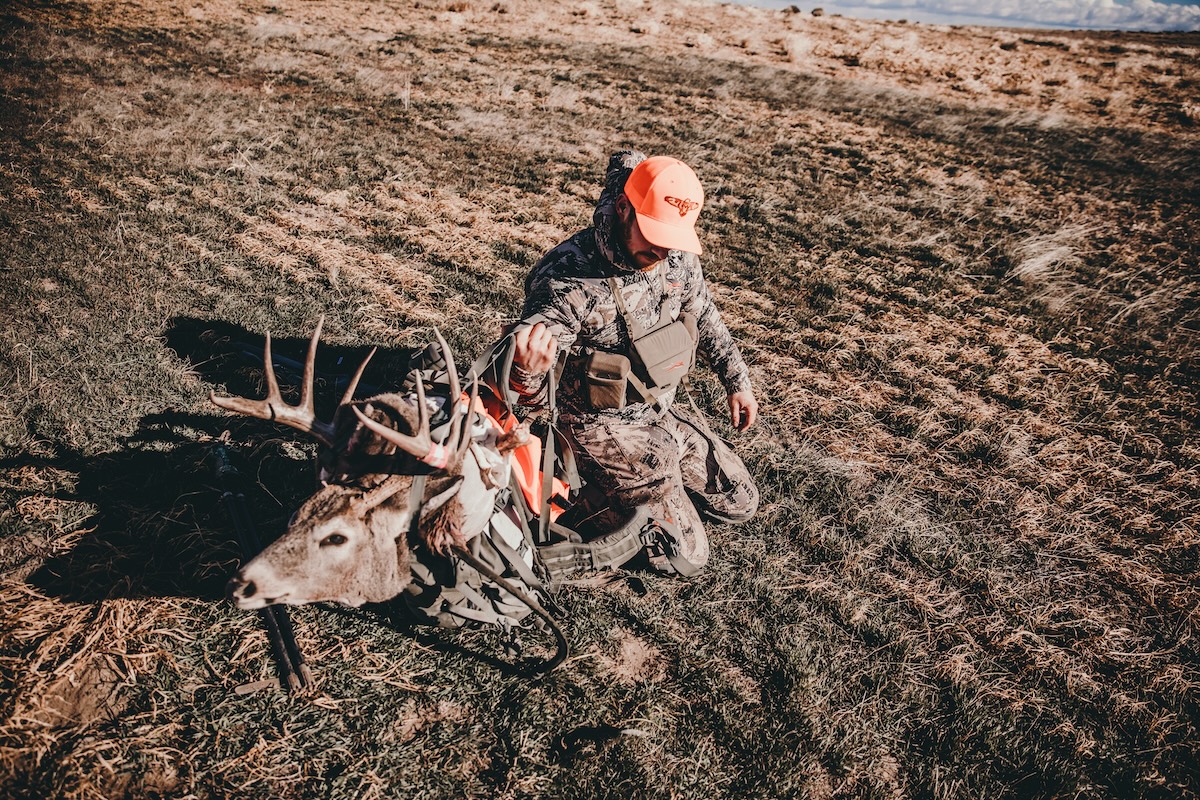
Enjoy the journey. The game retrieval process is part of the fun.
Pack Up the Meat and Secure the Load
Once the animal is butchered and the meat is distributed into game bags, secure as much meat as you can manage in your pack. A pack such as Tenzing’s Day Pack 2300 ($299.99 MSRP) will work for shorter pack-outs on medium game such as pronghorns or whitetails, but elk and moose will require a much larger pack with a sturdier frame.
Aside from a small Coues deer or a pronghorn, you won’t be able to manage all of the meat, antlers, your weapon, and other hunting gear on your own in one trip. With elk or moose, it will take multiple grueling trips with heavy loads. Regardless, spend as much time as it takes to get each load secured. Hauling a heavy pack is already difficult, and stopping because the load is about to fall out is a major setback.
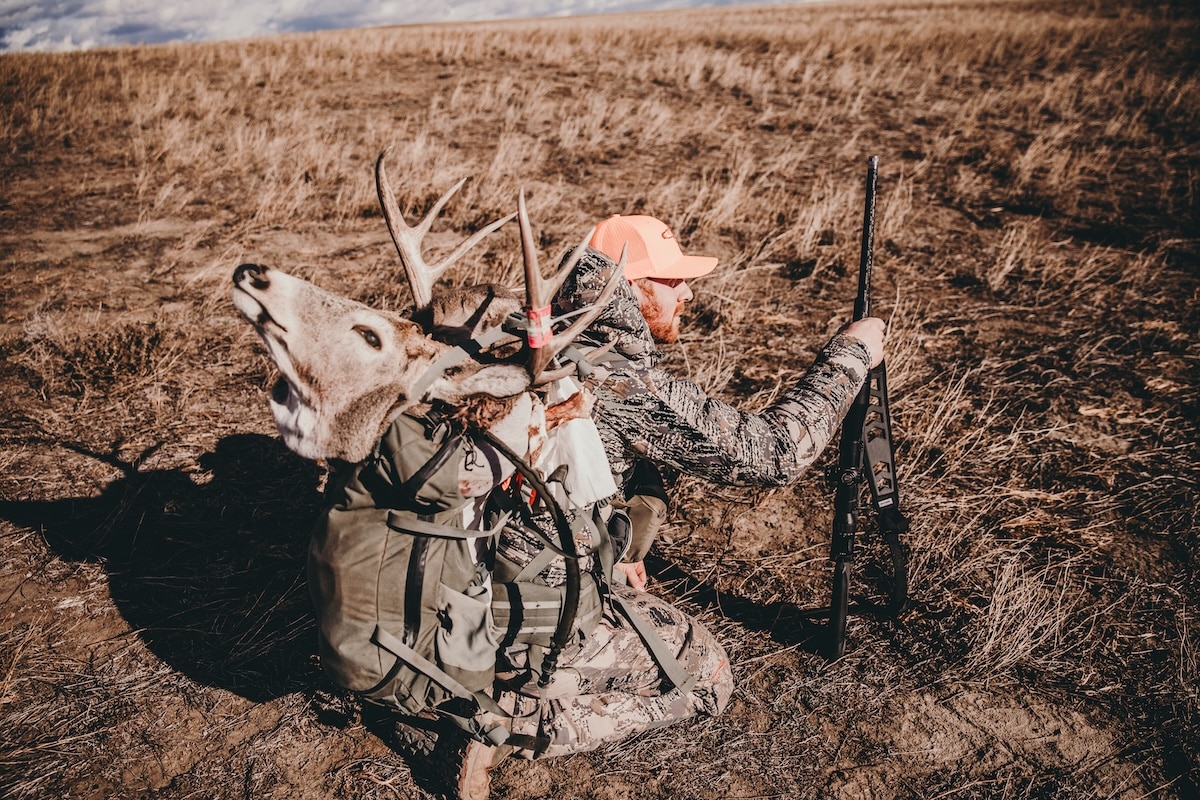
Choose the best possible route before beginning the trek.
Map Your Game Retrieval Route
Before packing out the first load, open HuntStand and review your current location and proximity to your vehicle or camp. If you’re in an unfamiliar area, alternate between the Terrain, 3-D, and Hybrid maps to identify a suitable route. Sometimes, the shortest route isn’t the best or easiest, so leverage the different maps to identify any potential roadblocks. Choose a route with the fewest hindrances (rivers, cliffs, etc.). Draw a line on the app with your prospective route, and then keep your phone in your hand so that you can stay on track during your hike.
One more thing before you begin. Enable HuntStand’s Track feature. This will be invaluable once you’ve made one trip out. If the route was great, you can follow your tracks back to your kill site. But if you believe a better route exists, your tracks will help you avoid the bad route on your subsequent trips.
Tips for Your First Elk Hunt with HuntStand Ultimate
Wild Game Meat on Ice, At Last
Success in the backcountry is an unreal experience. However, it entails a much more difficult recovery than successful hunts close to roads and vehicular access. Breaking down an animal on the spot takes some knowledge, grit, and carefully selected tools. But when you get that hard-earned meat on ice or frozen, you’ve risen to the occasion and overcome great difficulty. I believe you’ll agree that venison harvested in the backcountry and extracted with sheer grit and determination is the best venison there is.
The ins and outs we’ve discussed here will point you in the right direction on your first pack-out, but be sure to reference the many videos that exist on YouTube that detail deer and elk anatomy and butchering. From there, it will take a few successful hunts to get dialed in at retrieving game from the backcountry.
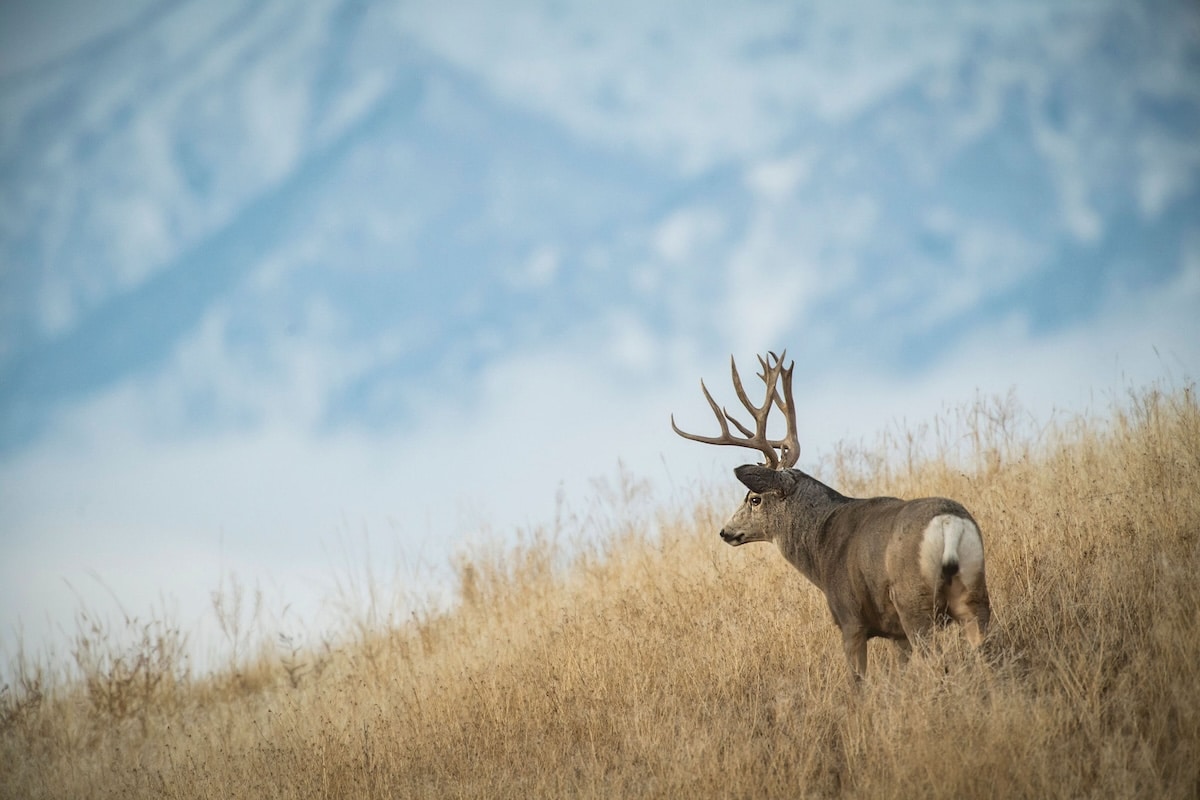
Use HuntStand Ultimate on your next big game hunt.
HuntStand Features for Western Hunters
Before embarking on a western hunt, be sure to utilize HuntStand Ultimate’s new science-based predictive features to plan your hunt. If you’re trying to nail down the best rut dates, brand new Rut Map overlays for blacktails, mule deer, and elk provide you with pre-rut, peak-rut, waning-rut, and even second-rut dates. Knowing the dates of these rut phases can also inform your hunting strategies for the best success odds. These dates aren’t generalized for the entire West. They’re broken down to the county level using science and research data.
I’ve been using HuntStand’s Whitetail Activity Forecast for several years now and have seen firsthand how incredibly accurate it is. This feature is based on all factors that influence deer movement, generating a percentage-based movement score for every hour of every day. Well, that same feature is now available for blacktails, mule deer and elk. Simply open Whitetail Activity Forecast, then select the western species you’re pursuing from the dropdown menu. Every day is a good day to go hunting, but when the movement score is showing high, you’d best get your butt afield, because this predictive tool is spot on in my experience.