





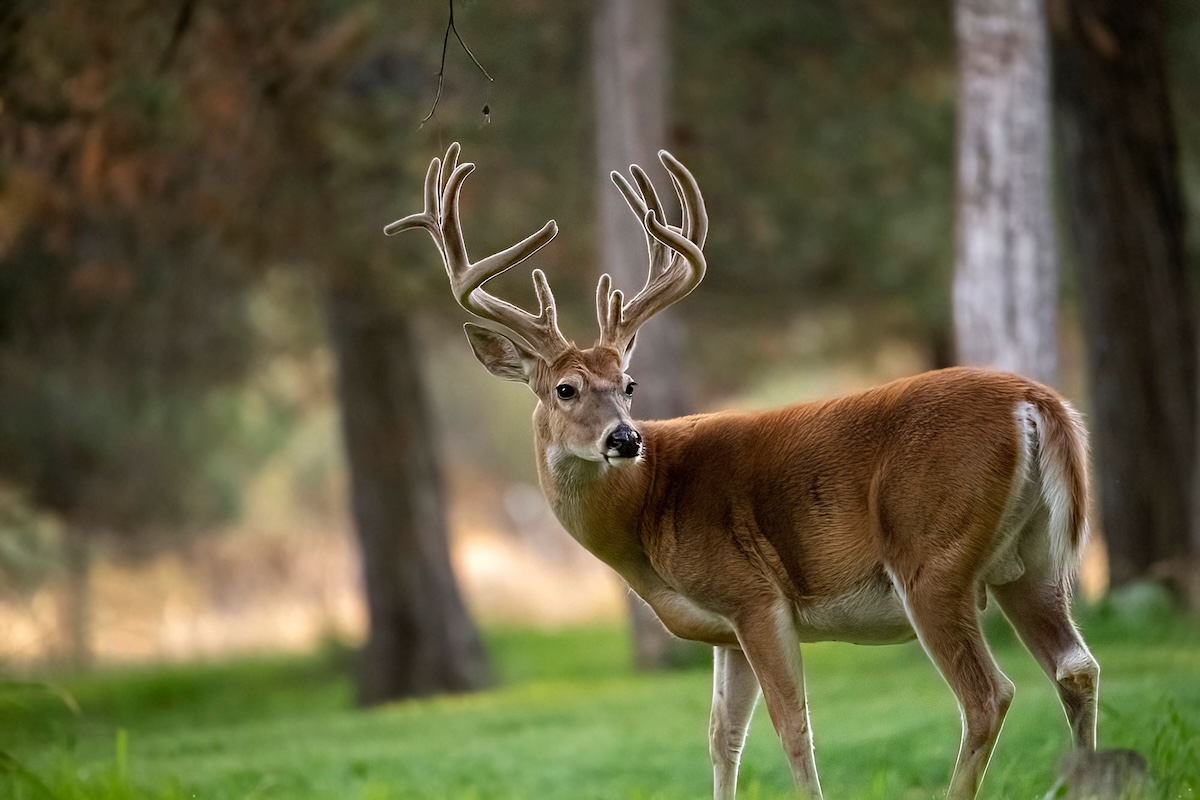

Pre-season scouting is the first step in a successful deer season.
Pre-season scouting is an important step in setting your deer season up for success. Spending time studying whitetail patterns and movements is a benefit, especially for those who hope to chase specific target bucks. As such, here’s your pre-season scouting guide with HuntStand.
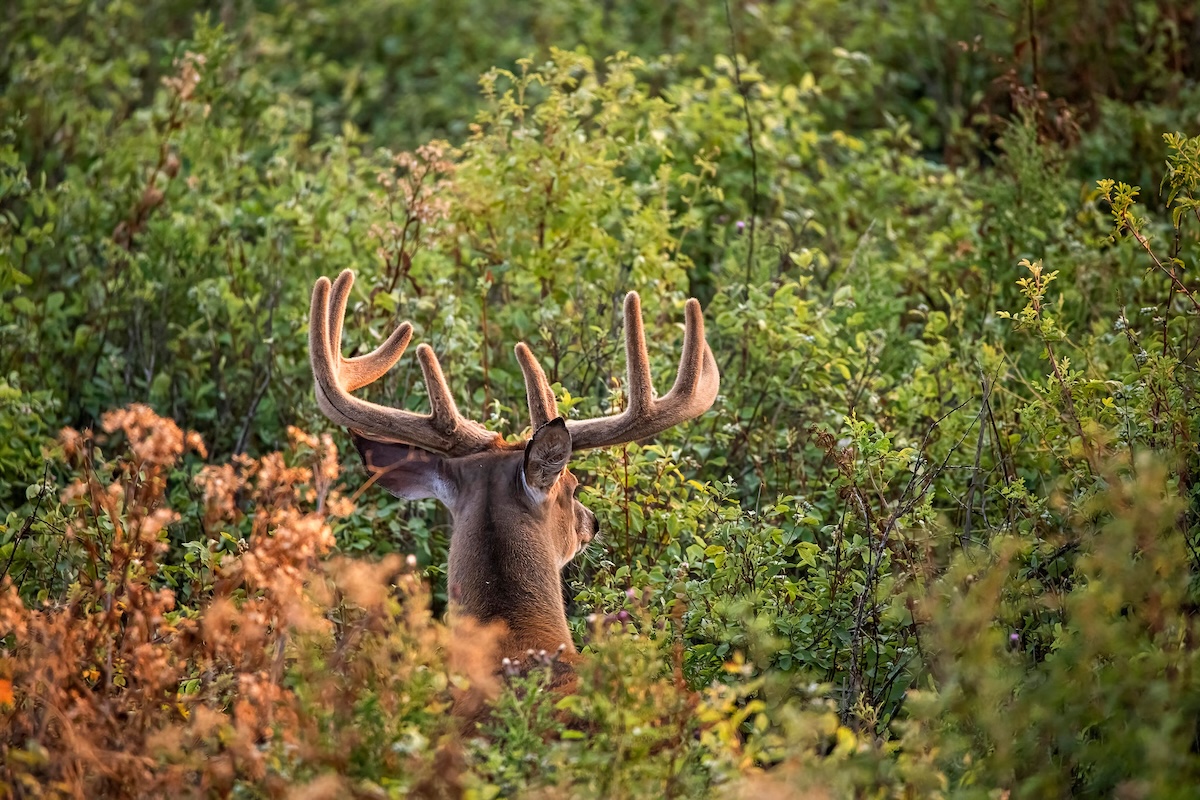
Look for bedding areas, food sources, water sources, and more.
What to Look for While Pre-Season Scouting
There are important things to look for, especially for those serious about preseason scouting. Locating food sources, identifying water sources, finding seasonal bedding, charting likely travel corridors, and more, are important tasks.
Locate Food Sources: Food sources change throughout the year. Hunters need to know where these are located. It’s also prudent to determine the peak windows of deer consumption. This makes it possible to time hunts accordingly.
Identify Water Sources: water is an important element of a whitetail’s daily life. Identifying water sources can help you determine whitetail lines of movement. That’s crucial, especially when hoping for the highest odds of intercepting a target buck on any given hunt.
Find Seasonal Bedding Areas: Bedding areas are seasonal, too. Some areas might be summer bedding, fall bedding, and/or winter bedding. While scouting, make notes of what you expect bedding areas to be. For example, north facing slopes, tend to be summer and warm season bedding. South facing slopes tend to provide winter and cold-weather bedding.
Chart Likely Travel Corridors: Travel corridors connect the dots between major endpoints, including between bedding areas, food sources, water sources, etc. These travel routes are important when choosing potential stand locations, trail camera deployments, and more.
While in the field, look for general deer sign. Tracks, trails, scrapes, rubs, droppings, and other tell-tale signs of deer should be on your radar.
HuntStand’s Whitetail Activity Forecast Tool
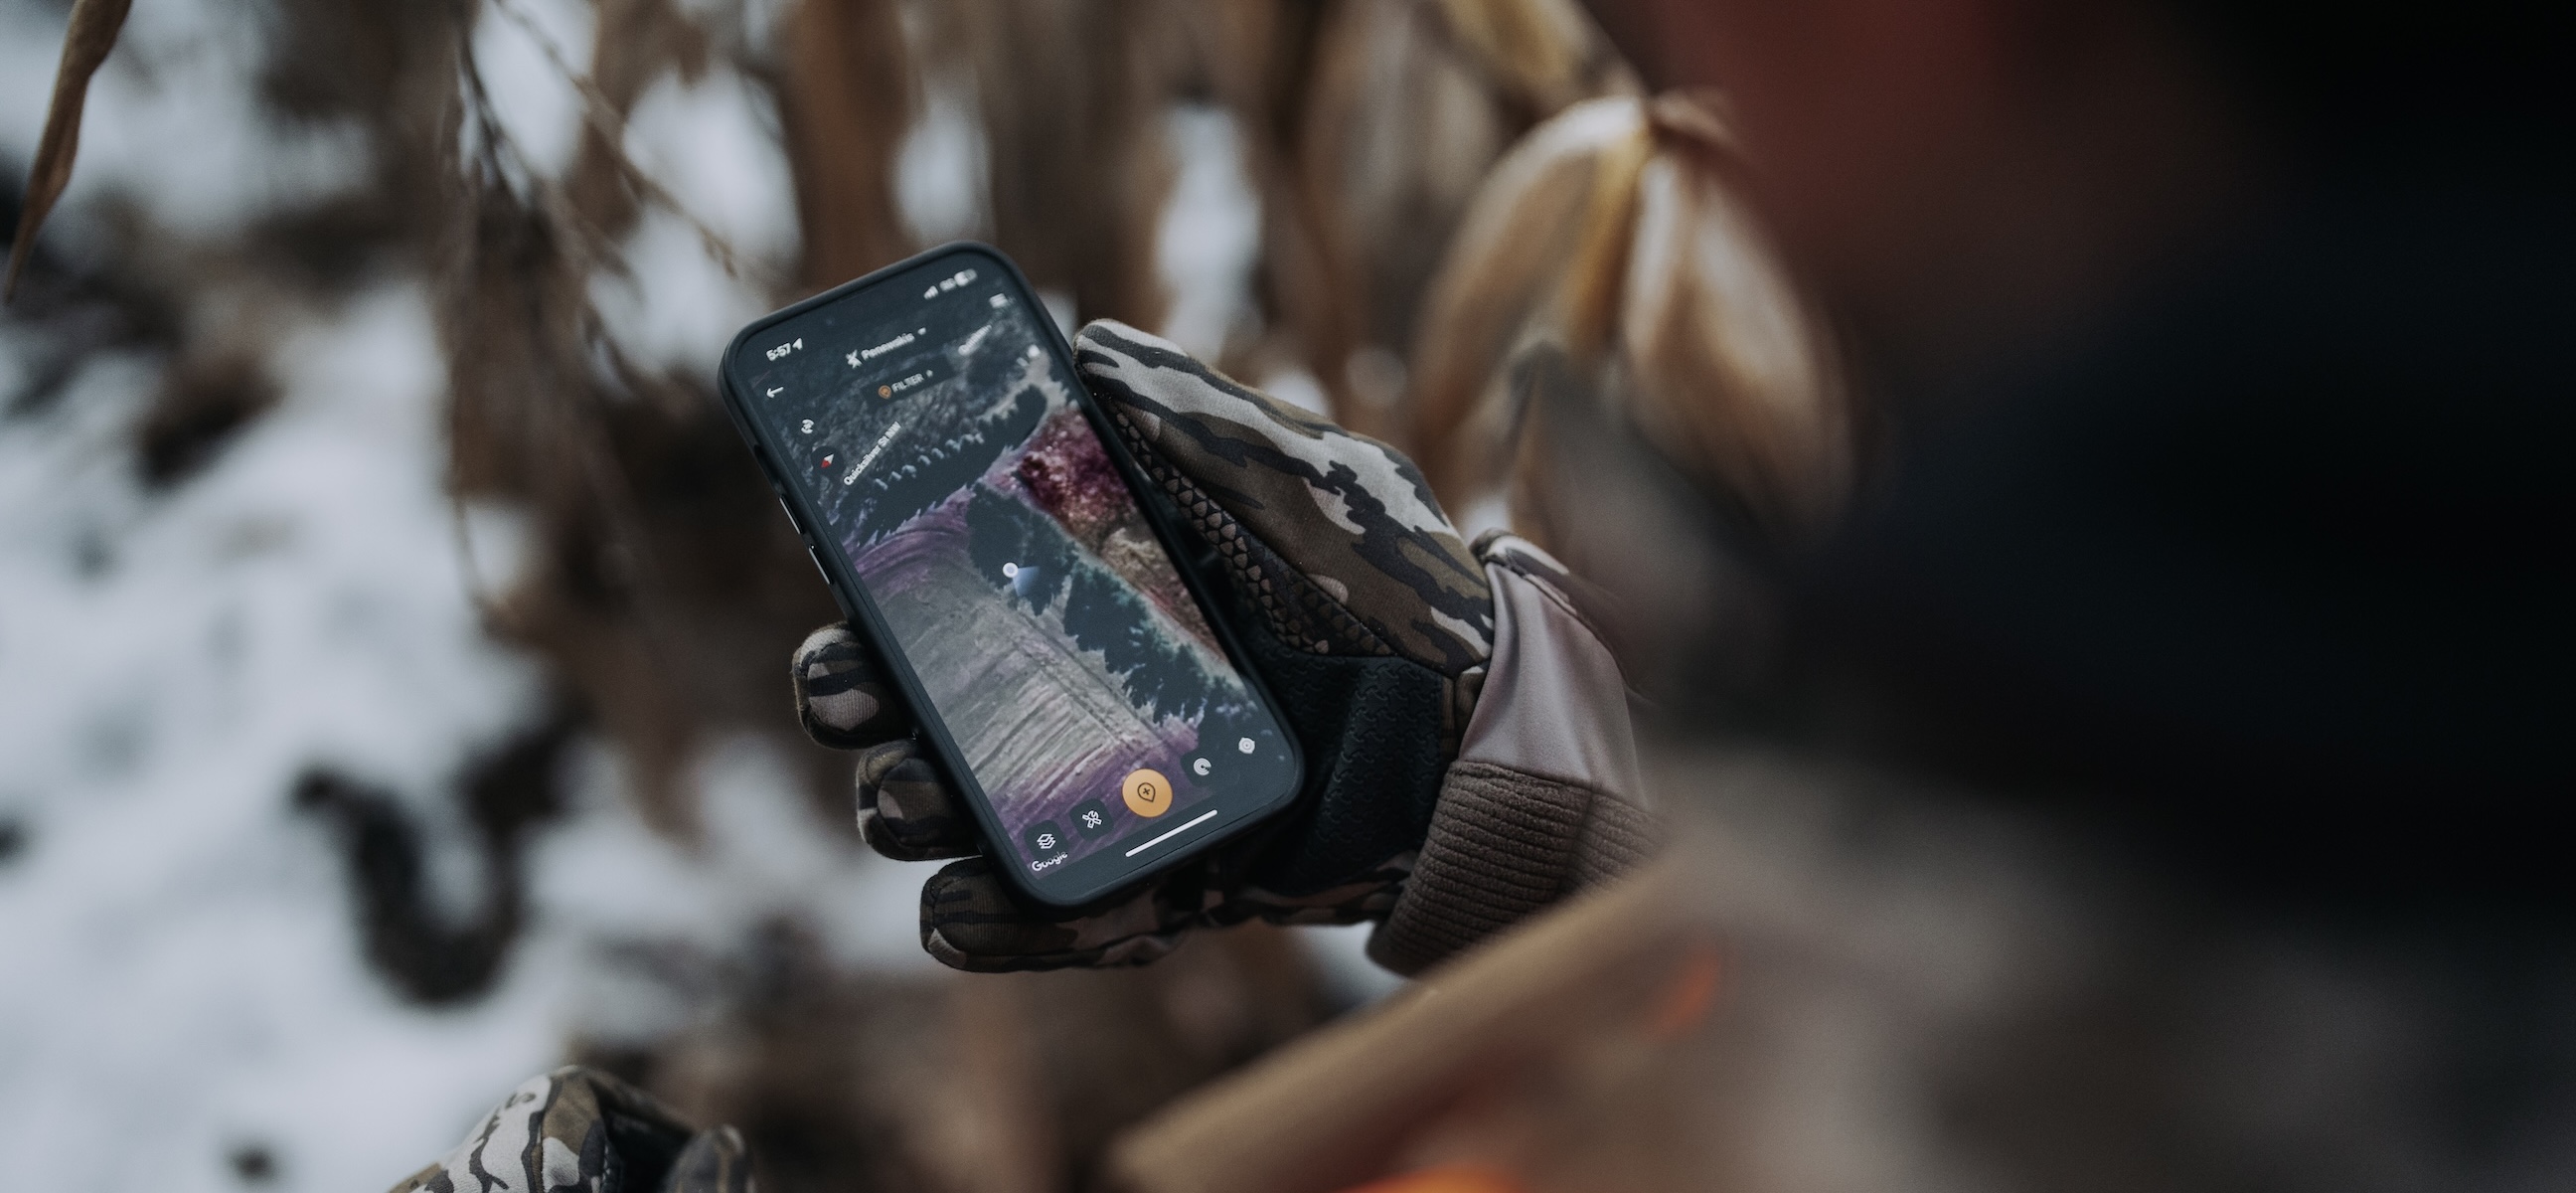
Use certain tactics to scout during the pre-season.
Tactics to Use
Hunters should implement certain preseason scouting tactics. E-scouting with HuntStand. Putting boots on the ground. Posting cellular trail cameras. Glassing from afar. These and more are important steps to take and efforts to complete before scouting in person and while scouting in the field.
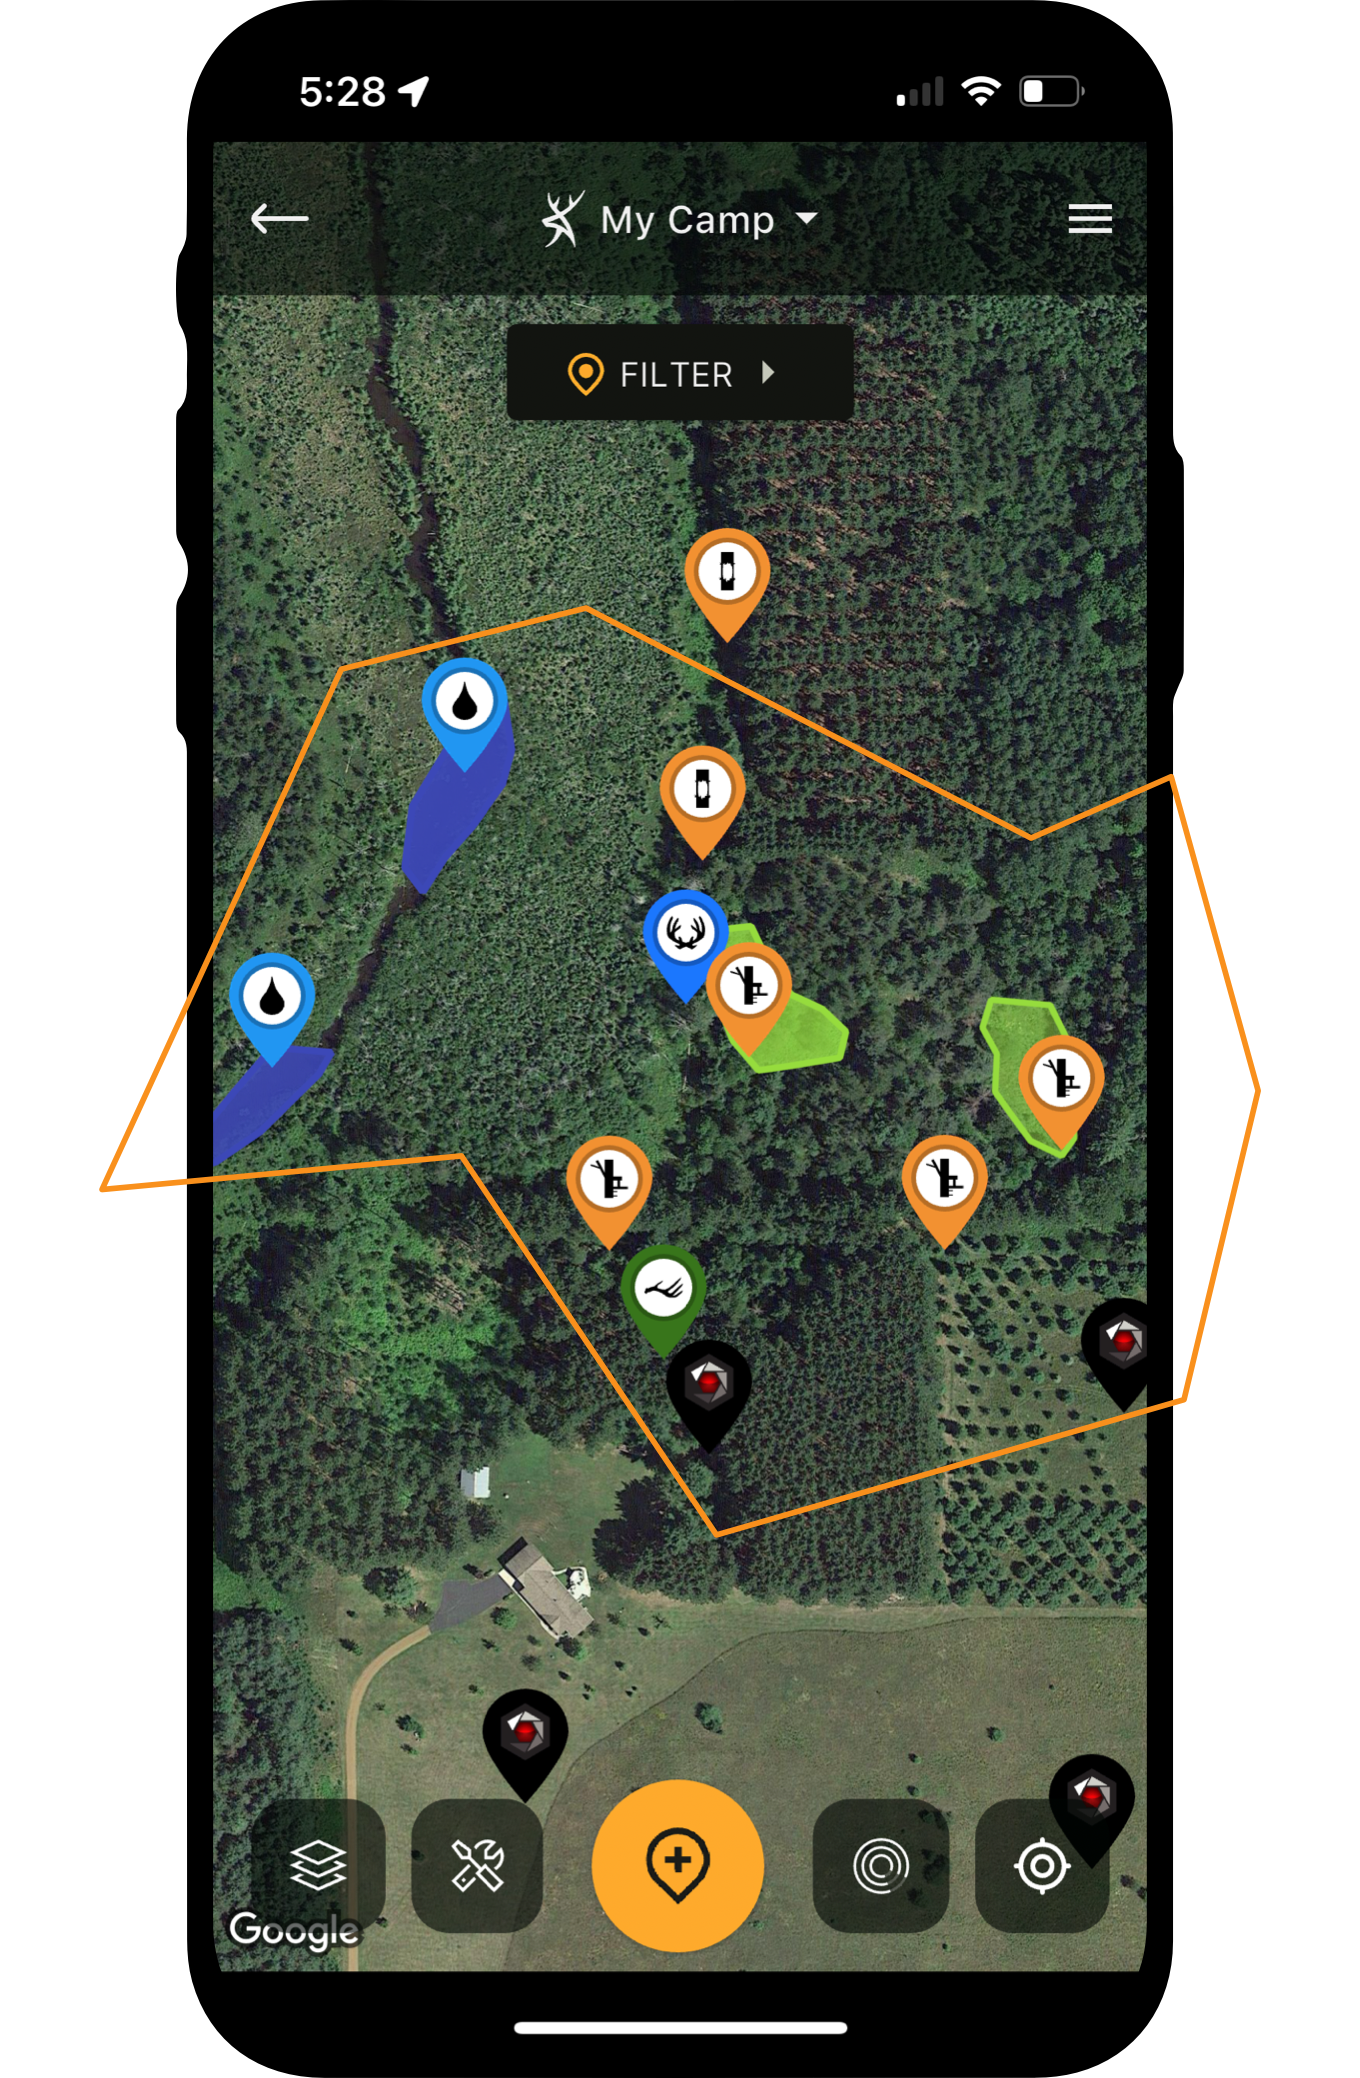
E-Scout with HuntStand: Start by e-scouting with HuntStand. Use key base layers, such as Hybrid, Monthly Satellite, Natural Atlas, Quad Topo, National Aerial Imagery, Satellite, Mapbox Satellite, Outdoor, Terrain, and 3D Map. Implement overlays, such as Property Info, Hunting Lands, Public Lands, Whitetail Rut Map, Whitetail Habitat Map, Tree Cover, Crop History, and Contour. These and other tools are excellent for finding good spots to scout on foot. Drop pins for places of interest to scout in person. And before heading afield, save offline map versions of your hunt areas to ensure continued app access even when service fades.
Put Boots on the Ground: With a good e-scouting effort in the books, it’s time to hit the field. Spend time searching for all of the important whitetail scouting finds mentioned above. Start piecing together your understanding of how deer navigate the landscape. Connect the dots between bedding cover, food sources, and water sources.
Post Some Cellular Trail Cameras: While in the field, begin posting some cellular trail cameras. Either post these as you go (to save time) or wait and post after you’ve scouted everything (to post cams in the absolute best spots). Of course, be sure to connect your Command Pro app (for Muddy and Stealth Cam cellular cameras) to HuntStand. This ensures your trail camera photo locations are easy to determine, which makes patterning deer and hunt planning much easier.
Make Mock Scrapes: Consider making mock scrapes in front of trail cameras. These serve as excellent spots to capture great photos of the deer on your property. Because deer work the ground and licking branch, and they twist and turn their head, this garners better photos of the deer.
Glass From Afar: Consider glassing deer from afar. Back off several hundred yards (or however far possible), and use the best, most powerful glass you have access to. Study where deer are emerging into big ag fields, food plots, mature oak flats, etc. Use this information to hone trail camera and treestand locations.
Use HuntStand’s Property Lines Feature for Deer Hunting

Follow bachelor groups with bucks you're interested in hunting.
Learn Specific Target Bucks
Some deer hunters prefer to go after the biggest deer they have access to. That might mean only shooting one of the top two or three bucks they have on camera. That said, to do this effectively and consistently, they must learn these specific target books. That process begins during the preseason. It involves finding bachelor groups, analyzing historical data, drilling down on trail camera photos, finding places to intercept travel patterns, choosing stand locations, selecting access routes, and more.
Find Different Bachelor Groups: As your scouting progresses, continue to locate different bachelor groups. Oftentimes, these range from two to 10, and sometimes, even more bucks. Continue searching until you find a group, or even a lone buck, that piques your interest.
Analyze Historical Data: For return bucks, consider studying information from the past. Pour over the trail camera photos of that buck from past seasons. Reflect on in-person sightings of that deer. If landscape conditions were the same (crop rotations, no timber removed, etc.), it might exhibit similar patterns again this year.
Drill Down on New Trail Camera Photos: Carefully analyze new trail camera photos as they come in. Don’t just study the timestamps. Look at the minute details that reflect why bucks do what they do. Are they using certain bedding areas, food sources, and travel routes, with certain wind directions? These and more are the things that hunters need to know.
Find Places to Intercept Travel Patterns: While scouting in the field, and e-scouting after doing so, it’s important to locate the areas where bucks might be vulnerable. Oftentimes, they have the wind advantage during much of their daily movements. Find the few spots where you can benefit from a just-off wind direction. Determine the key stand locations.
Identify Associated Access Routes: In addition to choosing good stand locations, also identify associated access routes. Choose the best entry and exit routes for each stand locations. Sometimes, these are the same paths, but most times, they aren’t.
Study Viable Wind Directions: Observing each stand location and the associated access routes, determine the viable wind directions for these locations. Keep these in mind and make notes for each one.
Trim Shooting Lanes: If needed, trim shooting lanes while in the field. Or, if the trimming is minimal and can be done quietly, do so on the day of the hunt. This can reduce pressure and keep deer off your radar.
How to Conduct a Deer Population Survey

Keep track of specific bucks using cellular trail cameras.
Pre-Season Scouting Mistakes to Avoid
You can do almost everything right and undo it all by doing only a few things wrong. Avoid these mistakes when preseason scouting.
Moving too Close to Bedding Areas: If you already have knowledge of the property, scouting too close to bedding areas can do more harm than good. Therefore, don’t invade these areas unless you’ve never been on the property before. Even then, do so with caution.
Using too Few or too Many Trail Cameras: Run as many cameras as you can afford. That said, running too many trail cameras can be an issue, too. That’s especially true if running traditional SD cameras rather than cellular models.
Checking Cameras too Often: Checking your trail cameras too often is a great way to apply unnecessary pressure. Limit your trips afield to pull SD cards. Pair cellular cameras with external battery sources to reduce visits for battery replacement.
Ignoring Sections of Land That You Can Hunt: Oftentimes, those with new property access scout most of it. But having a long history of a property can lead to complacency and settling into a rhythm of only scouting what seem to be the best areas. Therefore, deer gradually start shifting to the avoided, overlooked areas. Consider scouting these places, too.
Failing to Find the Doe Groups: Doe groups rule the rut. Be sure to locate where they spend the bulk of their time. Generally, other than late winter, they remain more fixed to their core areas.
Getting too Hung Up on One Big Deer: If you have a deer of a lifetime to chase, by all means, hunt that buck. But if your No. 1 is only slightly bigger than No. 2 and 3, or you don’t have a lot of history with the buck, don’t get hung up on one deer. It can burn an entire season (or seasons).
Not Prepping Key Stand Locations: Use the pre-season to prep good, historical stand locations. Not doing so is a good way to fall behind. Keeping stands up to par can result in a quicker, quieter set up before the hunt.
Forgetting That Deer Food Sources Will Shift Throughout the Season: Deer shift and use different food sources throughout the year. Don’t forget that. Instead, create a rough timeline of expected food source transitions. This will assist in hunt planning.
Forgetting That Bedding Areas Change Throughout the Year: While doe bedding remains more consistent during the season, buck bedding areas are more apt to shift. Don’t forget this and continue to anticipate shifts throughout the season.
Applying too Much Pressure: Whatever you do, don’t apply too much pressure while scouting. That can undo much of what you’ve done and void a lot of great work conducted leading up to deer season.
The 5-Step Scouting Plan to Pattern Mature Bucks
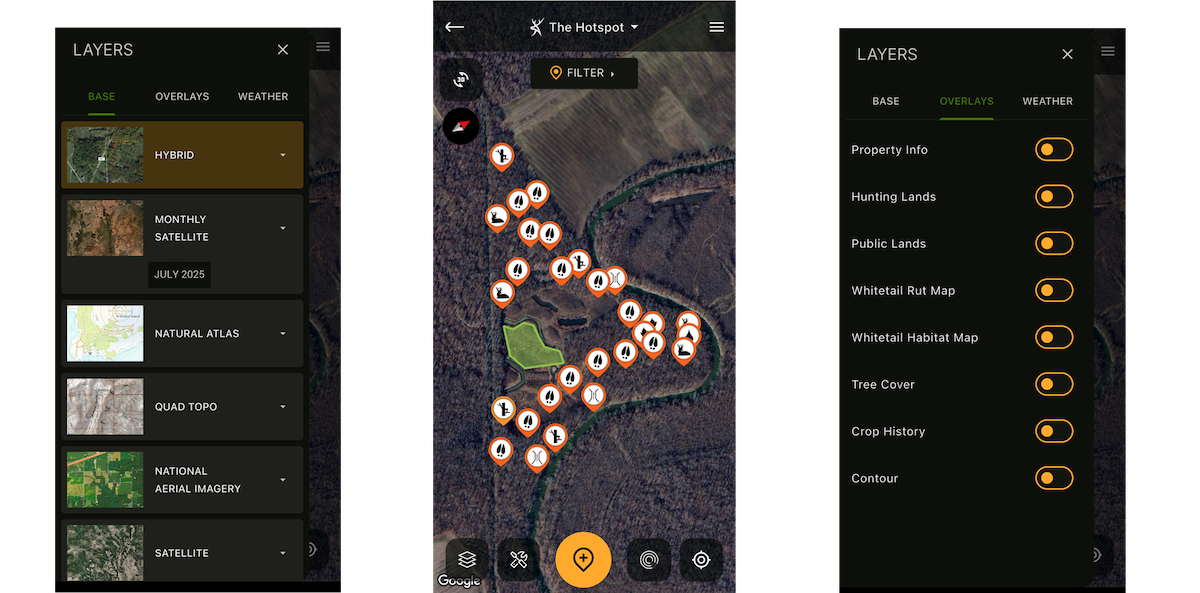
Use HuntStand's tools to conduct your pre-season scouting.
Those who plan to hunt deer this season, and who have plenty of scouting ahead, should consider leveling up with HuntStand. Choose between the available subscription levels and select the one that best fits your needs.