


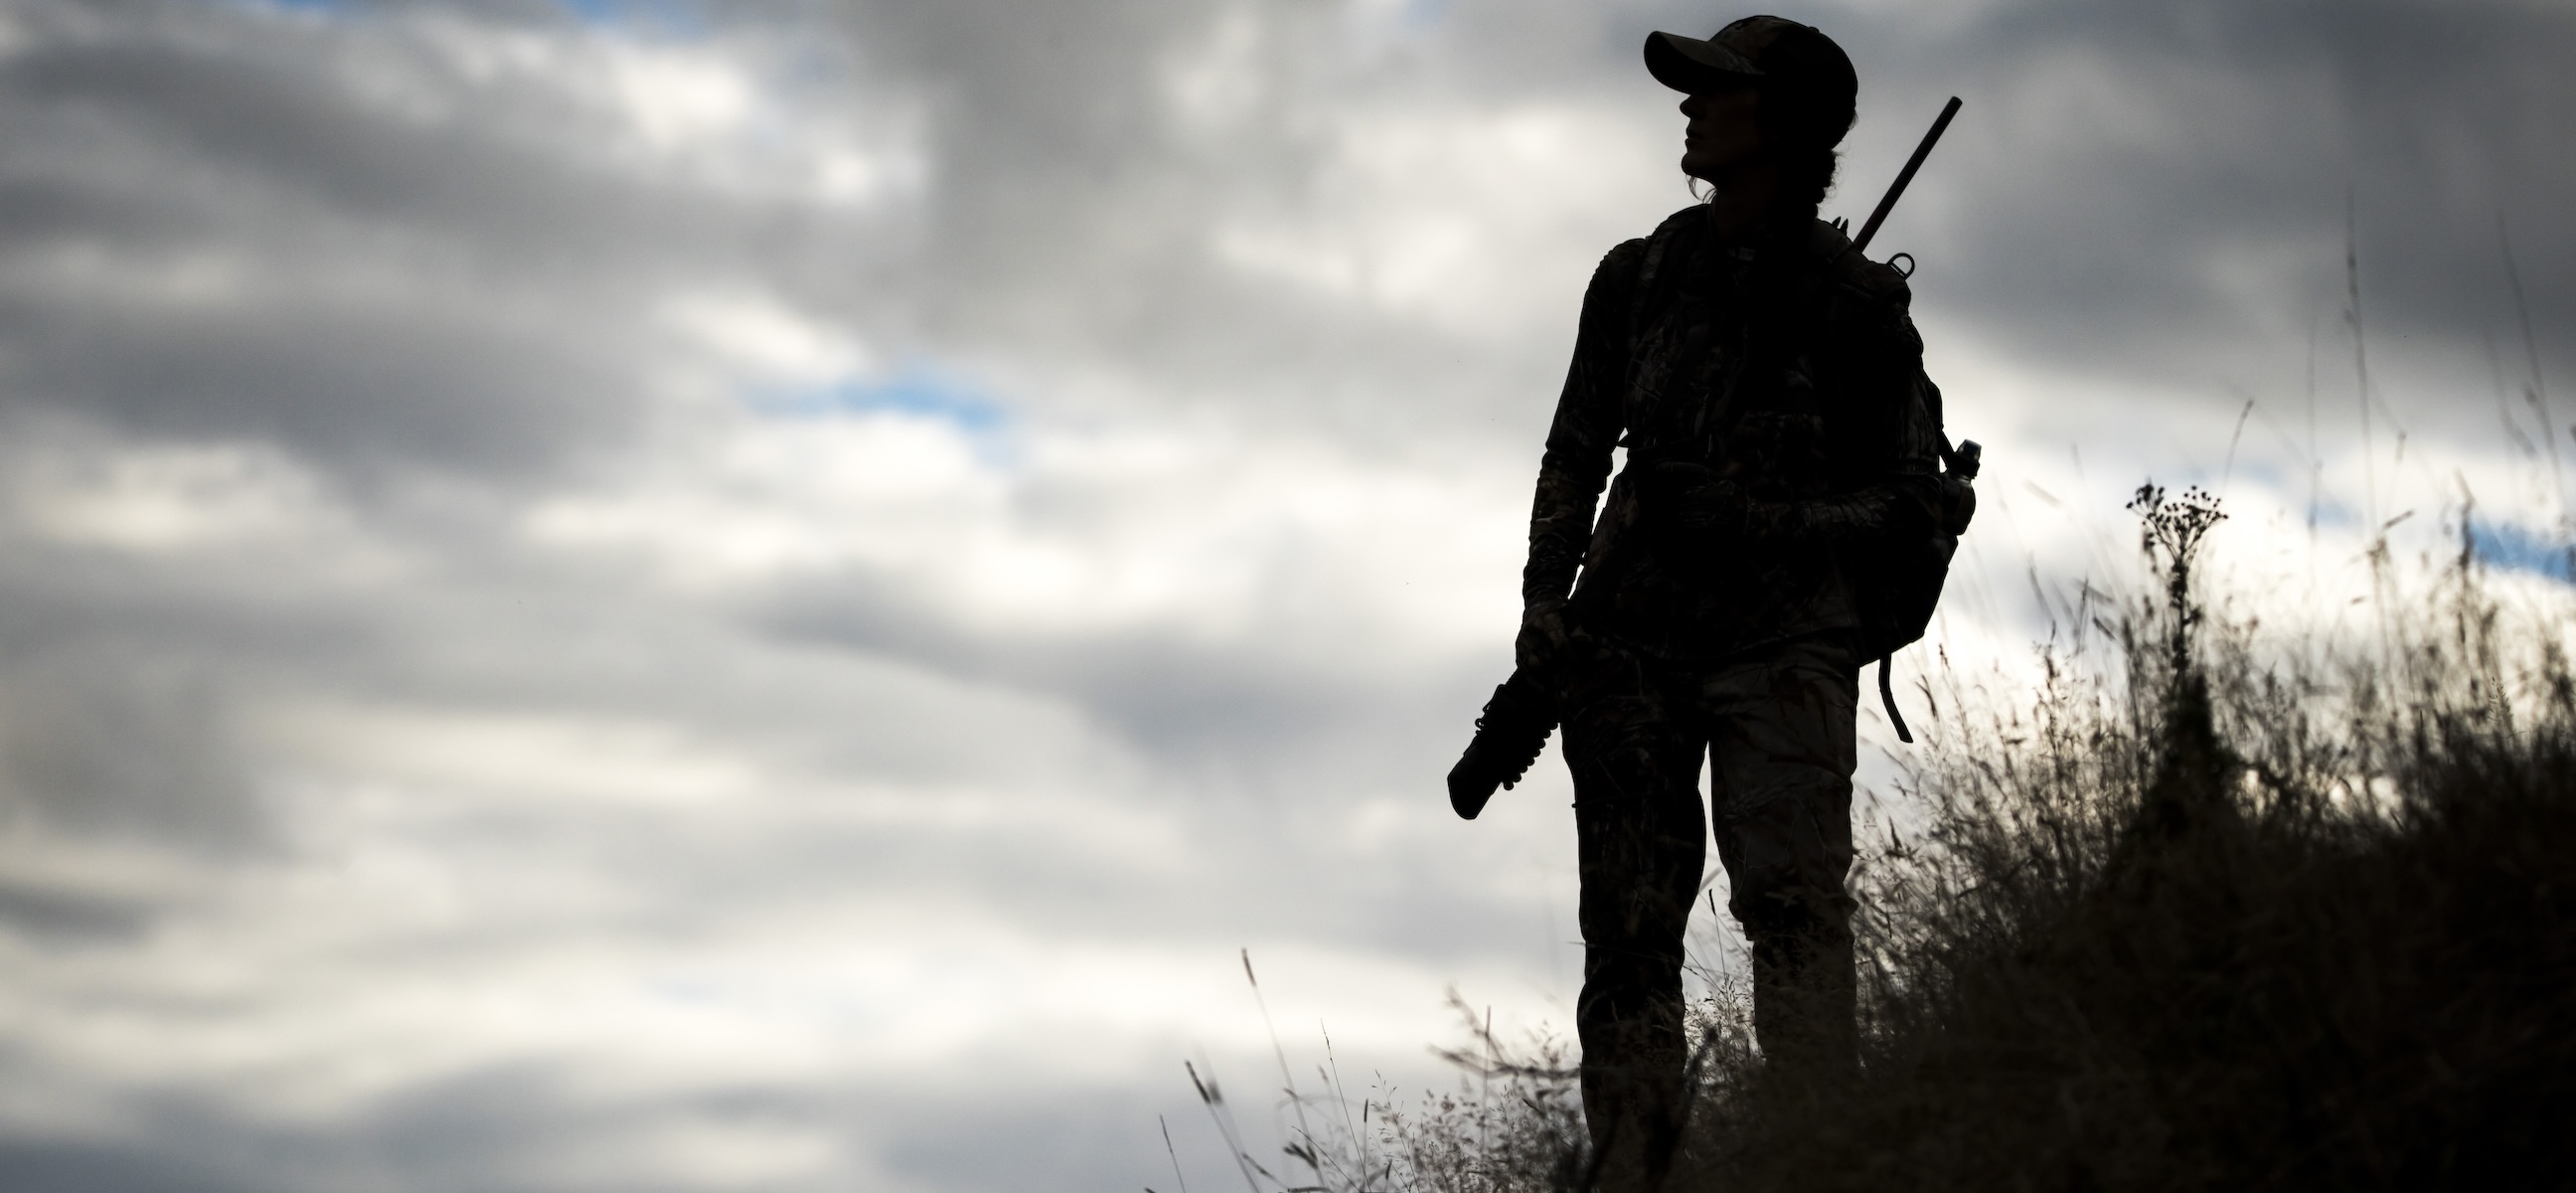
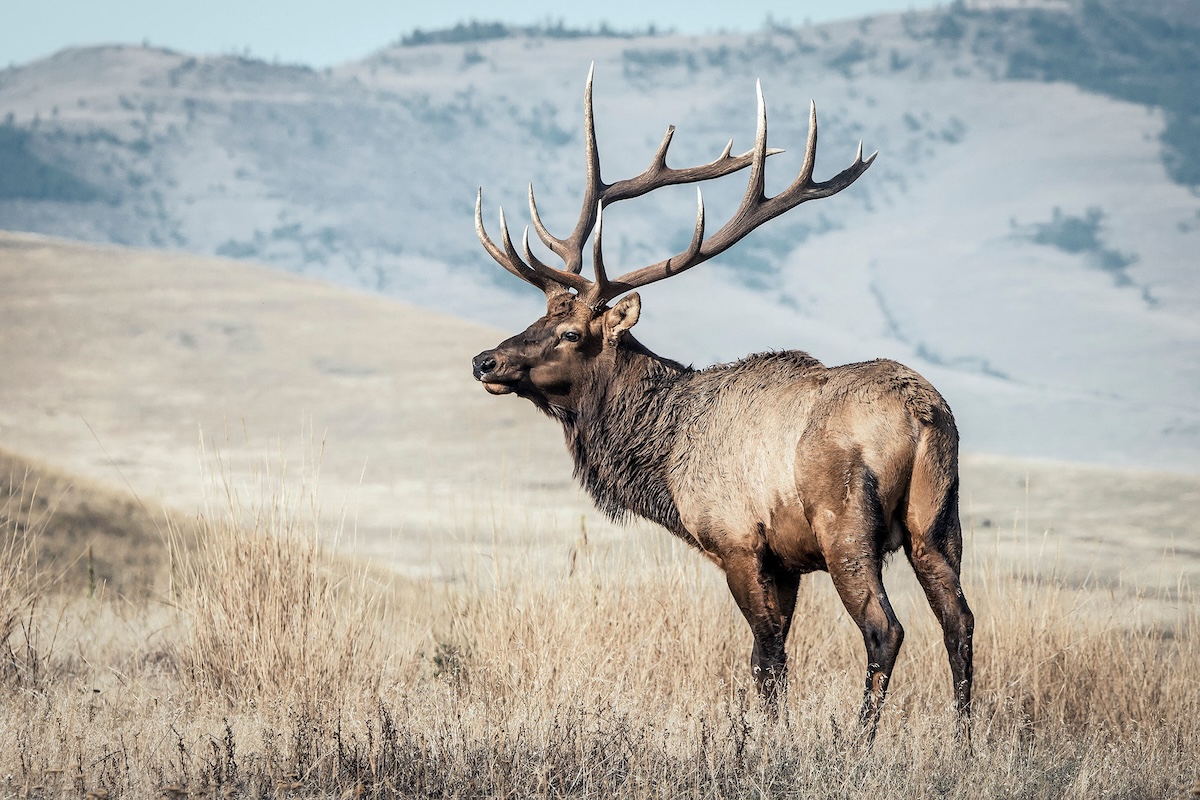

A western adventure is a bucket-list item for most hunters.
Is it time to turn dreams of a DIY western hunt into reality? Time to finally undertake that wild adventure you’ve etched in your mind. You know, the one that’s spurred on by delving into exciting stories and videos of elk, deer, bear, and pronghorn hunts? If this sounds like you take heart: No matter where you live in North America, there is a state or province that offers either a prime over-the-counter, or low-odds-draw tag. And at least one of them has your name on it. Here is how to prepare for a DIY western dream hunt.
For me, in 2016, that hunt was a remote, wilderness mixed-bag bowhunt in Northern British Columbia, in early fall. Come along as I explain preparations for what I hope will be a truly epic adventure. In this two-part series, I will share how I go about turning my ideas for a DIY hunt into reality, and give myself every chance for success.
How to Prepare for a DIY Western Dream Hunt [Part 2]
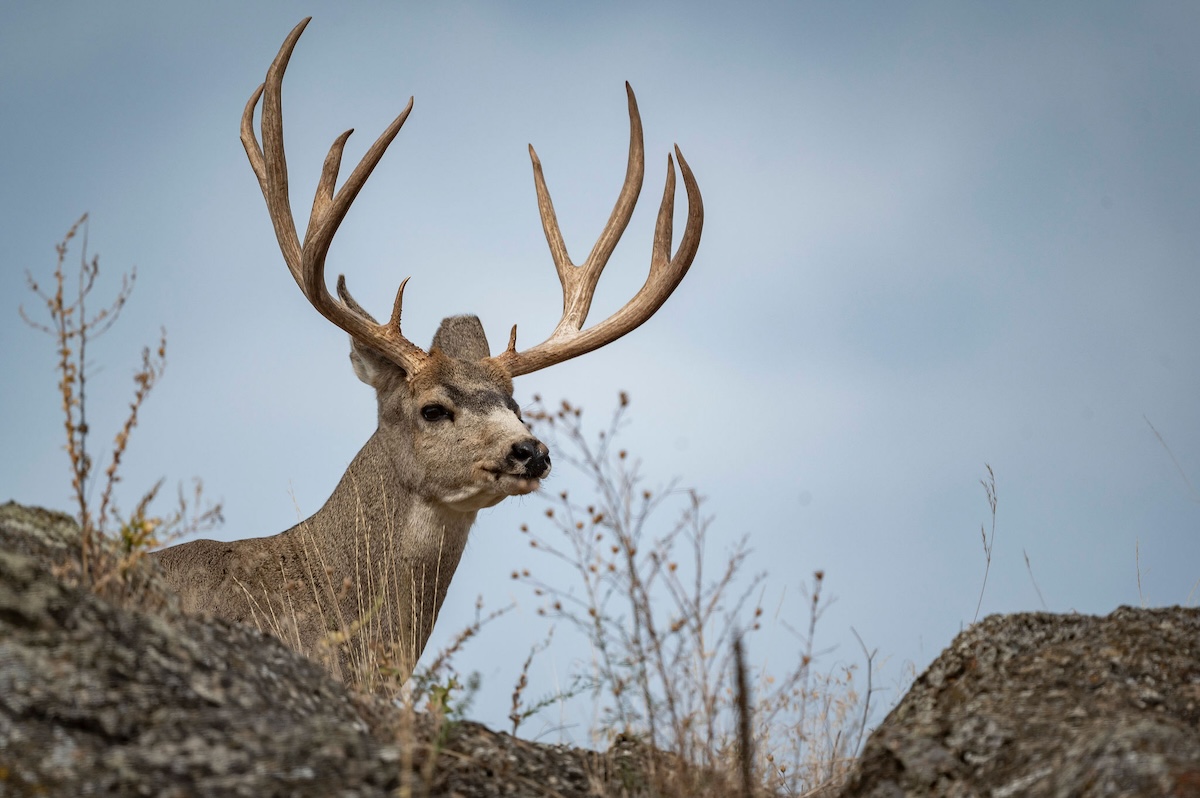
With so many options to choose from, it's important to select a key species to focus on.
1. Consider the Game
Elk, pronghorn, deer, bears, moose — the options are nearly endless when looking at all of the tags and hunts available for adventurous hunters willing to travel. States like Montana, Wyoming, Idaho, and even Alaska, are all excellent places to consider for your dream hunt.
Of course, depending on which state or province you choose, some species will require you to apply for tag draws. If you missed the many recent deadlines don’t worry; you still have a chance to grab up some of the “left-over” tags that were not drawn. Just be sure when doing your research, that you first verify your ability to hunt as a non-resident, without a guide. This was one of my biggest mistakes when I initially tried to wrap my head around all of the different regulations—and an especially important one if you’re looking to hunt out of country.
Don’t forget to use HuntStand (especially the Satellite/Terrain/Road views) to check out the terrain and general layout of any potential hunt areas/units, so you know exactly what you’re getting into.
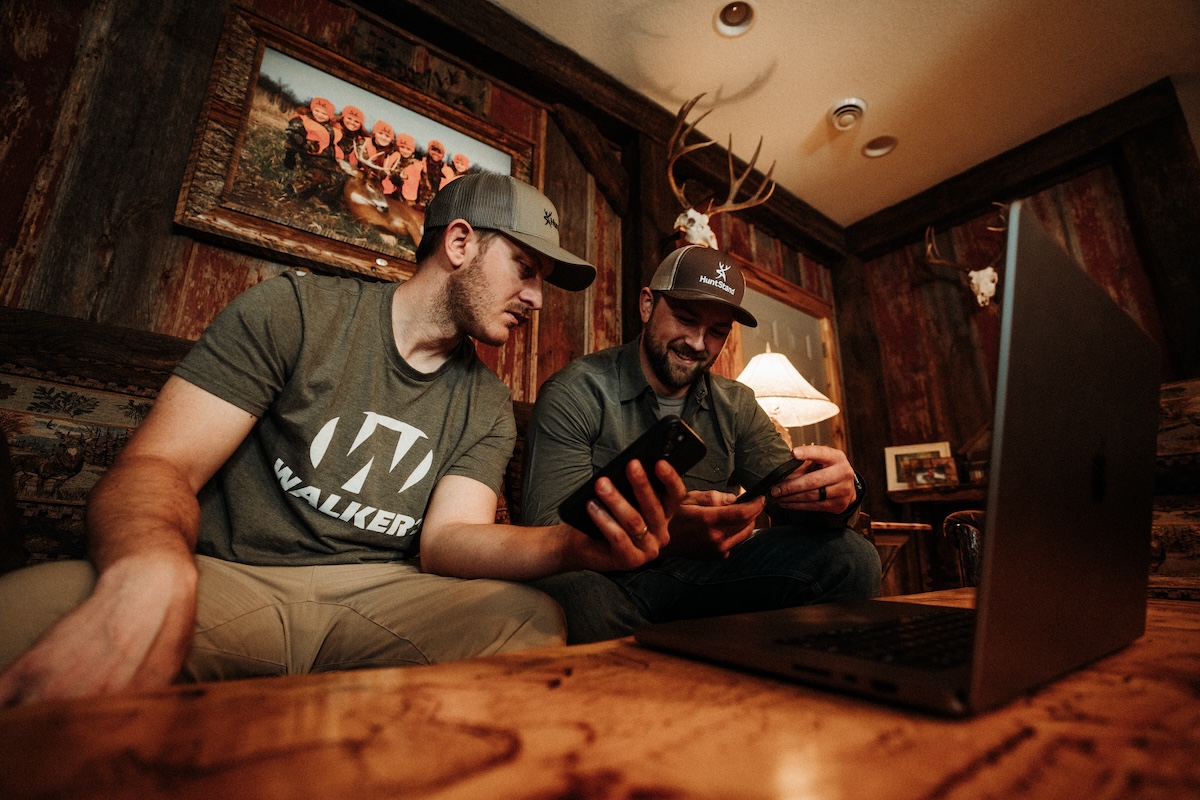
Decide what type of accommodations you want before beginning the planning process.
2. Consider the Accommodations
With your interest piqued, it’s time to make some of the initial decisions that will help lay out your hunt. The biggest one, is what kind of hunting are you interested in? Is 10 days of living out of a backpack while bouncing from valley to valley in search of screaming bulls appealing to you? Or maybe you’d like to come back to the comfort of a hotel or trailer each night and enjoy a hot shower? (Pronghorn tags are great for this.) Either way, this decision affects not only where you hunt but also what tags are available.
Taking into consideration that I love to get away from the crowds, I have opt to go the backcountry hunting route — a two- to three-week backpack hunting adventure targeting multiple species.
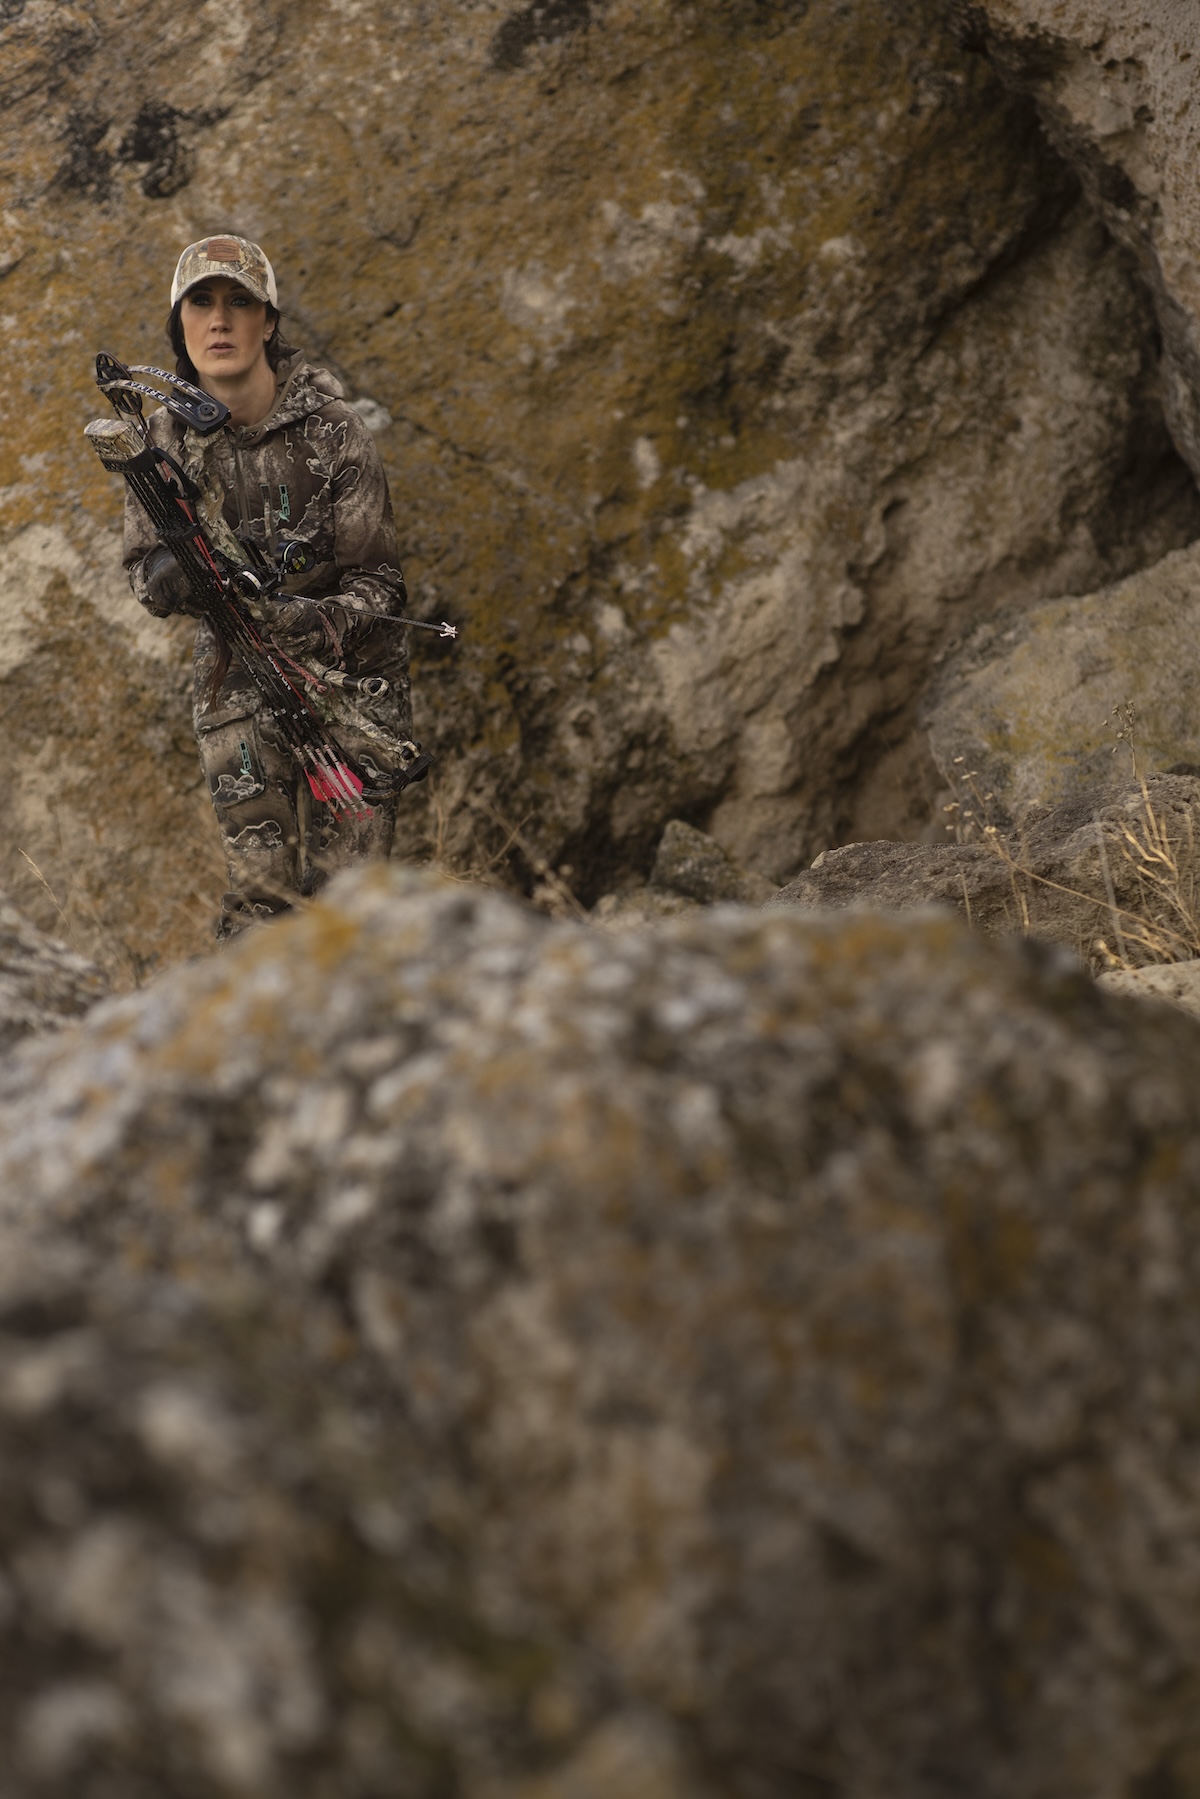
Choose your weapon with care, and become proficient with it.
3. Choose Your Weapon Wisely
With many opportunities for bow and rifle hunters alike, if you’re willing to hunt during a “weapon-specific” season (or tag), you might have better options for prime locations, or even easier draw odds. A perfect example of this is Montana’s multi-region, archery-only antelope license. Not only does it allow you to hunt a much greater area because you’re using archery equipment but it is also easier to obtain than the same license that’s required to hunt in some of the same zones, while using a firearm. Primitive weapons not only add to the challenge of the hunt, but give you better odds at a trophy animal.
Best Tips for Buying Hunting Binoculars
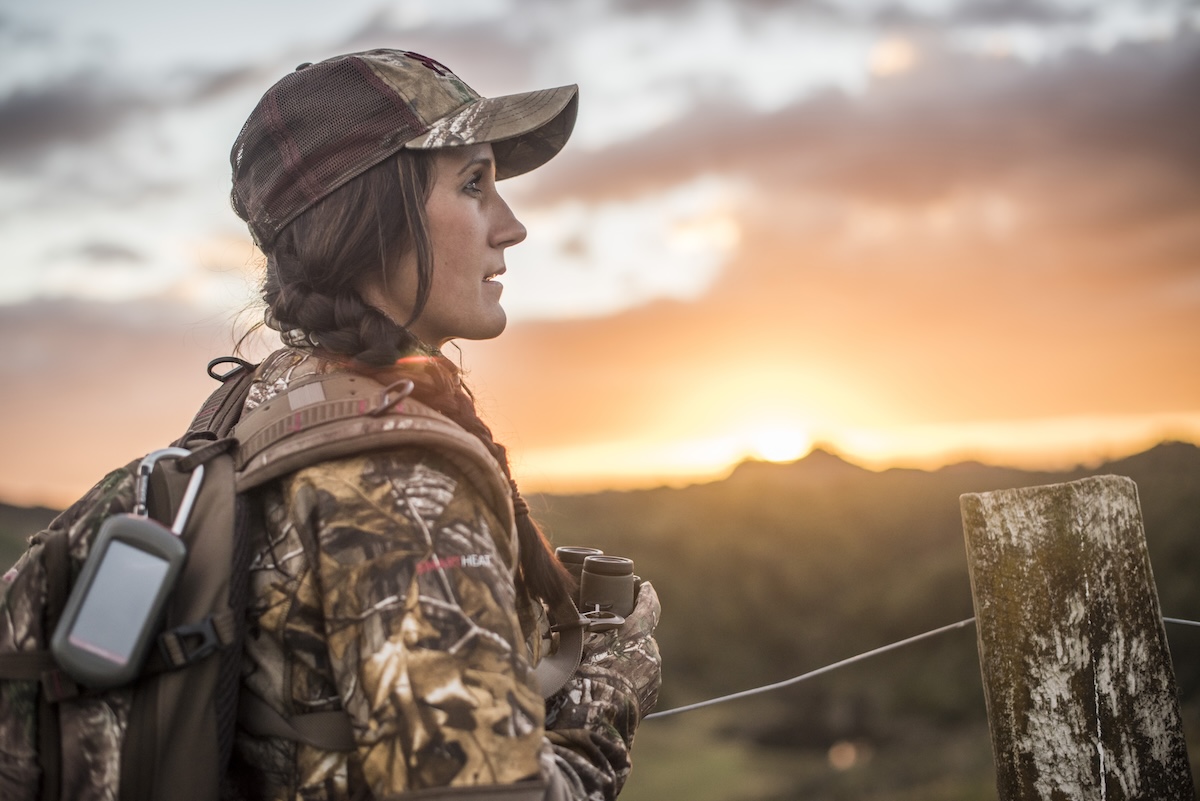
Have an idea of what you hope to accomplish.
4. Define Goals Before You Go
Now that you’ve narrowed down how you’re going to hunt, there is one last consideration when choosing the right state/province and tag for you. Are you looking for the utmost opportunity to fill your tag and freezer? Are you looking for that trophy buck or bull?
If looking to simply fill your freezer, Colorado has some great options for over-the-counter, either-sex or antlerless elk and deer tags. This is not to say that you won’t find mature animals in these areas, but if a trophy animal is really what you have your sights on, it’s best to do a little more research. Trophy hunters should target the zones where the record books show these animals are most common.
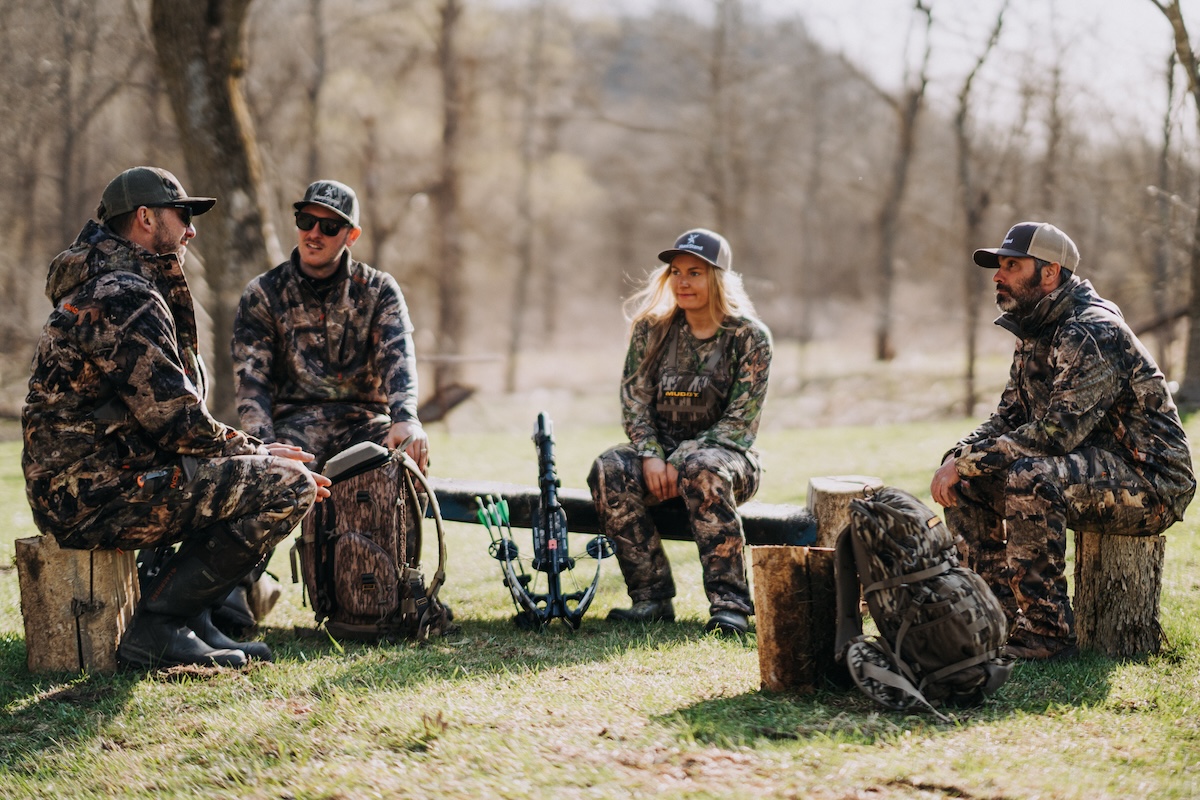
Choosing your hunting partners is no small decision.
5. Choose Hunting Partners Carefully
Do you have a favorite hunting buddy that you travel with regularly? Or maybe you like to hunt solo? Since these hunts take a lot of time, money, and effort to pull off, ensure it will be with someone who is on the same page. Not only can hunting the backcountry be miserable when you’re butting heads with your companion, but it can also lower your odds of filling a tag if you can’t effectively work together.
When I started planning my upcoming fall hunt, there was no question who I would invite. My long-time hunting partner, Mike, has been through it all with me. Long and difficult stalks, success, failure, misery, horrible weather, injury — just about everything. This is the kind of partner I like for western DIY hunts. In the end, you want to share your adventure with someone you know you can rely on no matter what the circumstances, and it certainly helps if that person is constantly packing a positive attitude. It’s likely those traits will be tested.
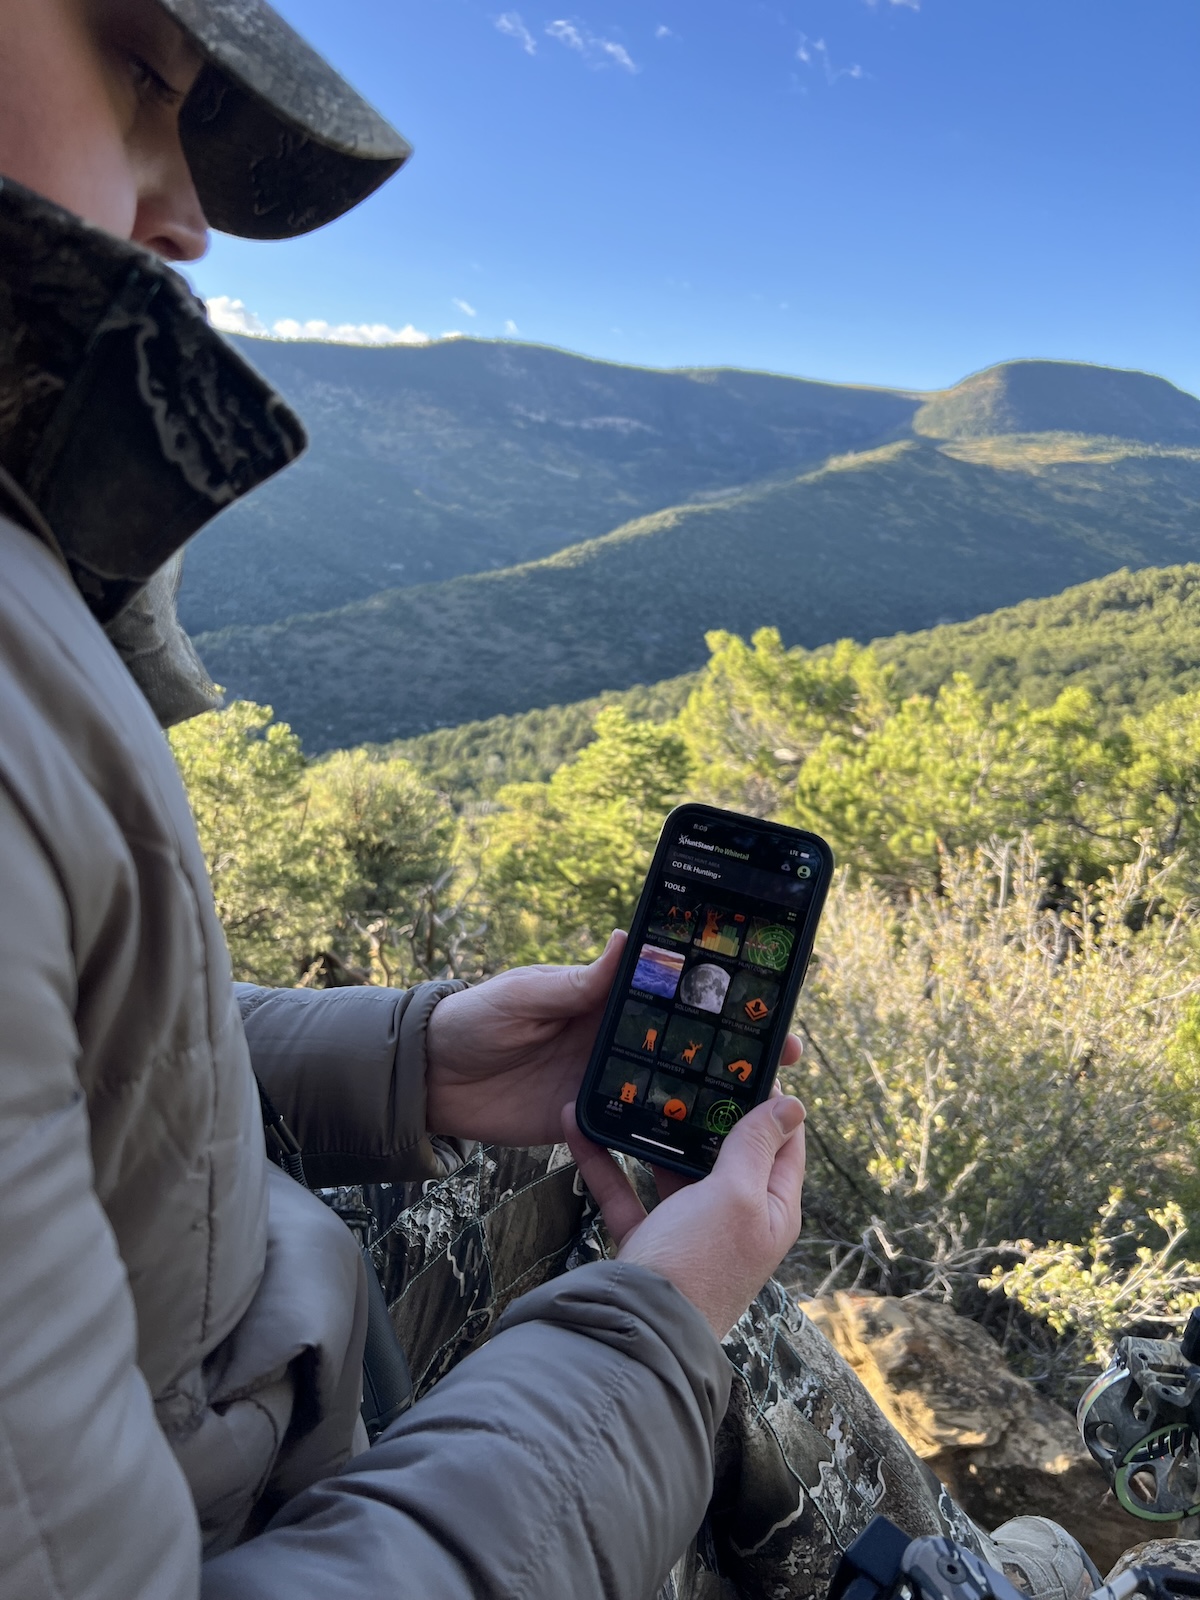
Use HuntStand before, during, and even after the hunting trip.
6. Start Your Serious Scouting With HuntStand
So you’ve got the state, species, type of hunt, and your hunting partner all figured out. All that’s left is buying the tag and heading out, right? Wrong! If you want to be successful on a DIY hunt, the work is just beginning. For me, this is where HuntStand really shines. Not only are these great tools to use during the hunt, they’re ideal for pre-hunt scouting as well. By using the ScoutMap feature to find your hunting area, you’re able to switch between “Satellite,” “Terrain,” and “Road” views (among others), which I use to find the best access, water sources, and land features/contours where animals are likely to hang out. Furthermore, you can save exact locations you think will be productive, so you can quickly access them once in the field, all while using your smartphone and HuntStand.
Western Big Game Draws: Deadlines and Details by State
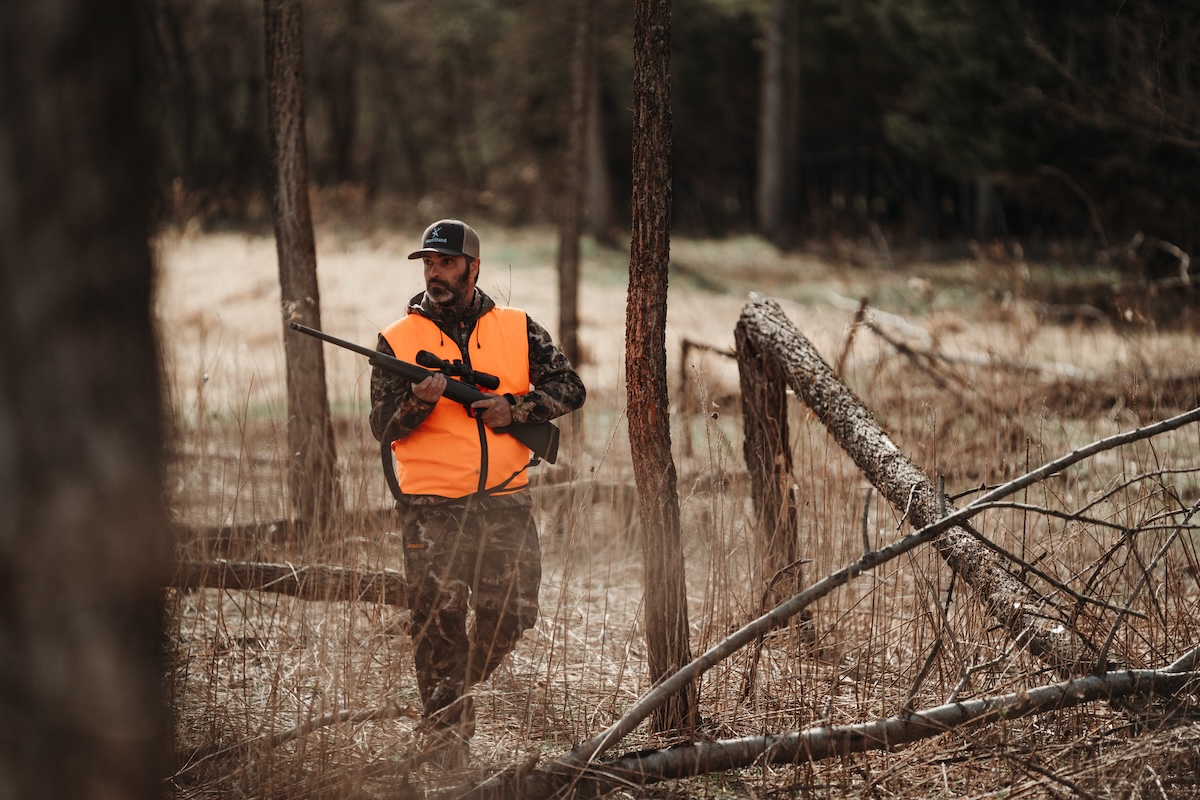
Commit to the trip, plan it well, prepare efficiently, and it should be a great time.
7. Make a Serious Commitment
Since DIY hunts out West are not typically one- or two-day ordeals, make the commitment to stay long enough to give yourself a serious shot at success. This is what takes your adventure from the trip you’ve talked about for years, and makes it reality. Is your wife OK with you leaving for this length of time? Do you have enough vacation time accrued at work? Get every aspect of your life on board with the fact that you are making this trip.
Surprisingly, this is one of my biggest hurdles. Along the way, remind yourself that every little detail you take care of well in advance is one less focus-robbing hurdle to deal with when you’re looking to head off on your hunt this fall.
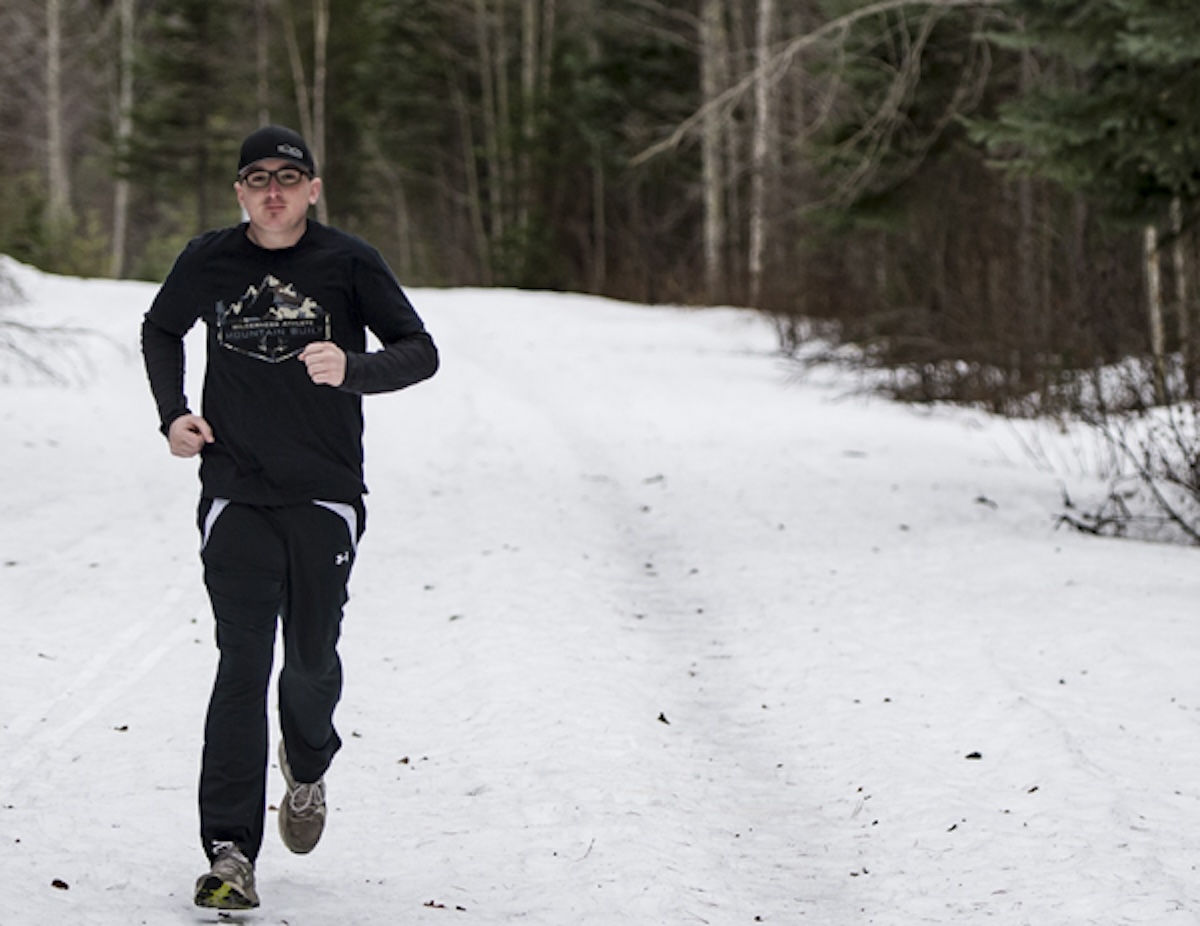
Get in shape before embarking on DIY hunts.
8. Get Fit
Although extreme fitness in the hunting world seems to be the craze these days, and many see the topic as beaten to death, this nevertheless remains a critical aspect to any western, DIY hunt. All of us can benefit from increased strength and endurance when packing numerous loads of meat off the mountain. These also don’t hurt when the goal is moving quickly across the rolling, deep-draw-laden prairie in order to cut off a herd of pronghorns.
Regardless of your hunt goals, being in the best physical condition possible is a priority. You need not hit the gym daily, but several times per week is good. You should make light runs, and/or hiking with a heavy pack. Biking is also good hunt prep. Mixing things up can greatly enhance enthusiasm and reduce feelings of tedious boredom.
Since I am reminded on just about every western hunt that I need to be in better shape, this year I am “kicking it up a notch” to get ready. Not only am I exercising regularly, but I have begun using Wilderness Athlete supplements to help with my results. Now, I know many people don’t like the idea of supplements — I was one of them — but I can tell you first-hand that since I began using these, my weight-loss results, as well as my workout healing/recovery time, have been impressive.
Your Guide to Western Big Game Draws: From Point Systems to Understanding Draw Odds
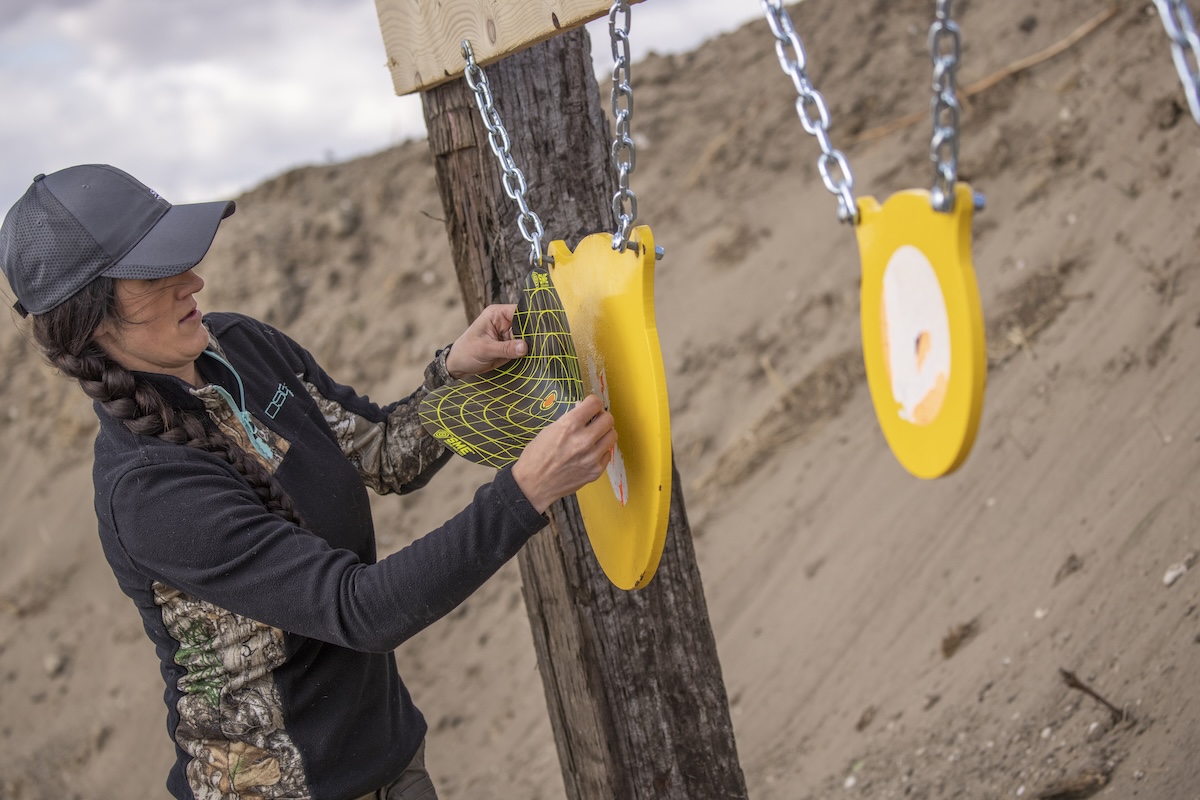
Practice with your chosen weapon and hone those shooting skills.
Prep for Next Steps
If you’ve got a hankering to make your DIY dream hunt a reality this fall, the information in this article should help get that ball rolling. But the info herein is just a start. Look for Part Two of this article on HuntStand, where I address important dream hunt gear requirements and considerations, as well as the final, critical preparations for your hunt.
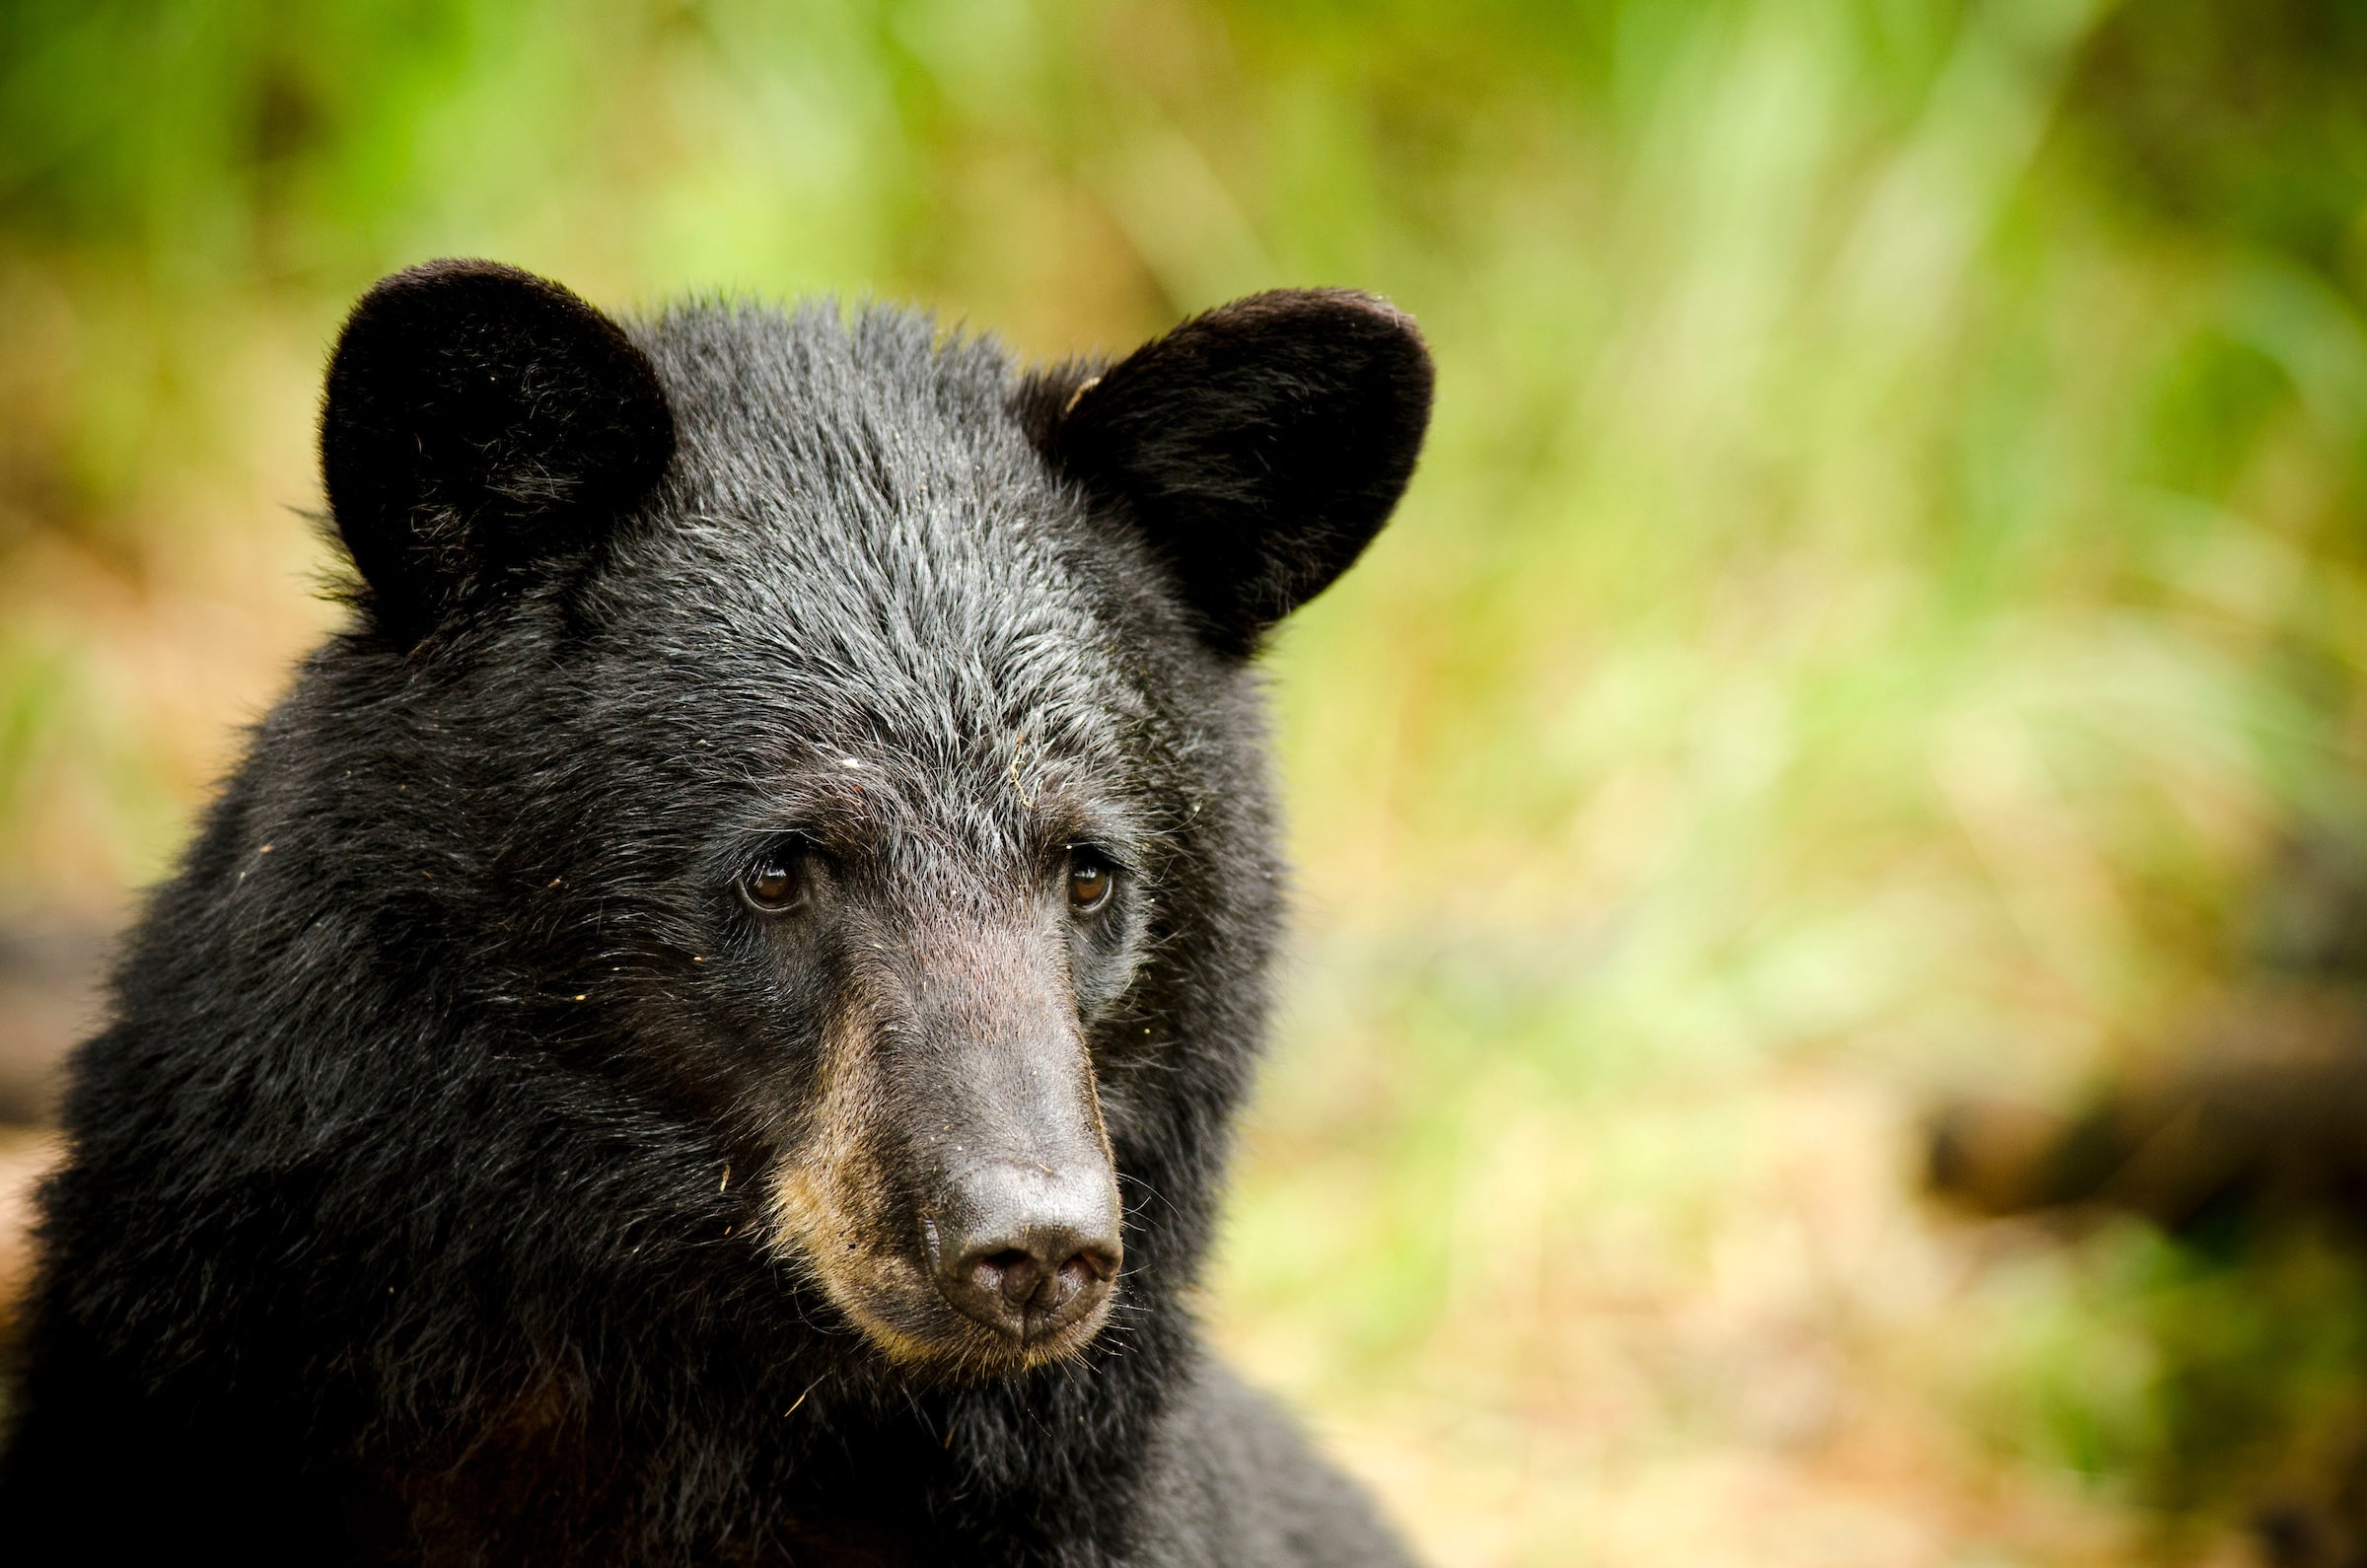
Spring bear hunting has a rich heritage full of exciting traditions.
Bow-bagging a deer, turkey, or maybe even a bear over bait, are all great accomplishments. But what should be your next step? For me the logical choice was easy: spotting and stalking black bears. With opportunities available during both spring and fall across North America, there’s nothing that should hold you back from sneaking up to a black bear at eye level. For me, this has become the one hunt that I’m not willing to miss each year — especially come spring. I consider this annual adventure a near-perfect transition between winter predator hunting and summer scouting. Don’t miss out. Spot-and-stalk spring black bears. This adrenaline-pumping spring hunt is surprisingly within reach, and with help from HuntStand you’re already on your way to telling a success story.
Planning the Hunt
As the snow started to melt, I was getting the itch to once again hit the woods in search of a bruin with my bow. The season hadn’t yet opened, but that didn’t matter — I was spending hours on my HuntStand app scouring maps, looking for areas that had the right contour and clearings, that would help them be among the first to experience “green-up.” When black bears come out of their wintertime dens, they’ll gravitate toward the first chutes of lush spring vegetation. In hilly or mountainous country, these spots will often be right at the snow line. In flatter areas, you’ll want to identify obvious openings that are surrounded by security cover, particularly those that are facing south with ample sunshine to encourage new growth.
Many late nights were spent e-scouting with HuntStand, dropping markers on potential feeding grounds and access roads, and studying the weather patterns and wind direction to plan a perfect ambush. Soon I was set. All I had to do was wait for April 1 — opening day.
Spring Bear Hunting: How to Hunt Trophy-Class Black Bears
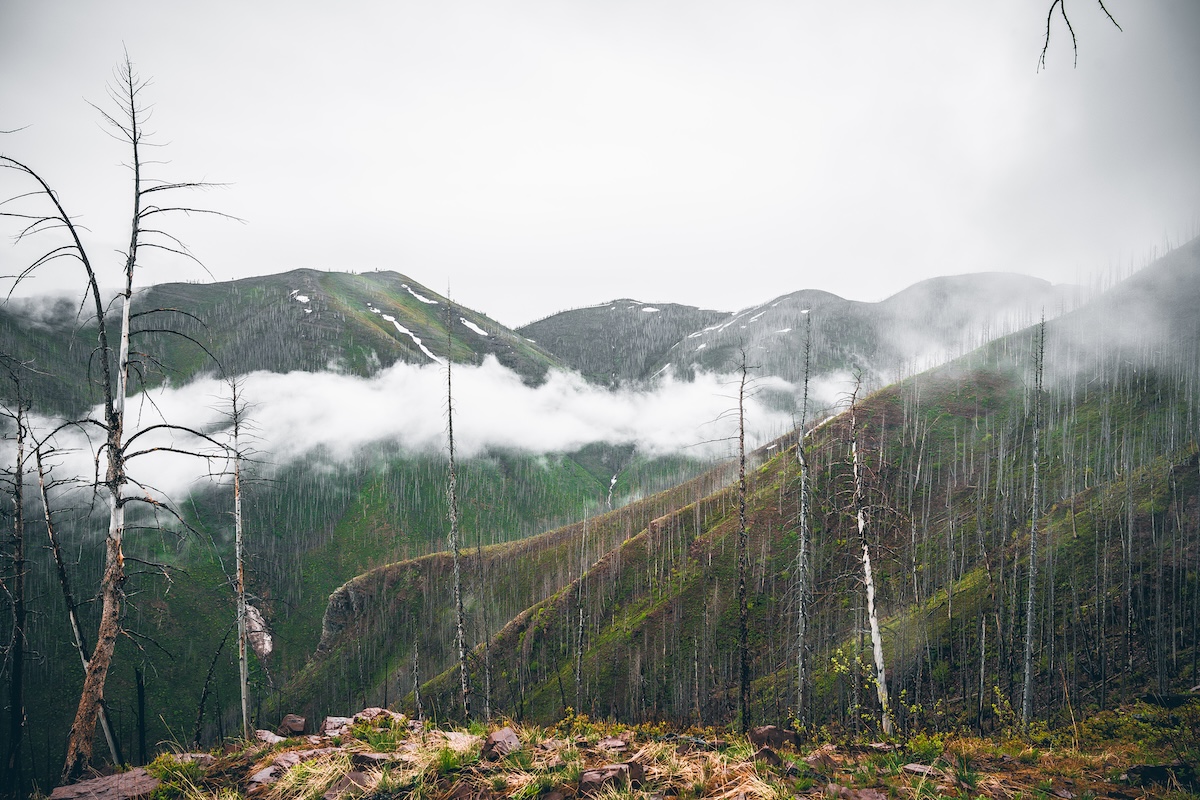
Spring bear hunts don't always translate to great weather.
The Hunt Begins
It’s always a good idea to have a partner on backwoods or backcountry hunts, so my good friend would join me for this one. It didn’t take long to run into our first snag during the first morning of the hunt. Although we had our travel routes mapped out ahead of time in HuntStand, there was nothing that could have prepared us for the vast amount of blowdowns that were blocking access into our carefully chosen remote area. Spring hunters everywhere should take note: Blowdowns are a common occurrence when you’re the first to access an area after winter comes to an end. Thankfully, we had planned for the worst-case scenario and had packed a chainsaw, so we slowly cut our way deeper and deeper into the backcountry.
Finally, Arrival
Finally arriving at our destination, there was no question on the game plan. For spot-and-stalk black bears in the early spring before the rut starts, the equation is quite simple: If you find the food, you’ll find the bears. Since we were able to get to a high vantage point that overlooked an old pipeline, as well as several nearby clearcuts, we knew we’d found a good area. Although our first attempts at glassing the area proved fruitless, our confidence remained high. From the start it was obvious we’d been able to locate the only area within miles that had greened up, and it was literally covered in dandelions. Discovering this fact would turn out to be every bit as valuable as spotting a big-bellied bear.
Hunting Pressured Fall Black Bears
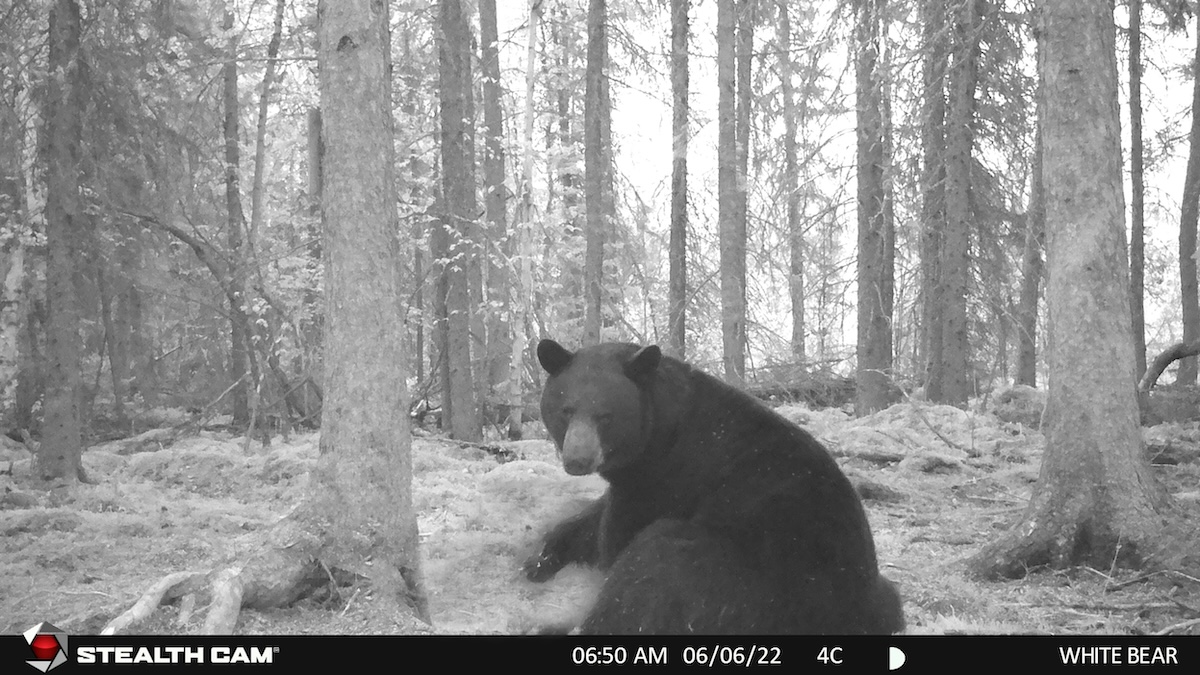
Scouting assists in the spring bear hunting process.
Scouting for Bear Sign
The rest of the day was spent working over to the freshest growth, and exploring for any bruin sign. Upon arrival, it didn’t take long to cut fresh tracks and scat and mark our findings in HuntStand. With limited daylight, leaving no time to investigate another area, we stayed put in hopes that a bear would show itself, but nothing emerged from the dense forest.
My hunting partner wouldn’t be able to join me the next day, but I made plans to return solo with high hopes and confidence in my familiarity with the landscape. I had a gut feeling, which was helped along by the prime, isolated new-growth location. I figured it was simply a matter of waiting out Mr. Bruin.
Go Time
Anxiously heading out for another day in bear country, it didn’t take long after arrival to locate a bear with my optics. My suspicions had been right and sure enough, there he was, feeding on dandelions in the middle of the pipeline. Eager to make it happen, I made a quick, aggressive stalk, and within minutes found myself within 50 yards. I edged forward inch by inch, in hopes of getting within 20 yards. Suddenly, it was go time. As I crawled closer, I looked up to gauge my progress — and saw the bear charging aggressively, right for me! Instinctively, I came to full draw; as soon as my pins landed on black hair, I let the arrow fly. I hadn’t realized the wind had begun lightly swirling. The bear must have caught my scent. Needless to say, I’m thankful I looked up when I did.
5 Affordable Bucket List Hunts (That Won’t Break the Bank)
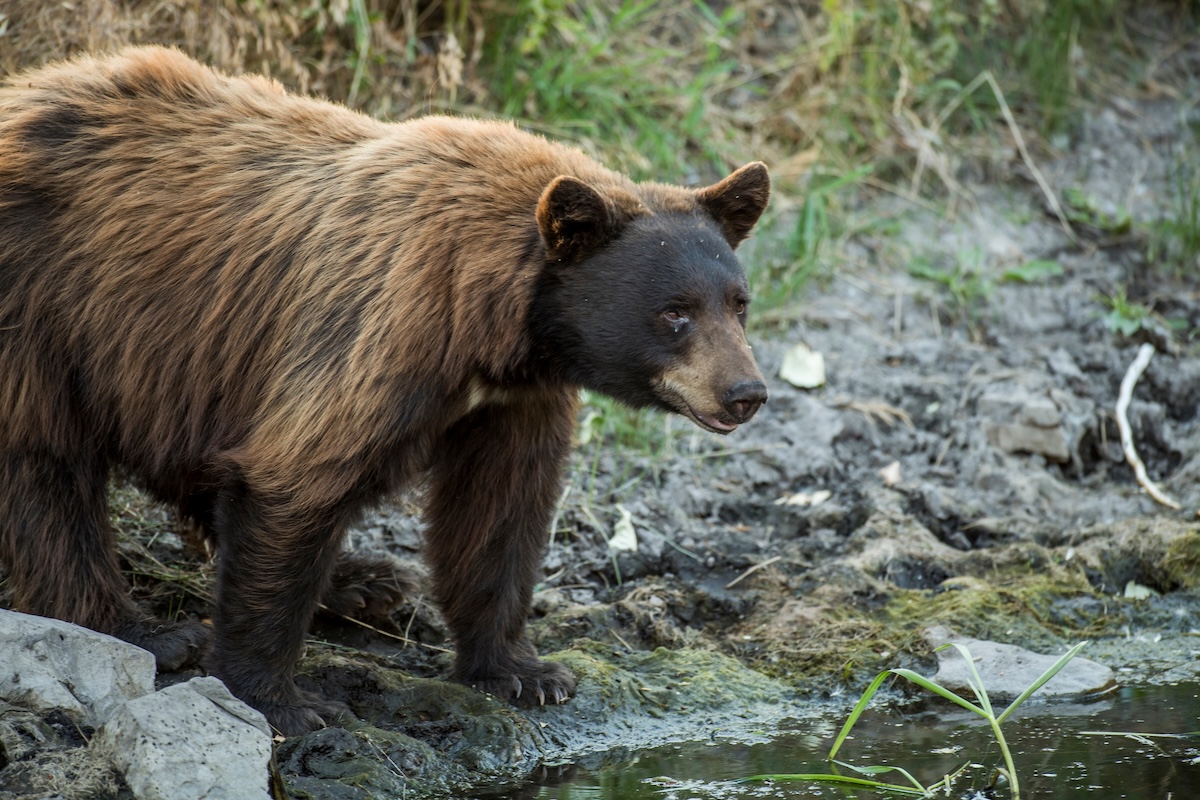
A color phase bear is a true trophy.
As the arrow buried into the bruin’s chest, he spun and darted back across the pipeline and into the bush. My experience with frontal shots has proven to be either extremely good or very bad, so I decided to sit back, calm my nerves, and call my hunting buddy to skip out on work and join the blood trailing. After all, I didn’t have a backup weapon, and it never hurts to have someone over your shoulder with a gun when you’re on hands and knees looking for tiny drops of bear blood.
The Track
Upon my bud’s arrival, we wasted no time getting on the bear’s trail. Sadly, it wasn’t looking promising — the arrow had fallen out just a few yards into the brush, and there was virtually no sign of blood. Gridding back and forth for close to an hour, making sure to keep the Track tool running in HuntStand, we finally found the first sign of blood roughly 100 yards from where the arrow had fallen out. At first, it was just a drop or two … then a steady trail. Following the blood trail for close to 500 yards, we were feeling quite skeptical. Suddenly, my hunting partner caught movement 100 yards ahead. There the bruin sat, still alive, with his beady eyes staring right at us. Stumbling to nock another arrow before the bruin’s next move, I somehow managed to get to full draw and follow up with a vital shot — finishing the bear promptly.
5 Best Spring Black Bear Hunts (in Canada)
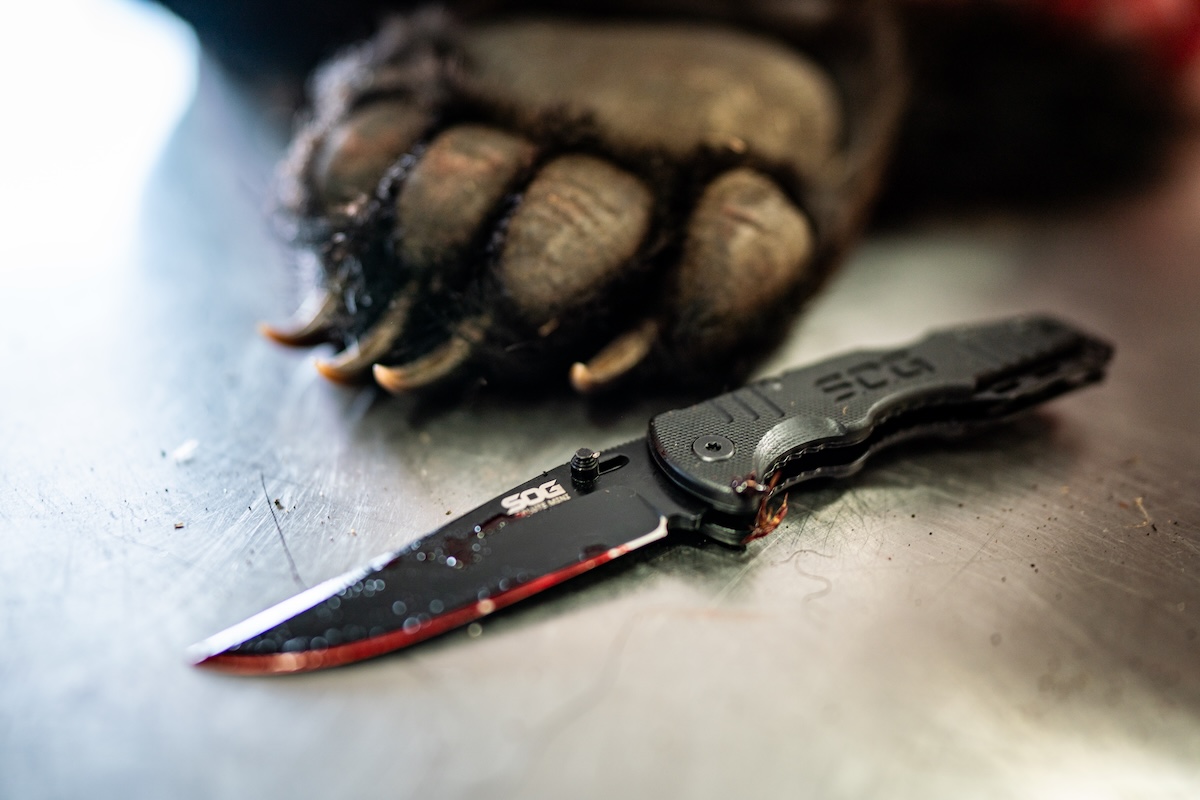
The proper equipment makes the work much easier.
Reflection
Prior to this hunt I had never even hunted this province, let alone the specific area. Here I was, just a few days into the season, sitting next to my first DIY black bear in British Columbia. Tagging a large predator like this one delivered a feeling of accomplishment like none other. It’s almost a surreal feeling when all your scouring of hunting regulations, poring over maps, and many phone calls to local fish and game offices all comes together. And what a way to kick of a new year of hunting.
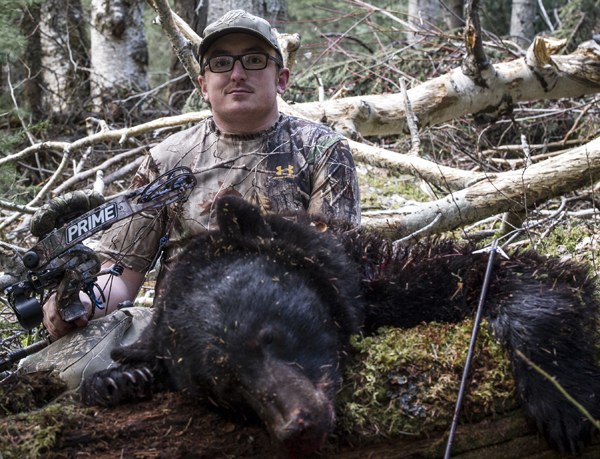
The author with his trophy spring black bear.
Plan Your Hunt
Regardless of where you’re located in North America, there are DIY black bear options available for spot-and-stalk hunters willing to travel. For U.S. citizens, Idaho and Alaska are two of the most popular destinations. There, you’ll find great bear densities, over-the-counter tags, and even multiple tag opportunities in many areas with abundant public land. For Canadians, Saskatchewan is undoubtedly a prime target for a DIY bear hunt. These aren’t the only locations to look into, but they’re good starting points if you’re planning to go it alone. Wherever your search takes you, you won’t regret pursuing the thrill of these mysterious beasts. Are you up for the challenge?
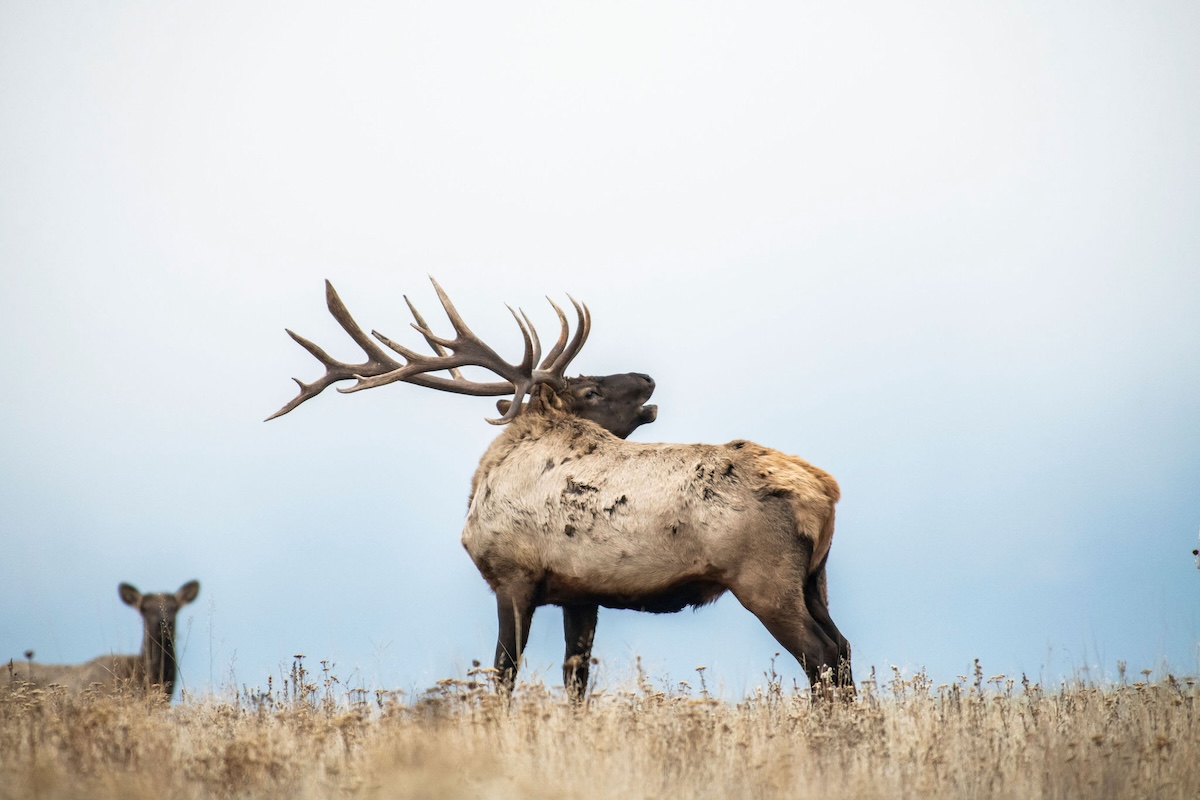
That big game adventure is within reach. Keep preparing. Be ready.
In Part One of this two-part feature on preparing for a western DIY dream hunt, I talked about some of the steps for choosing the right area and species, and even delved into some advice on hunting partners, fitness, and helpful online scouting using HuntStand.
I consider the topics covered in Part One the “hard stuff.” If you completed and/or considered all of it, congratulations. Now all that’s left is what I consider the most-enjoyable aspects of hunt prep: Fine-tuning and otherwise assembling gear, practicing regularly with your bow, and continuing to stare at hunt-area maps using HuntStand (late into the evenings). Goals are to go over hunt areas with a proverbial fine-tooth comb, looking for areas that might lead to success, and generally, dreaming of encounters with big bucks and bulls.
How to Prepare for a DIY Western Dream Hunt [Part I]
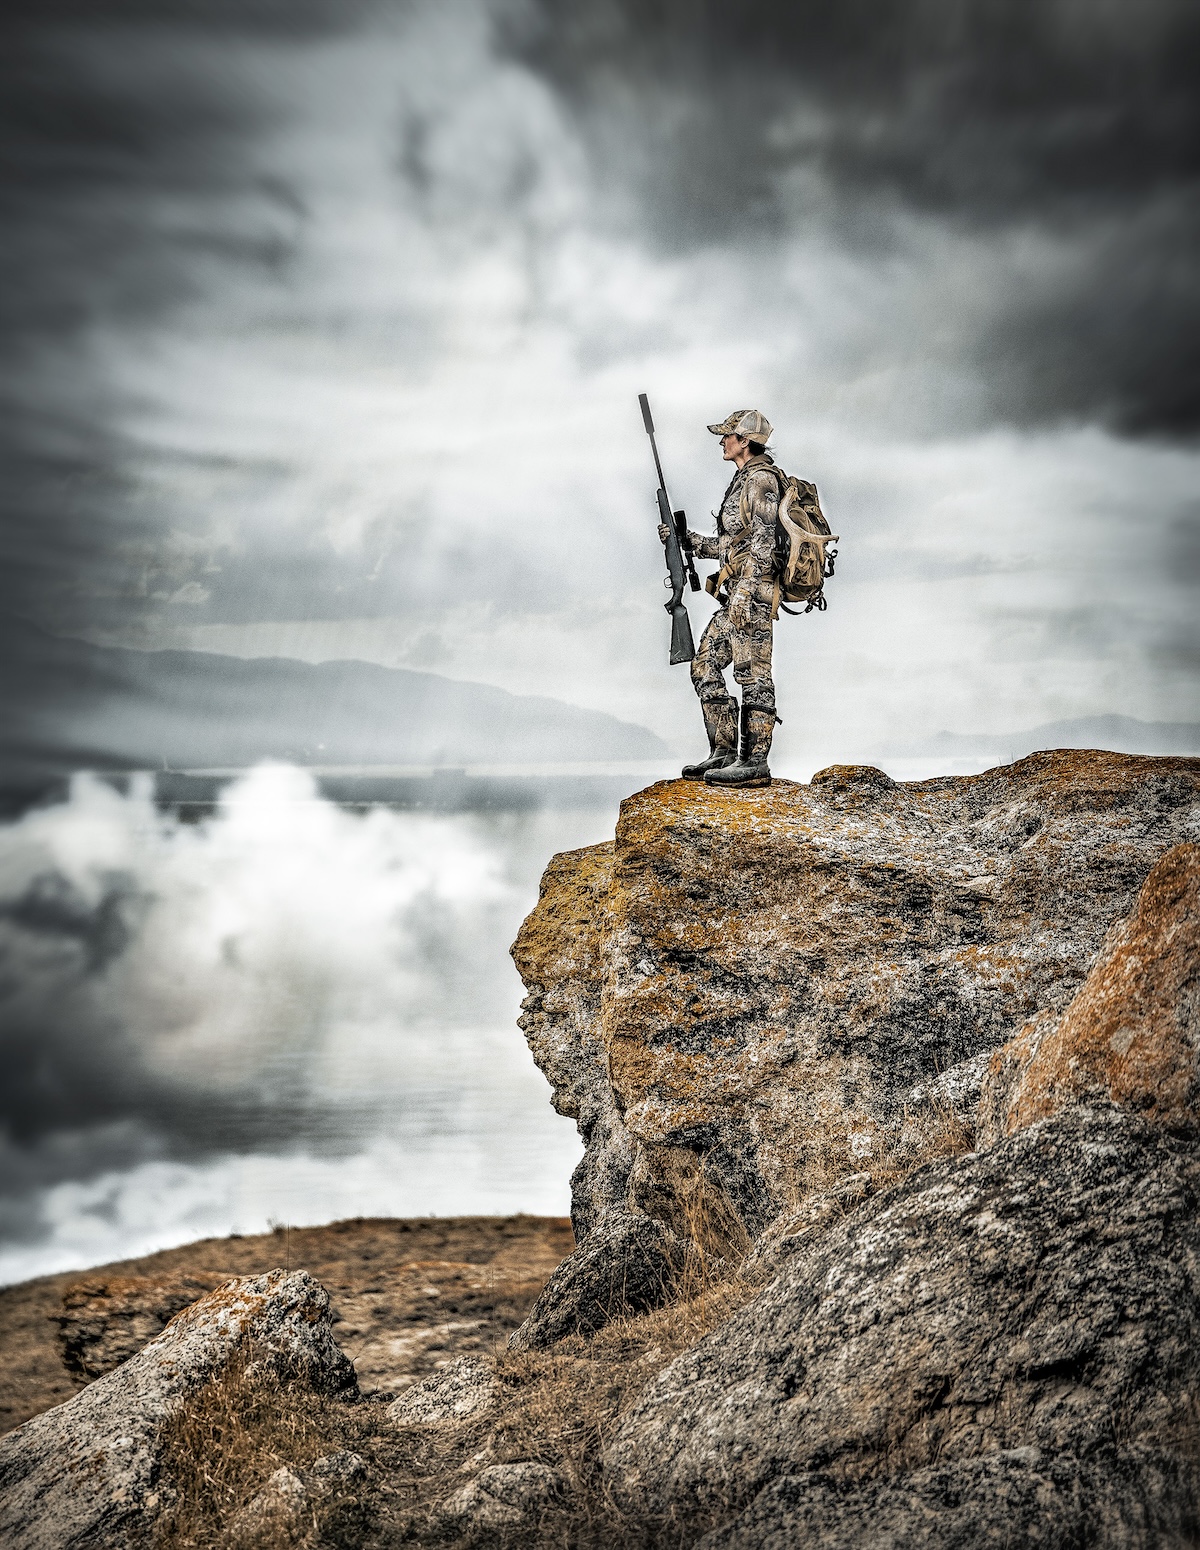
Consider your gear well before the hunt.
1. Think About Gear
With your hunt area figured out, assemble and fine-tune your gear. This does not mean you need to go out and buy all new equipment merely because you are going on a DIY western dream hunt, but at a minimum, you should go through your gear and ensure each item is up for the task at hand. Put simply, all your gear choices should only help, and not in any way hinder, your chances for success.
With the exception of your choices in boots, bow or rifle, none of it will really “make or break” your hunt, but a wrong choice at most any level can definitely make things miserable, and lower your odds for success. To my way of thinking, DIY hunting is rough enough without any piece of gear working against you. Do your gear research well, buy quality stuff, and it should serve you well and last a long time.
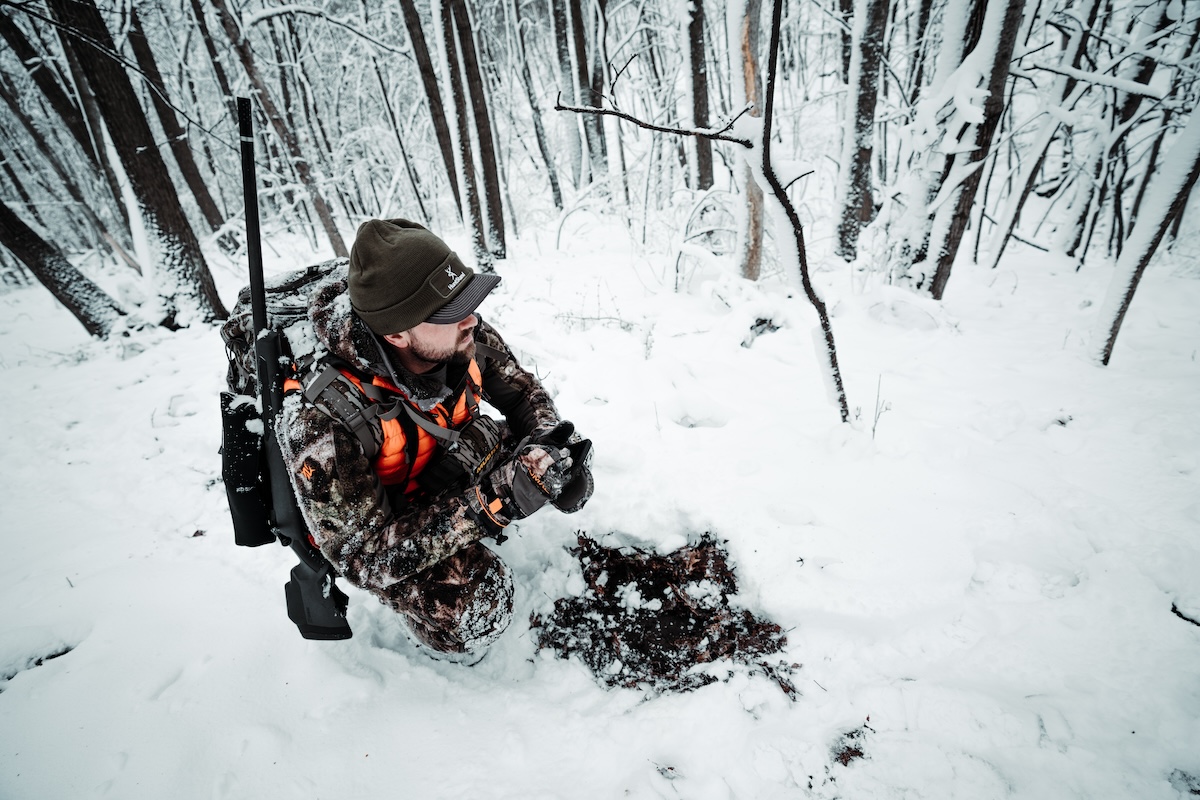
Select clothing wisely.
2. Choose Clothing with Care
Being properly outfitted for the hunt not only adds to your comfort while afield but also ensures you are protected from the elements. Your choices can be critical when looking to avoid hunt-ending disasters, such as heat stroke or hypothermia. For me, heading into the remote areas of Northern British Columbia, I know my apparel choices can mean the difference between life and death. Backcountry hunting in late August and September in areas such as those found in BC not only feature huge roadless expanses that can require days of hiking to get out — you can also experience weather ranging from upward of 100 degrees, to snowy blizzards.
Widely changing high-country weather is why “layering” is so important. I depend on merino wool or synthetic base layers, as well as lightweight synthetic soft shells, lightweight and easily compactible down-insulated layers, as well as a dependably waterproof outer shell. All play critical roles throughout a typical hunt. There are lots of solid clothing options for the western hunter.
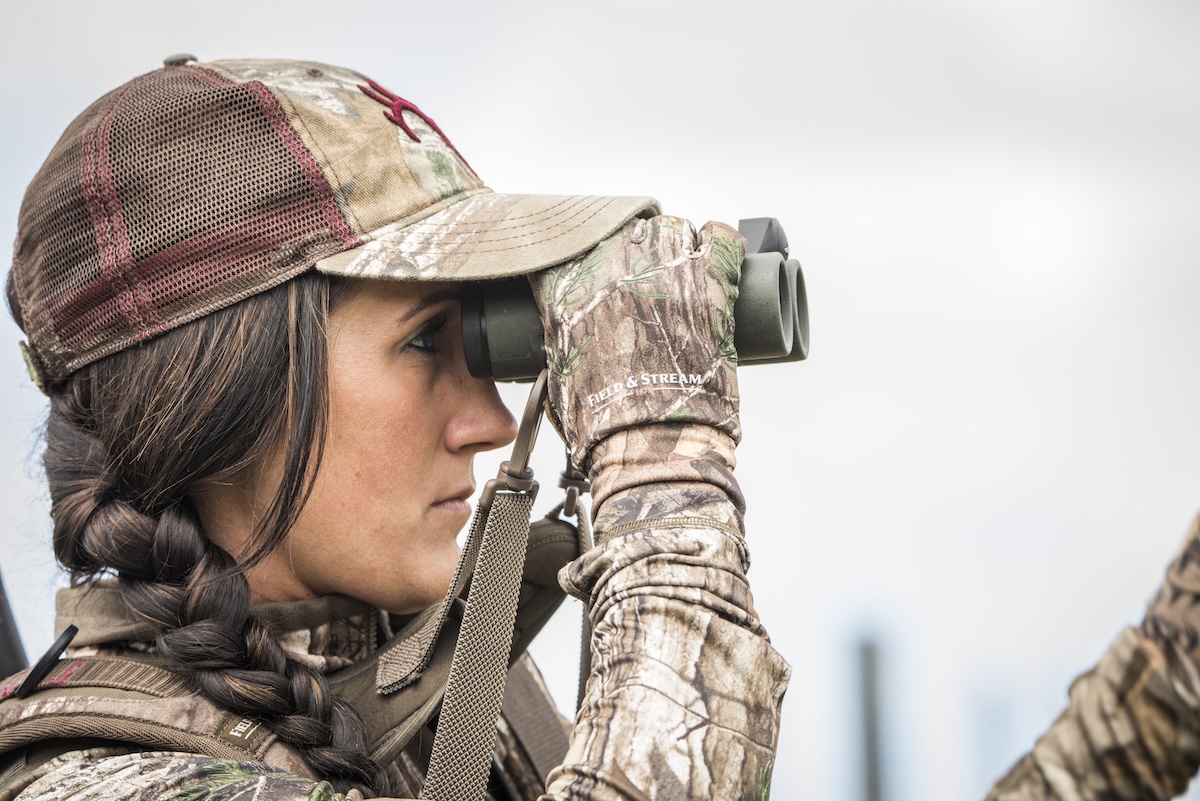
Carry a good set of optics.
3. Choose Optics Wisely
Whether you’re out on the prairie fighting heat waves, or perched high on a mountain ridge with broad panoramic views, success is next to impossible if you can’t locate your quarry. This is why choosing quality optics is so important.
For western-friendly binoculars, I recommend a minimum of 10 power; they offer “extra reach” you will appreciate, and allow you to maintain a nice steady field of view while being hand-held. For spotting scopes, I like a 20‐60 power. If you’re looking to shave some weight, you can resort to a lighter fixed power model, but for my needs, and especially for hunting out west, I like the versatility of a strong variable-power model. I also consider a quality rangefinder a smart addition. Although not required, for me, a compact, lightweight rangefinder removes one more element of potential shooting error, especially in uneven terrain.
Bowhunting Antelope: Tips for Getting Started
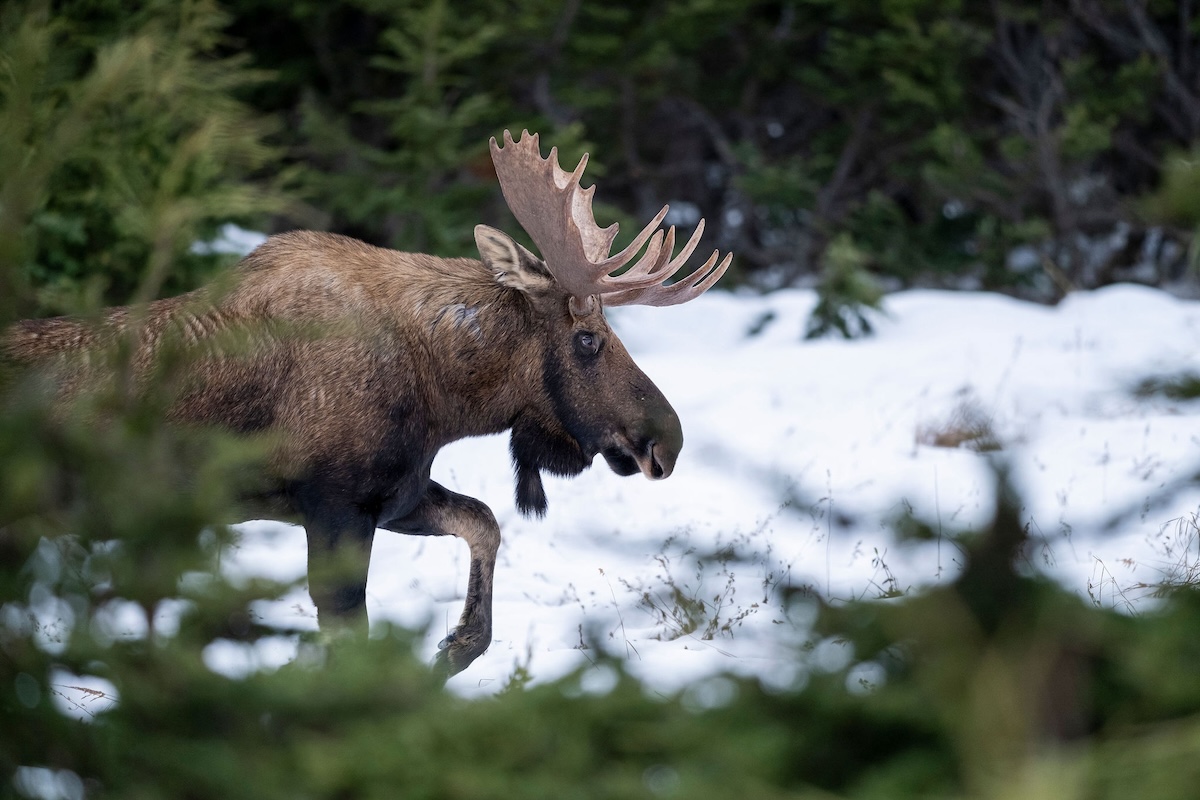
Bring enough gun (or bow) for your target animal(s).
4. Bring Enough Weapon
Depending on which DIY hunt you’ve decided to embark on, you need to ensure your setup is up for the task. If you’ve always been a treestand deer hunter — using something along the lines of a .243 rifle, or maybe a 50-pound bow — you’ll benefit from switching to a heavier, more-powerful rig. As a general rule, I try to use a caliber or bow that is more than capable of taking down any species in the area – especially on a “mixed-bag” trip, or where there is a chance of encountering large predators. This is why I pack a 70-pound bow on my remote BC trip, and my hunting partner totes a .338 Win. Mag.
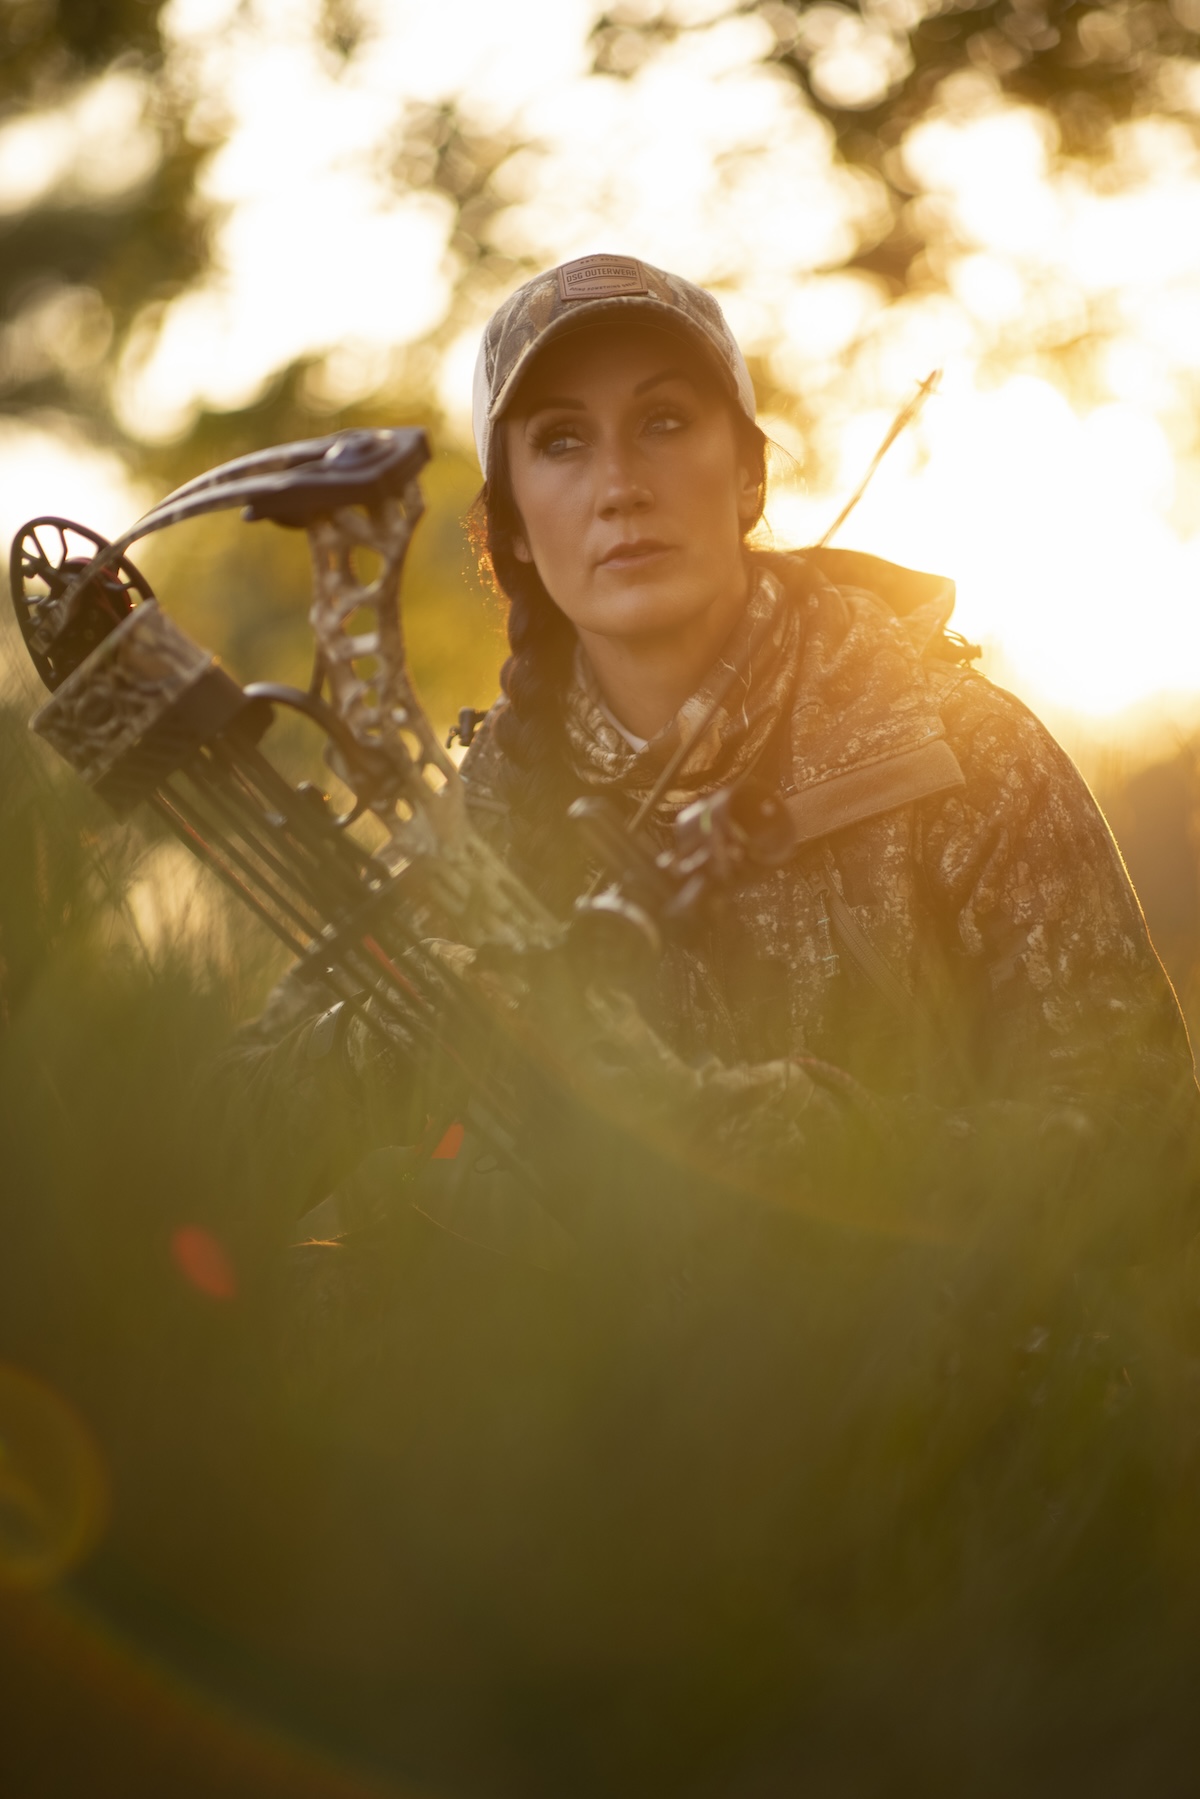
Don't skimp on your arrow and broadhead setup.
5. Carry Quality Ammo/Arrows
You could have the best bow or gun there is, but without the proper arrows or ammunition, you’re asking for less-than-perfect results. For bowhunters, I recommend a heavy, deep-penetrating arrow with a proven broadhead. For rifle hunters, make sure the load of choice is proven for your rifle – not just a random box of “discount” bullets purchased off the counter on your way to the hunt. Important keys to success are precision and consistency — which is why I choose to build all of my own arrows, and load my own ammunition.
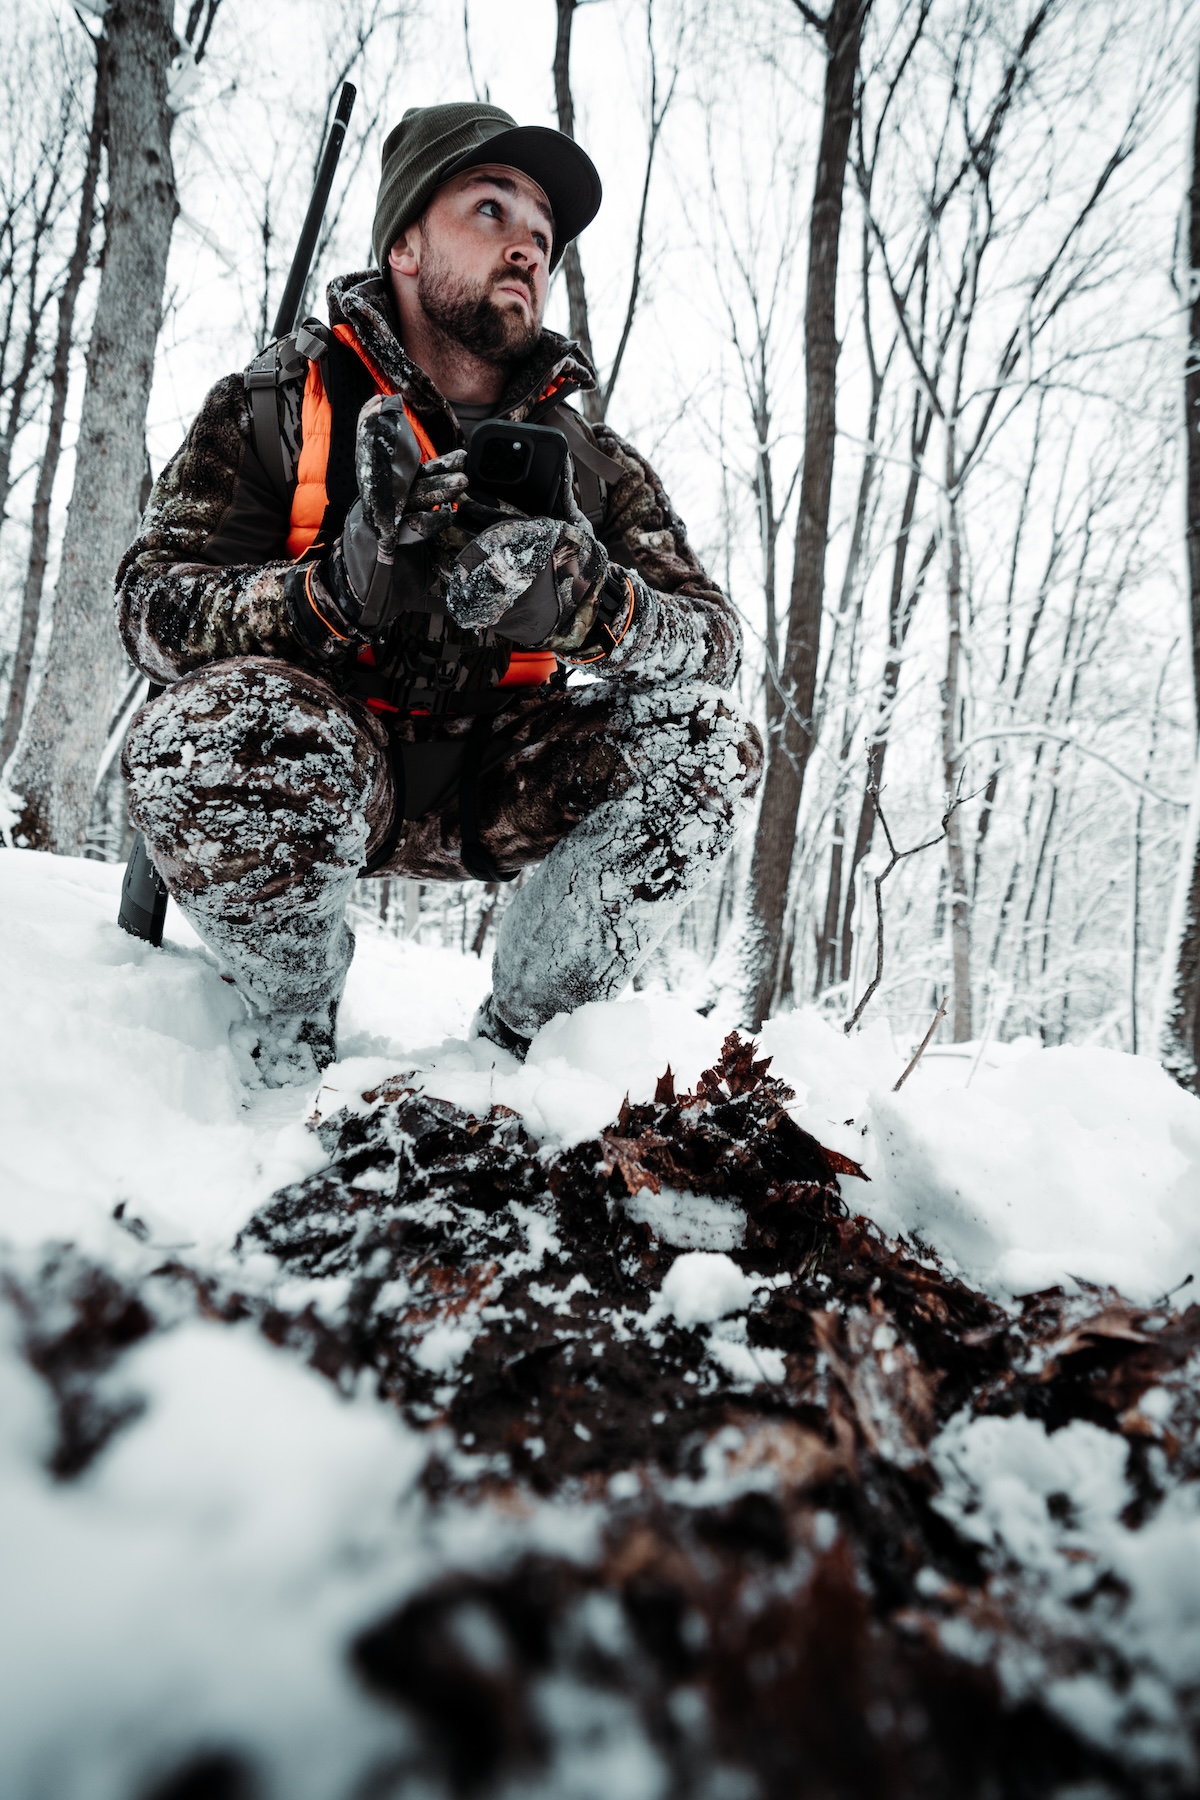
Wear good boots.
6. Buy Extreme Boots
Effectively hunting the west starts and ends with your footwear. If your boots fail, it does not matter how good of shape you’re in, how good a hunter you are, how well you know the area, or even how far you are able to shoot. Boot failure means your hunt is over. Hunting near civilization, you have the ability to make a “detour” to buy a second pair of boots to “save” a long-awaited hunt. Remote BC, for example, offers no such fail-safe. It’s days from the nearest road, and so, boot choice is critical.
Spring Bear Hunting: How to Hunt Trophy-Class Black Bears
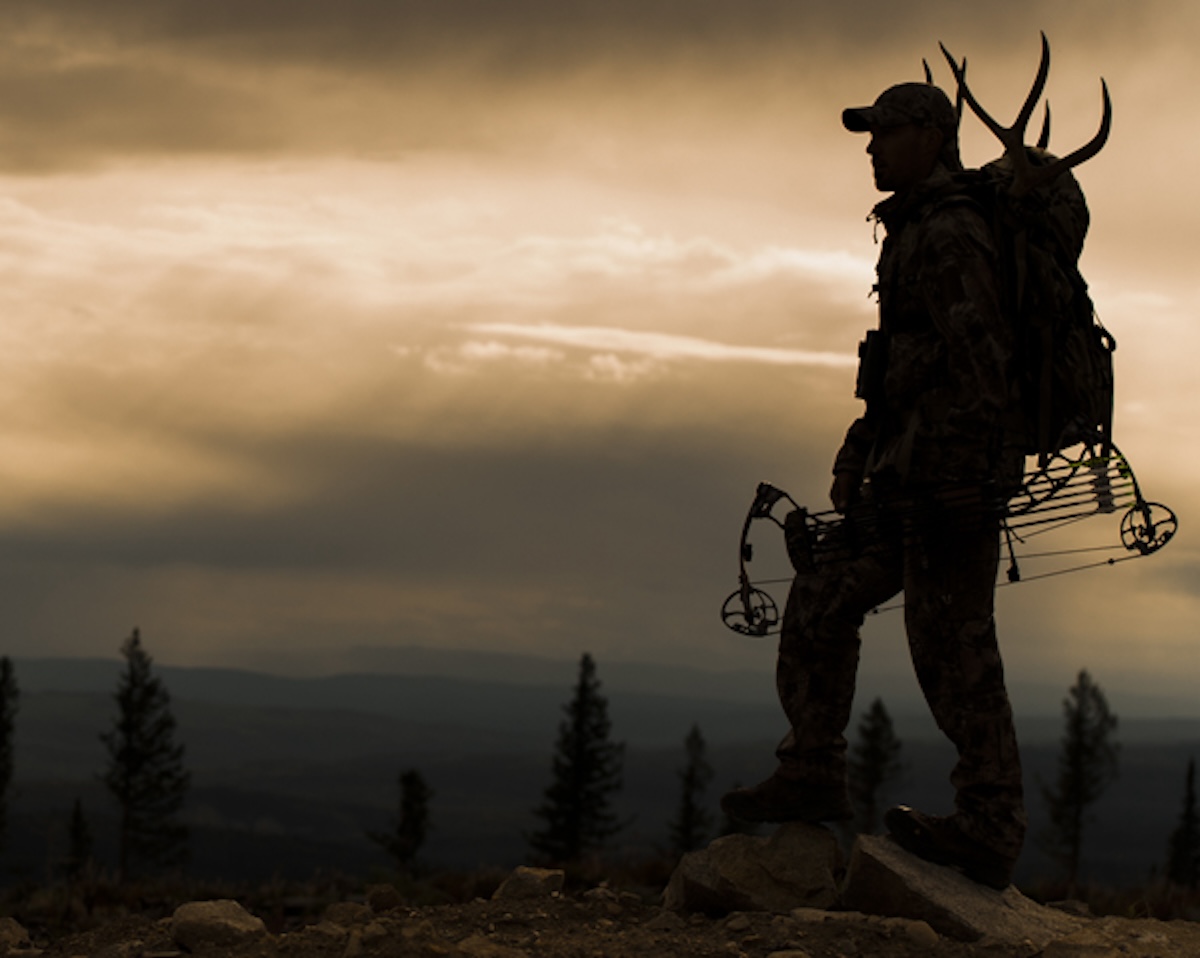
Carry specialty gear as needed.
7. Remember Specialty Gear
Whether you’re filming or photographing your hunt, or planning on using devices like your phone (for accessing HuntStand), utilizing modern technology is a common part of hunting. And sadly, whether it’s a headlamp, phone, satellite messenger, or camera batteries, gear has a way of dying when you need it most. Since I document my adventures, I pack in a lightweight, compact Goal Zero solar panel and charging system. Not only does this allow me to keep my camera gear charged and ready to go, it should ensure operation, and give piece of mind, with some other key pieces of emergency gear (such as a satellite phone).
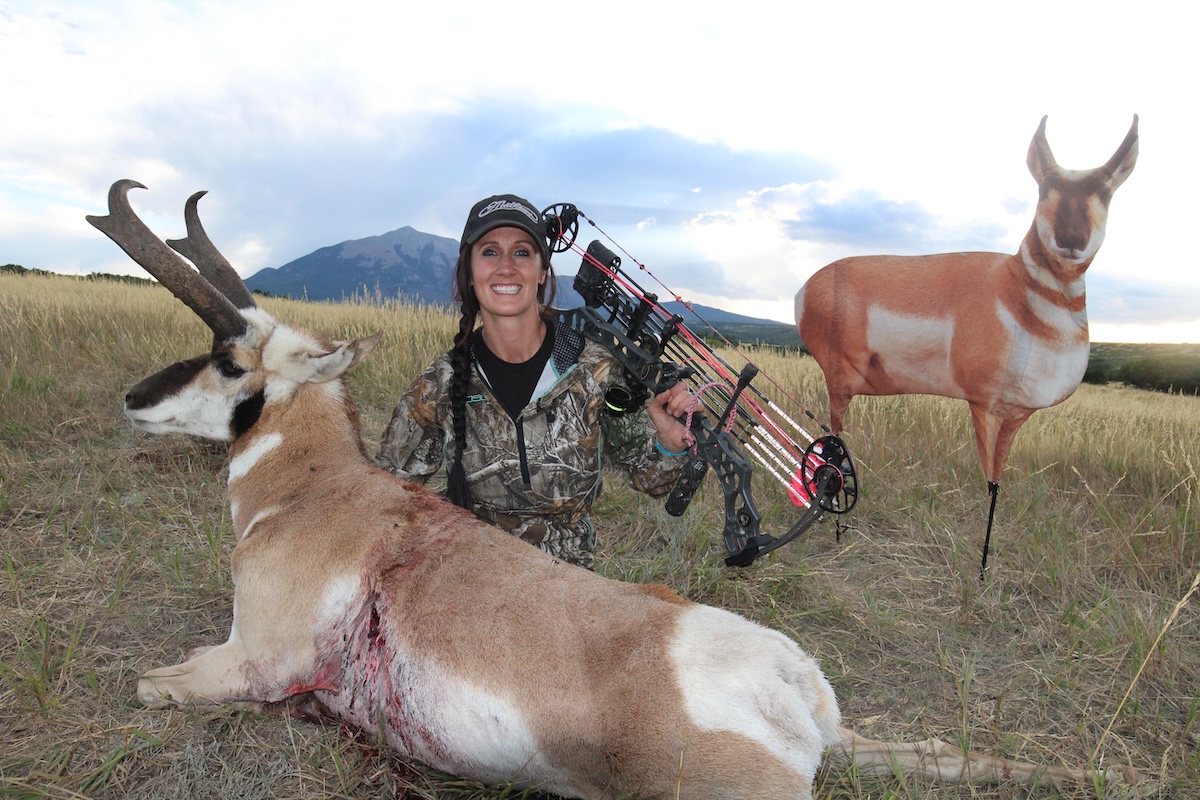
Practicing scenarios with your gear will keep you ready for when it's actually time to hunt.
8. Do Some Mock “Practice” Runs
Purchasing all the best gear for your trip which you’ve read rave reviews about online, does not automatically make your arsenal “good to go.” No matter the manufacturer or its reputation, there are times when a specific piece of gear just does not hold up, or work the way that it was intended. This is why you should “hit the hills” well before your fall adventure, and make every effort to use and learn your chosen gear. This should allow any major gear issues to surface (and be rectified) well before your hunt.
Make a “field-testing” trip fun and productive by combining it with some physical preparation as well. For example, carry a fully-loaded pack and use the same boots and other clothing. Small game hunting is one of my favorite ways to test gear. I like to load up my pack with weight, grab all my optics, and hit the hills.
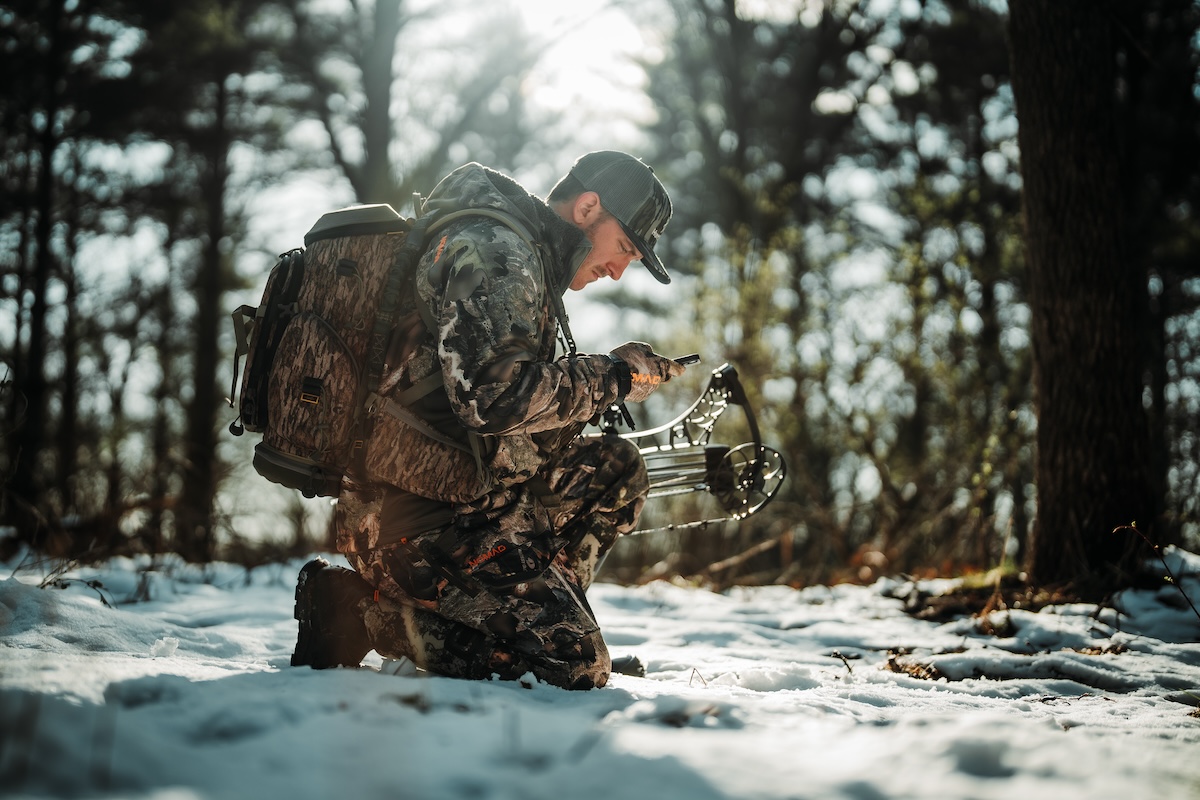
Make sure you have everything in place and ready for the hunt.
9. Square Away All Licenses, Tags, Documents, and Logistics
Final hunt preparations include obtaining all required tags and licenses well ahead of time, and of course, myriad other logistical travel and other seemingly small details. These can loom big, if unresolved.
Finally, remember one last important step – not to get complacent or lose motivation. This means committing to regular practice at the range, as well as staying on top of your fitness, and not “giving in” and resorting to the couch or a fast-food diet.
As part of my BC mixed-bag hunt routine, I’ve committed to shooting each and every day, as well as running a daily 5km (at a minimum). These are two big goals, but so far, so good.
Public Land Elk Hunting: A Guidebook to Reality
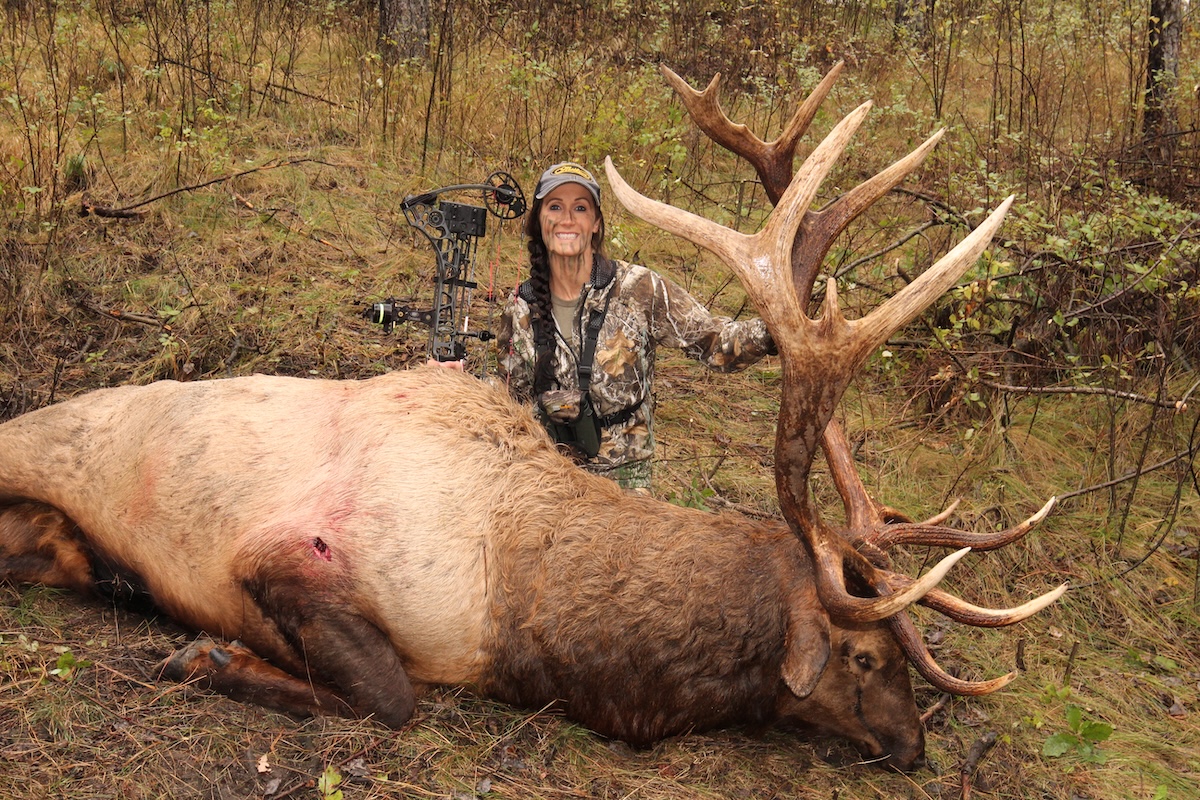
Once in the field, deploy your game plan and bring down that beast.
Set Smart Goals and Stick to Them
These two articles should have given you a solid platform for planning your next western, DIY hunt. Hopefully, this will be the year that your DIY western dream hunt becomes a reality, and that you enjoy every part of the process. I know that my upcoming BC hunt will be a success, regardless of the outcome.