




HuntZone is a great feature to use when determining exactly how your scent will disperse from your stand or blind. When you’re hunting bedding areas, use it to make sure that your scent will either just miss deer movement or even blow in the opposite direction.
I’ll never forget Halloween morning of 2019. I slipped down into an Iowa creek bottom. I had some scouting to do, but I decided to go in under the cover of darkness and watch the open hardwoods around the creek with my bow in hand. After dawn, a 140-class 10-pointer cruised through across the creek.
When he disappeared, a battle broke out. Obviously, he’d gotten into a tangle with another buck. The commotion carried on for several minutes, and then all went silent. The 10-pointer appeared once again, making a retreat. I noticed that his face was bloody. Not far behind him was the victor—a buck that anyone in their right mind would gladly slap an Iowa tag on. Unfortunately, the wind was wrong to grunt. I watched helplessly as the monster faded away.
The rut is arguably one of the best times to hunt whitetails. Not only are bucks more active during daylight, but they also put themselves in situations that make them susceptible to hunters. It’s also when a dead hunt can instantly go from 0 to 60 with deer action.
Here, the aim is to help you hunt more effectively during the rut by understanding the different phases and when exactly they occur. It’s also important to understand strategies relative to each phase so that you can be in the game. Here is how to hunt the phases of the whitetail rut.

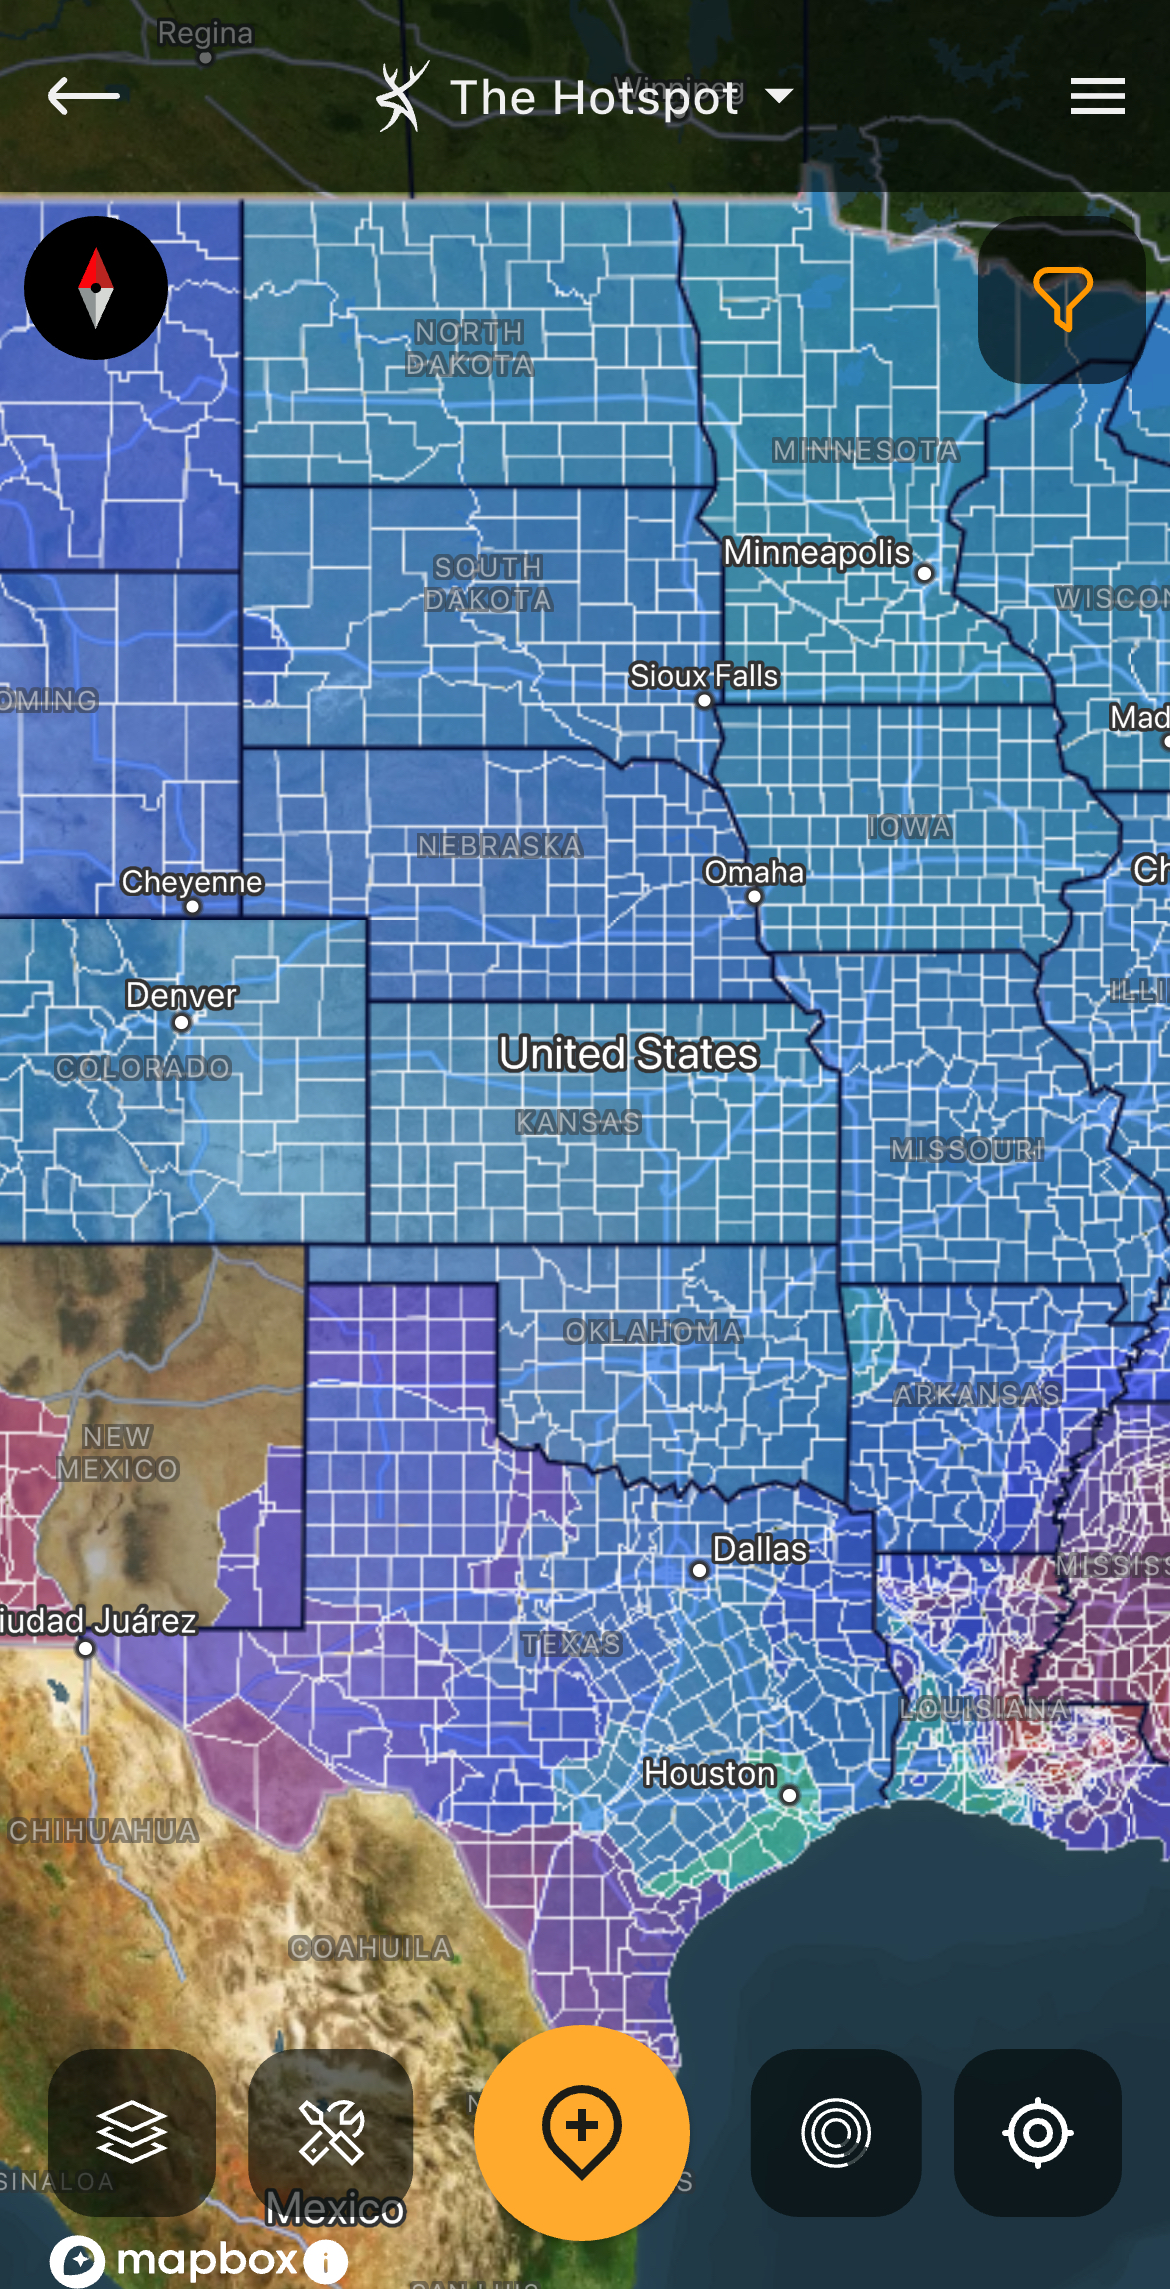
Use the Whitetail Rut Map to time your rut hunt.
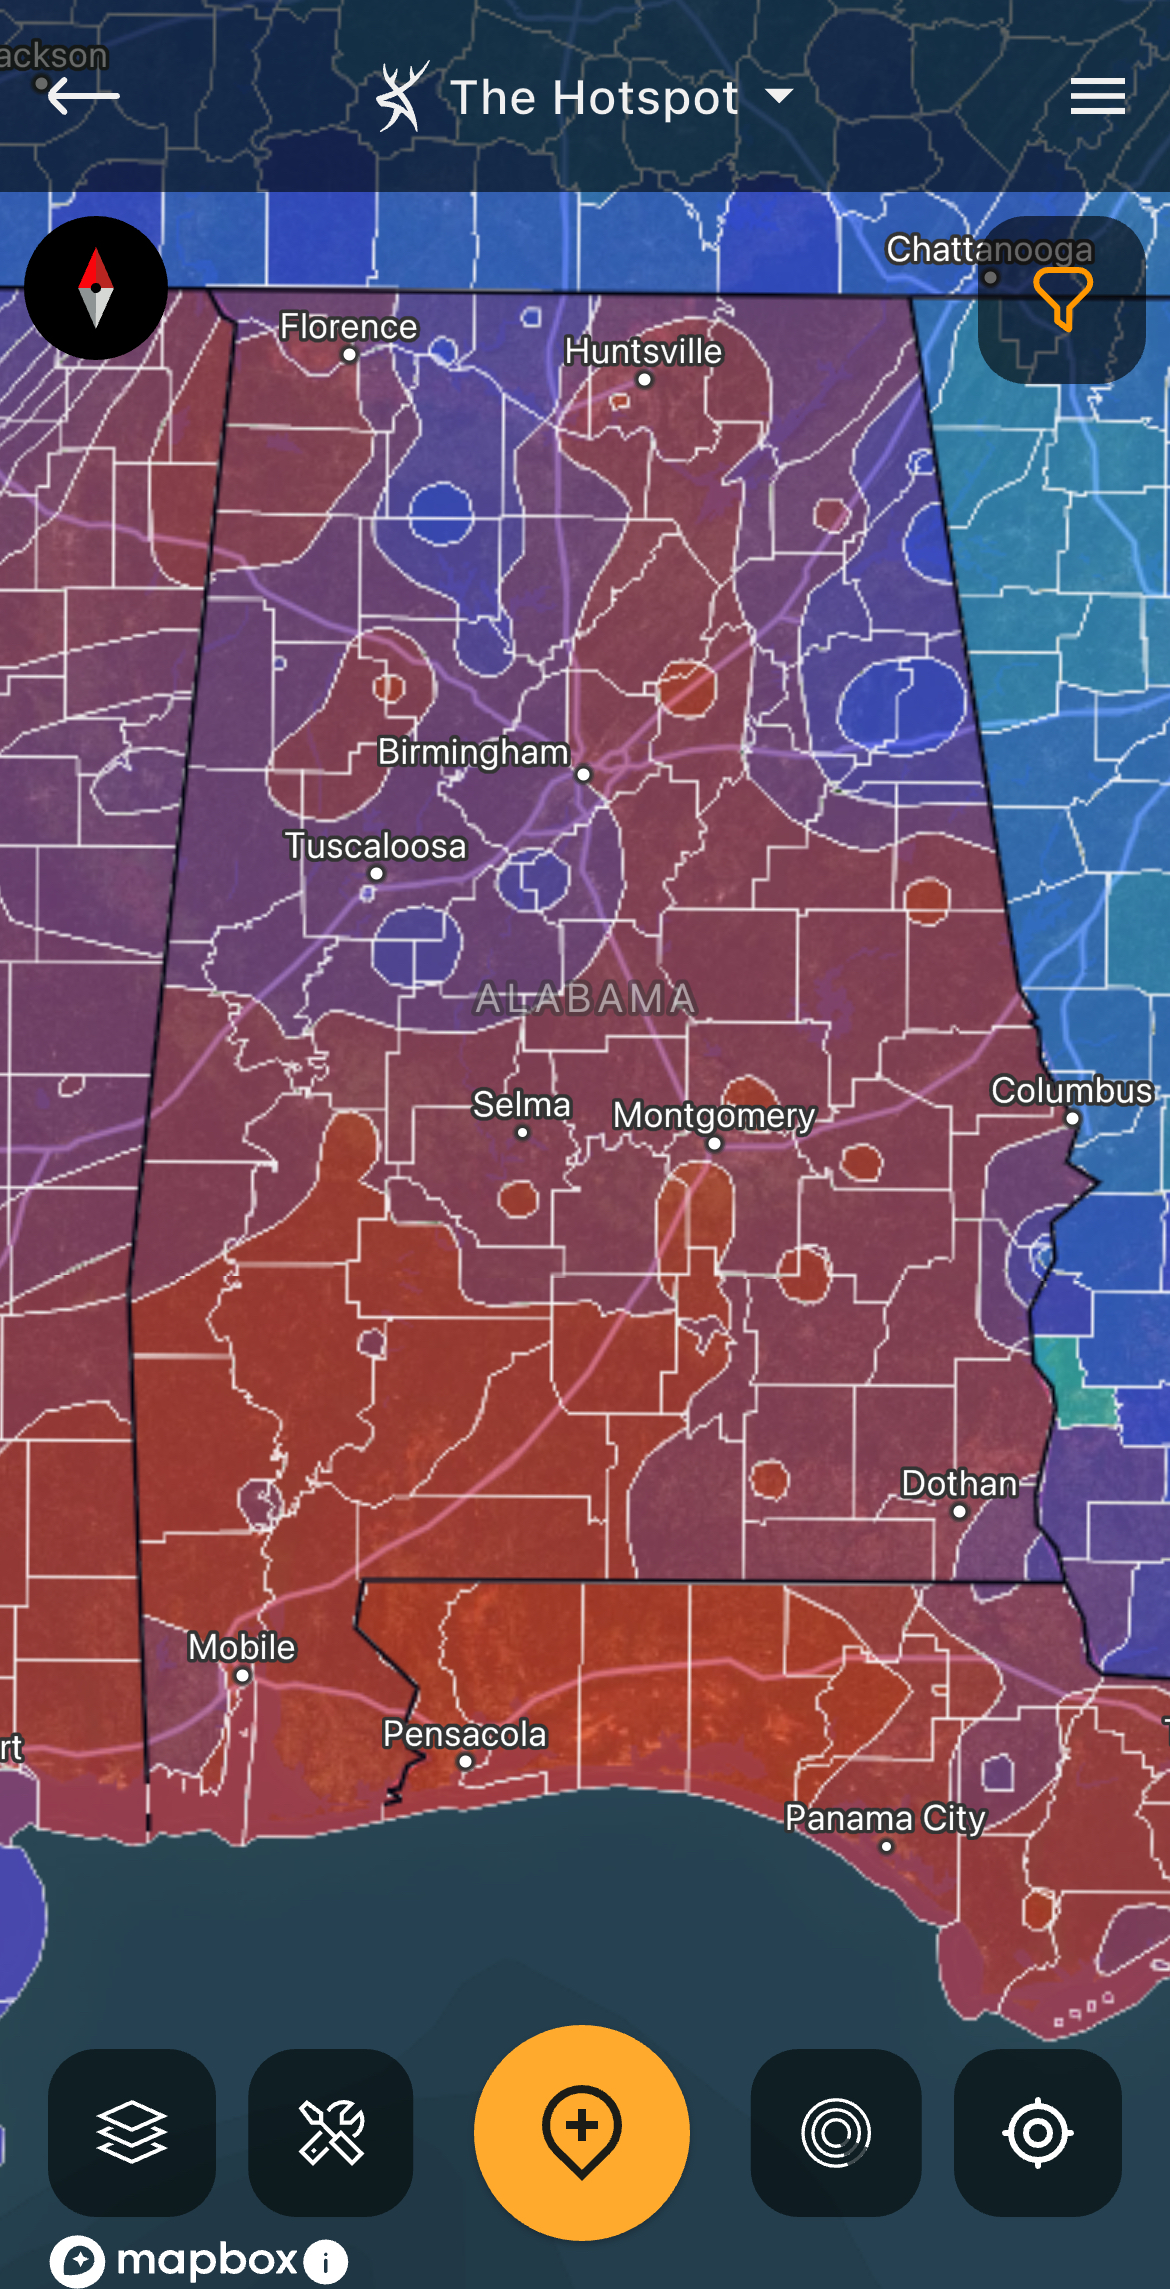
Upgrade to HuntStand Ultimate to access the Whitetail Rut Map.
Understanding Rut Date Timelines
There probably isn’t more controversy in rut discussions than about breeding and daylight activity, so it’s difficult to take a hard stance based on what one person or another says. Plus, it can vary from state to state and even county to county.
However, many of us are too busy to sift through all the data. We need it distilled down into a way that we can easily decipher. HuntStand’s Whitetail Rut Map is a great tool to help you understand rut dates and phases. Gain access to it via HuntStand’s Ultimate subscription level.
Deer expert Brian Murphy, who’s dedicated a huge portion of his life to studying whitetails, helped bring the Whitetail Rut Map to the HuntStand app. With this layer open, zoom to your hunting property and tap on the map. A window will appear at the bottom of your screen that details dates for five different rut phases for that specific county. You’ll be fed dates for the pre-rut, peak rut, waning rut, pre second rut and second rut. Then, you can connect those dates to specific hunting strategies, which we’ll discuss below.
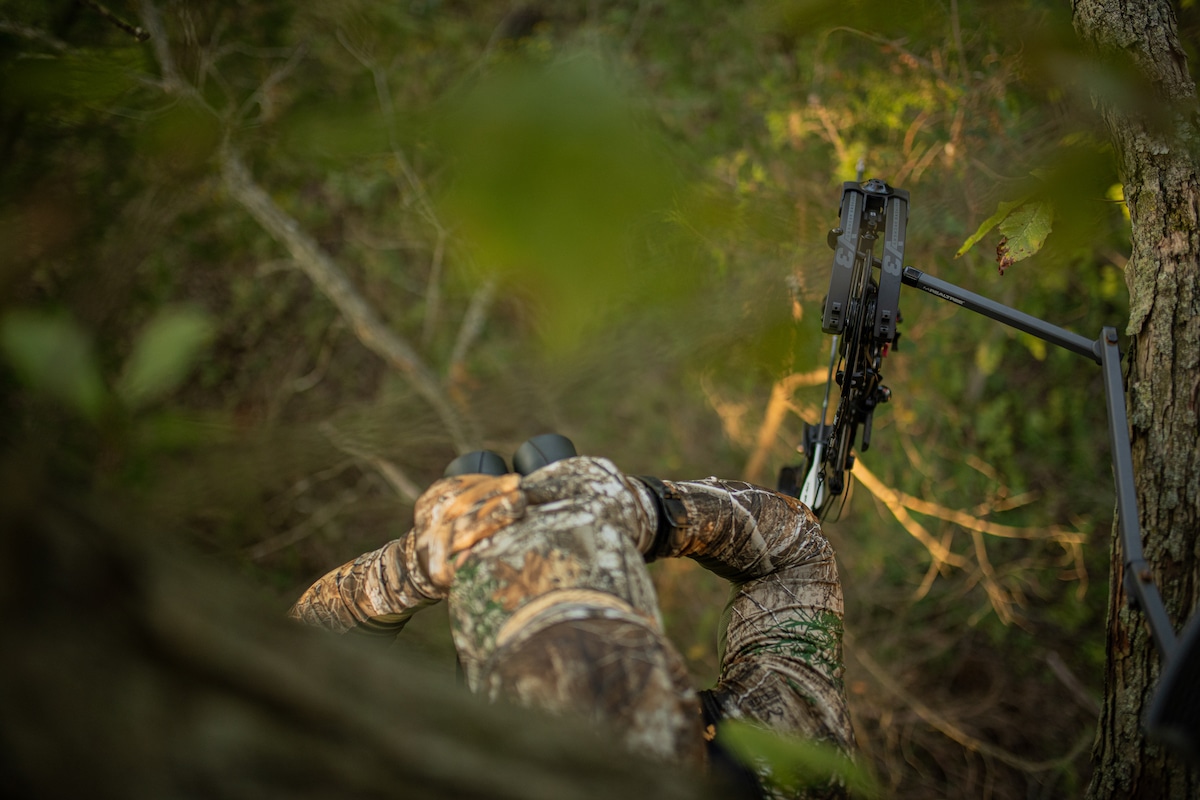
A great way to hunt bucks during the pre-rut is to hunt downwind of a buck bedding area and rattle around mid-morning.
Pre-Rut
Buck aggression escalates before the peak rut. They work scrapes hard. And they fight with other bucks. They even start bumping does around. Still, they can be predictable because they’re not venturing far from their home ranges.
One of the most effective ways to hunt this stage is to hunt the downwind fringe of where you believe a buck is bedding. Make sure your scent cone is missing the bedding area by referencing the HuntZone feature. If you haven’t seen any shooters by mid-morning, try rattling. A buck is likely bedded down by now. So, if you’re within 100-150 yards of his bedding area, he won’t likely tolerate bucks fighting in his territory.
Hunt terrain features that you believe will pinch buck movement down somewhere between a perceived bedding area and a known food source. These types of locations are easier and safer to access without bumping deer on both morning and afternoon hunts. You can find these prospective locations using the HuntStand Terrain map.
During the tail end of the pre-rut dates listed for your area on the Whitetail Rut Map, I’d focus on a food source with high doe traffic in the afternoons. A doe is liable to pop into heat any day, and a mature buck could show up fast.
If you’re an all-day hunter, I’d hunt terrain funnels or pinches between doe bedding areas. Bucks tend to use these either to trail does or to travel to each bedding area and scent-check for a hot doe. Midday hours of 10 a.m. to 2 p.m. can be especially productive. Pay close attention to HuntStand’s Whitetail Activity Forecast so that you know when activity is expected to peak. This feature has a table of dates, temps, peak movement times and a percentage-based activity score, but there’s also a graph that gives to-the-minute activity projections. I used it for the first time in Illinois, and it’s accurate.
How to Read Buck Rubs and Associated Patterns
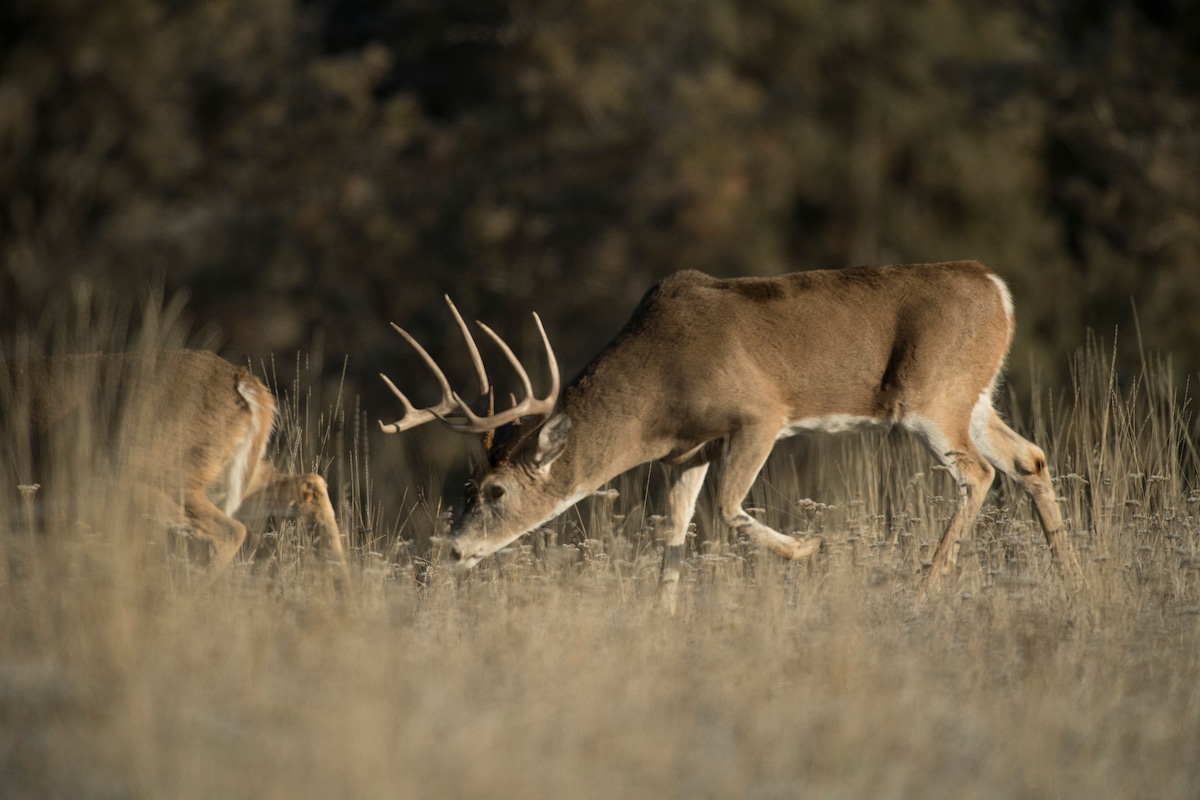
Be on the lookout for bucks locked down with does during the peak rut in a location ideal for a stalk.
Peak Rut
A lot of chaos happens during the peak rut. This is when the most does are bred, and mature-buck activity is highly unpredictable. Hunt the early part of the peak rut in terrain features connecting doe bedding areas. If mature-buck sightings diminish and you’re seeing mostly fawns and young bucks, it probably means that many mature bucks are locked down on does and waiting to breed them. Bucks in lockdown move minimally.
If you hunt in an open habitat, be flexible and watch for opportunities to strike from the ground. Many bucks are killed by hunters who spot them bedded in an area ideal for a stalk. Keep the wind in your favor — check that HuntZone feature — and don’t let the doe see you. During bow-only season, some folks are successful with moving to within 100 yards and presenting a decoy along with a grunt or snort-wheeze, which can get the buck to come within bow range.
If you’re a stationary hunter, be patient. A buck gets moving once he’s finished breeding a doe. He’ll want to find another one ASAP. Ever see a buck all alone darting around like a bird dog in the middle of November with his tongue hanging out? That’s why. So, it isn’t a bad idea to hunt doe bedding areas. Deer activity might be dead some days, but it only takes a few seconds for a rut-crazed buck to appear.
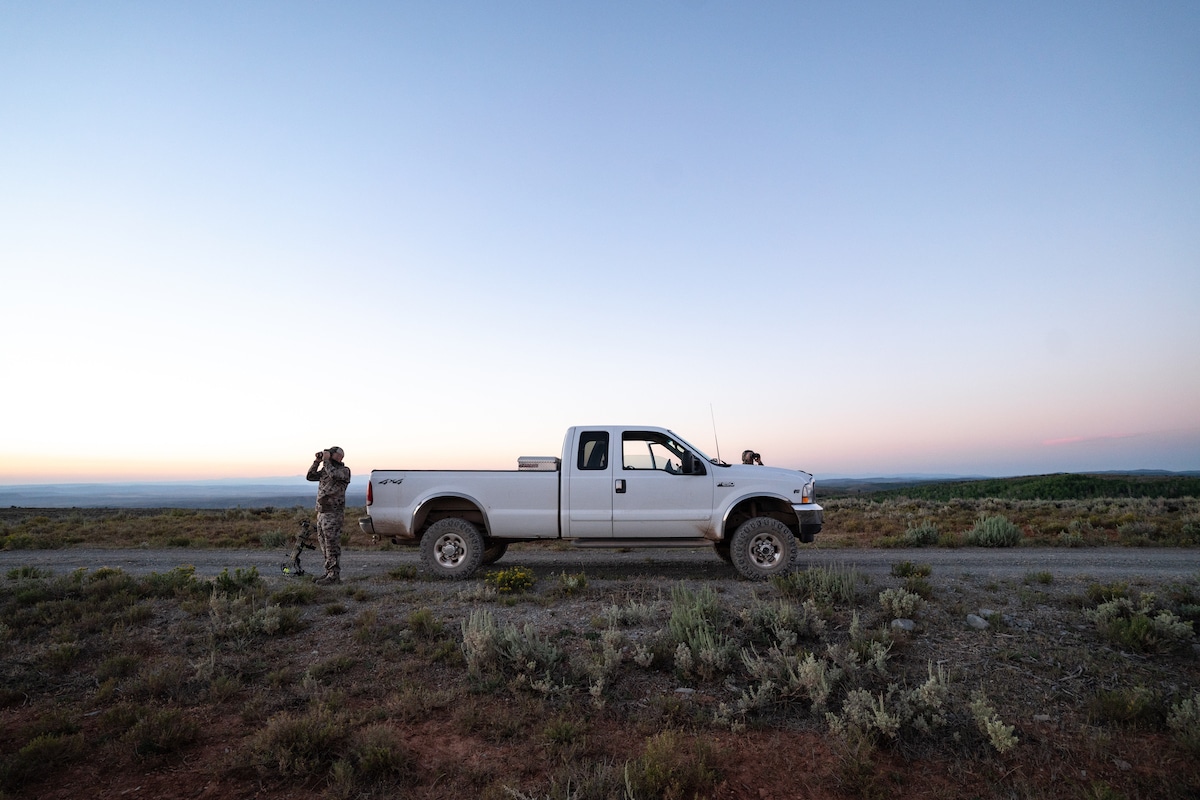
During the rut, spend some time glassing for bedded bucks and does.
Waning Rut
Most does that have entered their first estrus cycle have now been bred, yet bucks are still in the mood. They’ll keep pestering the does, but they’ll also pause to eat more regularly. A friend of mine once bow-killed a 180-class Kansas buck during this window. It’s his favorite time, and he focuses on food sources as exhausted bucks come to replenish calories.
Focus on food sources, and hunt feed stations (if applicable) or smaller food plots nestled in the timber where a buck can come grab a quick bite amidst his search for remaining hot does. My friend shot his big Kansas buck just before Thanksgiving over food at about 10 a.m. So, hunt during the midday when Whitetail Activity Forecast projects above-average activity scores. Also, keep trail cameras posted where you believe a buck is liable to come feed. He might do it for a couple of days in a row, so be ready to strike.
Whitetail Rut Map : A HuntStand Exclusive Feature
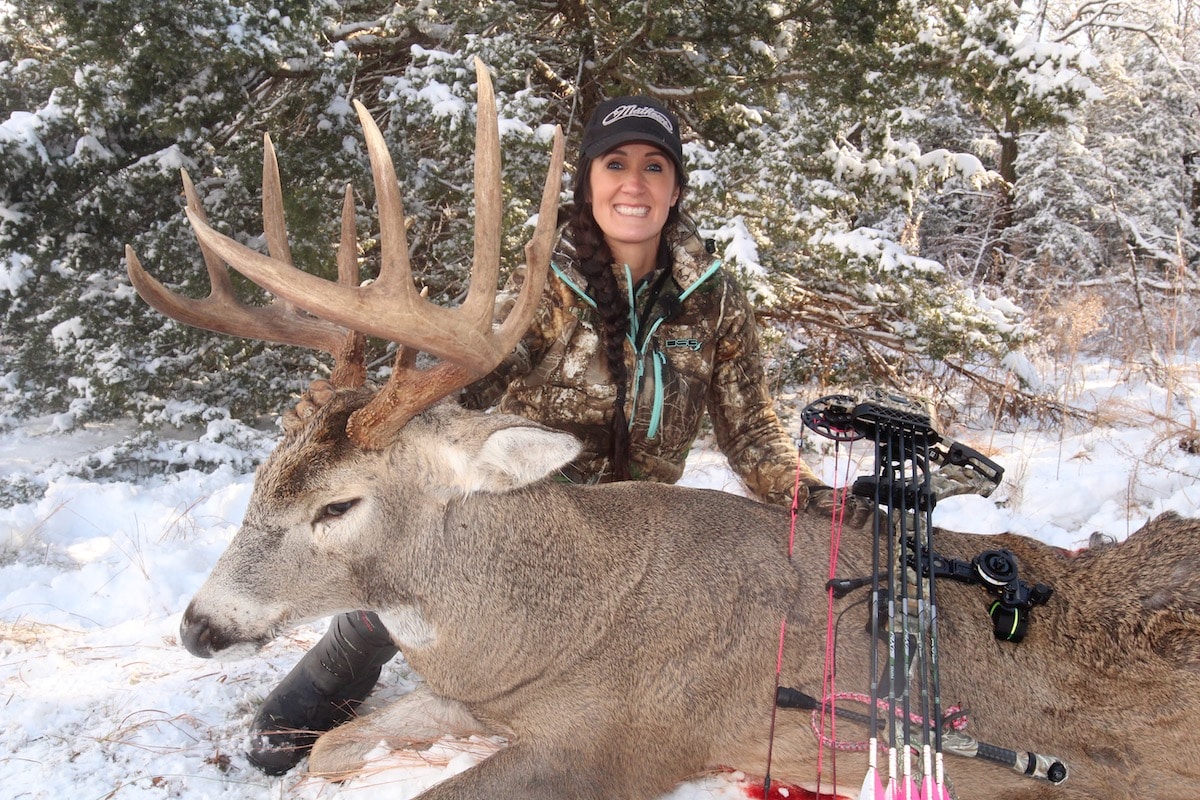
HuntStand pro Melissa Bachman believes in decoying during the usual rut dates, but she’s recently been having a lot of success with decoying well into December.
Pre-Second Rut and Second Rut
Does a second rut exist? For years, I never experienced it. But, on a mid-December trip to North Dakota many years ago, I saw it all. Bucks fighting. Does estrus bleating. Bucks nudging does. It was quite thrilling, but I’m getting ahead of myself.
As the waning rut gives way to the second rut, it’s common in many areas to see scrapes being used again. Bucks in many locations have experienced great hunting pressure by now, so it might be difficult to catch a buck on a scrape during daylight. So, watch the Whitetail Activity Forecast and hunt food sources in the afternoons when activity scores are high. Bucks need food and they’re interested in does, so hunting near both is a good strategy.
If you want to spice up your hunt over a food source, you might try a decoy like HuntStand Pro, Melissa Bachman does. She has used a decoy from October through November for a long time, but she more recently started hunting over a decoy until mid-December and has killed four bucks in December doing so.
Monster Bucks: The Truth About Hunting Huge Deer
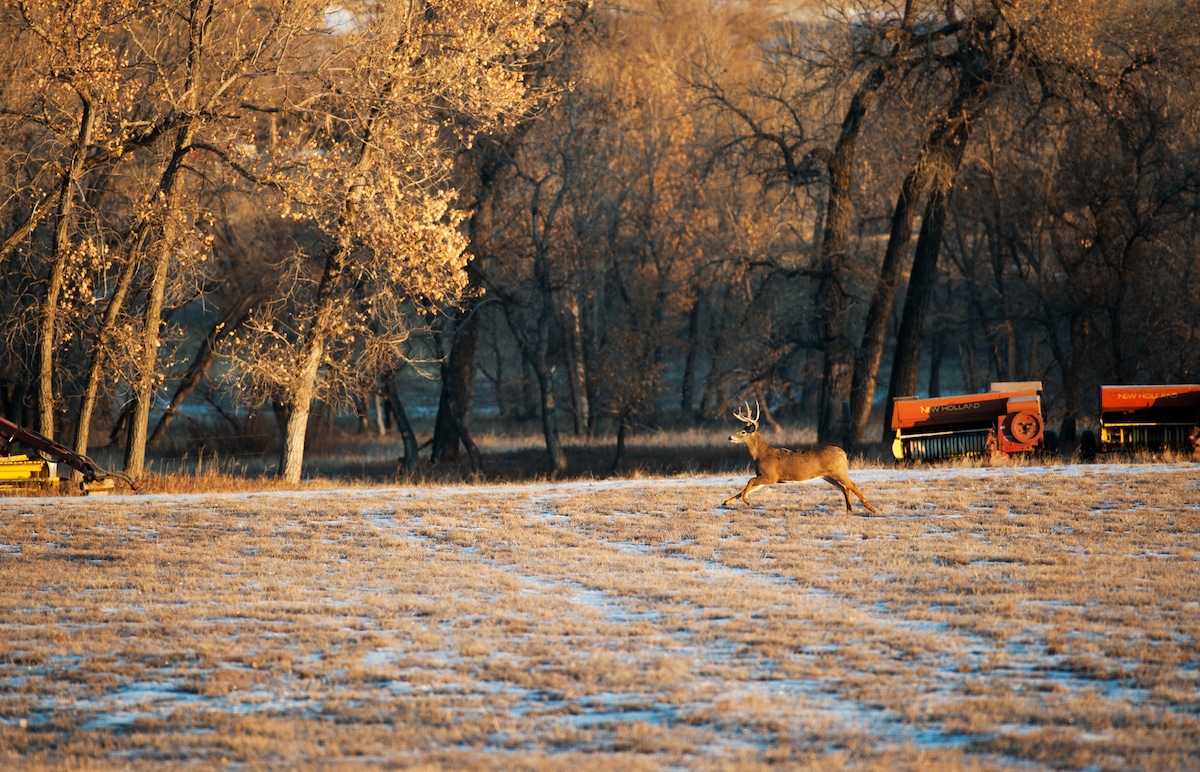
If you can bear an all-day hunt, buckle down on terrain funnels between doe bedding areas during the peak rut.
Signing Off
There are a lot of different tactics hunters use to get their bucks during the rut. If you feel like you have room to improve your game plan, one of the best things you can do is target your strategies toward the different phases of the rut. By understanding the different phases and when they occur using the Whitetail Rut Map, you can then utilize HuntStand’s many other features to dial in your hunting approach for the rut.
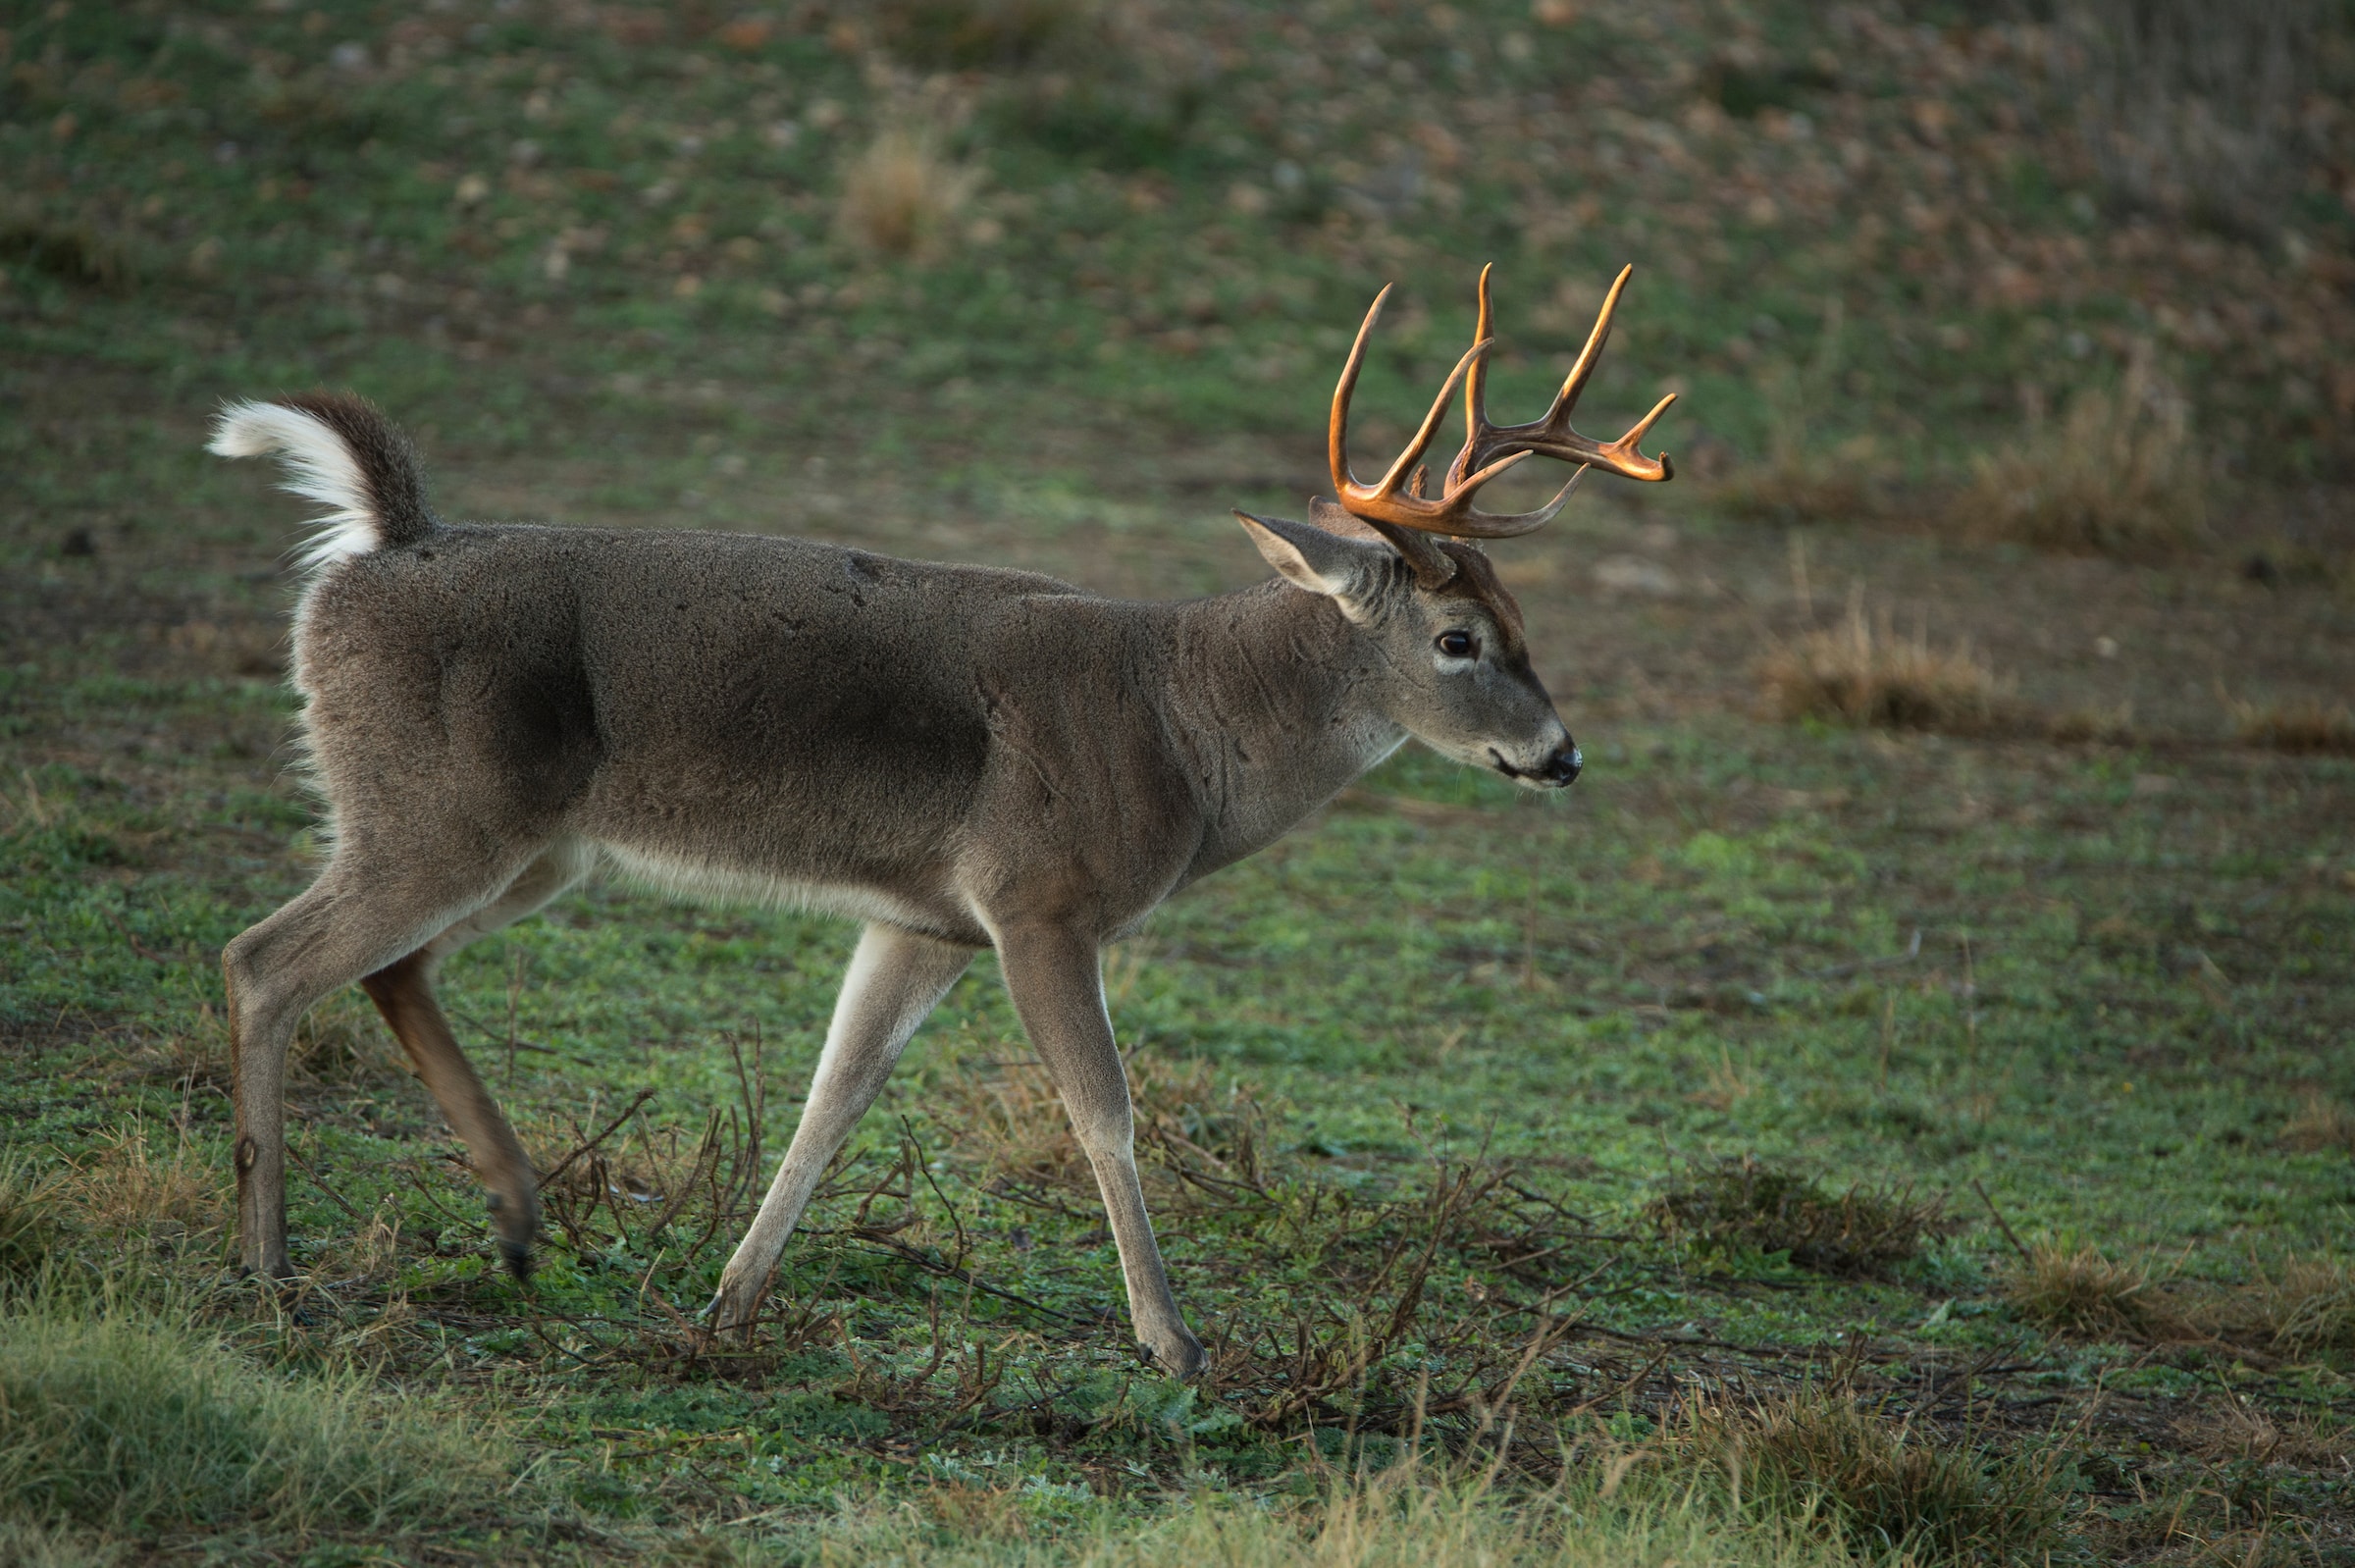
Small-property land managers can attract deer with food plots.
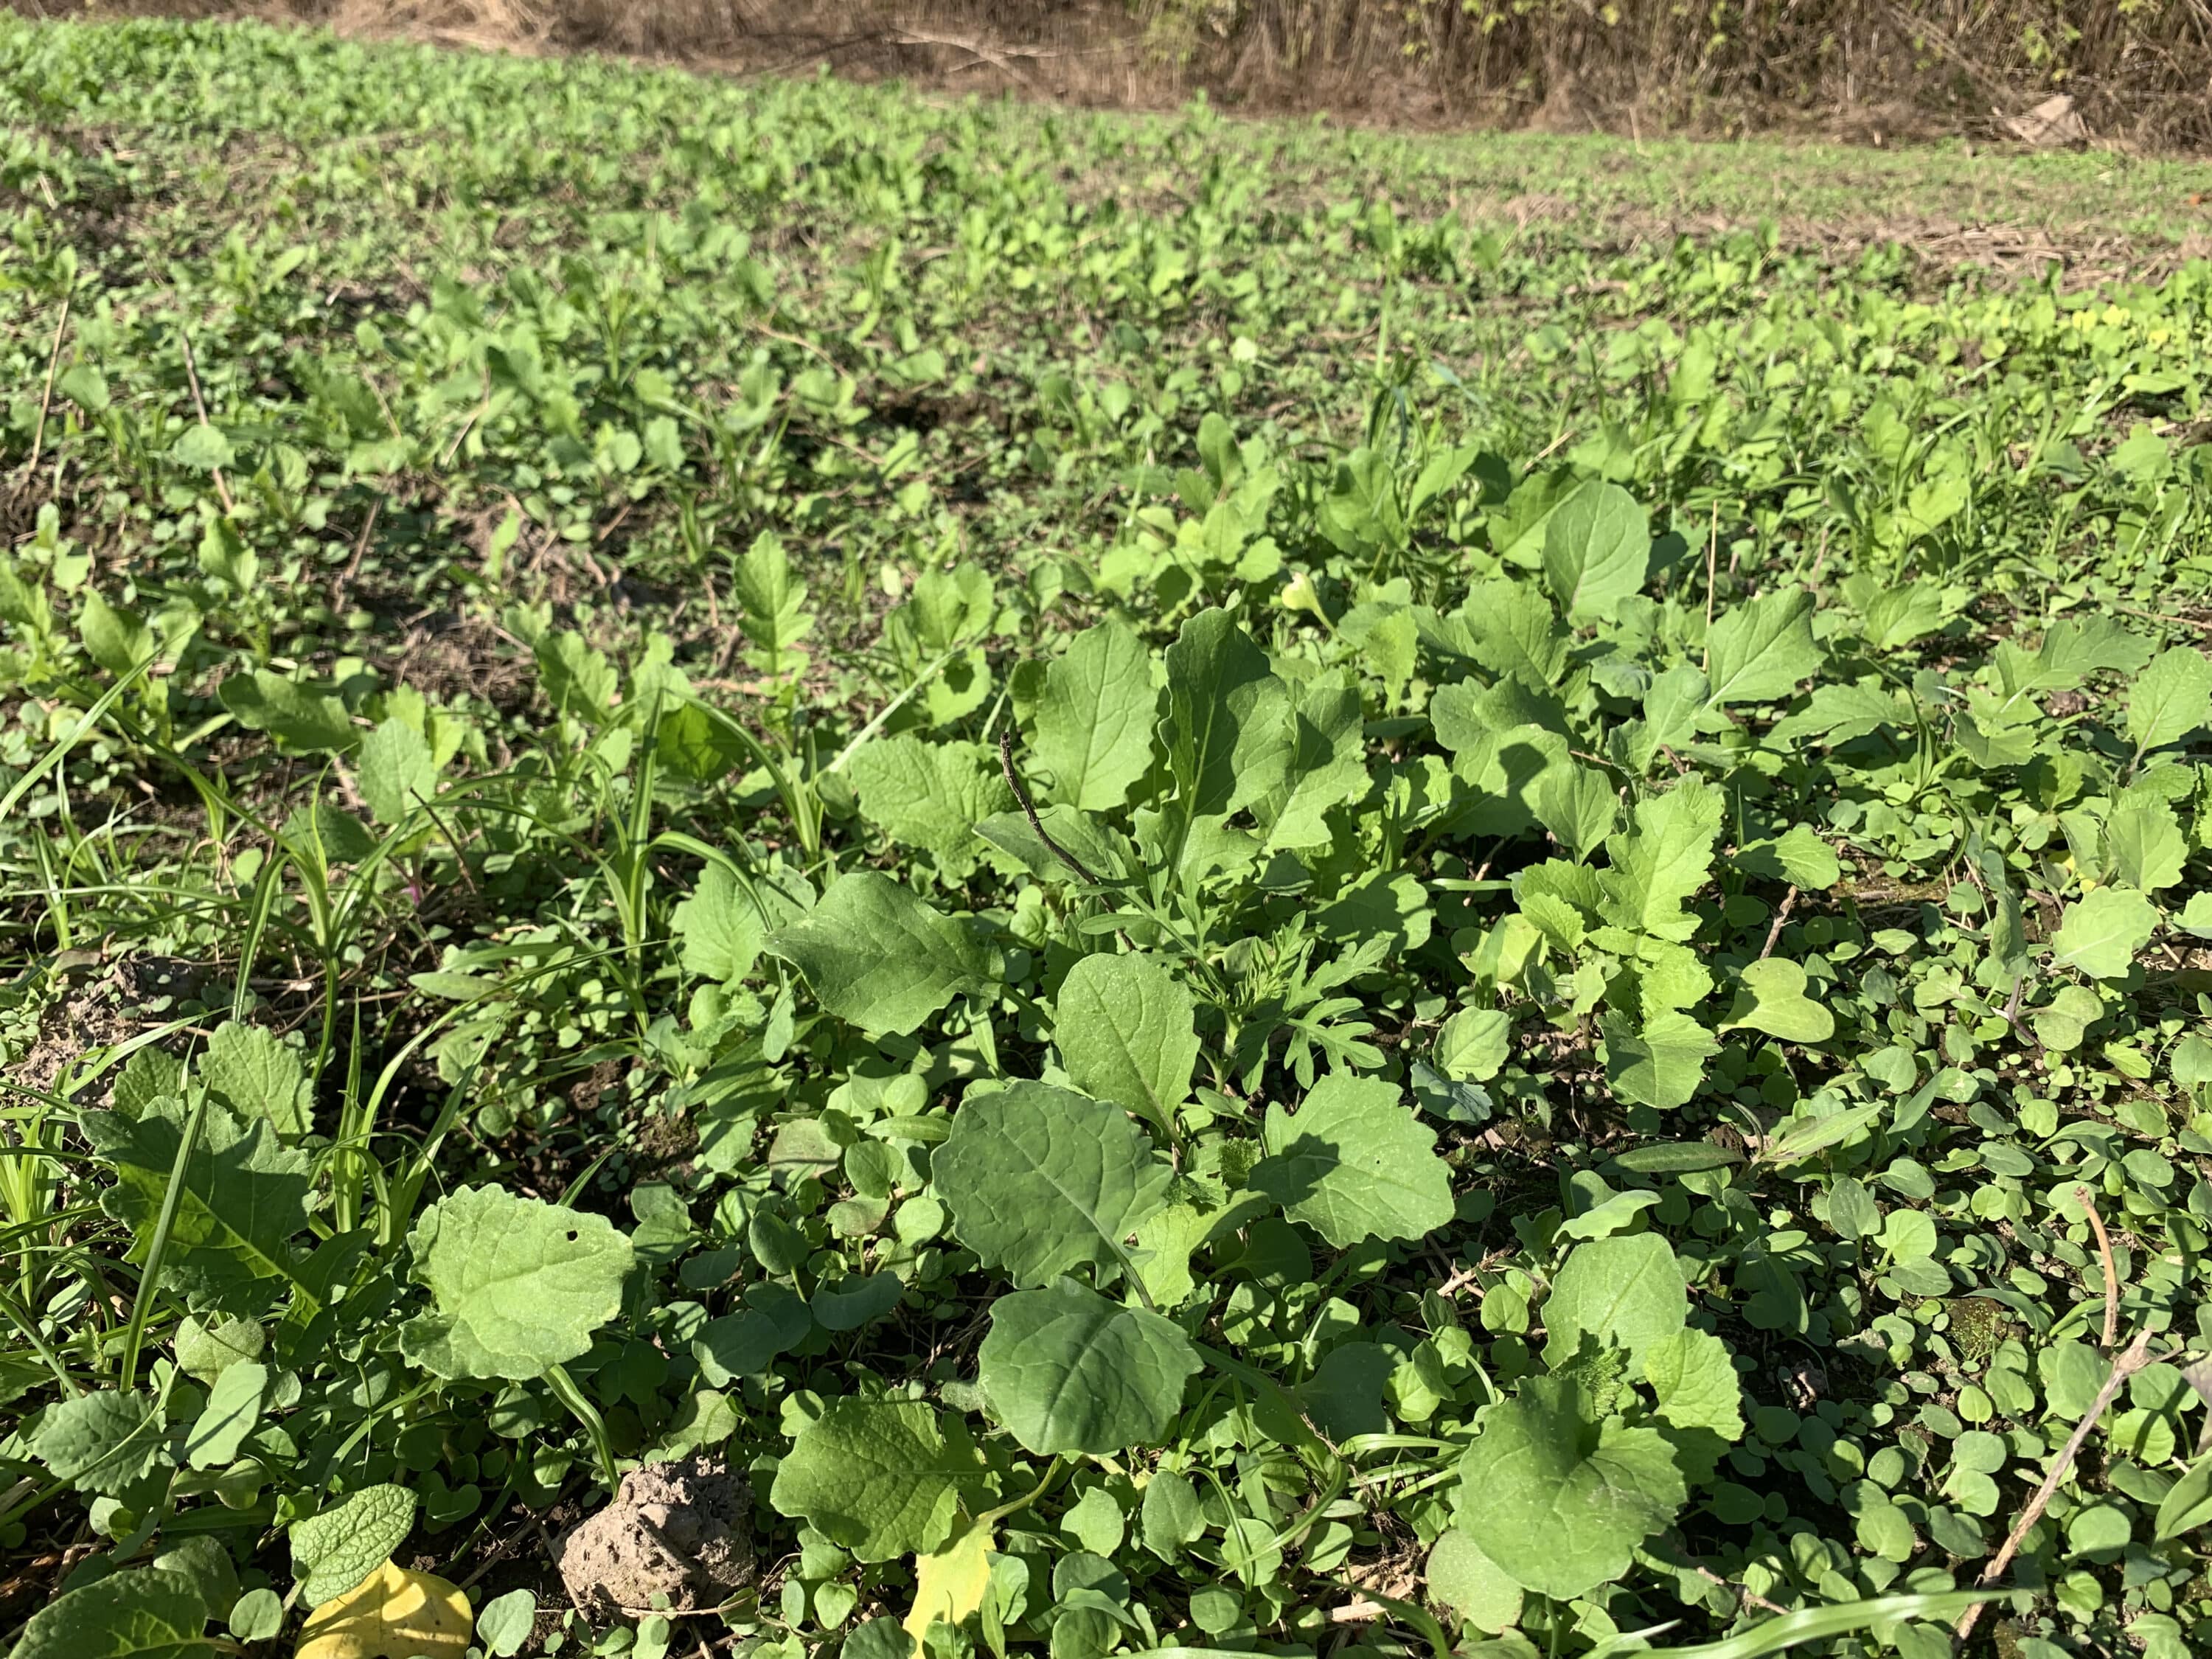
Land managers don't need massive tracts to plant food plots.
The hunting industry has falsely created barriers to entry for hunting. One of the most common is that you need a lot of acreage to successfully plant food plots and harvest deer in them. So, we dream of someday having the keys to the gate of our own large property so that we can finally plant luscious deer forage. For most, this will always be nothing more than a fantasy because, let’s face it, few of us will ever have the financial resources to secure a big property.
Rather than dream about unrealistic or unreachable goals, snap back to reality and consider what you can do with what you have. I know folks who’ve shot deer on as few as 3 acres, debunking the myth that you need lots of land to attract deer to hunt.
Before you argue that you don’t have the equipment to plant a food plot on your small property, just know that I’ve planted small food plots with nothing more than hand tools. If interested and physically up to manual labor, and you have a small property, then make plans to plant a food plot with hand tools. Here’s how to go about it.
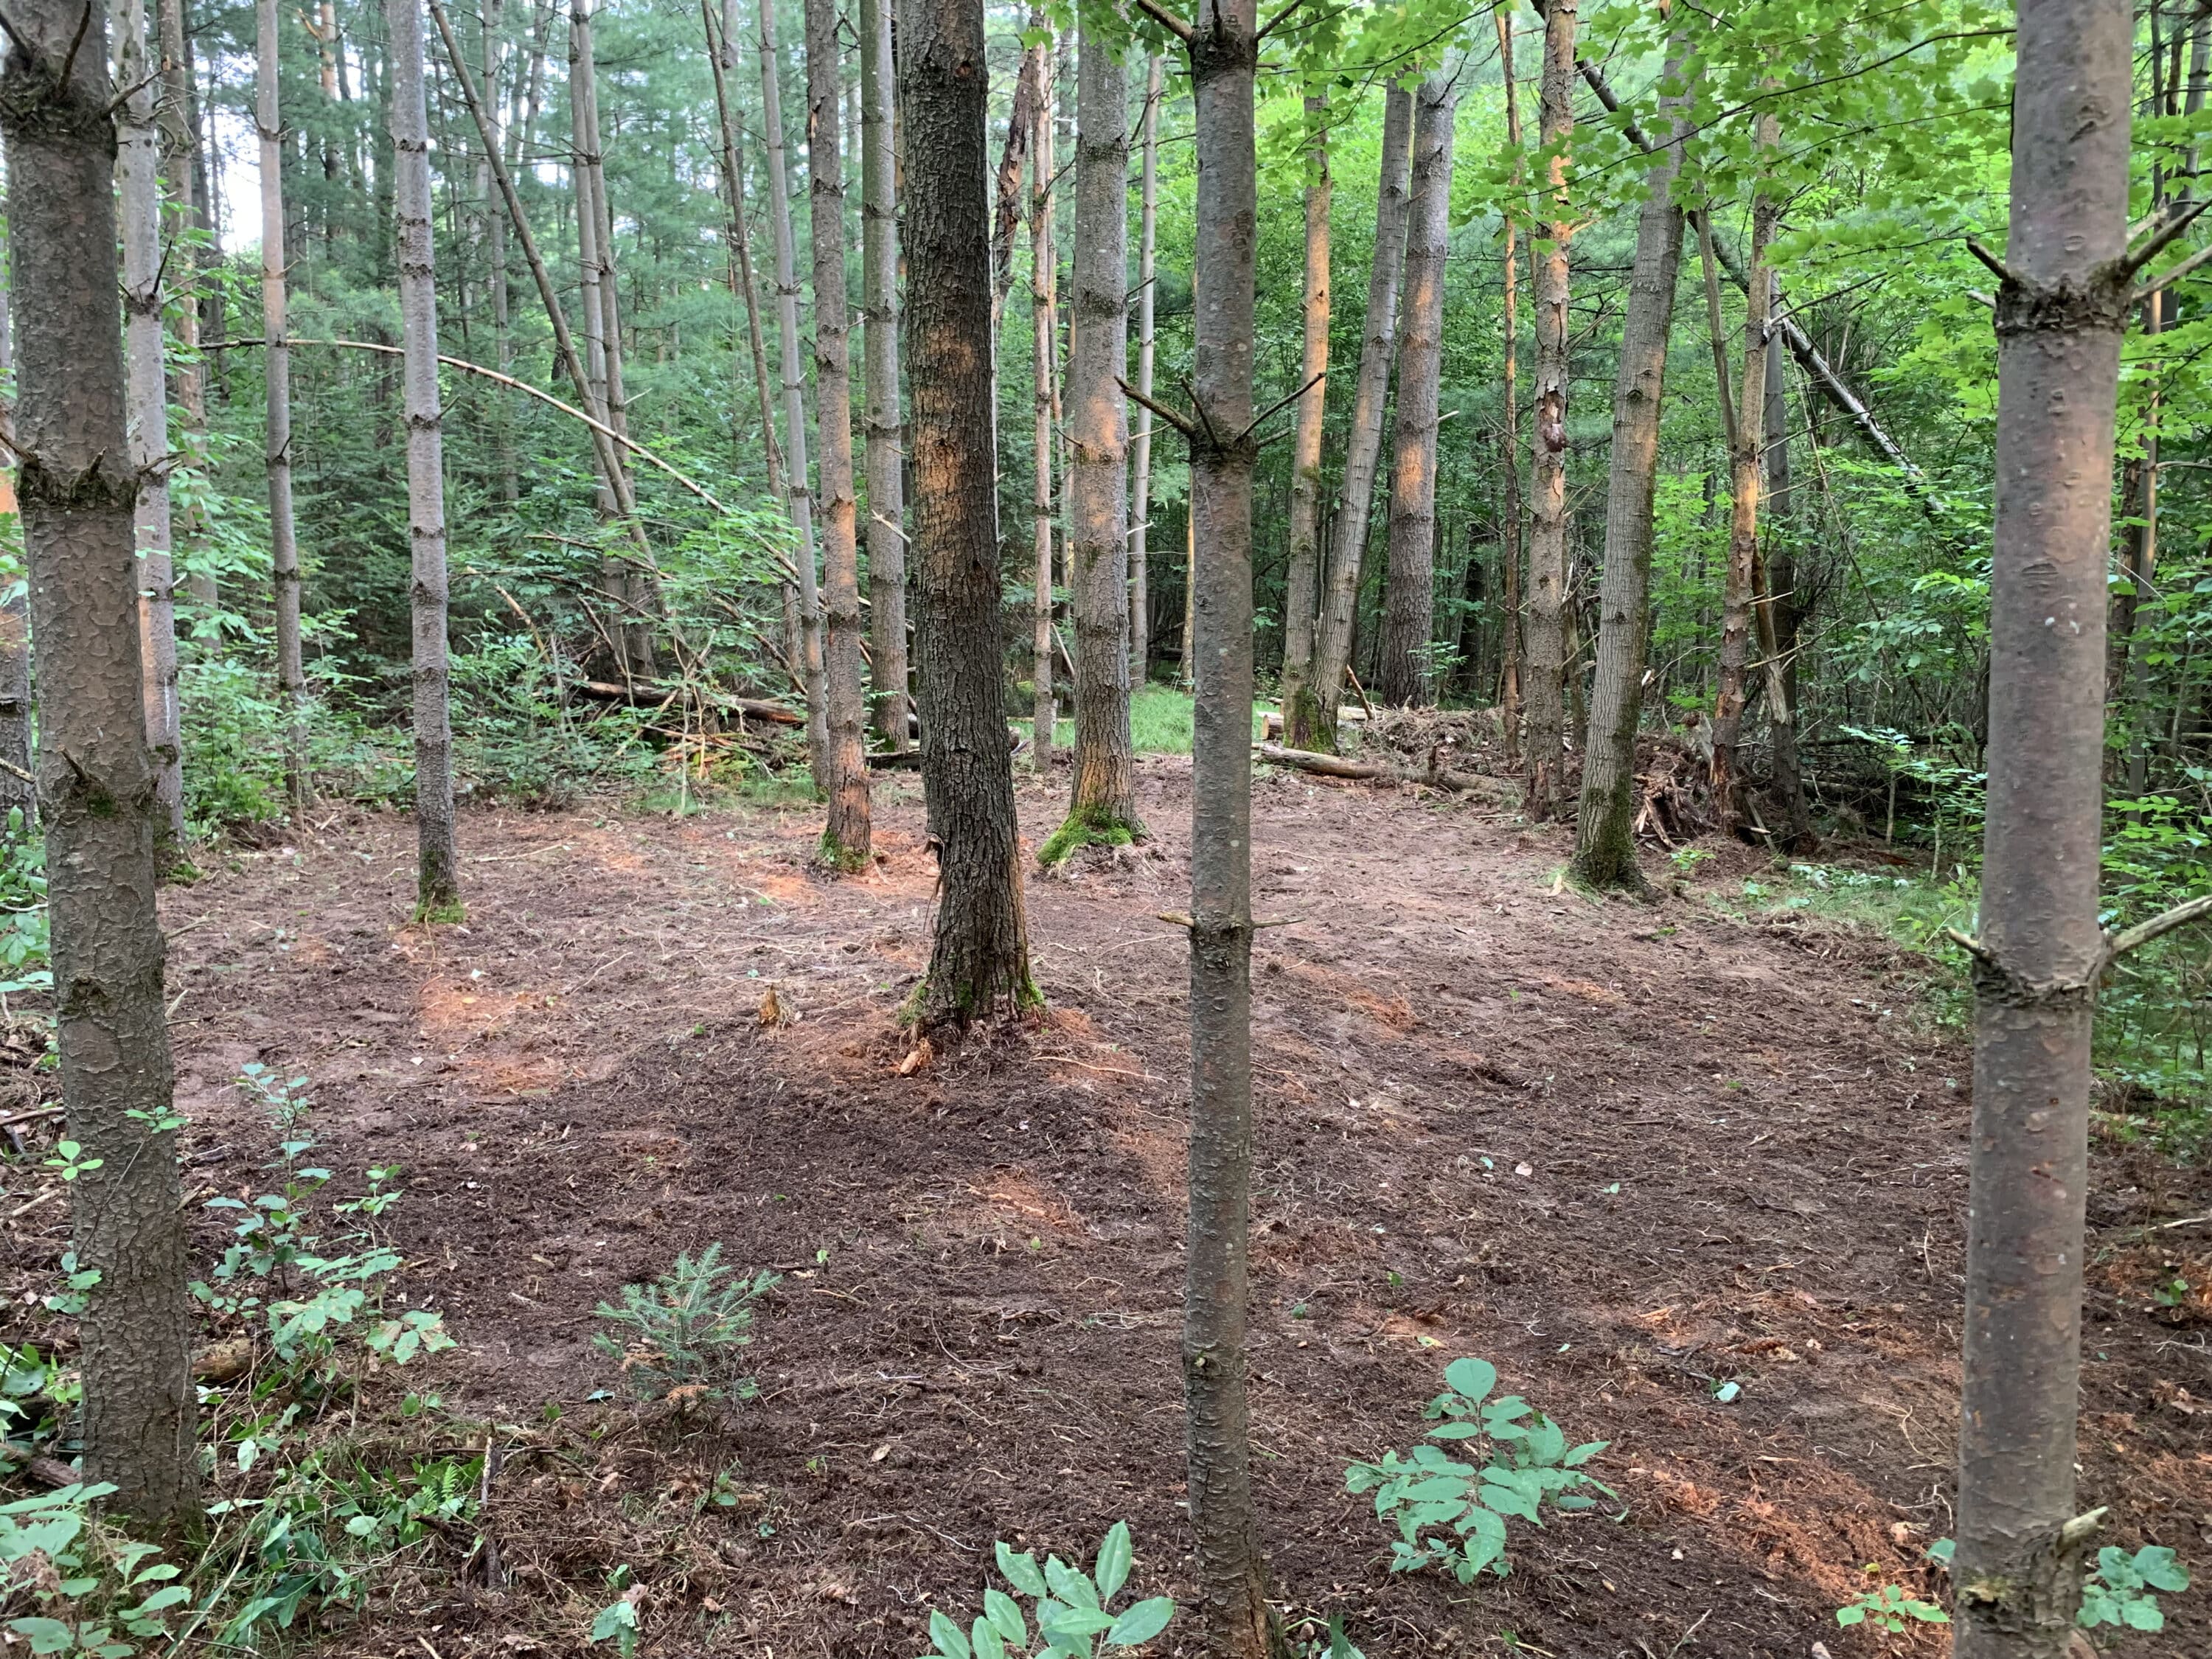
Soil in a small site like this 400-square-foot opening can be exposed with nothing more than a garden rake and some manual labor.
Step 1: Choosing a Site
I want to make the initial disclaimer that not every property will work for food plotting. Perhaps the property is too wet, swampy, sloped, or rocky. If these criteria didn’t eliminate your property, then follow along.
The best way to begin with selecting a site, especially with very small properties, is to identify and evaluate existing clearings, lanes, or trails through the forest that get some sunlight. If any such options exist on your small property, consider the location in relation to where deer will come from. Why? You don’t want to plant in a location that you can’t hunt during the prevailing winds unless you have no other option.
If you have no existing openings that receive sunlight, consider the effort it will require to cut down some trees. If you have a chainsaw and are familiar with safely cutting down trees, this might be practical. I’m not talking about sawing an acre worth of timber. I’m talking as little as 400-500 square feet. Maybe it takes only one large tree with a dense canopy to achieve the sun-to-soil exposure needed to grow the goods. Choose your site carefully before sawing, and either rent a stump grinder, or plant around the stump(s).
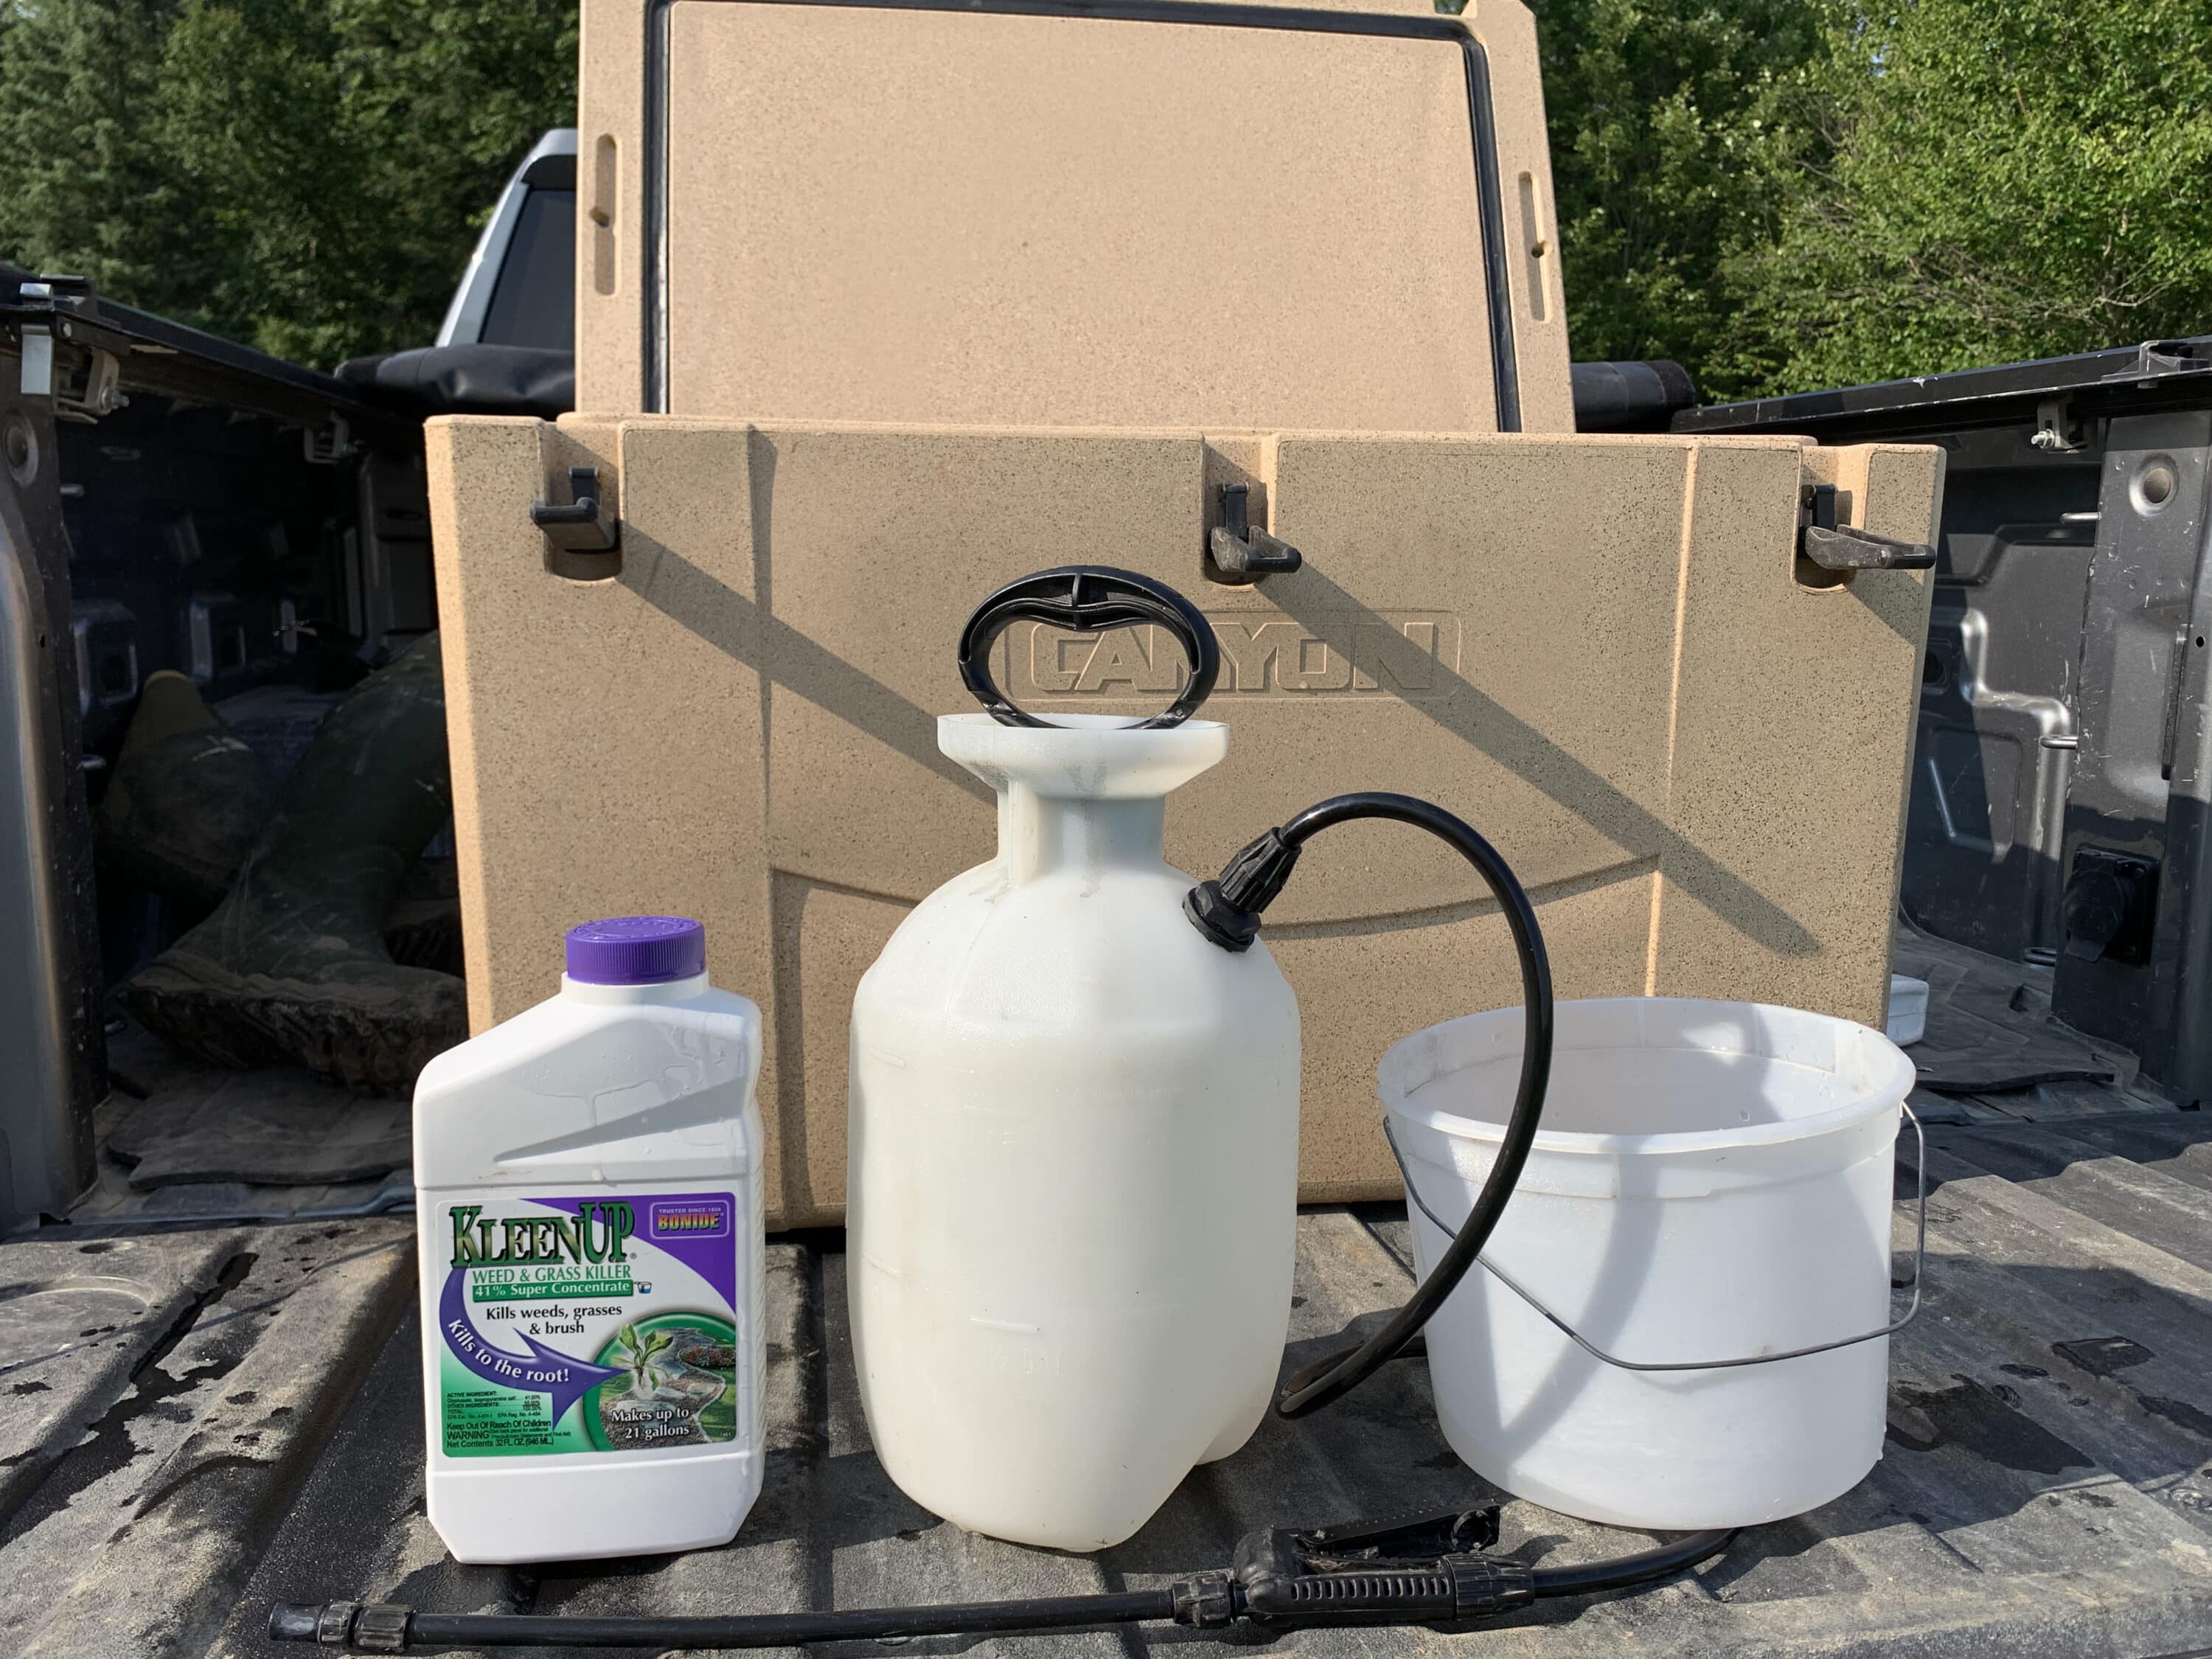
Spraying your site with an herbicide will manage unwanted weeds.
Step 2: Prepping a Site
Whether working with an existing opening or one just created by sawing a few trees, the site will require more preparation. If there are a lot of weeds and brush, pick up a hand-pump sprayer and address them with an herbicide. Once they die, I suggest a weed whacker (don’t forget eye and ear protection) to knock everything down to the soil. Remove all the trimmings from your opening.
Now, the more you prepare the soil, the better results you’ll likely have when planting seed. Some seeds such as Evolved’s Throw & Gro mix are designed to germinate and grow with mere soil contact, so you can often get by with nothing more than a garden rake to expose and rough up the dirt. For other seeds that require tilling so that they can be raked into loose soil, a gas- or battery-powered garden tiller can help achieve properly worked soil.
Once you’ve exposed or tilled the soil, it’s time to walk around and remove stones and sticks from the site. The fewer obstructions, the more seeds that hit the soil and germinate.
Spring Whitetail Scouting 101: Making a Plan for Fall Deer Seasons
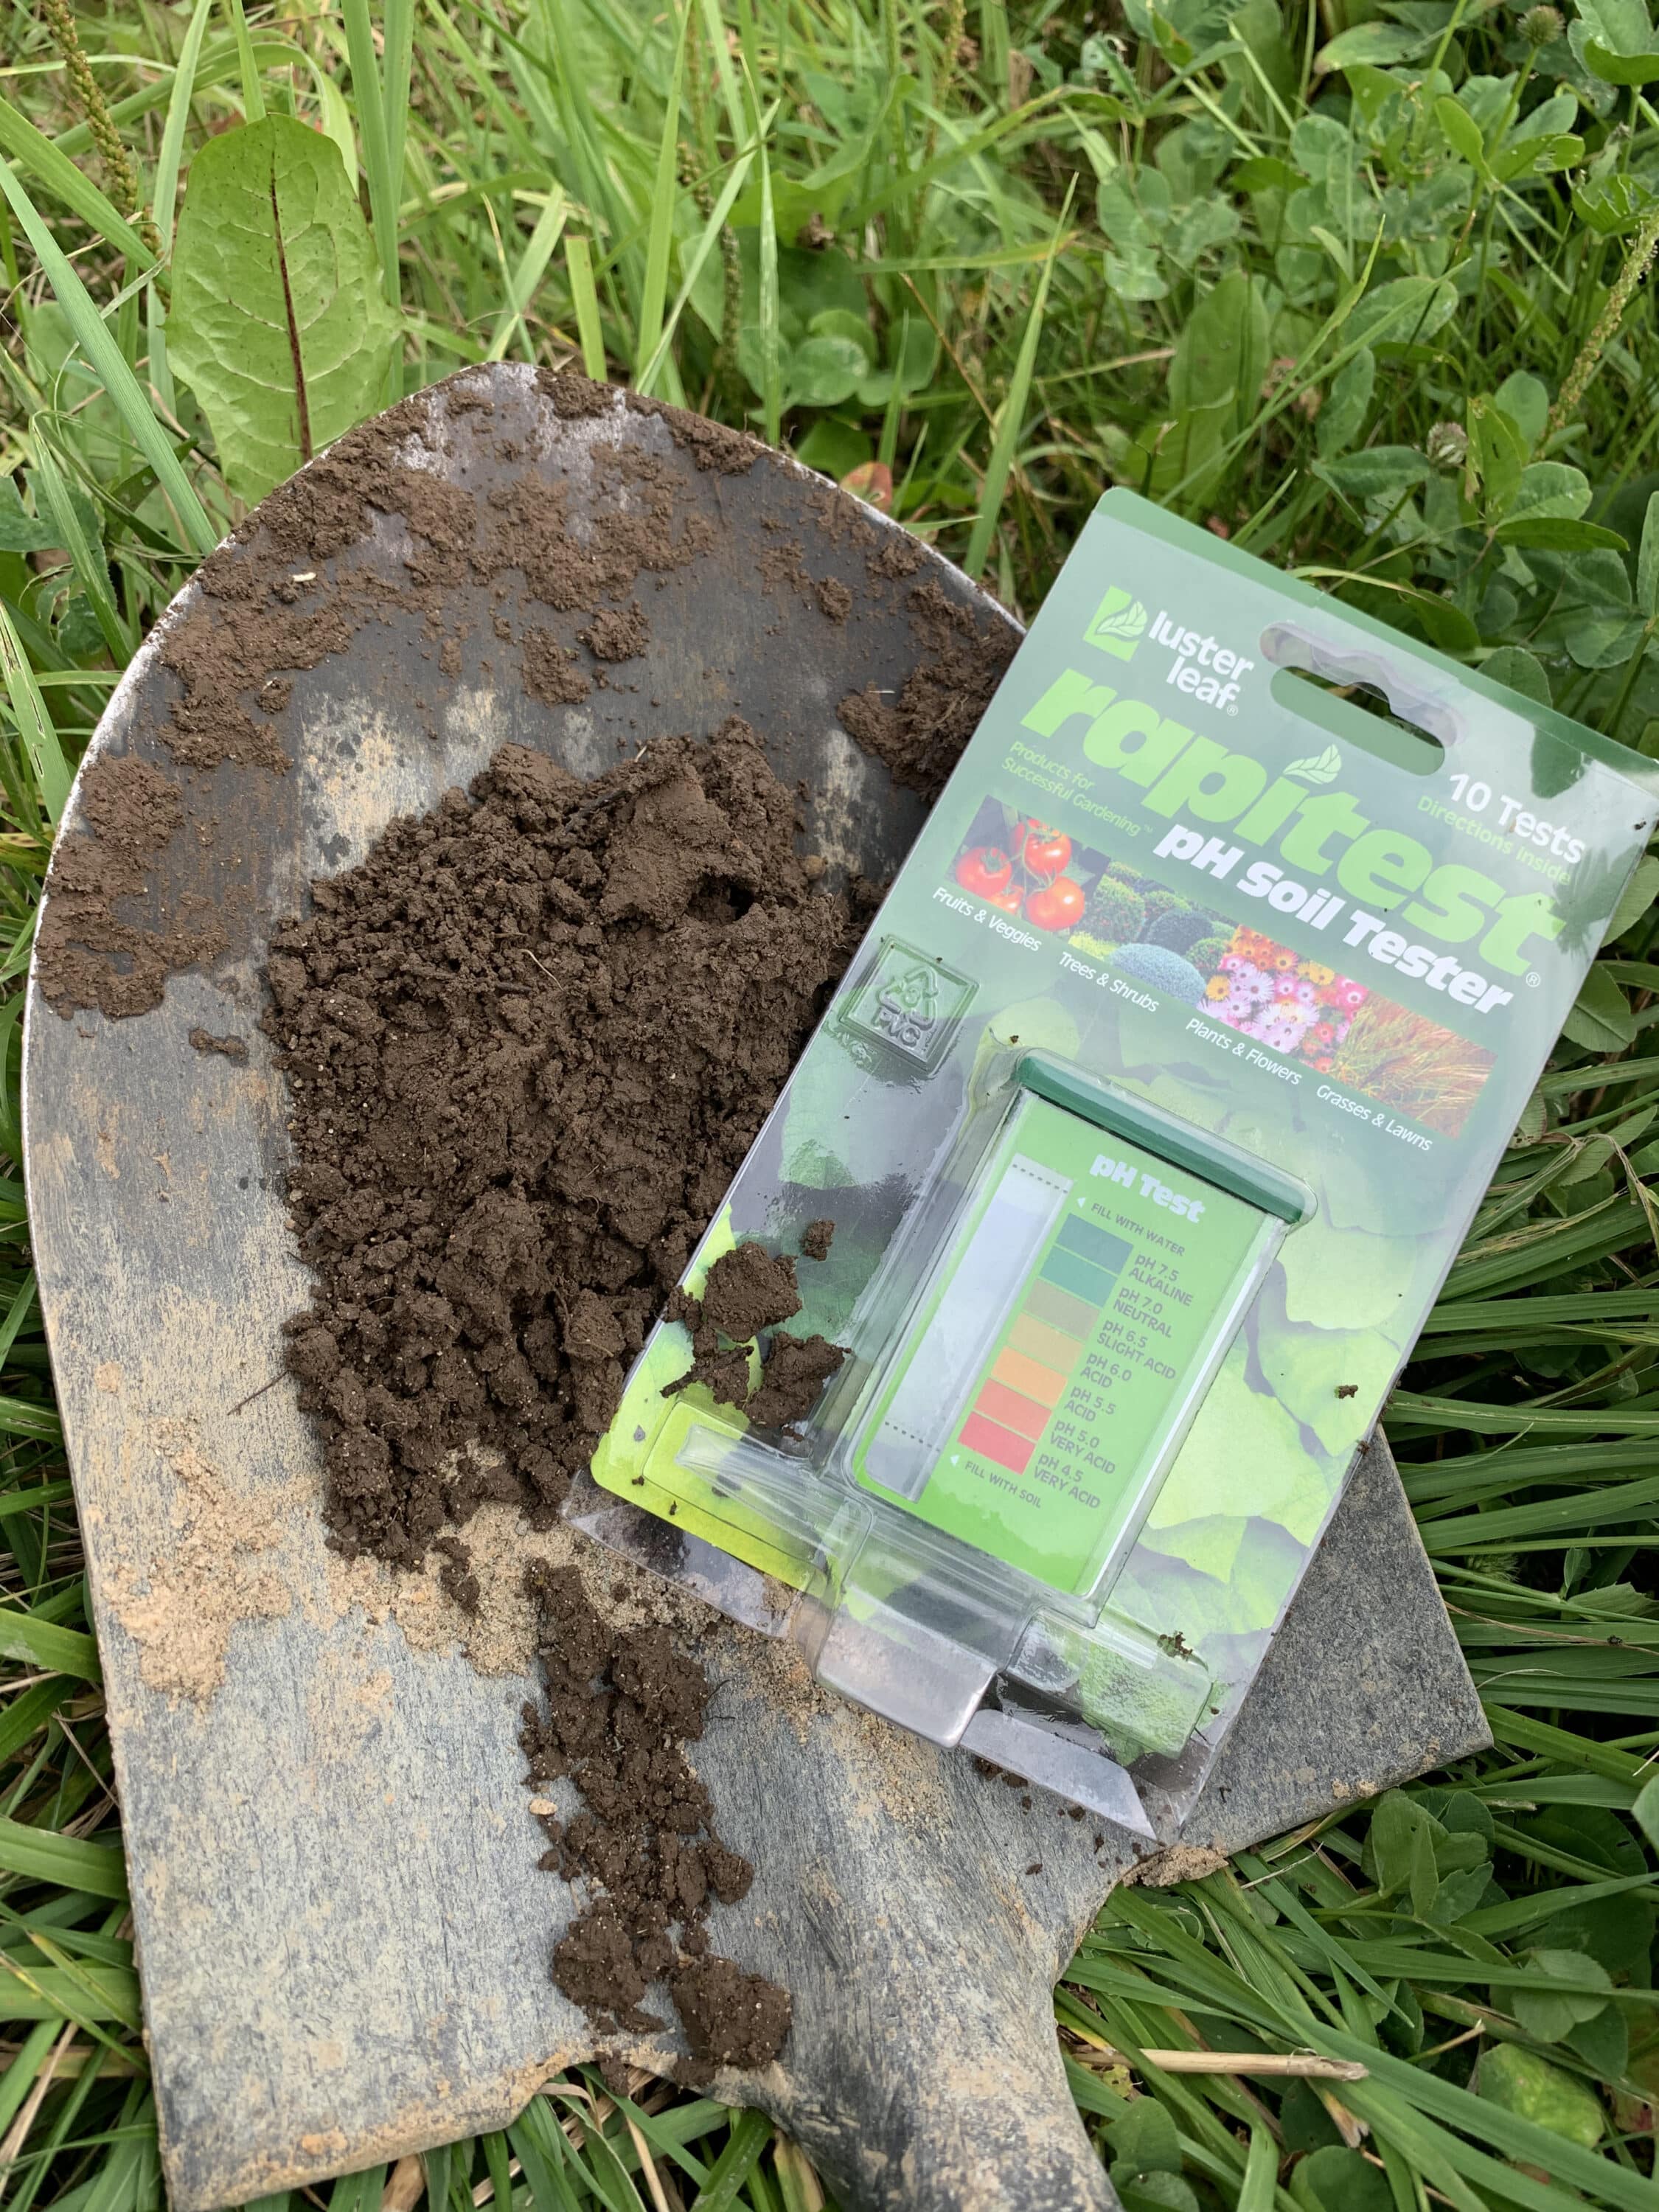
A soil pH test can help you see whether your current soil conditions are ideal for your specific planting.
Most farm or garden supply stores sell pH test kits. The seed supplier should have a recommended soil pH for the specific seed or seed blend you’ll be planting. For example, Evolved’s Throw & Gro mix is suitable for a soil pH in the 5.5-7.5 range. If your soil’s pH level is too low, you can increase it with agriculture lime (usually sold at farm or garden stores). If it’s too high, elemental sulfur can lower it. Getting your pH to the specified level can drastically improve your result.
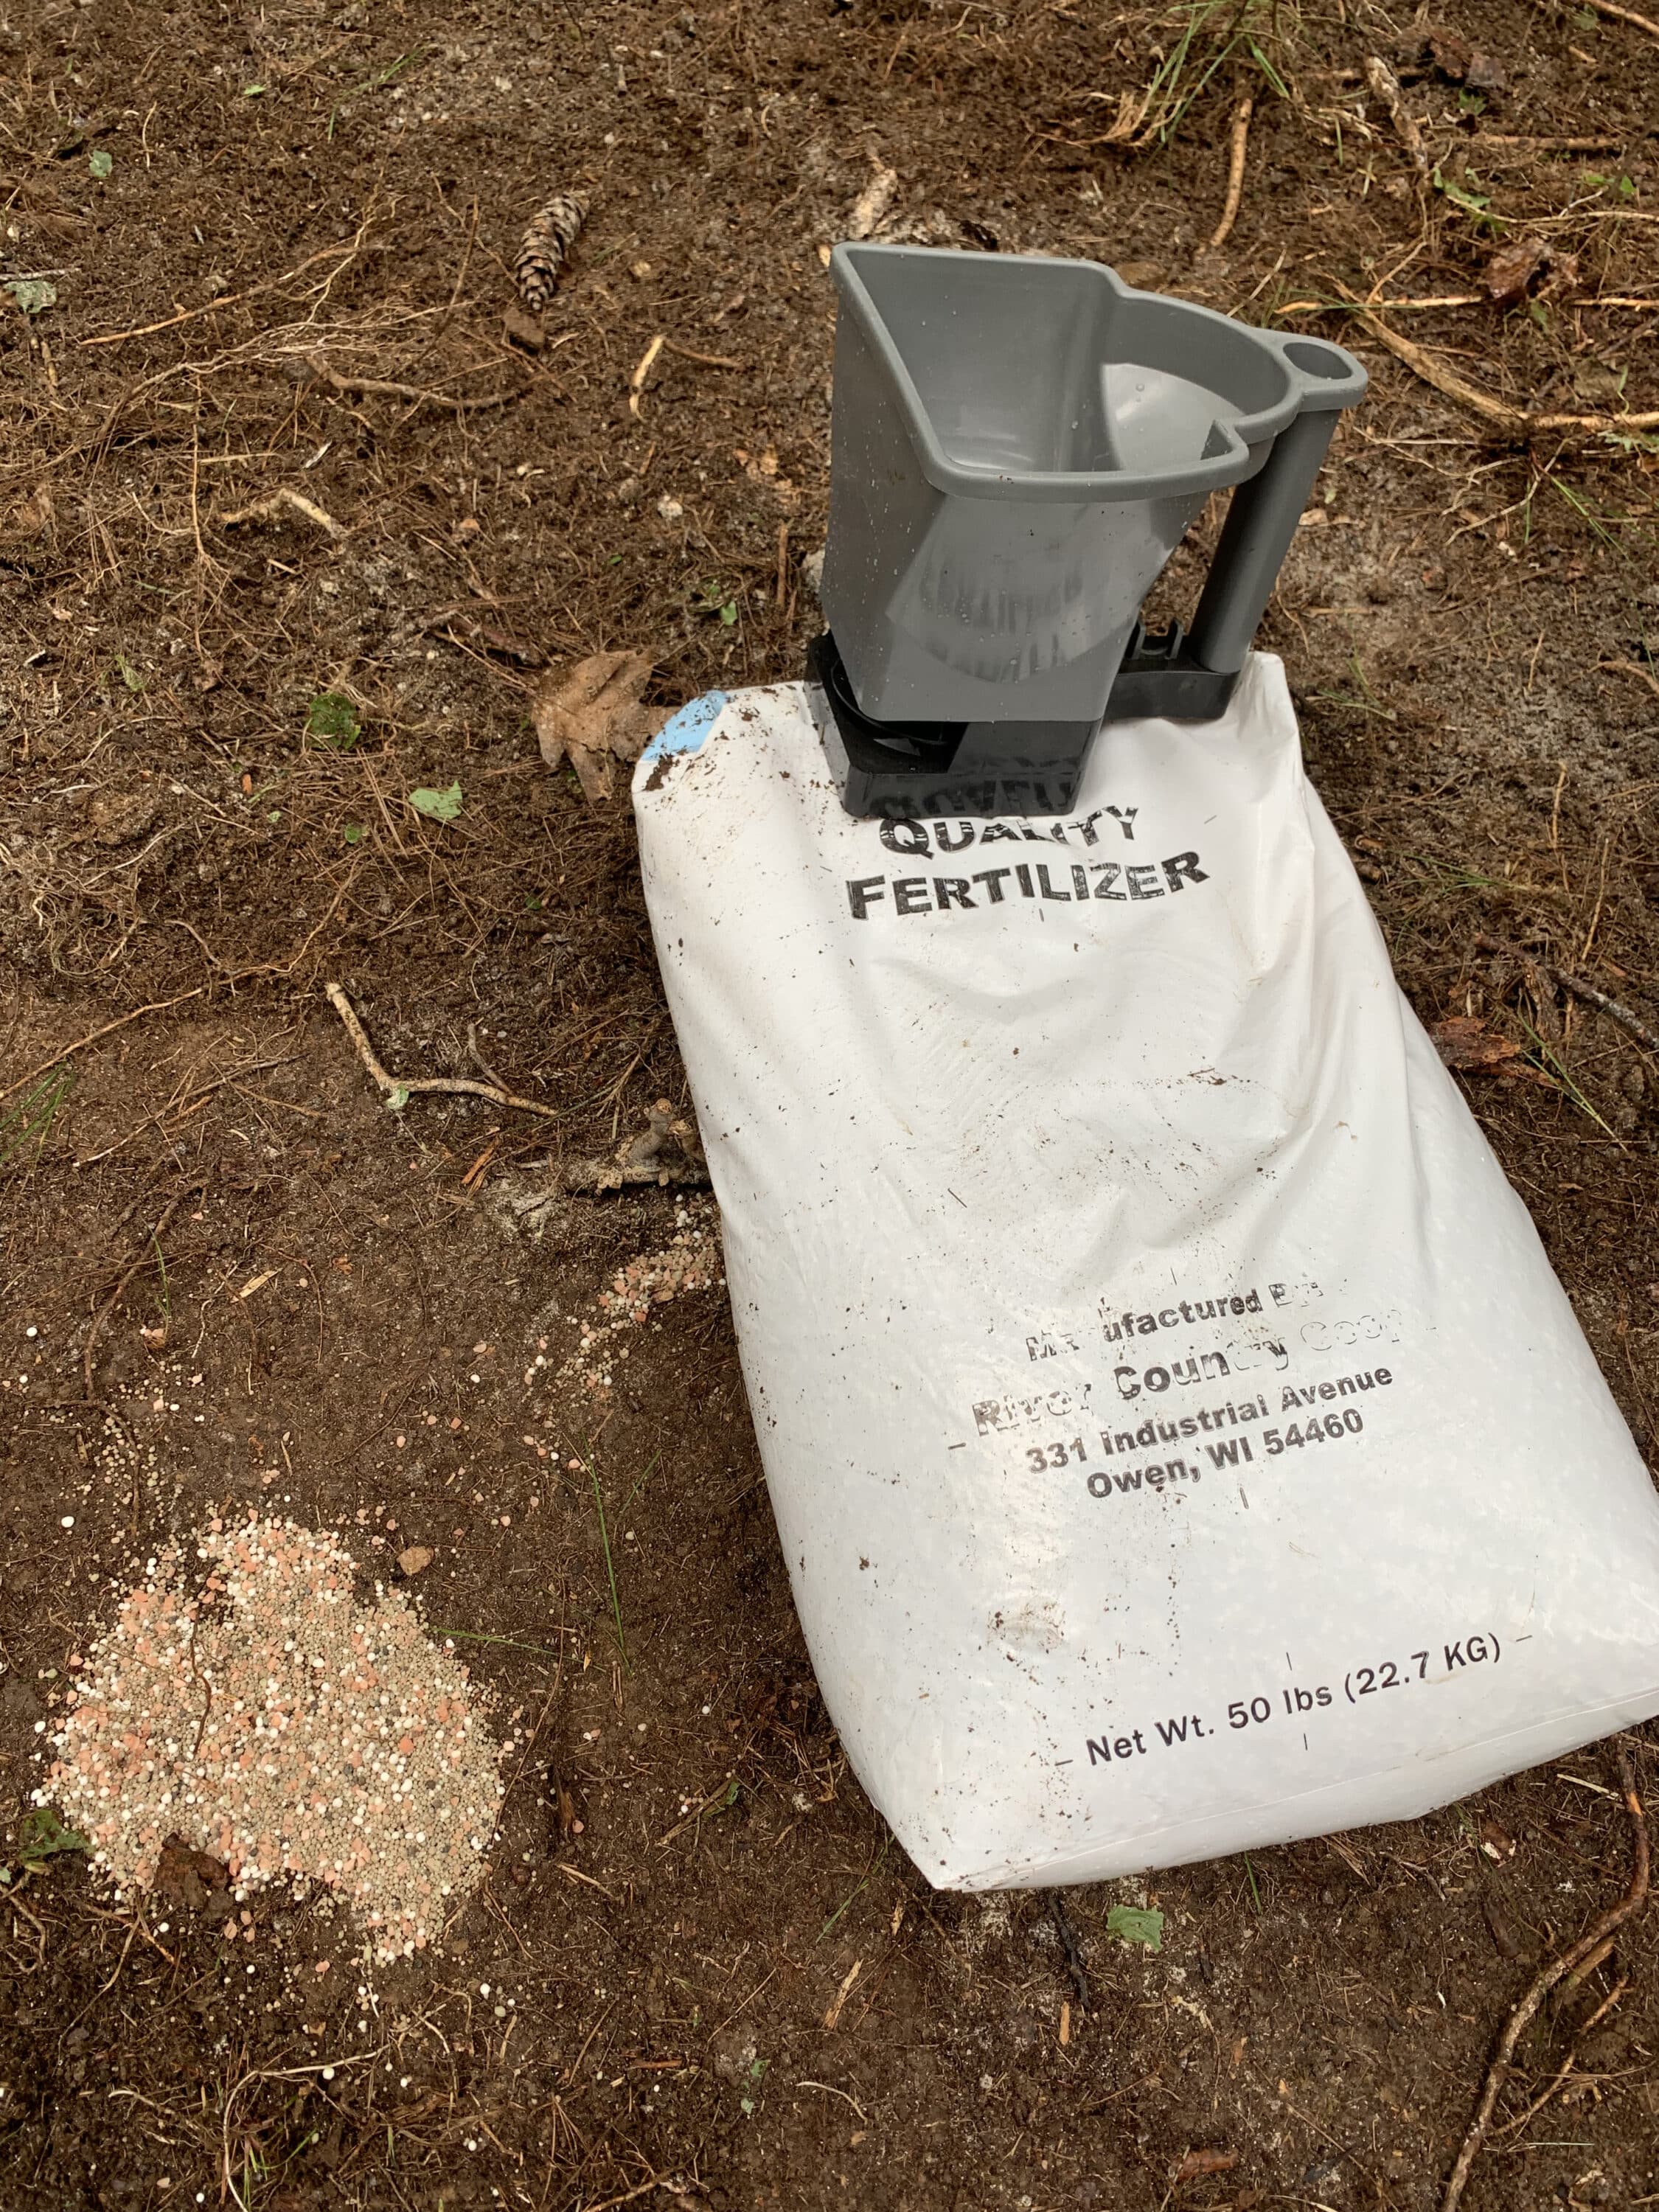
Before planting, broadcast the fertilizer recommended by your seed supplier for your specific planting and then rake it into the soil prior to planting.
Step 4: Seeding and Fertilizing
Once you’ve purchased your food-plot seed, be sure to follow the supplier’s planting timeline for your specific geographic region to optimize results. Also, the seed supplier or even the seed bag should list a recommended fertilizer type and amount. Using Throw & Gro as an example once again, Evolved recommends 13-13-13. I always apply fertilizer and rake the soil prior to planting the seeds so that the fertilizer doesn’t burn them out.
Once you’ve quickly worked the fertilizer around, it’s time to seed. Here again, you don’t need big equipment. I use a simple handheld broadcaster available wherever grass seed is sold. Embracing the “the-more-the-better” mindset, I made the mistake of excessive seed broadcasting on my very first plot. After that conundrum 16 years ago, I immediately learned to follow and trust the seed supplier’s instructions for broadcasting.
If the seeds require mere soil contact, then you’re done. When I’m planting a seed that required me to till, I typically run a landscaping rake back and forth over the entire plot to get the seeds turned into the soil. If you have a lawn mower or 4-wheeler and a lawn roller, you can pack the dirt with the roller after raking to ensure better soil contact, but don’t sweat if you don’t have those items.
Shed Hunting Road Trips: Advanced Tips and Tactics to Find More Antlers
Unless you have a way to water the plot, the ball’s in God’s court.
Step 5: Praying for Rain
Unless you have a way to water the plot, the ball’s in God’s court. You best get on your knees and pray for rain. This has been an issue over the last few years in states like Kansas, Oklahoma and both Dakotas. Fortunately, a small plot is a small financial investment, so if rains don’t come and the plot doesn’t produce, you’re out little besides a bag of seed and some sweat equity. And, if your flopped attempt was a spring or summer planting, consider a second attempt with a fall planting.
Step 6: Utilizing HuntStand Pro
Most small properties don’t hold deer. In other words, it’d be rare for a deer to be born on your land, live there without leaving, and die there. That’s true in most cases, regardless if you have a luscious food plot, or not. You’re trying to attract deer that live elsewhere but occasionally pass through your property.
Of course, knowing where deer are bedding isn’t something you can figure out on-foot if your property is surrounded by other private parcels you don’t have access to. Alternating between HuntStand’s Hybrid and Terrain base maps is the best bet for identifying potential bedding areas. If you have more than one option for plot placement, making some predictions as to where deer are bedding and where they’ll enter your plot using HuntStand can be helpful.
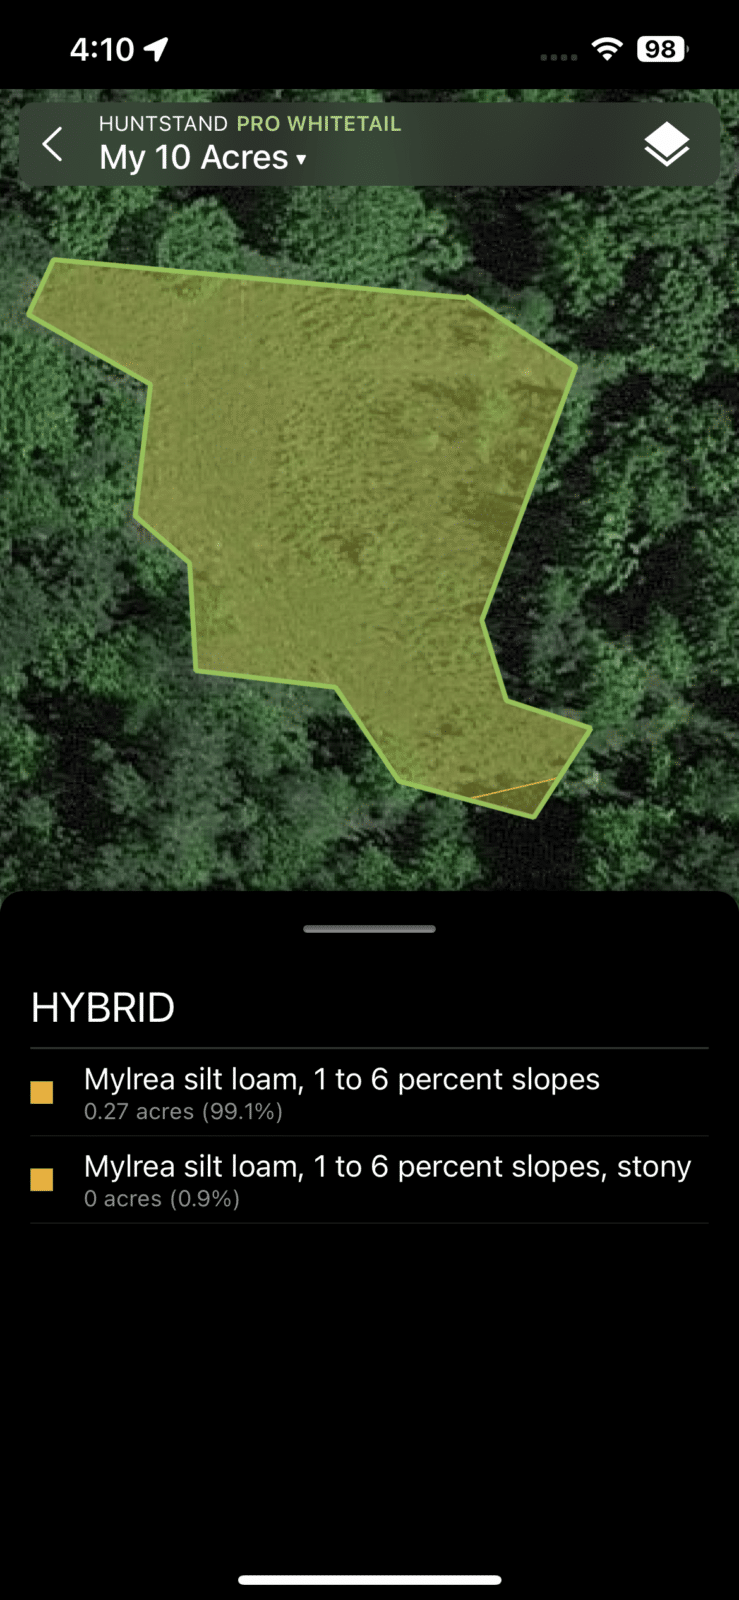
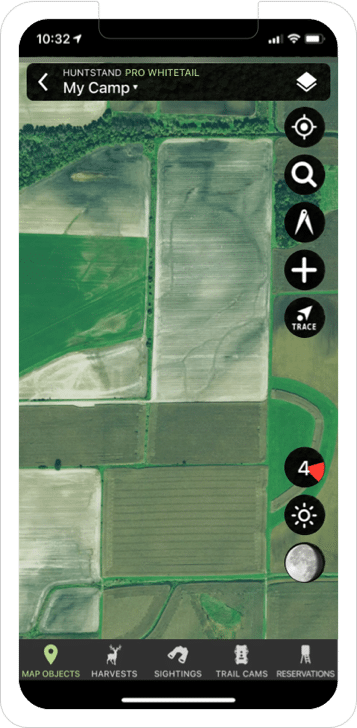
Another practical HuntStand use for planting a small plot — or any size plot for that matter — is to calculate the size of your site so that you know how much seed to purchase. In any of the base maps (I prefer Hybrid), select the + symbol on the right side of your screen (mobile version). Then, select the Draw Shape tool, which allows you to drop points to create any shape you like.
Once you complete the shape, save it as a food plot. Now, you’ll have the acreage for your site. Then, when you select the shape, it will give you the acreage and an option to “Show Soil Data.” Click that, and a window that opens will detail soil types and provide slope percentages. I still suggest a soil test, of course, but this should help you to know if your site is suitable.
Reality Check: The Things We Learn from Shed Antlers
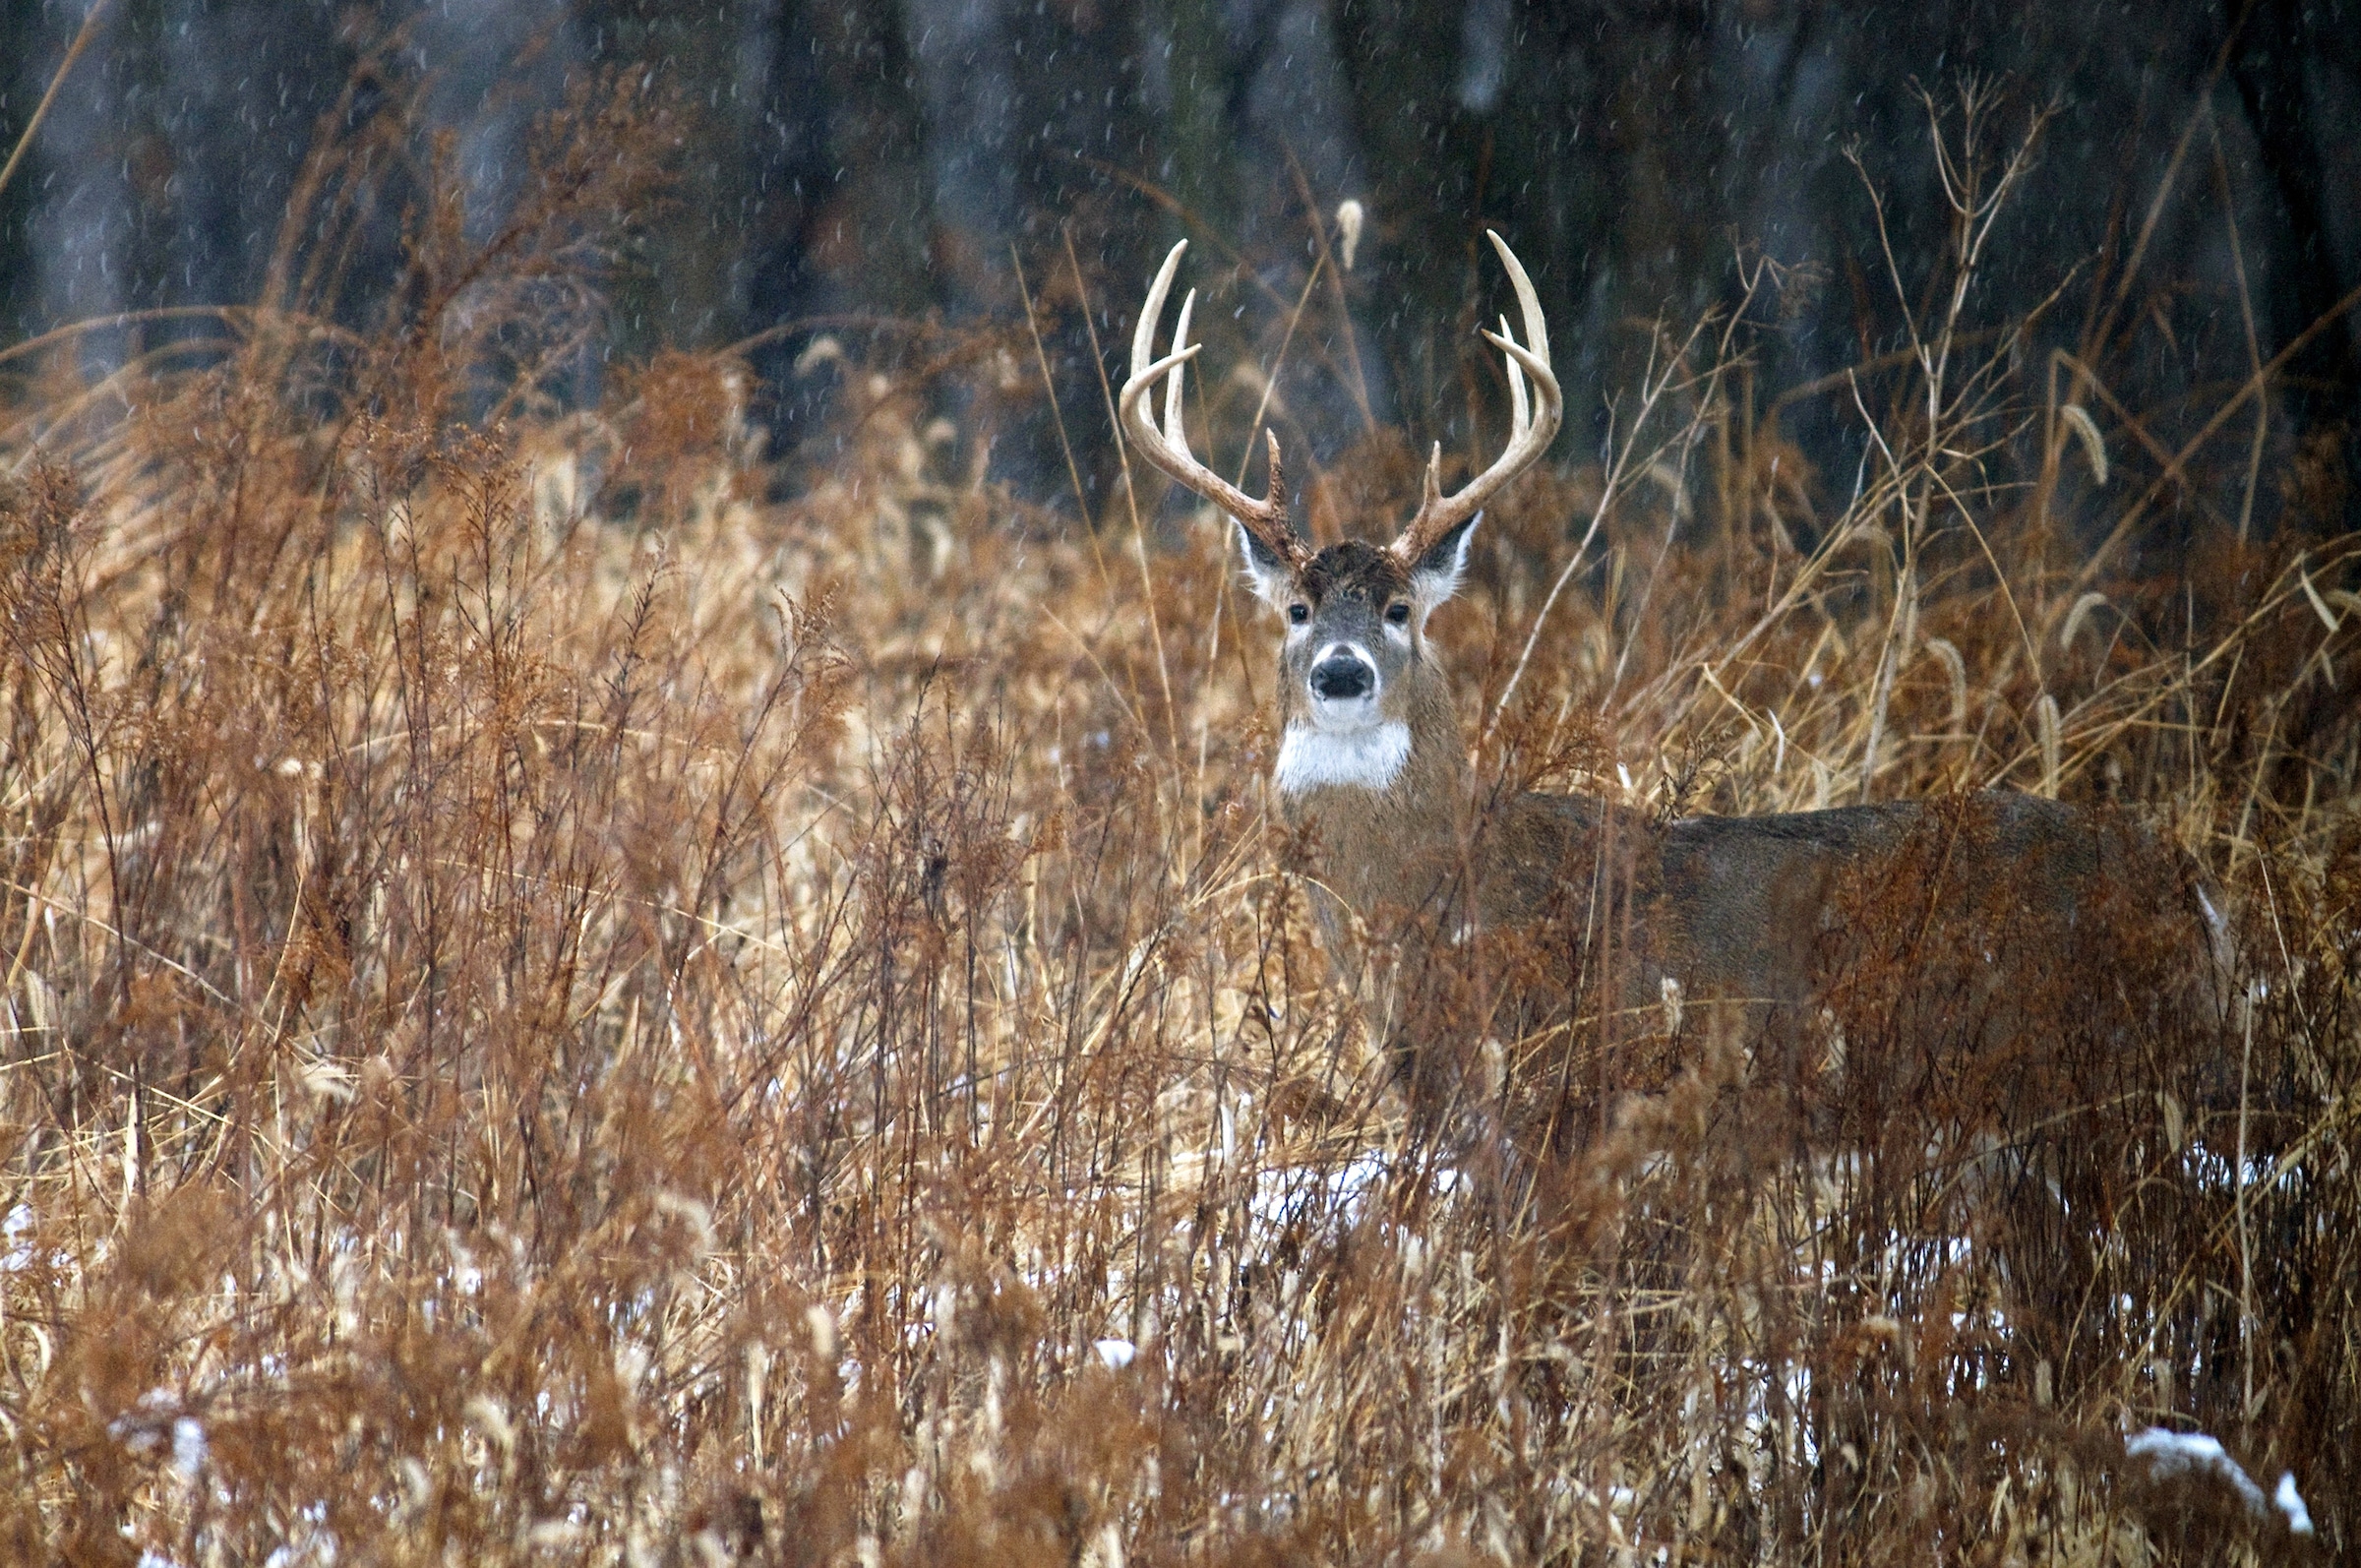
Growing a little bit of forage on your small property can improve your hunting potential.
Step 7: Growing Something Good
My final suggestion is getting to know your neighbors before deer season, especially if your plot is located within a couple hundred yards of your property boundary. Why? Well, it’s best to have the protocol for following a wounded deer that left your property organized before said event happens. Surrounded by reasonable and understanding landowners? Communication is the best way to stay friends and handle a situation such as this, should it occur.
Don’t have sky-high expectations with small-acreage properties since your land’s deer-hunting potential is only as good as the properties surrounding it. Since your land probably won’t hold deer 24/7, you’ll be sharing deer with the neighbors. If they let young bucks go, you’ll likely have a chance to hunt mature deer at some point. But, if they shoot anything with antlers, then young bucks and does are about the best you can expect.
Overall, creating a small food plot on your small property with hand tools isn’t as glamorous as hopping on a big green tractor and letting the fancy implements do the dirty work. But, if it’s the only option you have, then it beats dreaming about a huge property and big equipment that you don’t have. Plant a small plot with hand tools instead.
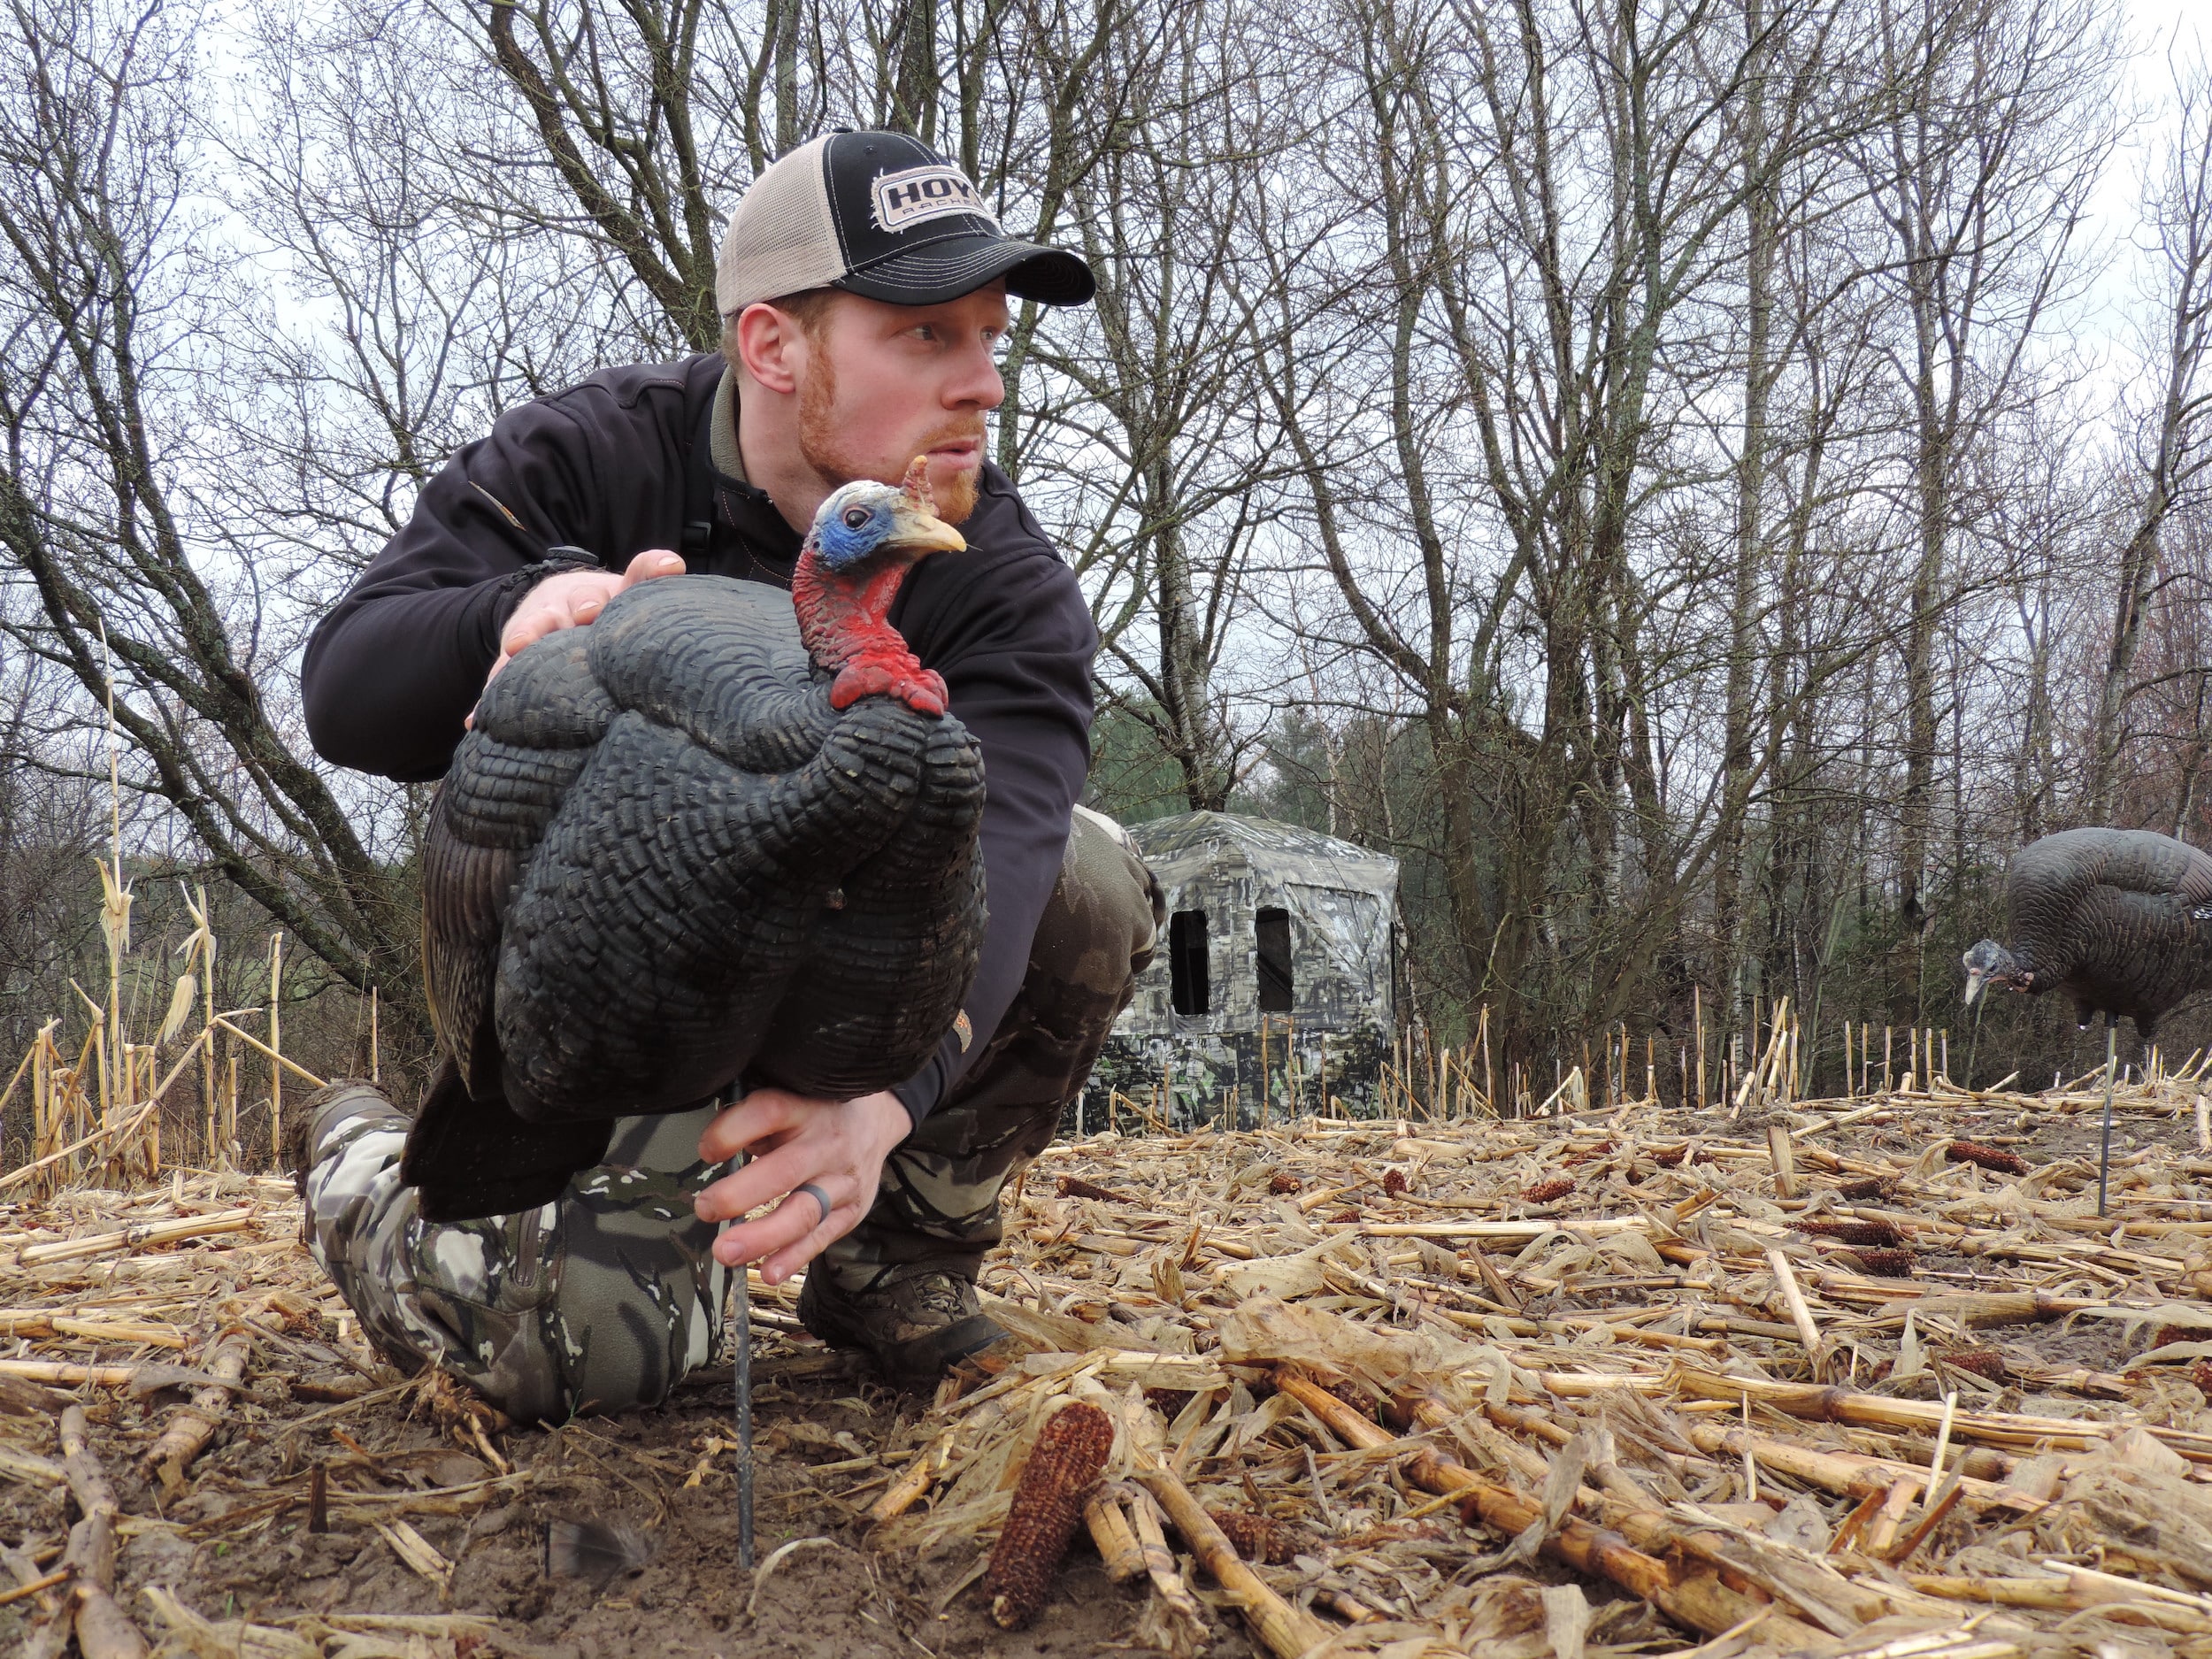
Realistic decoys not only bring toms in, but keeps them focused, which allows you to draw a bow undetected.
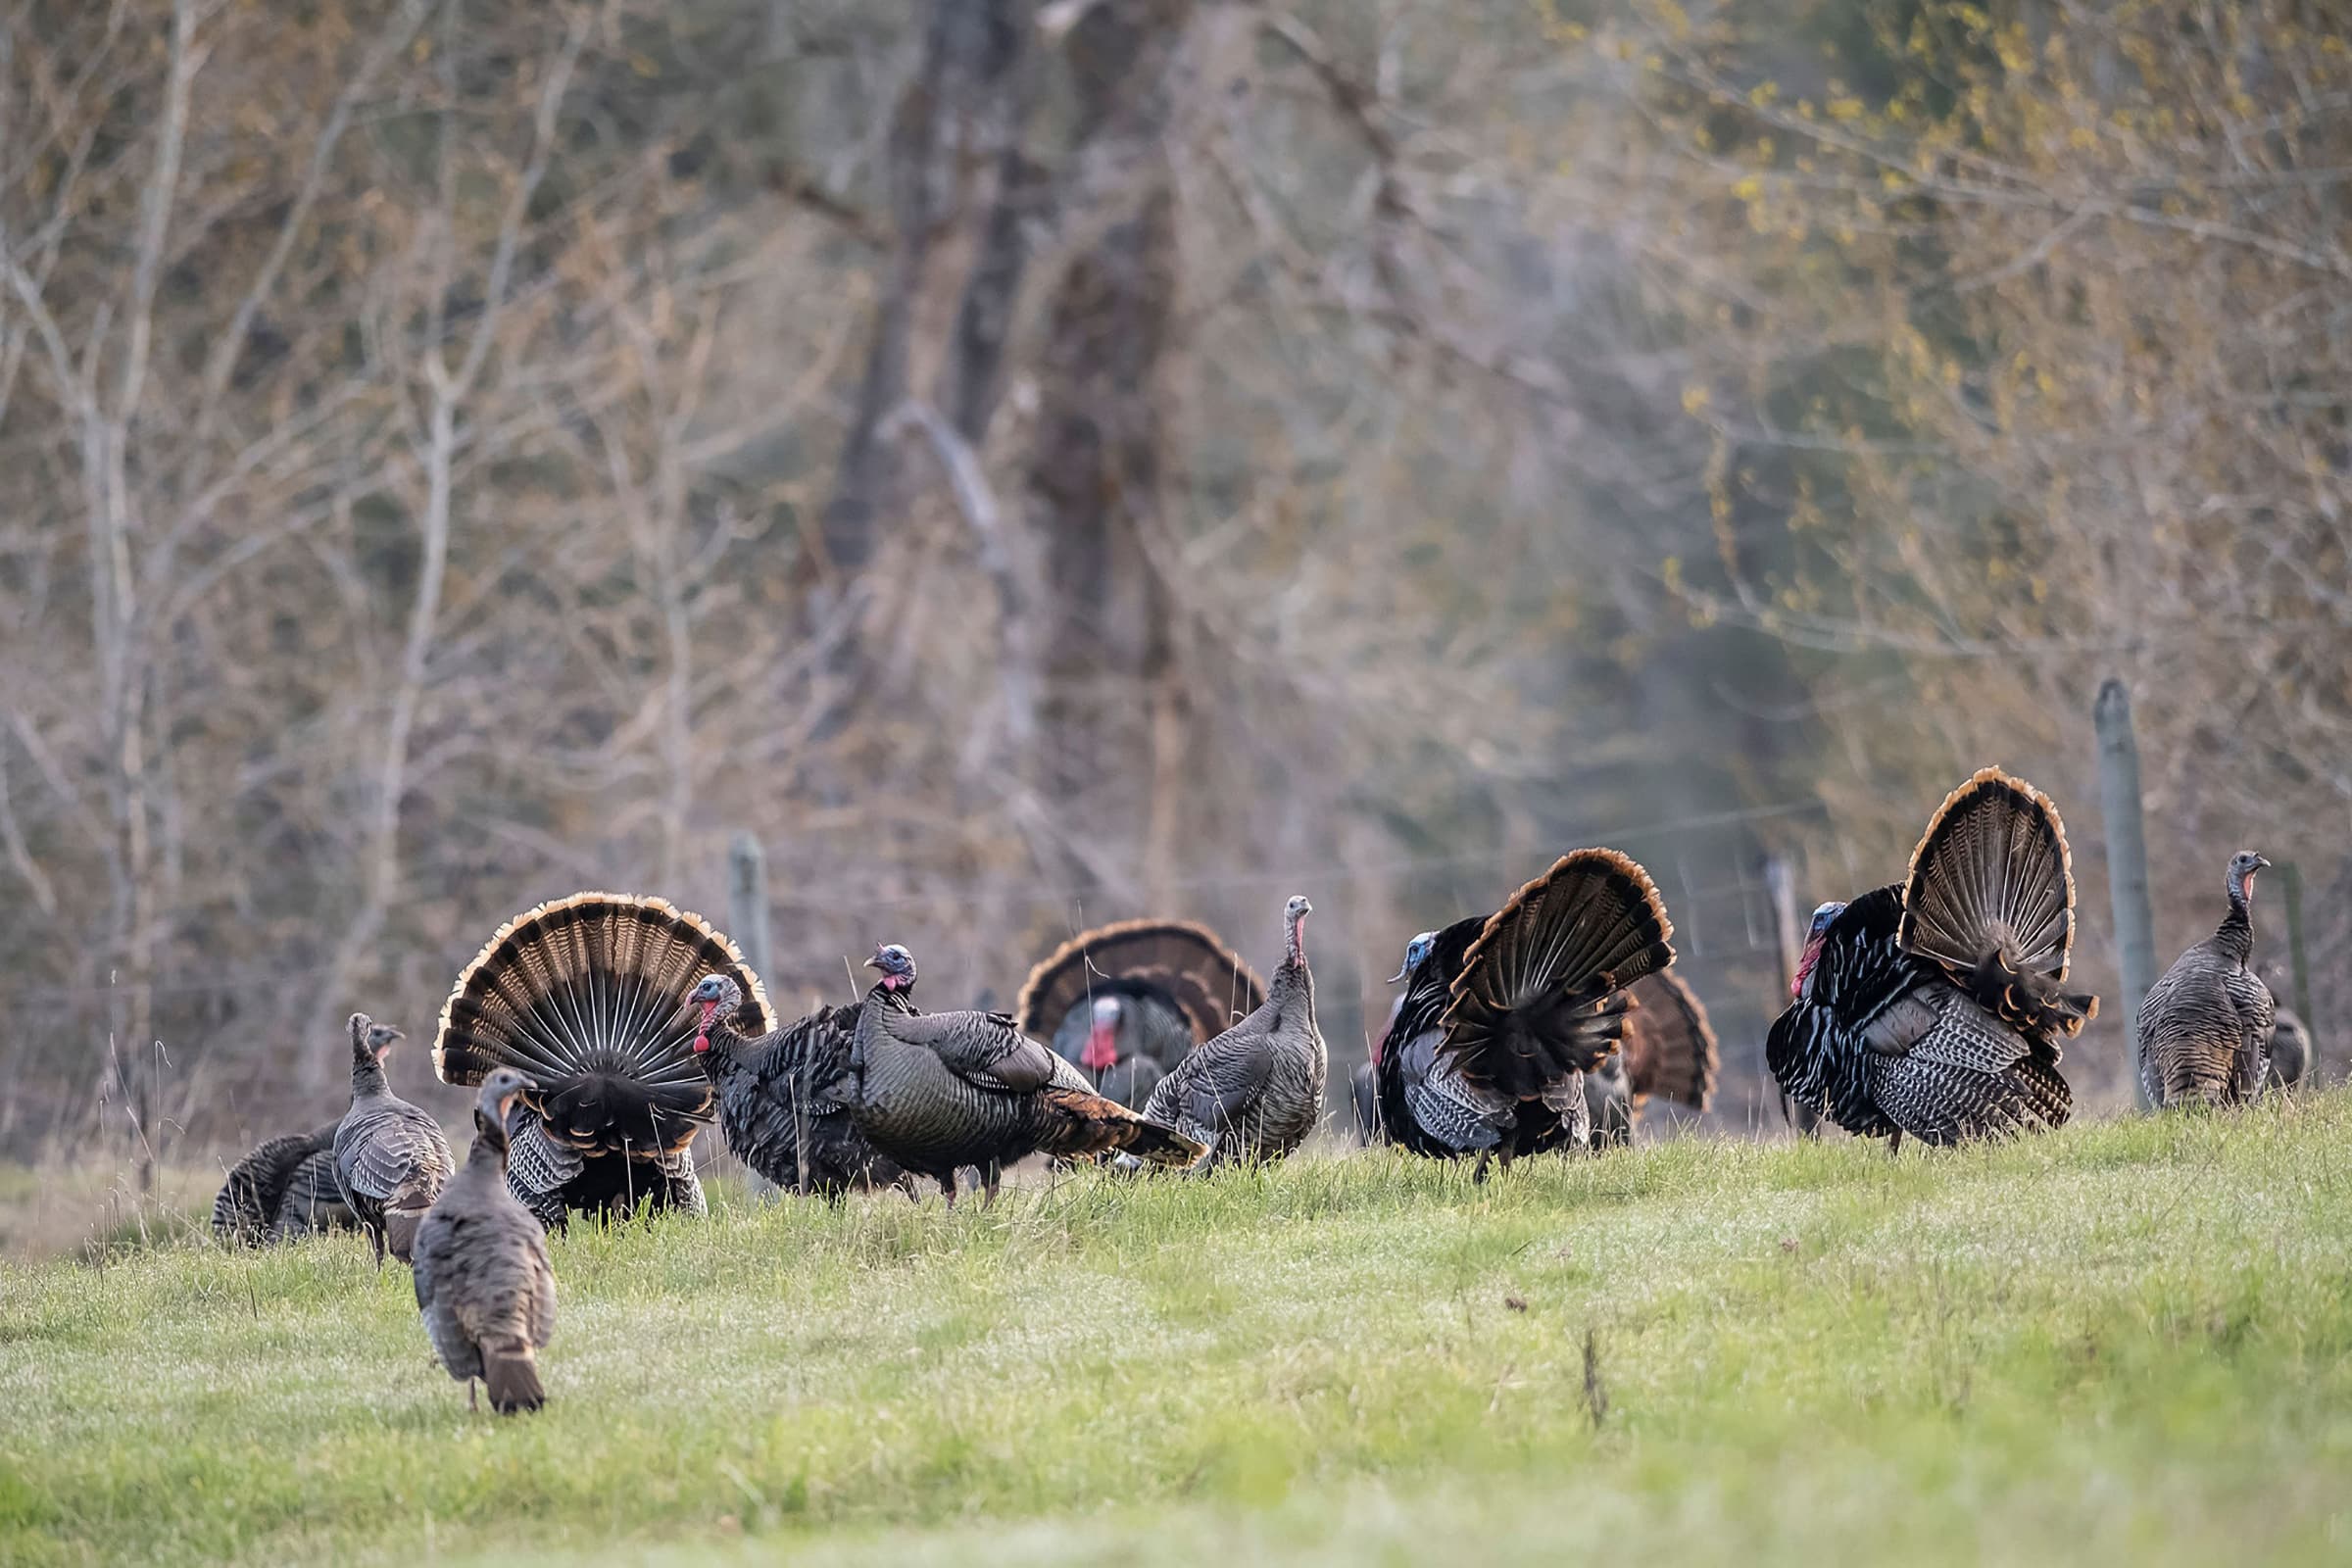
Bow-killing a turkey is a thrill that often involves a heart-thumping encounter with a gobbler at 15 yards or less.
Each time my brother called, the gobbler roosted in the big red pine across the field gobbled. At the first glint of daylight, I scanned with my binoculars, and finally spied his head protruding from the pine boughs. Eventually, he coasted to the ground about 150 yards away. I was sure he’d march right in, but instead, he strutted back and forth for 10 minutes at the field’s opposite end. A hen finally appeared, which explained why he hung up. It was like a script out of Bowhunting Turkeys 101.
Slowly, the hen fed in our direction. Once the trailing tom got a good look at the decoy spread, he approached slowly but assuredly. He spat and drummed from 100 yards away. It was the show of all shows as he parted the lush clover on a slow-and steady mission to our decoys. At 30 yards out, I drew my bow, and when he hit 15, my arrow blew him over backwards. Seconds later, he was motionless.
I killed my first six wild turkeys with a bow before picking up a shotgun. The aforementioned tom was my fourth bird, but he was the first one to come on a rope to the decoys like they’re supposed to. I was 16 years old at the time, and dozens of archery gobblers later, the rush of thumping them at point-black range with a bow remains.
If you hunt big game with a bow but haven’t bow-killed a turkey, then why not trade the shotgun for your bow this spring? Should you rise to the challenge, the following tips will increase your odds for a successful bowhunt.
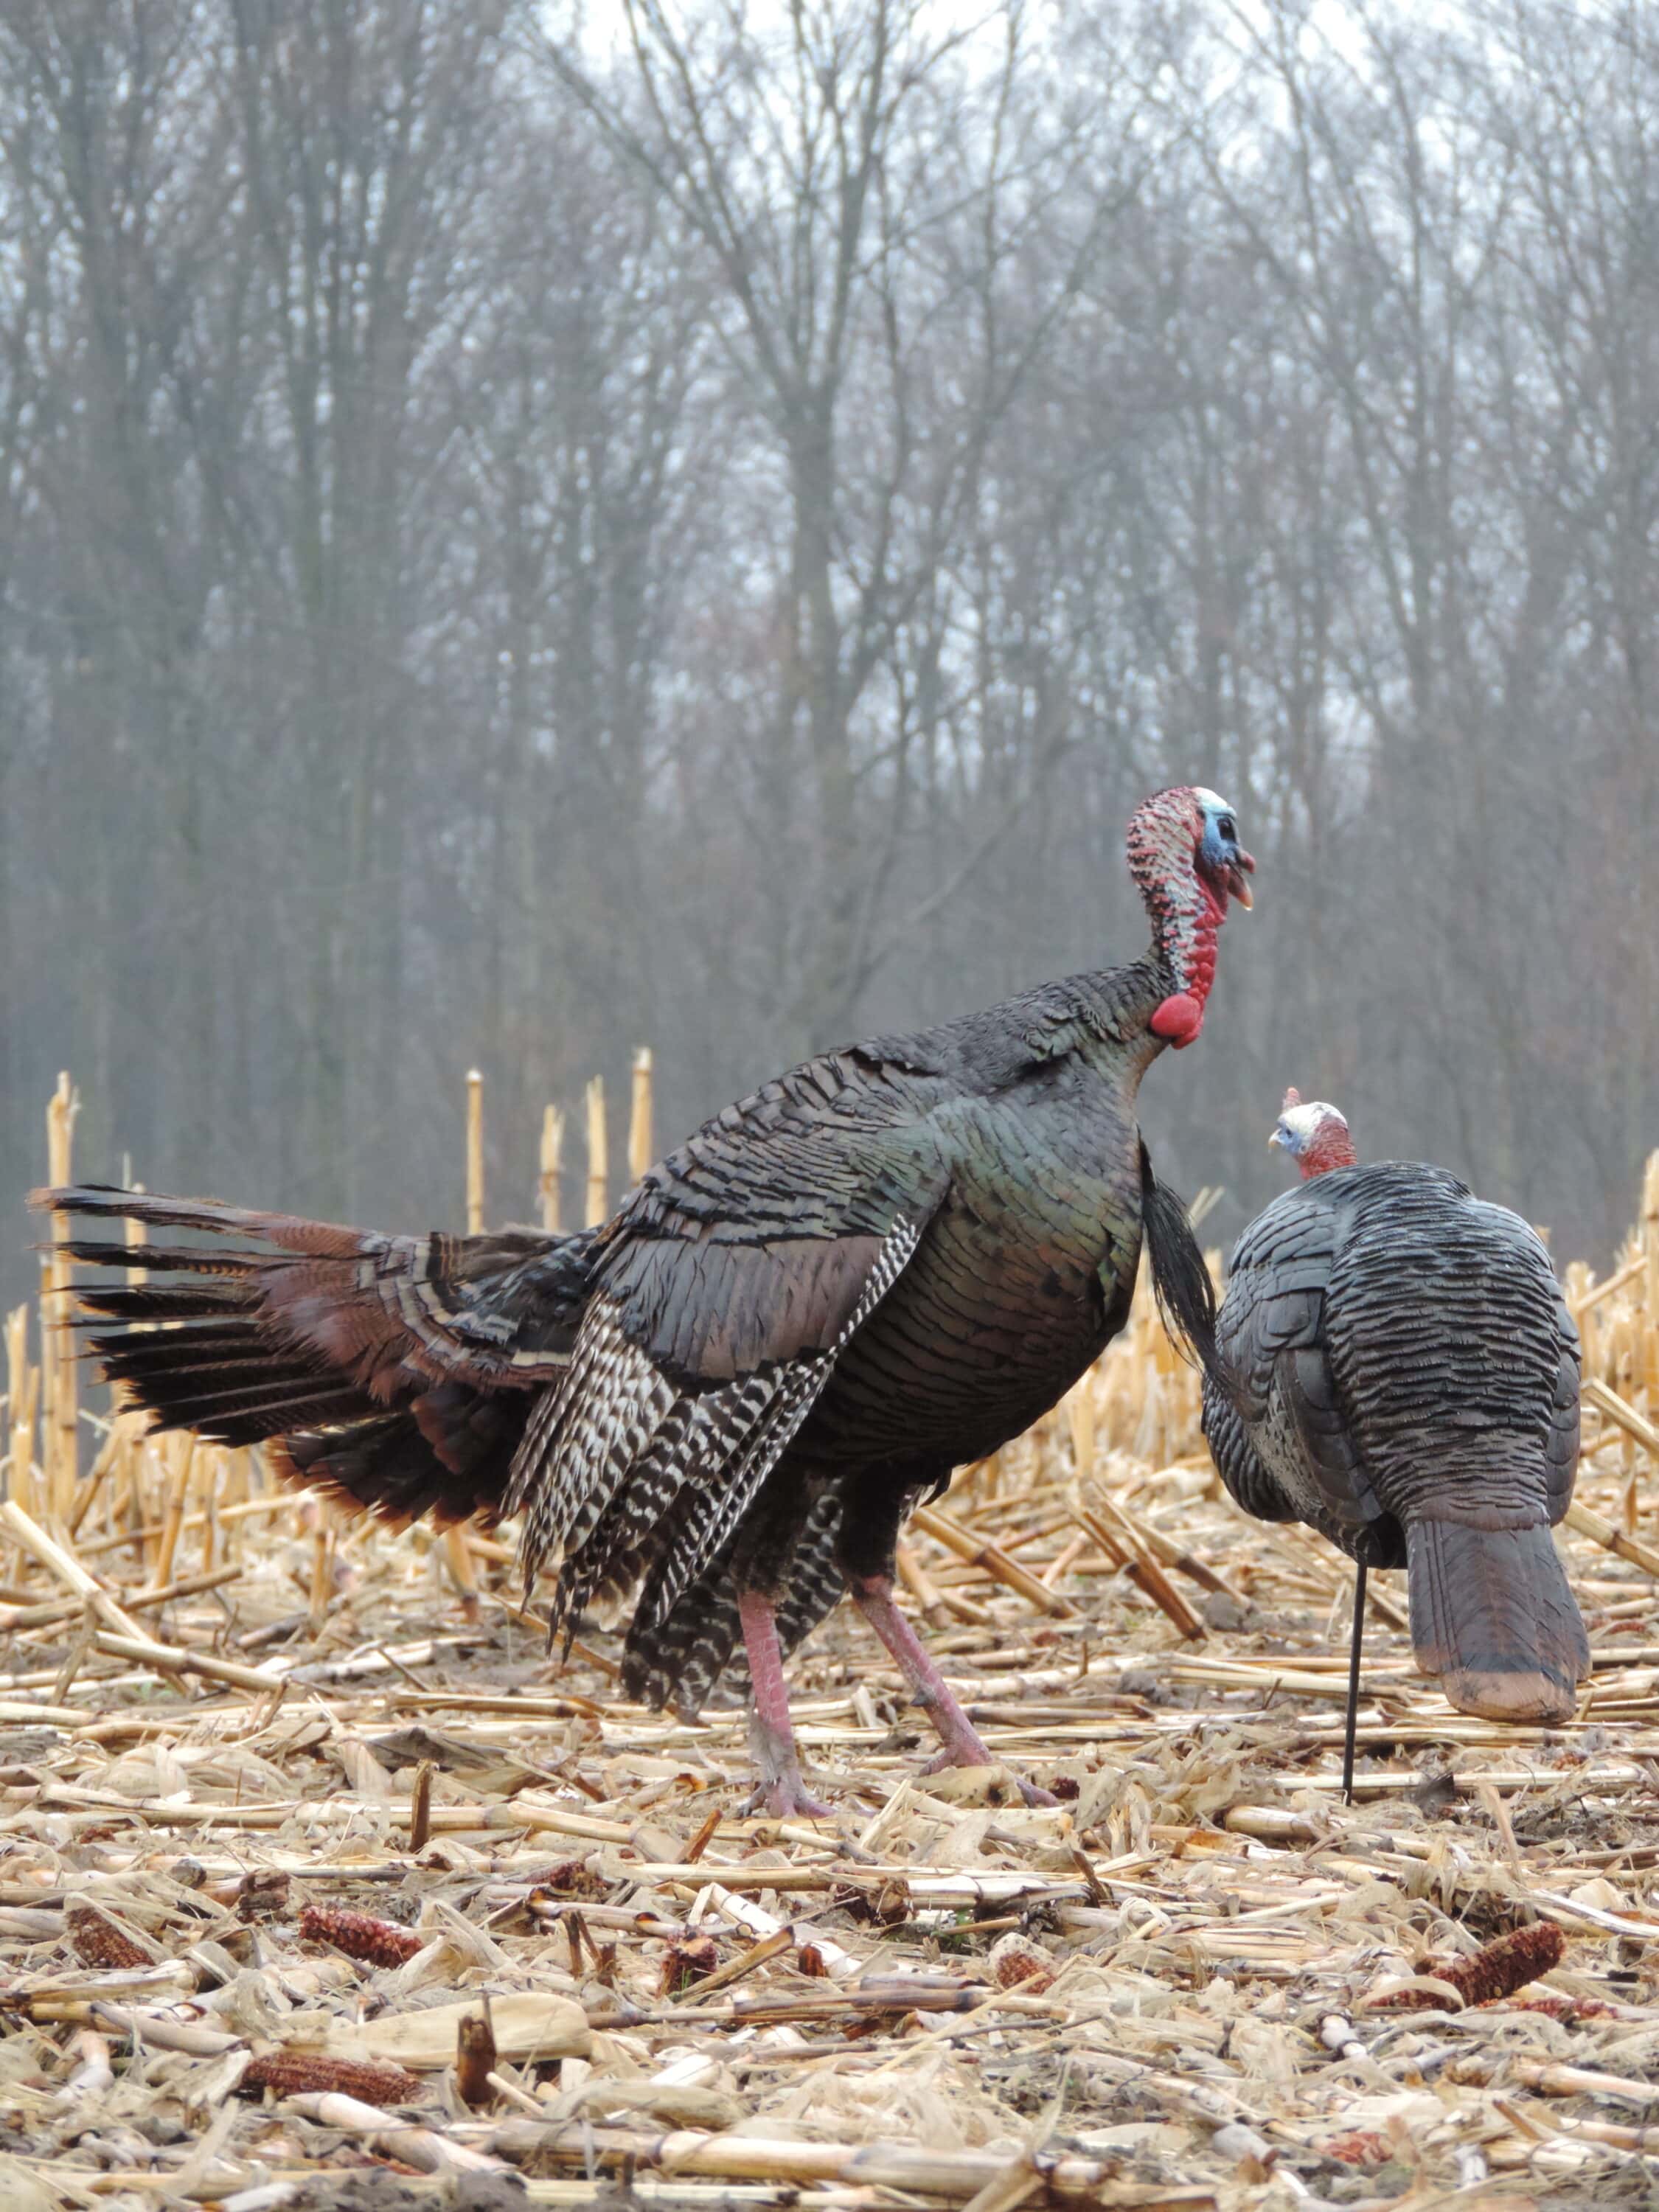
Switching to realistic decoys was a pivotal point in the author’s turkey-bowhunting career that skyrocketed his success rates.
Use Realistic Decoys
When shotgunning without decoys, setting up in tight brush and posting up just over a ridge is a great tactic. A tom responding to the calls must come looking for you, and the second his head is exposed at anywhere from 20-40 yards (farther with today’s best turkey guns), he’s toast, especially if you aim well and don’t flinch. (Properly identify the target before pulling the trigger.)
Bowhunting is an entirely different ball game. I use decoys 100 percent of the time. Here’s why. To ethically kill a turkey with my bow, I need him standing still at top-pin range and distracted. If I call in a tom and don’t have decoys out, he’ll almost never offer a top-pin shot in the wide open. He won’t see the source of the calling and will lose interest or grow suspicious. Unlike shotgunning, I can’t swat him the moment I see his head through the brush. I need a close, unobstructed shot. Decoys orchestrate that opportunity.
The decoys you use have a bearing on success, too. When I first started turkey hunting, like most, I used cheap foldable rubber and foam decoys. I killed a small number of birds over them. Most gobbling toms hung up or headed away once they saw those decoys. I grew so frustrated that I bought expensive molded decoys that look like real turkeys. That was back in 2009. My success rates instantly skyrocketed.
So, if you’re serious about bow-killing a turkey this spring, buy a hen and jake that look real, such as those from Avian-X. I’ve seen hunters who are not that great with turkey calls kill a pile of turkeys by using realistic decoys.
Place Decoys Properly
How close should the decoys be? I want a tom to be top-pin close. In the past, I often set my decoys 18-20 yards away. Today, I set them at 12 yards or closer, and I’ve often set them at 4-6 yards. First, I want a shot I can’t screw up. Second, the excitement of a gobbler beating up a decoy within spitting distance is something shotgun hunters miss by killing their birds at 25 yards and beyond. Bowhunting turkeys at point-blank distance is a show you must see to believe.

As a word of caution, know where your bow shoots at the distance you place the decoys. At 4 yards, for example, the arrow is still rising and hasn’t reached a trajectory to correspond with the top pin. In other words, it’s possible to miss the vitals completely if aiming with the 20-yard pin. Practice and learn how the bow shoots.
Darron McDougal
HuntStand Pro ContributorFurthermore, place the decoys so that you get the shot you want. The two best shots are straight through the base of the tail fan (looking dead away), or straight through the wing butt (completely broadside). Oftentimes, gobblers circle the decoys, and then come in head-on or at a slight angle. Position the decoys to get the desired shot opportunity.
As a word of caution, know where your bow shoots at the distance you place the decoys. At 4 yards, for example, the arrow is still rising and hasn’t reached a trajectory to correspond with the top pin. In other words, it’s possible to miss the vitals completely if aiming with the 20-yard pin. Practice and learn how the bow shoots.
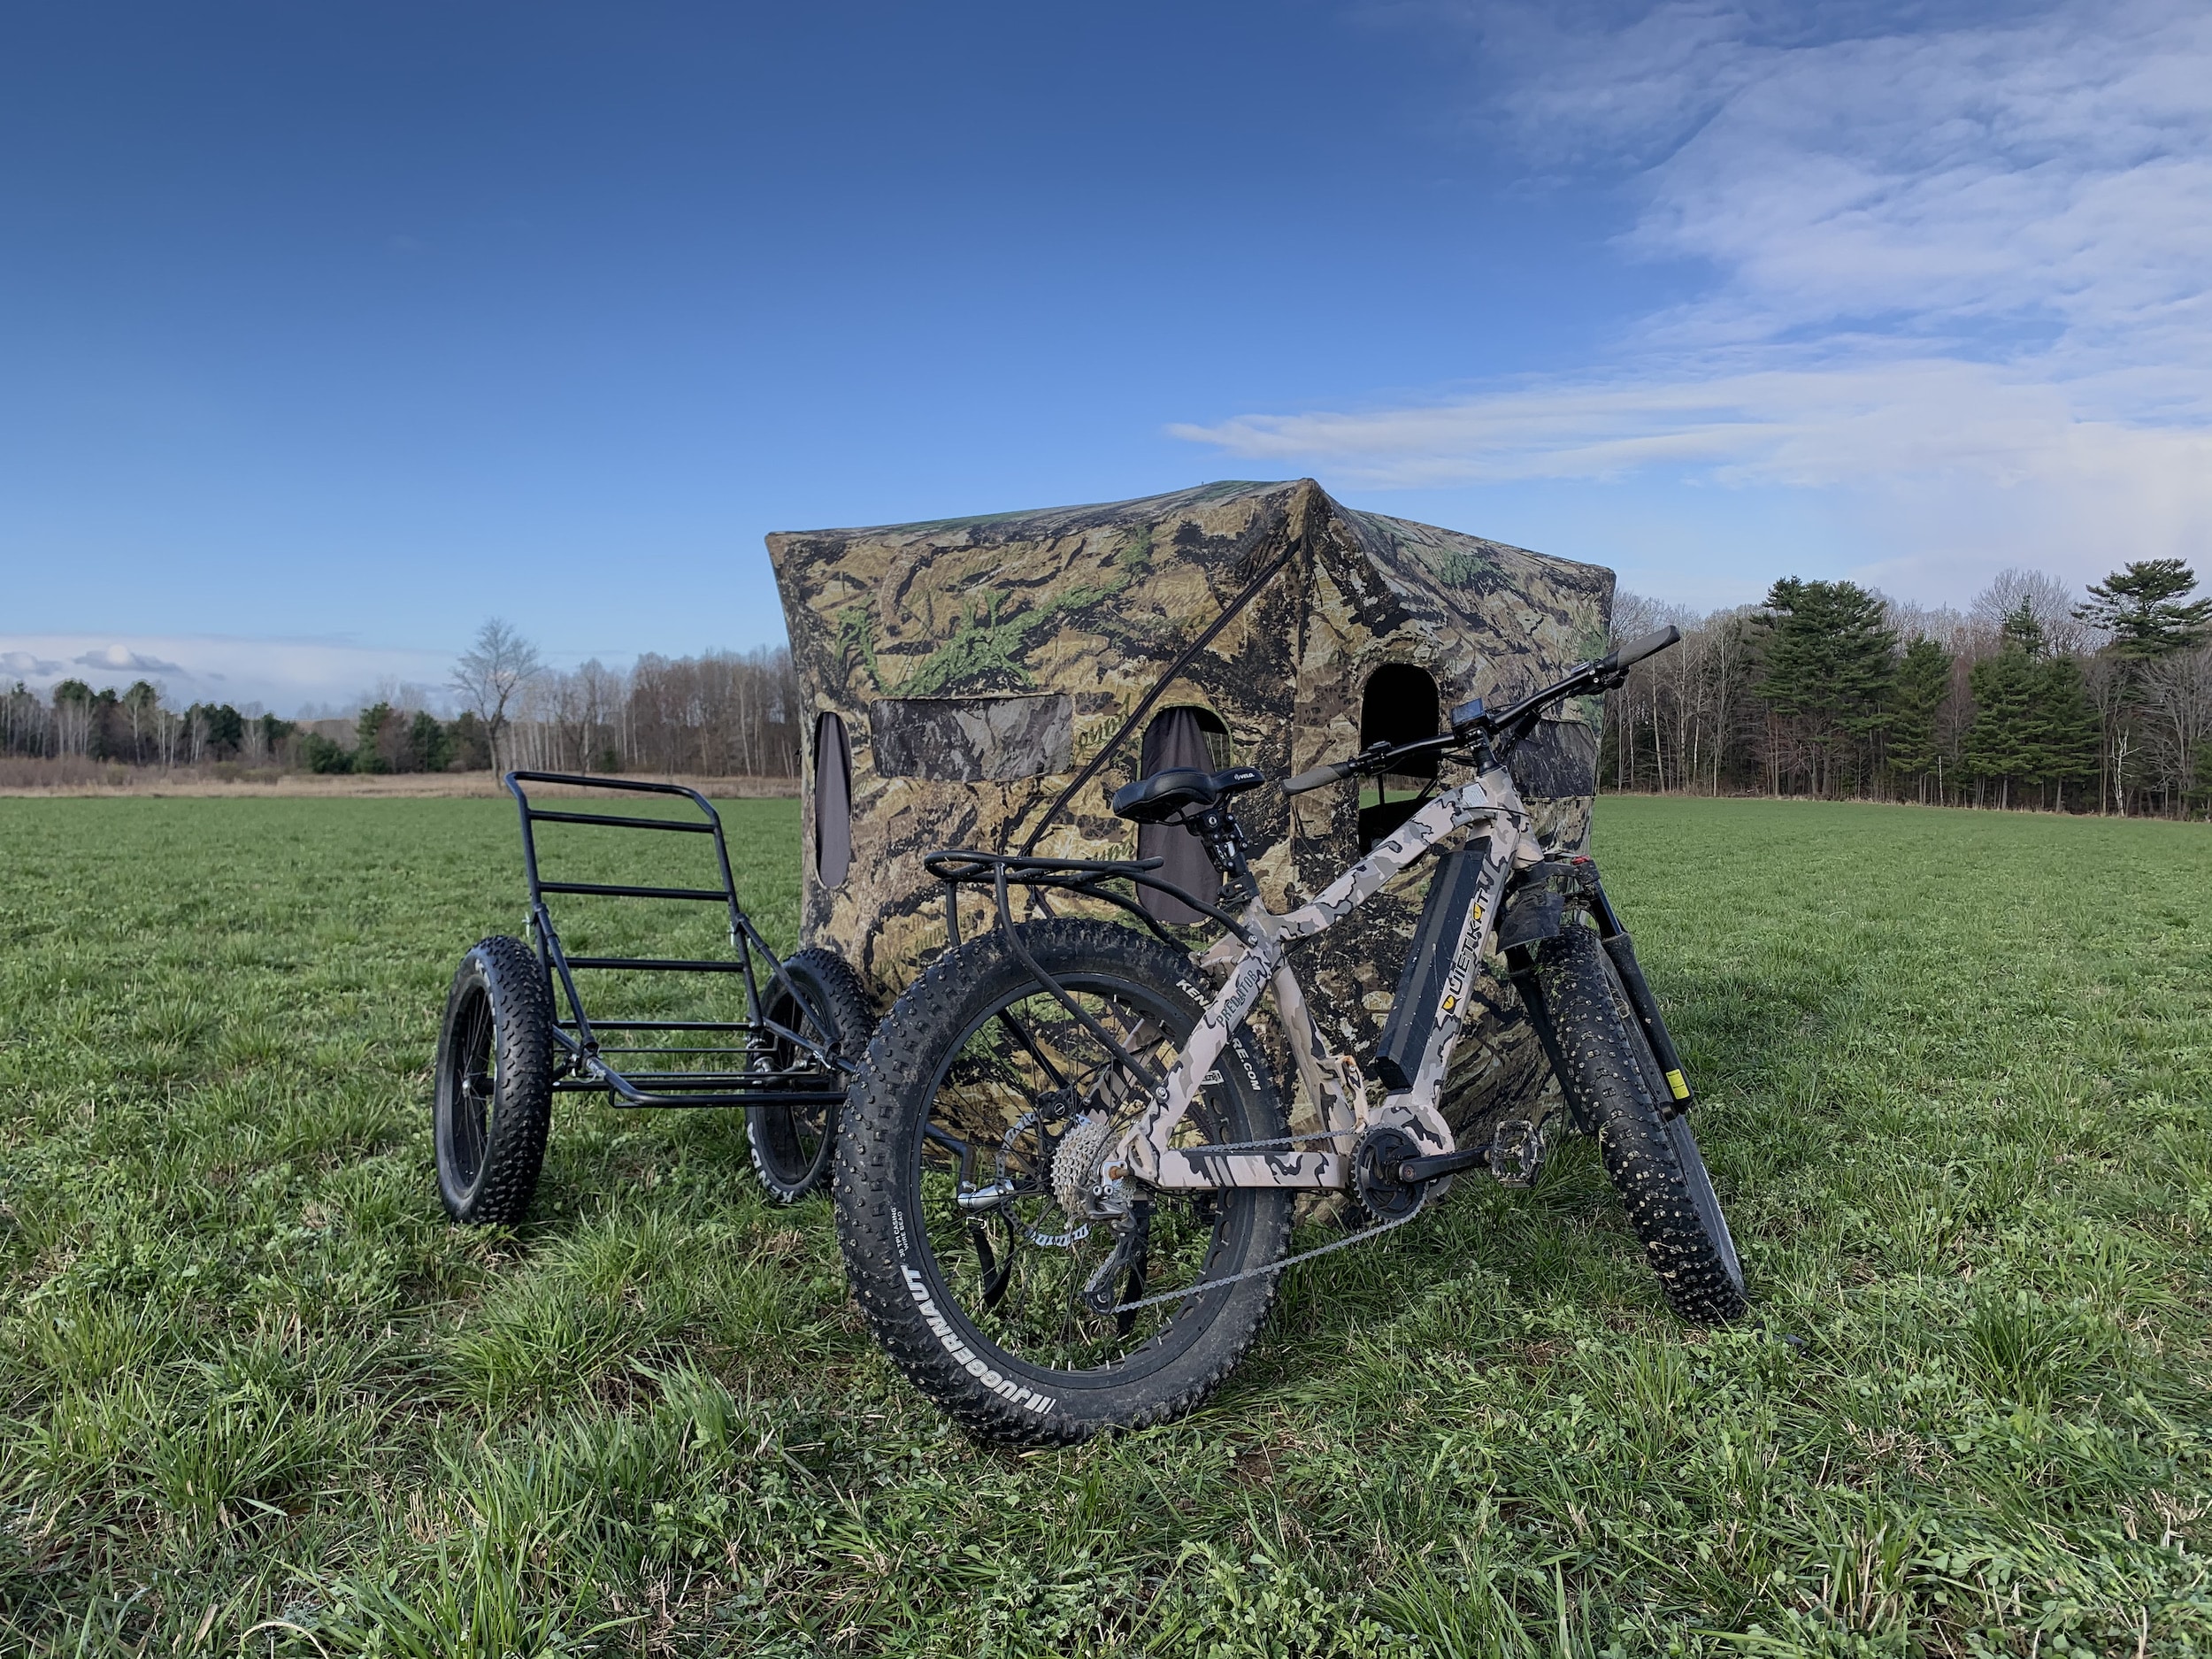
The author prefers to position his ground blind in a wide-open field. This exact setup produced a big Wisconsin gobbler.
Hunt From a Blind
Pulling birds within easy archery range is a challenge, but reaching full draw undetected is difficult. Turkeys have unbelievable eyesight, and lifting a bow into position and drawing it back requires several motions. I’ve been bowhunting turkeys for more than 20 years, and while I’ve shot a pile of toms sitting up against a tree, I can’t ignore the advantages of a ground blind with a dark interior. There are still right and wrong times to draw, but ground blinds hide most movements. If new to turkey hunting with a bow, a ground blind is the way to go.
Besides hiding movements, a ground blind also allows you to hunt from virtually any location, including locations where there’s insufficient natural cover to hide in. I never brush-in ground blinds for turkey hunting, and I also don’t set them up weeks in advance. I usually set up the blind the morning of my hunt within 200 yards of roosted birds, and if I’m hunting a field setting, I set the blind in the wide open unless another spot along the edge improves decoy visibility. I’ve killed at least two dozen gobblers from blinds set in wide-open fields. I believe gobblers are more comfortable with approaching decoys they can see and assess from a distance, and this setup gives them that visibility.
Of course, that works both ways. Setting up in the middle of a field increases my visibility as compared to a field-edge setup. From the middle of a field, I can see birds approaching and have time to grab my bow and prepare for the encounter. On a field edge, a bird is liable to pop out unannounced right beside me and catch me off guard. I have killed a few birds from blinds positioned along field edges, but I’ve had far better success when set up in the middle of a field. It just works.
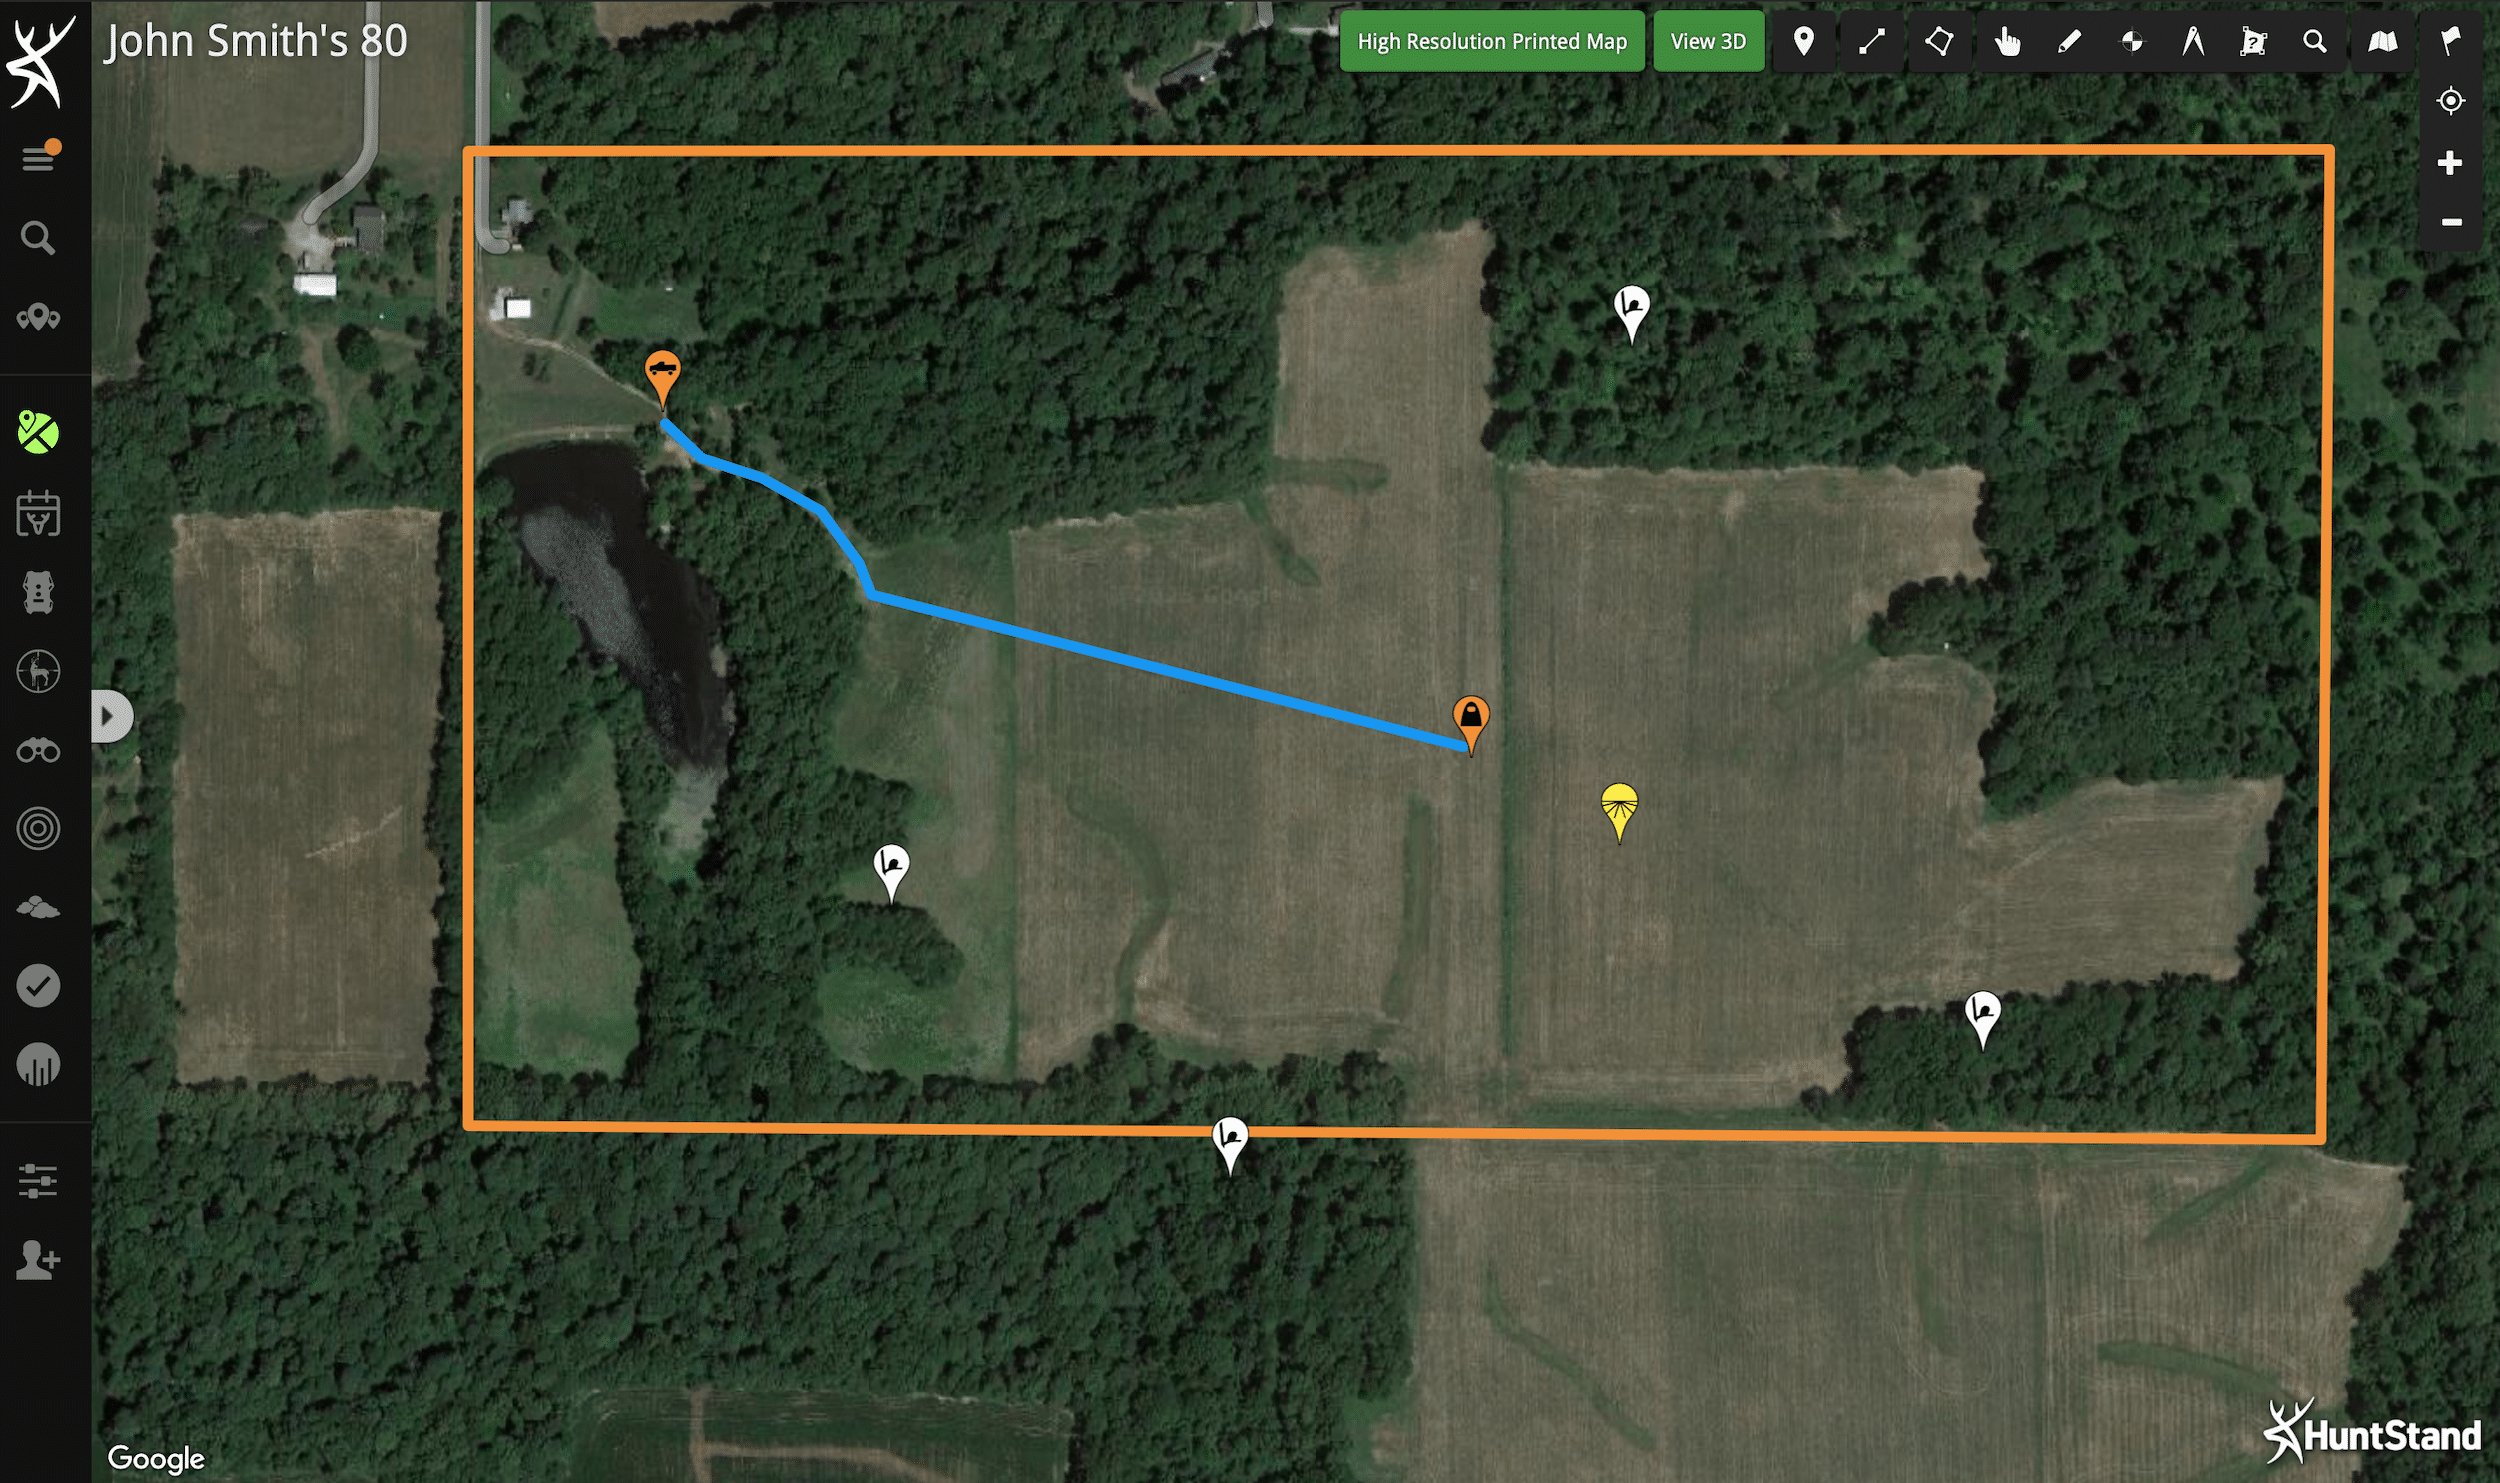
When hunting a property for the first time, McDougal loves the ability to overview a property, peg land features not visible from the road and preconceive a setup so that everything is spelled out when he arrives to hunt.
Finding the X
Since I often scout for toms from roadways and then ask landowners for permission, I usually hunt at least one property every spring that I’ve never stepped foot on before. And while I have no previous history to base my hunting decisions on, I have HuntStand Pro.
The Hybrid map provides a nice overview of the property. Identify land features not visible from the road without hiking in and potentially bumping birds. View creeks and rivers. See clearings and possible logging roads. Distinguish ridges.
Since most of my hunting is in fields, I use the Draw Line tool to measure from possible setup locations in the field to the surrounding timber. I want to be about 150-200 yards from the timber I believe turkeys are roosting in. Pushing closer risks spooking the birds during setup, and farther is likely too far outside the turkeys’ morning pattern. If the field has any topography, reference the Terrain layer to identify the highest point in the field so that decoys are visible from more directions
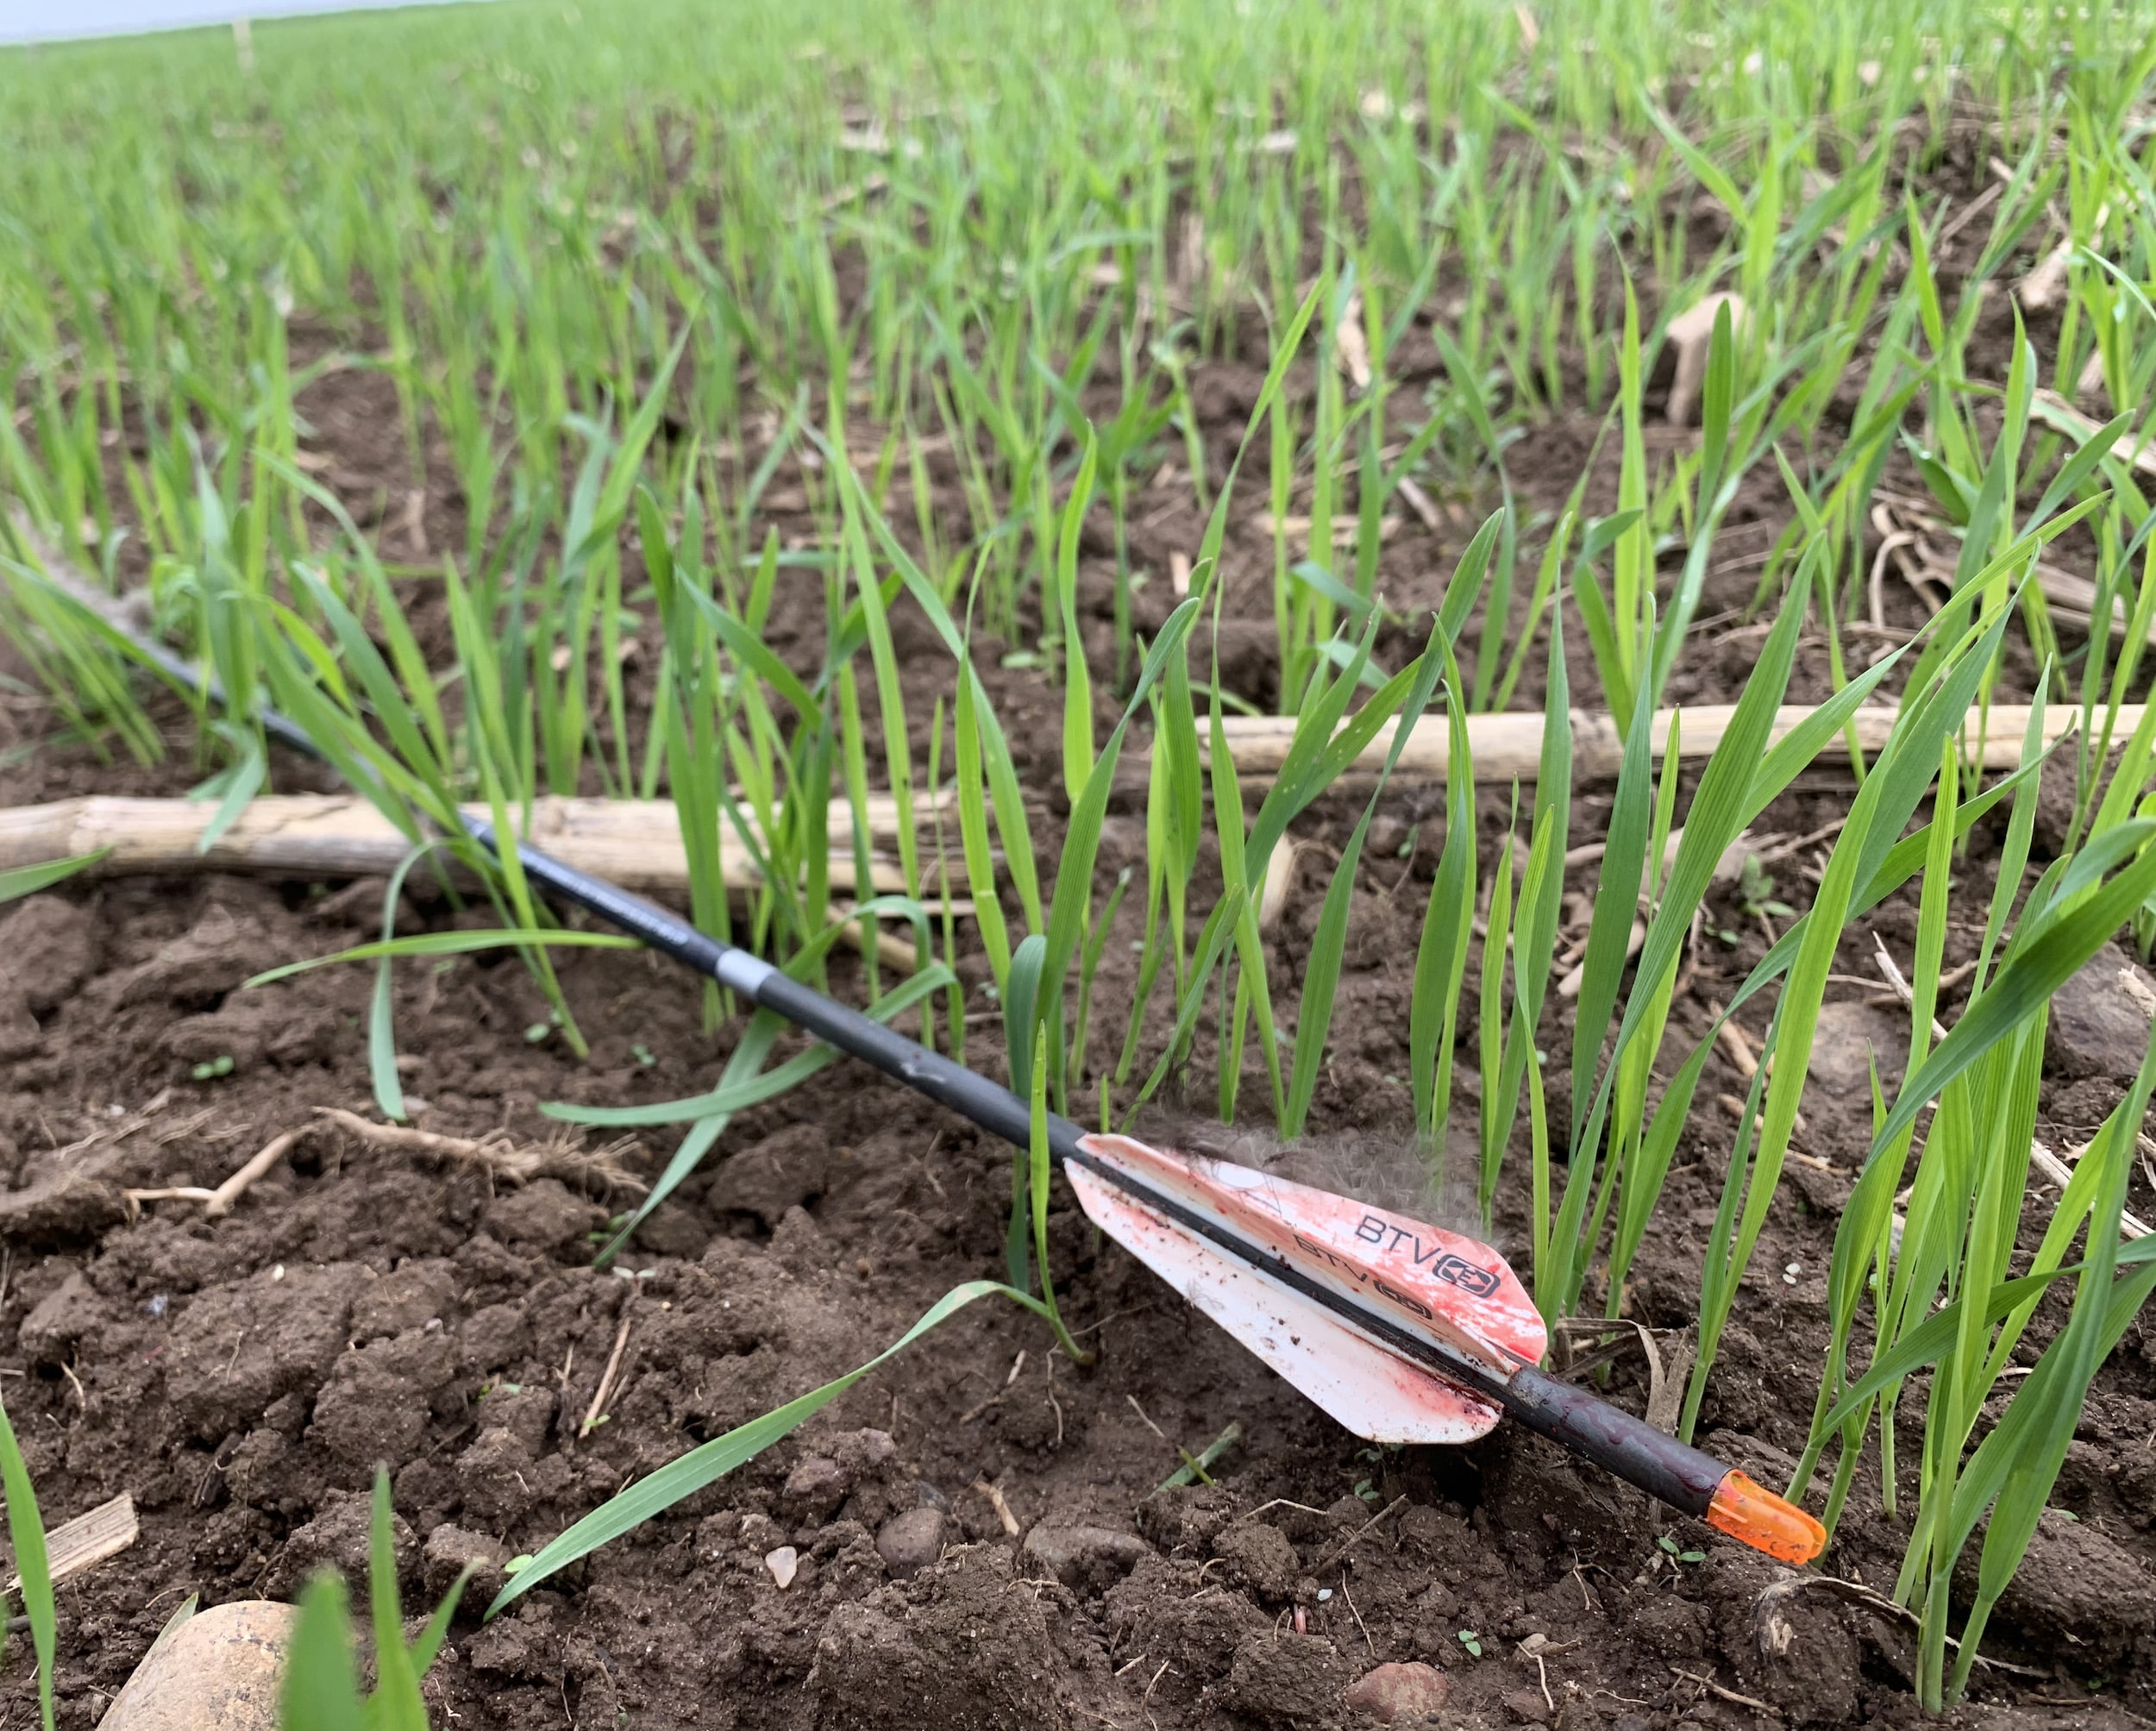
When you get your opportunity to shoot a gobbler, slow down and take your time. Rushed shots are a huge reason that folks don’t get it done with the bow. Slow down, aim well, and make it count.
Slow Down and Make the Shot
When you pull a bird in with decoys and reach full draw undetected, slow down. I still have to remind myself that a bird in the decoys will likely offer many shot opportunities. Something about a tom strutting 10 yards away or beating up a jake decoy creates an urgency to shoot. Shrug off that urgency, or risk rushing shots and hitting gobblers less than perfectly. There are a lot of different shot placements that will kill a turkey, but there are many more that will yield a fly-away episode that ends in floating feathers and you standing there scratching your head. Take your time. Aim well. Make it count.
There is so much more to be talked about regarding bowhunting turkeys, but the points we’ve discussed here are, to me, among the most important parts, especially for newcomers to this turkey bowhunting thing.

The author has bow-killed dozens of toms, but the rush of a gobbler in the decoys still hasn’t worn off after more than 20 years.
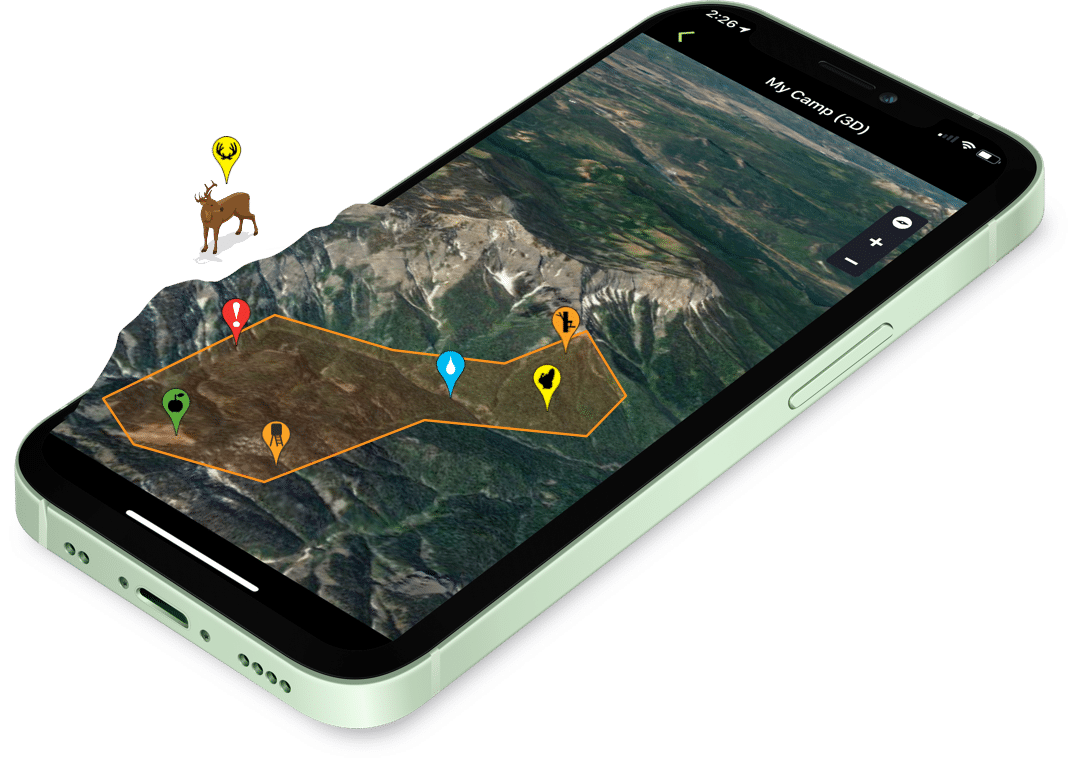
HuntStand Pro: Upgrade to HuntStand Pro to unlock essential maps for the turkey woods. Includes nationwide property boundaries and owner info, monthly satellite imagery, 3D maps, public hunting land maps, and more. MSRP: $29.99
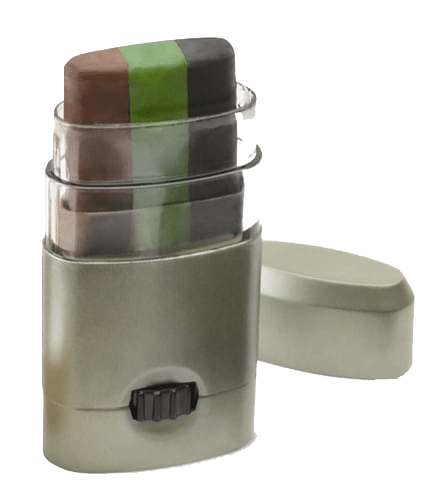
HME 3-Color Camo Face Paint Application Stick: Those looking for a mess-free face paint option will find it with the HME 3-Color Camo Face Paint Application Stick. It comes in a small, compact unit with black, brown, and dark green colors. MSRP: $7.99

Ameristep FieldView 3: The Ameristep FieldView 3 is an excellent option for bowhunters looking to hide from close-range turkeys. It offers the Extreme View tech, which is one-way, see-through mesh. The FieldView 3 also has a five-sided shape that’s 37% larger than standard blinds, which means more room to draw. It features 12 windows, silent-slide covers, and Durashell Plus fabric. ON SALE: BUY ONE, GET ONE FOR ONLY $199.99

Avian X LCD Lookout Hen: A realistic decoy spread is a must-have aspect to successful bowhunting. The Avian X LCD Lookout Hen is a great addition to that effort. This standing posture is more easily seen by turkeys, even in taller grasses. But the detail and authentic design is what makes this line of products shine. MSRP: $99.99

Halo Optics XL450: Bowhunters need a rangefinder, especially if that gobbler hangs up outside the decoy spread. Being able to know that exact yardage is a good thing, and the Halo Optics XL450 is more than capable of satisfying bowhunters. It has 450-yard range, offers 6x magnification, includes angle intelligence, features auto acquisition, incorporates scan mode, is water-resistant, and more. MSRP: $119.99
Upgrade to HuntStand Pro
Unlock essential maps and tools for hunting and land management. For only $29.99 USD per year, gain access to property boundaries, public hunting land maps, monthly satellite imagery, real 3D mapping, and more.
“Look what I found!” I immediately paused my shed antler search and trained my eyes toward my wife who’d been scrounging around about 80 yards away from me. Despite the distance, I could see her huge smile and wide eyes as she clutched a beautiful, matched set of antlers in her fists. I hustled over to inspect her finds and to share in her excitement. It was the highlight of one of our greatest shed hunting road trips.

Road trips are fun, especially when white gold is on the horizon.
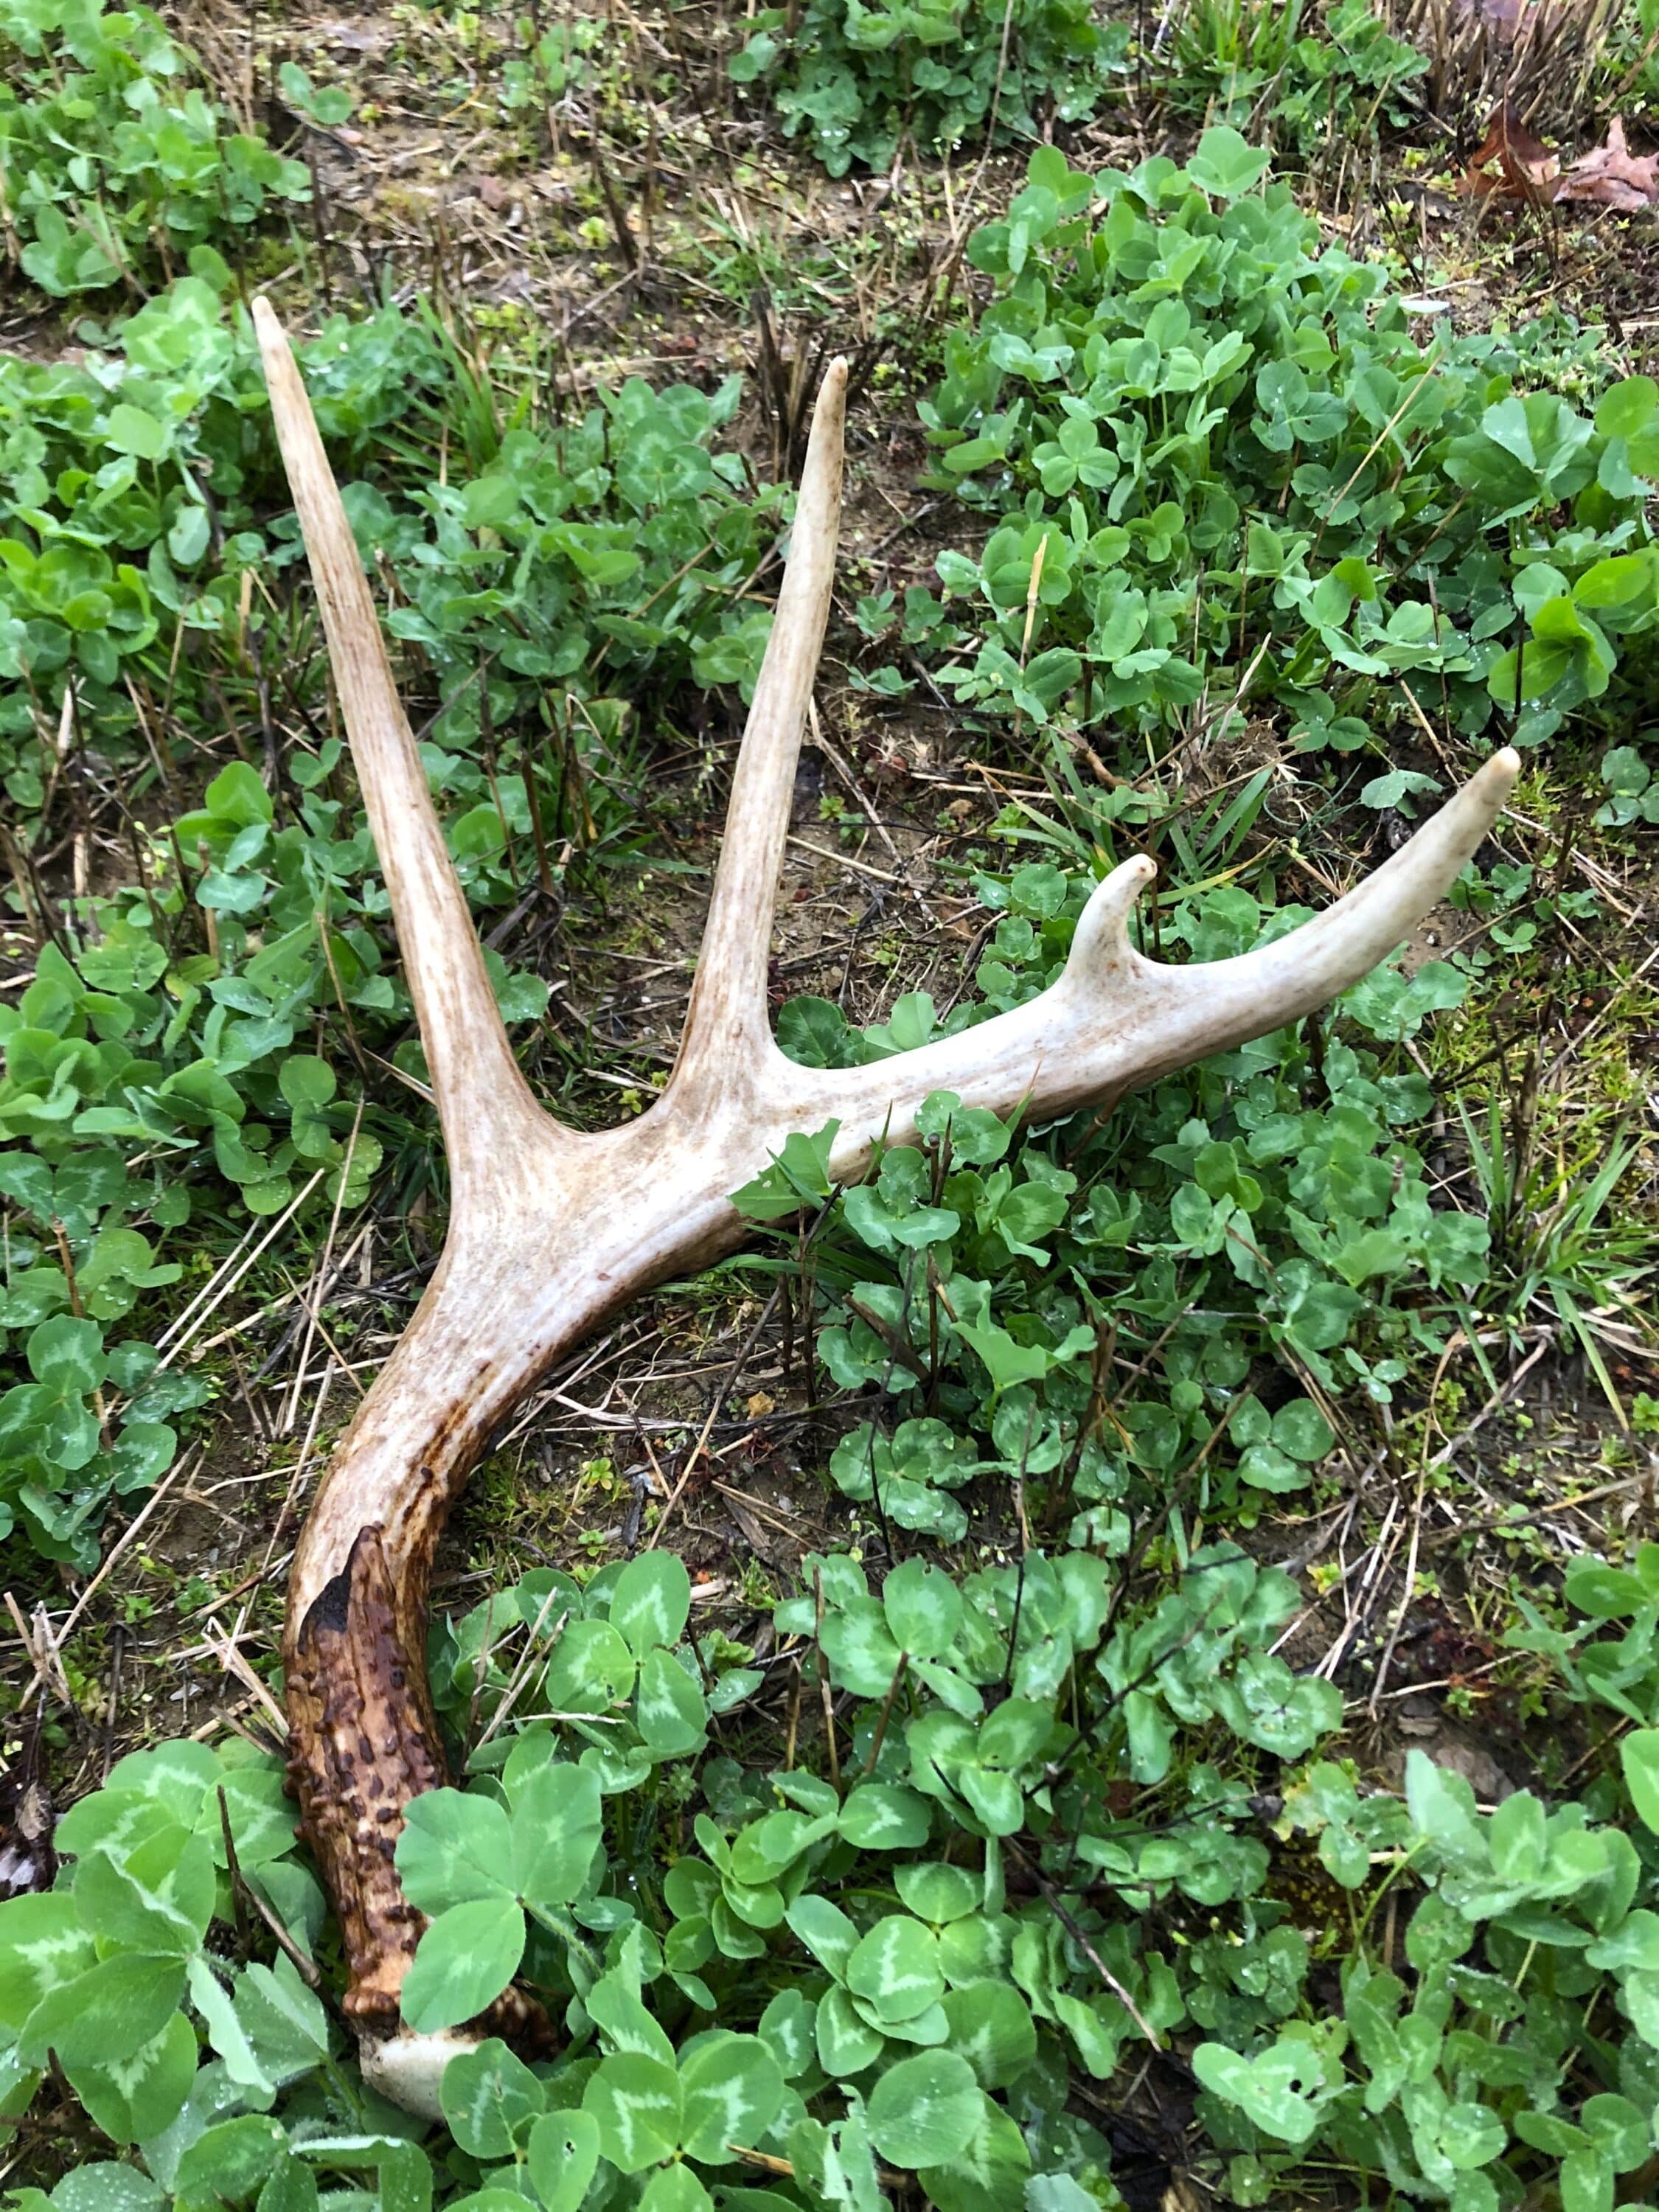
A big shed antler is worth the miles it takes to find it.
Annually, we head westward when the snow melts to explore some vast public lands. Following long Wisconsin winters, we’re always dealing with cases of cabin fever, and nothing blows off the cobwebs like hiking to this nook and that cranny with the hope of finding sheds.
Dissecting the countryside in search of polished bone is becoming increasingly popular. They say that you can’t eat the antlers, but that isn’t stopping scores of fanatics from traveling from state to state hunting for deer and elk antlers. The competition is fierce, so to be consistently successful, we must gain every edge possible. If itching to hit the road in search of “white gold,” here’s how HuntStand Pro Whitetail can offer an edge.
Upgrade to HuntStand Pro Whitetail [Maps & Tools for Whitetail Hunters]
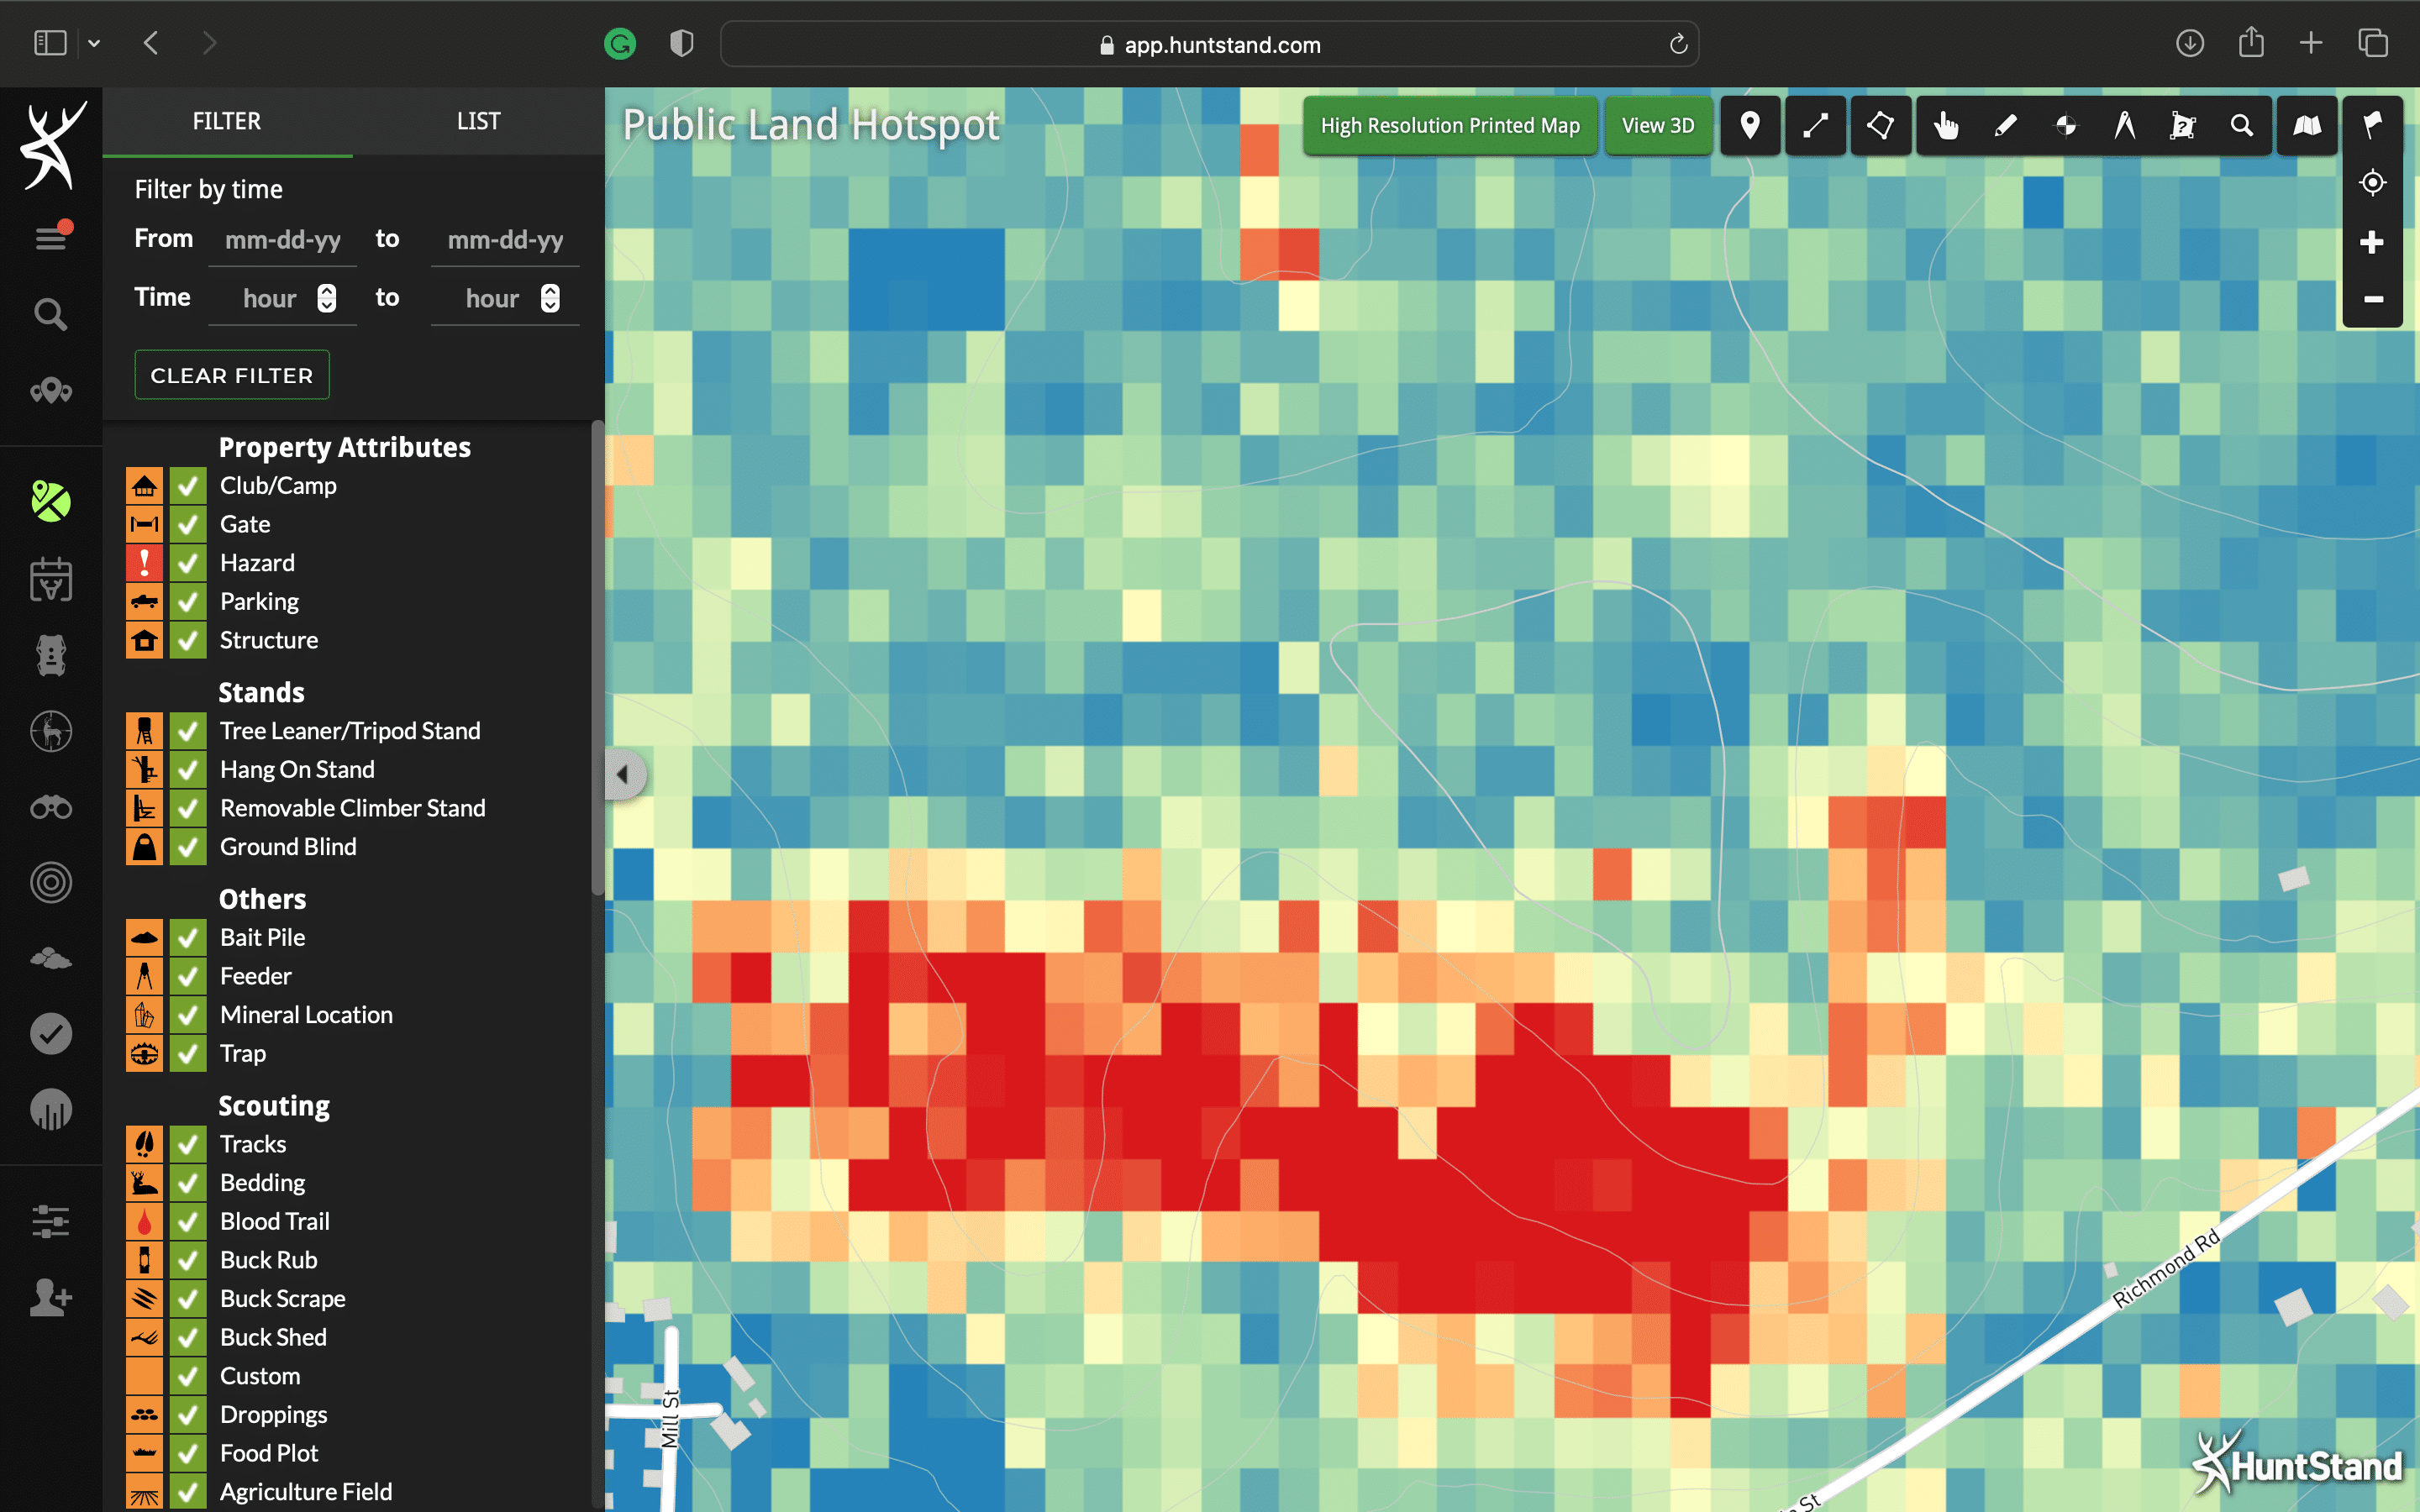
The Whitetail Habitat Map, exclusive to the Pro Whitetail upgraded version, can be helpful in iden-tifying quality whitetail habitat, including bedding areas and food sources.
Finding Shed Antlers: Bedding and Feeding Areas
A lot of decisions on where to look for shed antlers are made on the fly while tromping around. But, as with hunting, shed hunting in a new location is difficult. If there are thousands upon thousands of acres to search, deciding where to look can seem daunting. That’s why it’s important to have a strategy in place before reaching a given destination.
This is where HuntStand Pro Whitetail comes into play. One of the most important things to understand is that, while bucks are liable to drop their antlers just about anywhere, the bulk of them tend to drop in the two locations where bucks spend the most time: bedding and feeding areas. You can make some calculated predictions as to where these locations are on a given parcel of land. Here’s how …

First, reference HuntStand Pro Whitetail’s Whitetail Habitat Map. It provides color-coded overlays that rate habitat. Blue means cold, orange means warmer and red means hot. In other words, the areas of a property with red overlays can be outstanding habitat. Once you identify such areas, then alternate between the Hybrid, Tree Cover, and Terrain maps. The goal is to identify possible bedding areas based on cover and terrain features, such as benches and ridges that provide deer with security, prevailing wind advantage and a quick exit. Pin these as possible places to look.
Factors Affecting Antler Casting Dates [Murphy’s Law On Whitetails]
Of course, a bedding area is only as valuable as nearby food. During the critical months following the rut when deer are recovering, they must eat. This also coincides with the months when bucks are likely to shed their antlers: late December through March. So, the goal is to identify potential food sources that deer might have used during these months. Again, HuntStand Pro Whitetail can help mine this information.
Fields and openings are easy to identify with any of the satellite maps. From there, alternate to the Crop History map. It provides color-coded overlays specific to types of crops. I focus heavily on corn and soybeans. Of course, this info is a year old. For example, an Iowa cornfield that I hunted during the late muzzleloader season was shown on the Crop History map as soybeans. Thus, crop rotations must be considered as you peruse this map. Still, it can help you to home in on agriculture that’s likely to have some valuable food in it. At the very least, it gives starting points for shed outing.
Another option is to utilize the Tree Cover map and then alternate between it and one of the satellite maps. While one can’t positively distinguish between different types of hardwoods, it is possible to tell the difference between coniferous and deciduous trees, which provides a starting point if looking for acorn feeding areas.
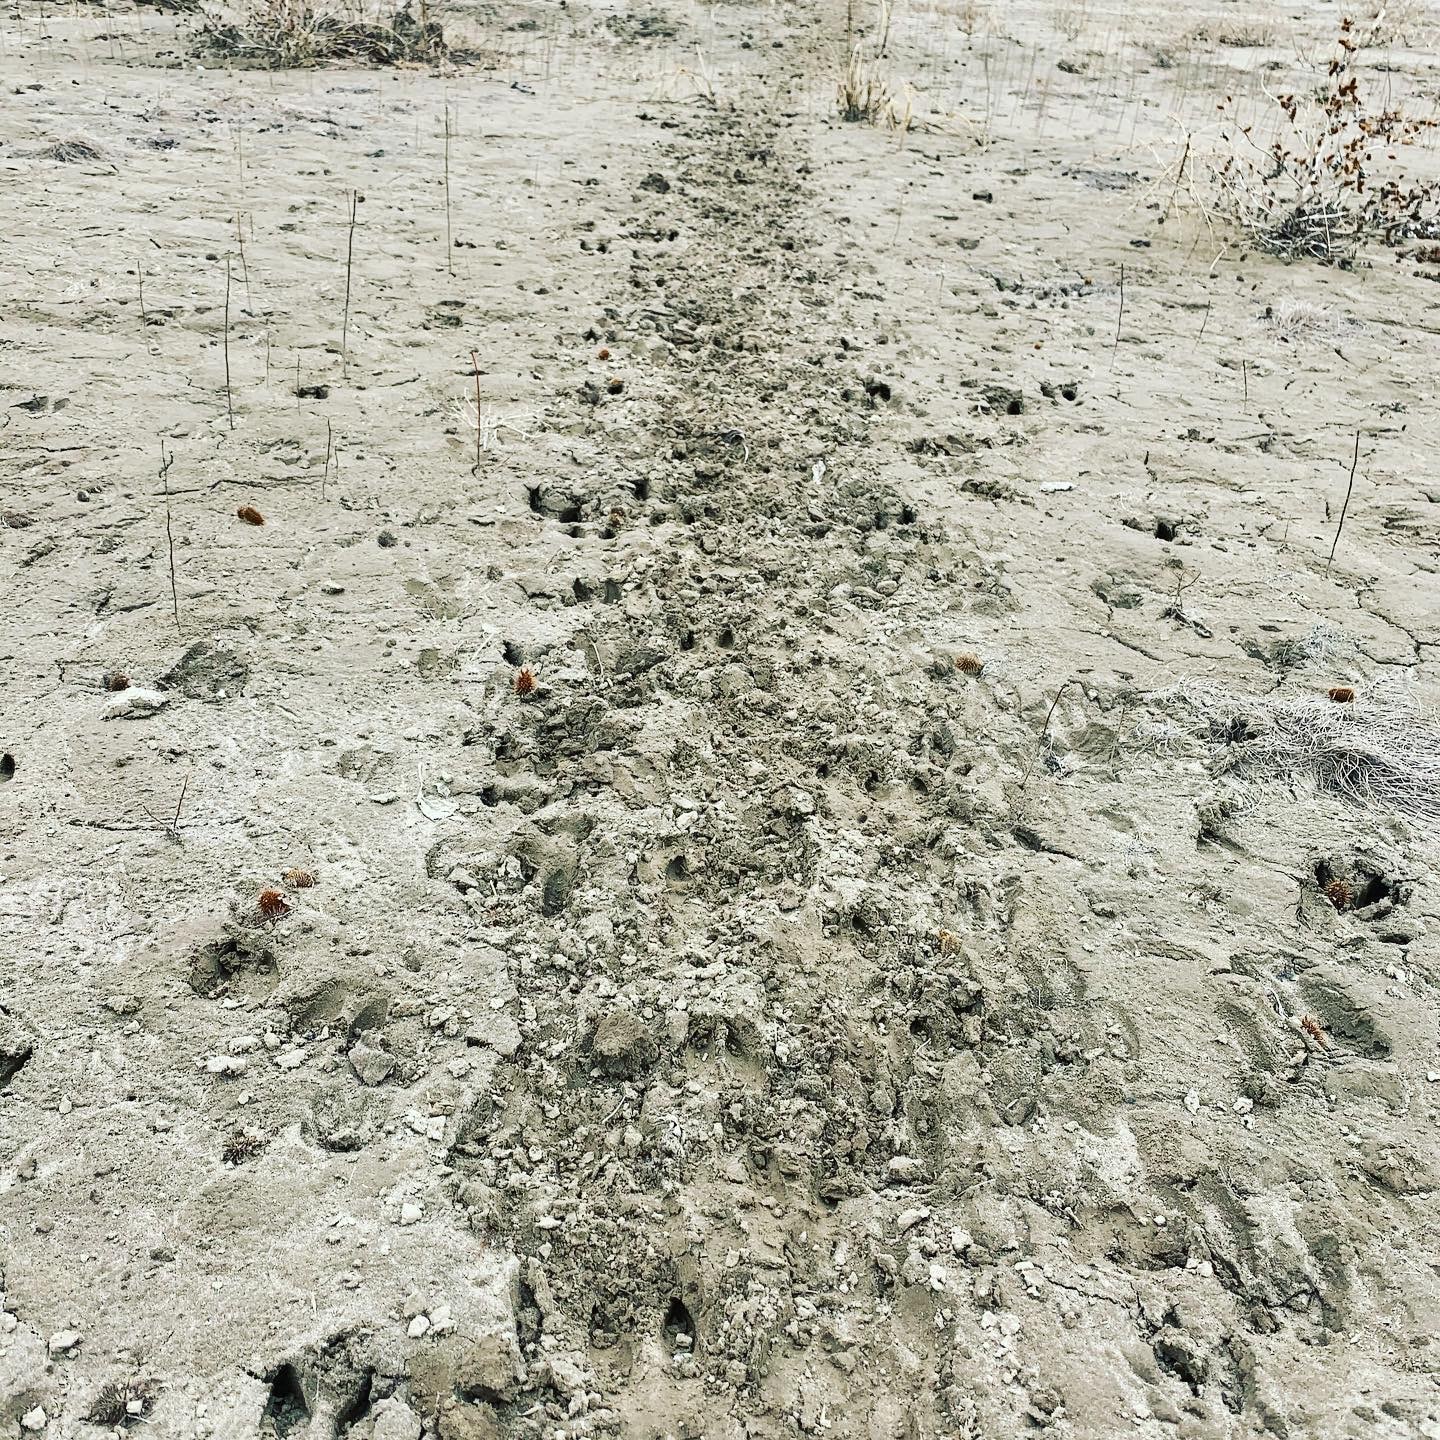
Some sheds will fall along well-used travel routes.
Finding Shed Antlers: Travel Routes
With potential bedding and feeding areas pinned on the HuntStand app, predict what routes bucks likely take to connect the dots between the two. While a significant number of bucks drop their antlers in bedding and feeding areas, sheds can also be found in various places between the two. It’s likely that the movements of walking and bounding cause an antler to shake off here and there.
It’s important to note that travel routes can vary throughout the year. In other words, bucks may alter their travel routes based on conditions. For example, I noticed during my 2022 late-season North Dakota hunt that many deer were traveling section-line roads and even across wide-open fields because the snow was too deep to negotiate in the ditches and most shelter belts. I assume that many North Dakota residents found sheds on dirt roads and even driveways this winter because of the deep, impassable snow in places deer normally travel. Knowing that, use the app to look for paths of least resistance that bucks may have traveled due to deep snow or changing food sources.
Learning From Shed Antlers [Murphy’s Law On Whitetails]

Gaining access to private land can produce more sheds, especially if public spots aren't panning out.
Finding Shed Antlers: Connect with Landowners
When you’re on the ground looking for antlers, the HuntStand Property Info map is priceless. Not only will it show property boundaries, but it can provide landowner info to broaden search parameters by gaining access to private lands. Besides the landowner’s name, it lists the property address as well as the owner’s mailing address. Many farmers and ranchers will gladly grant access for shed hunting. Not only can private-land access increase your odds for finding antlers, but it can also lead to hunting access as you cultivate relationships with landowners.
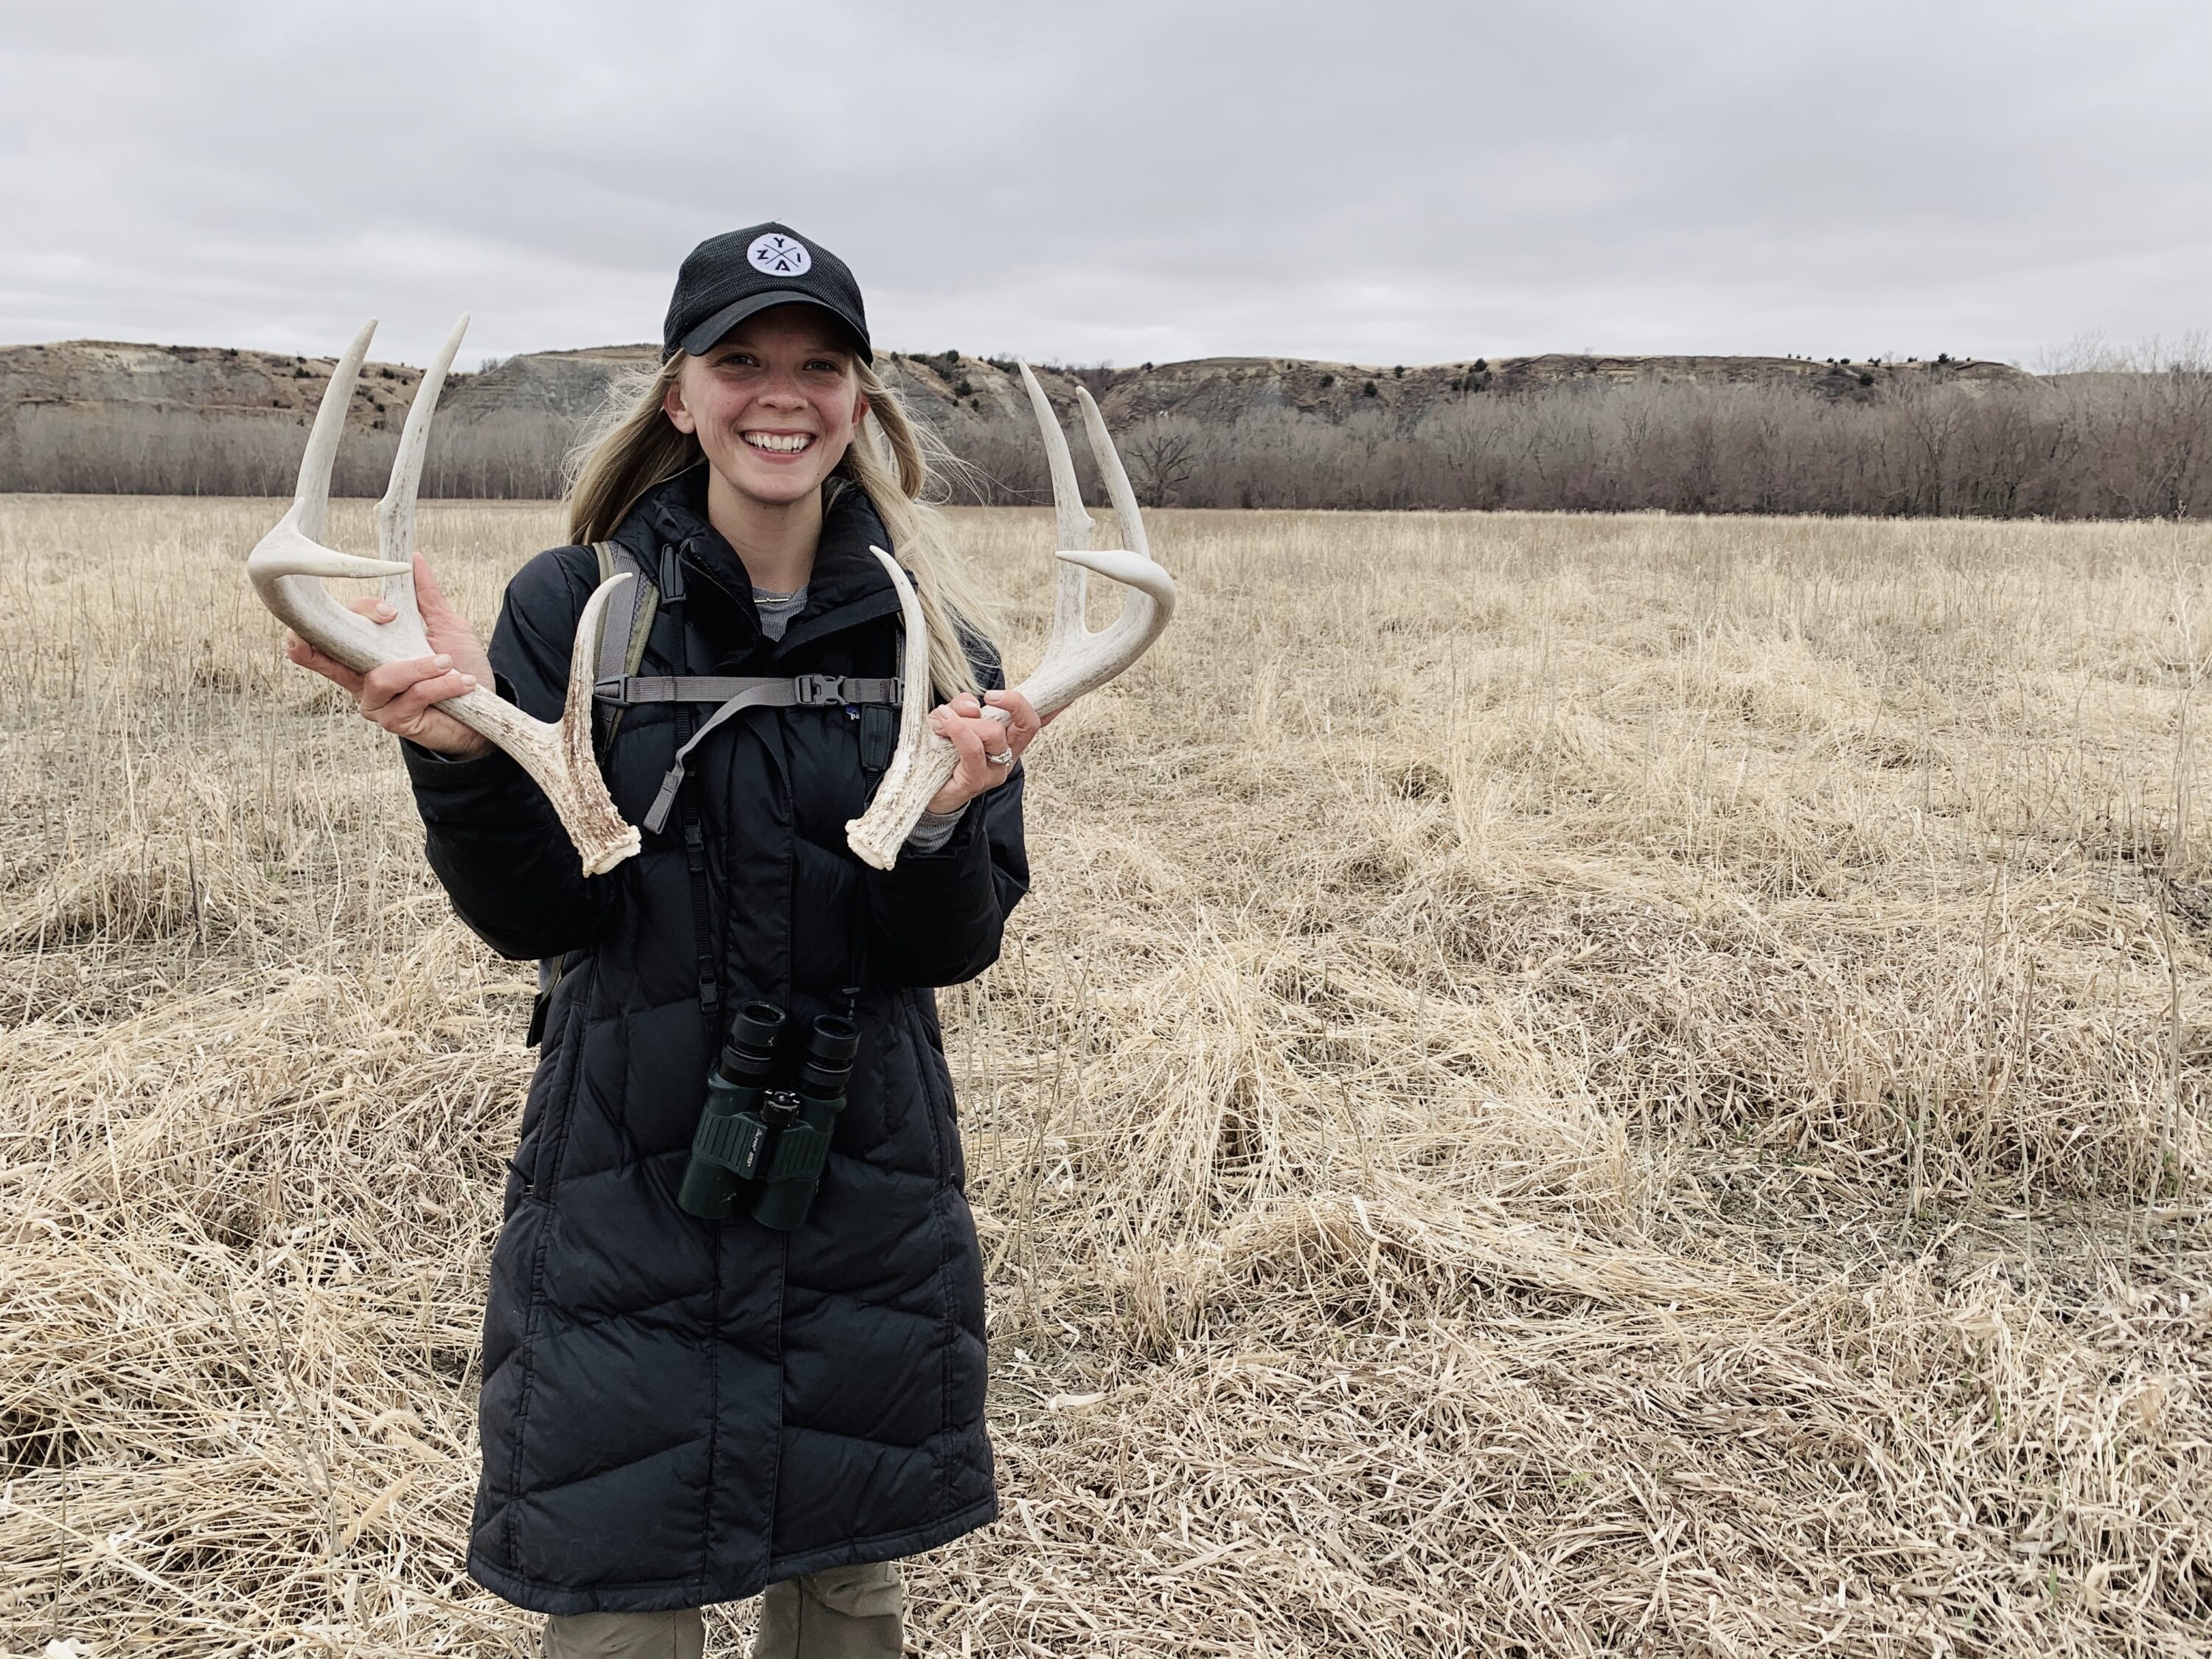
Finding a big matched set is an incredible feeling, especially when traveling many miles on rubber tires and boots to get there.
Finding Shed Antlers: Prep & Gear
Overall, be sure to study the regulations, as some states have shed hunting seasons. This is actually very smart; it’s designed to reduce human pressure and the impact it could otherwise have on animals during critical months when they’re already hinging on death and survival.
On select public parcels and wildlife refuges, shed hunting is prohibited. Walk-In Areas (private lands open for public access) open during hunting seasons are typically closed to access during other times of the year, meaning that it would be illegal to walk them in the spring to look for sheds. Again, study the regulations, and if you have any questions or need clarification, go the next step and contact the state wildlife department.
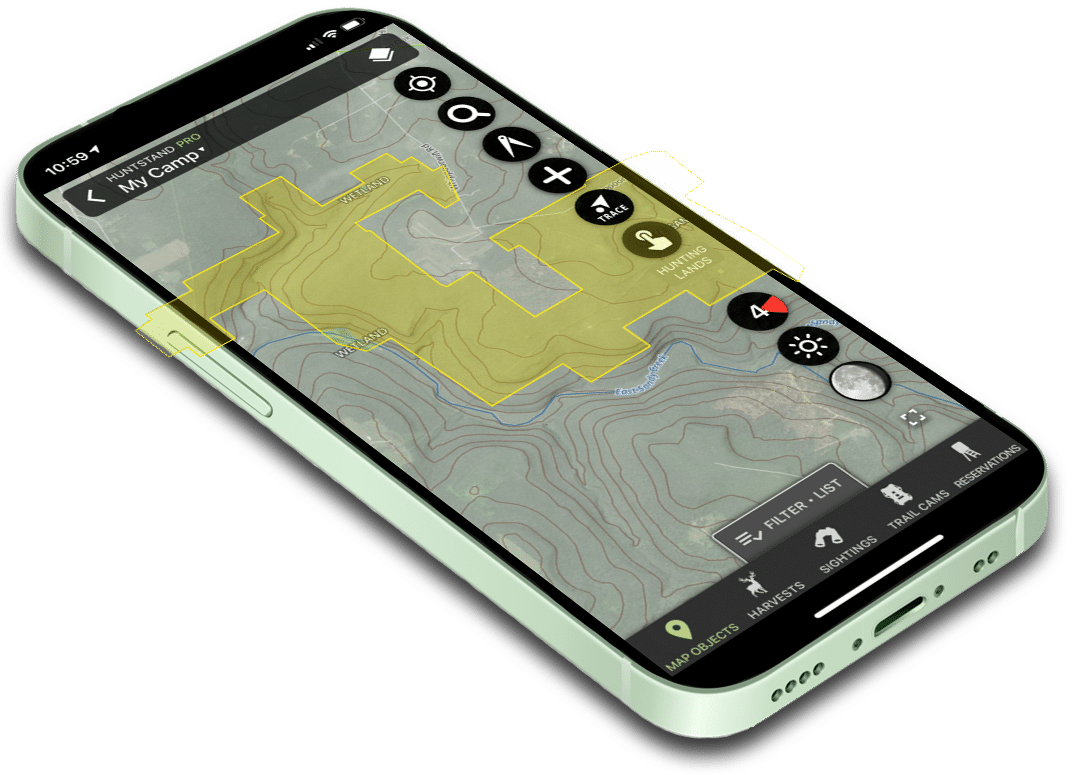
While shed hunting, use the location sharing feature in HuntStand to monitor the real-time location of you and your friends. Always carry a good backpack that you can secure antlers to. Also, carry water, food, a flashlight, radios to communicate with others in your group if cell service isn’t available, a flashlight, and perhaps some basic survival and first-aid supplies. You’d better be safe than sorry when you’re miles from your vehicle and the nearest roads.
Lastly, don’t go shed hunting without a quality binocular. I can’t count how many times I’ve turned what looked like a shed into a branch or stick simply by raising my bino. It’ll save you lots of walking, and sometimes you’ll find antlers you had no idea were there simply by scanning distant hillsides, down into draws or wide-open ag fields.
Why Deer Hunters Shouldn’t Manage for Genetics
Shed Antler Hunting Gear Bag
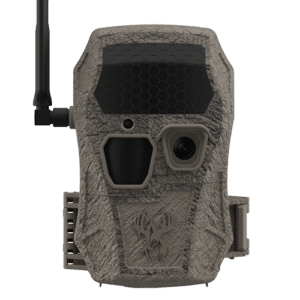
Wildgame Innovations Encounter 2.0: One of the best ways to time a shed hunt just right is using a cell camera. The Wildgame Innovations Encounter 2.0 is a great option for this. It has 26MP image resolution, 720P video resolution, 80-ft illumination range, and more. It runs on eight AA batteries and is compatible with a 12-volt DC jack for external solar power panel. Keep track of incoming photos with the HuntSmart app. It’s offered in AT&T or Verizon service. MSRP: $149.99
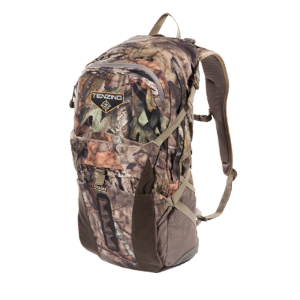
Tenzing Voyager: Shed hunters also need a quality pack to carry food, water, supplies, and even some of the sheds. The Tenzing Voyager is great for this. It offers 2,500 cubic inches, six compartments, three organization pockets, and all in a 3-pound design. It also has oversized side zippers, a front-facing shove-it compartment, and more. Given that shed hunters hike and sweat a lot, the new high airflow trampoline suspension boosts airflow between the back and pack. Molder shoulder straps and a removable waist belt make this option even more comfortable. MSRP: $149.99
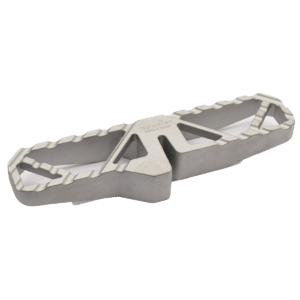
HME Fence Jumper: The HME Fence Jumper TP Step is a great tool for those who must cross fences during their shed hunting trip. Sometimes, this is required, even on public lands. Use this to help cross fences that otherwise must be crossed under or through. MSRP: $19.99
Upgrade to HuntStand Pro Whitetail
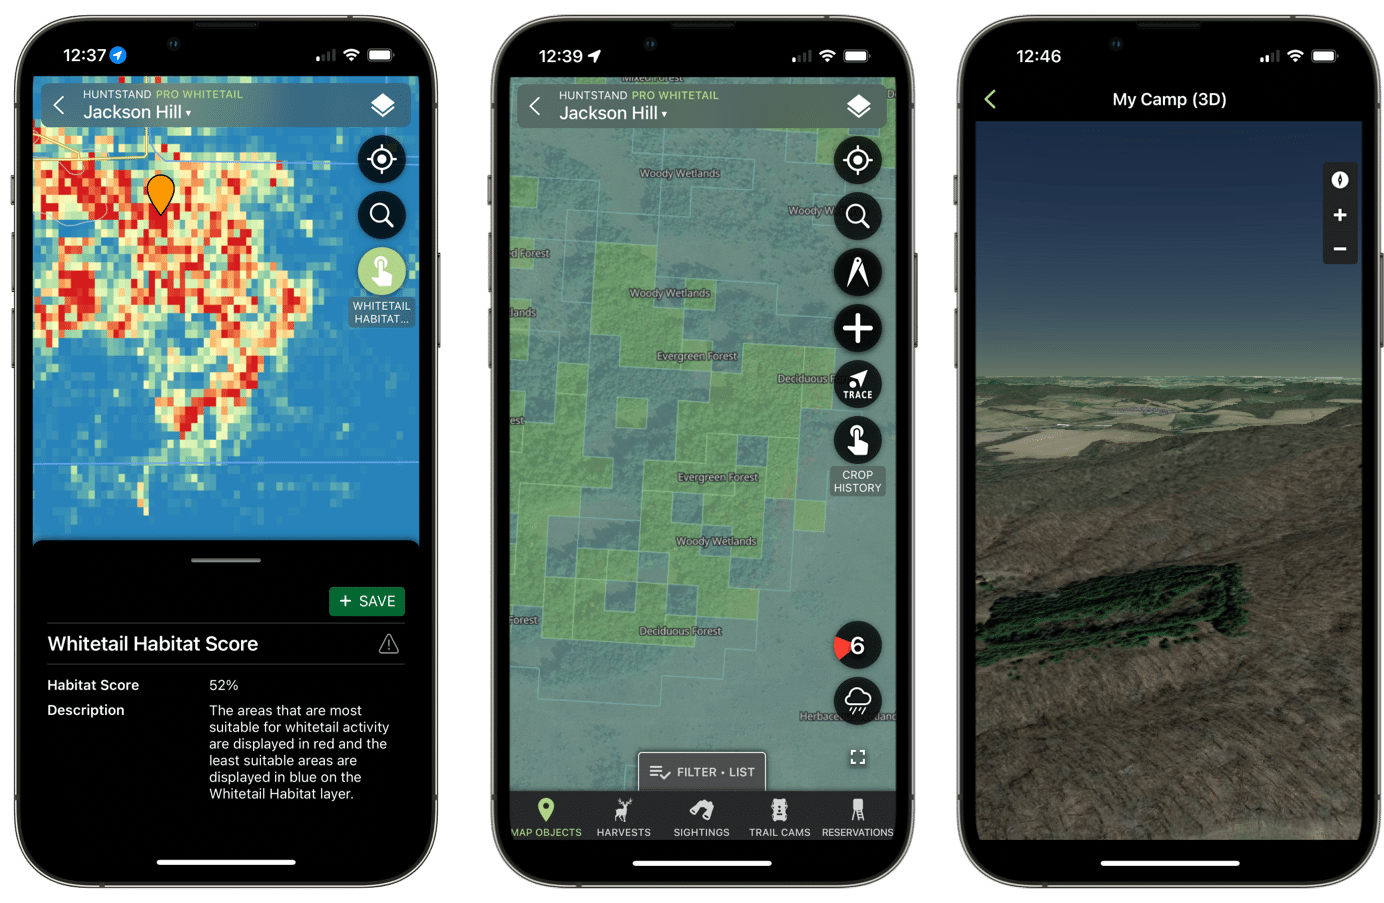
Unlock access to every feature in the HuntStand app, including powerful maps and features made specifically for whitetail hunters. Upgrade now or compare HuntStand Pro and Pro Whitetail subscriptions to find the right features for your next hunt.
Just like that, another November is history. It seems to blow by faster every year. And now, the 11-month wait for next November begins. But wait; do you have an archery or muzzleloader tag still in your pocket? If so, late-season hunting is your shot at redemption. Some of the season’s finest bucks are taken when the conditions align just right during the season’s waning moments. But, persistence is the key.
Late-season hunting can be tough. Very tough, in fact. Withstanding hours in the cold alone can be painful. And hunting with archery equipment when dressed to the nines is challenging to say the least. And while persistences is crucial to defy the odds, why not give yourself an edge with HuntStand Pro Whitetail?
Though they don’t guarantee a tag punch, there are six HuntStand Pro Whitetail features that will put you that much closer to the golden opportunity you’ve waited all season for. Here’s how they can help.

Utilizing HuntStand Pro Whitetail’s exclusive features can help you peg key hunting locations around late-season food sources.
Crop History and Monthly Satellite Imagery
It’s a given that food is king as winter and cold weather set in. Deer are smoked from a month of rutting activity, especially bucks. The kicker is that crops are mostly harvested, and hard-mast crops diminished. This means you’ll have to identify the needles in the haystack: food sources that are still supplying groceries to deer.
Upgrade to Pro Whitetail & Get The Drop on Late-Season Deer
If you live near where you hunt or even planted the food source(s) yourself, then you get the luxury of knowing what’s left. In contrast, if you’re a distance from your hunting grounds, then it’s a big advantage to learn as much as you can before you go to hunt. How is that possible? Read on.
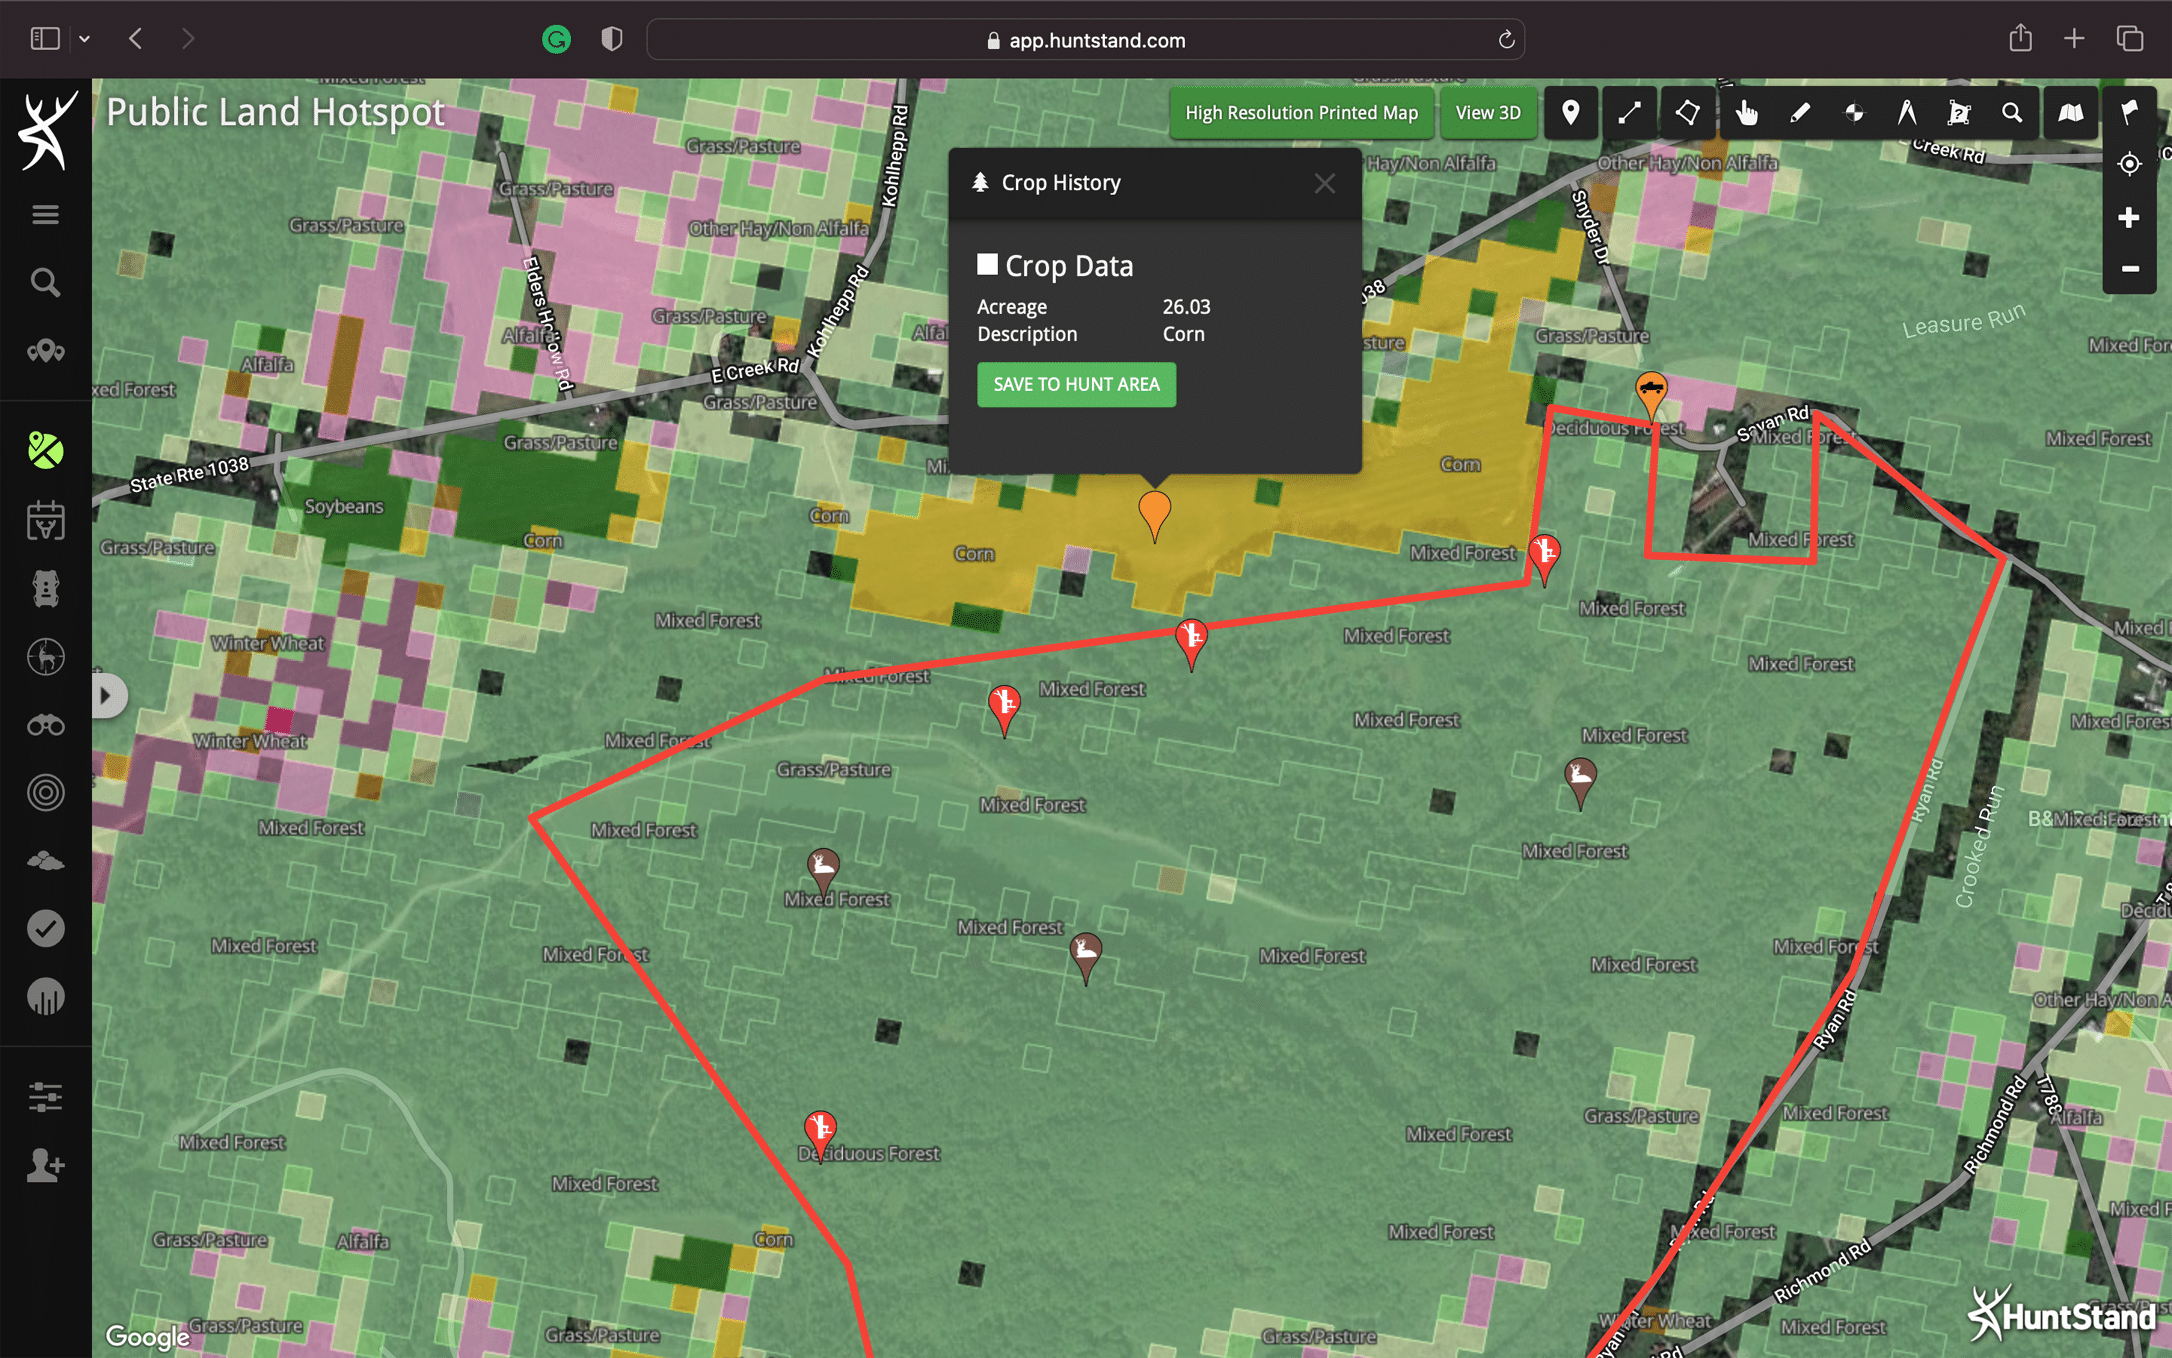
Hunting on public land that isn’t cultivated with food plots? The Crop History layer can show what was planted on the adjacent private lands the previous year. This can help you to predict deer movement on the public, as local deer move toward adjacent food sources.
HuntStand Pro Whitetail has two features that collectively can help you make some calculated assumptions in this regard. The Crop History layer not only shades agriculture (color-coded for easy identification), but when you click on a food source, a window opens telling you what was planted last year. So, over a few years, you’ll have to watch and learn crop rotations. Do that, and then when you reference the Crop History layer to see what was planted the year prior, you’ll have an idea as to the current crop.
Identify Hot Food Sources
Even more valuable is the Monthly Satellite Imagery layer. Of course, the Hybrid layer offers high-resolution satellite mapping, but the view is typically outdated. The aptly-named Monthly Satellite Imagery layer, while lower in resolution, is updated monthly. That helps you zoom in close enough to identify cornfields and other row crops fairly easily. In some instances, you can even determine if the crop was harvested or left standing based on its appearance. That can be huge.
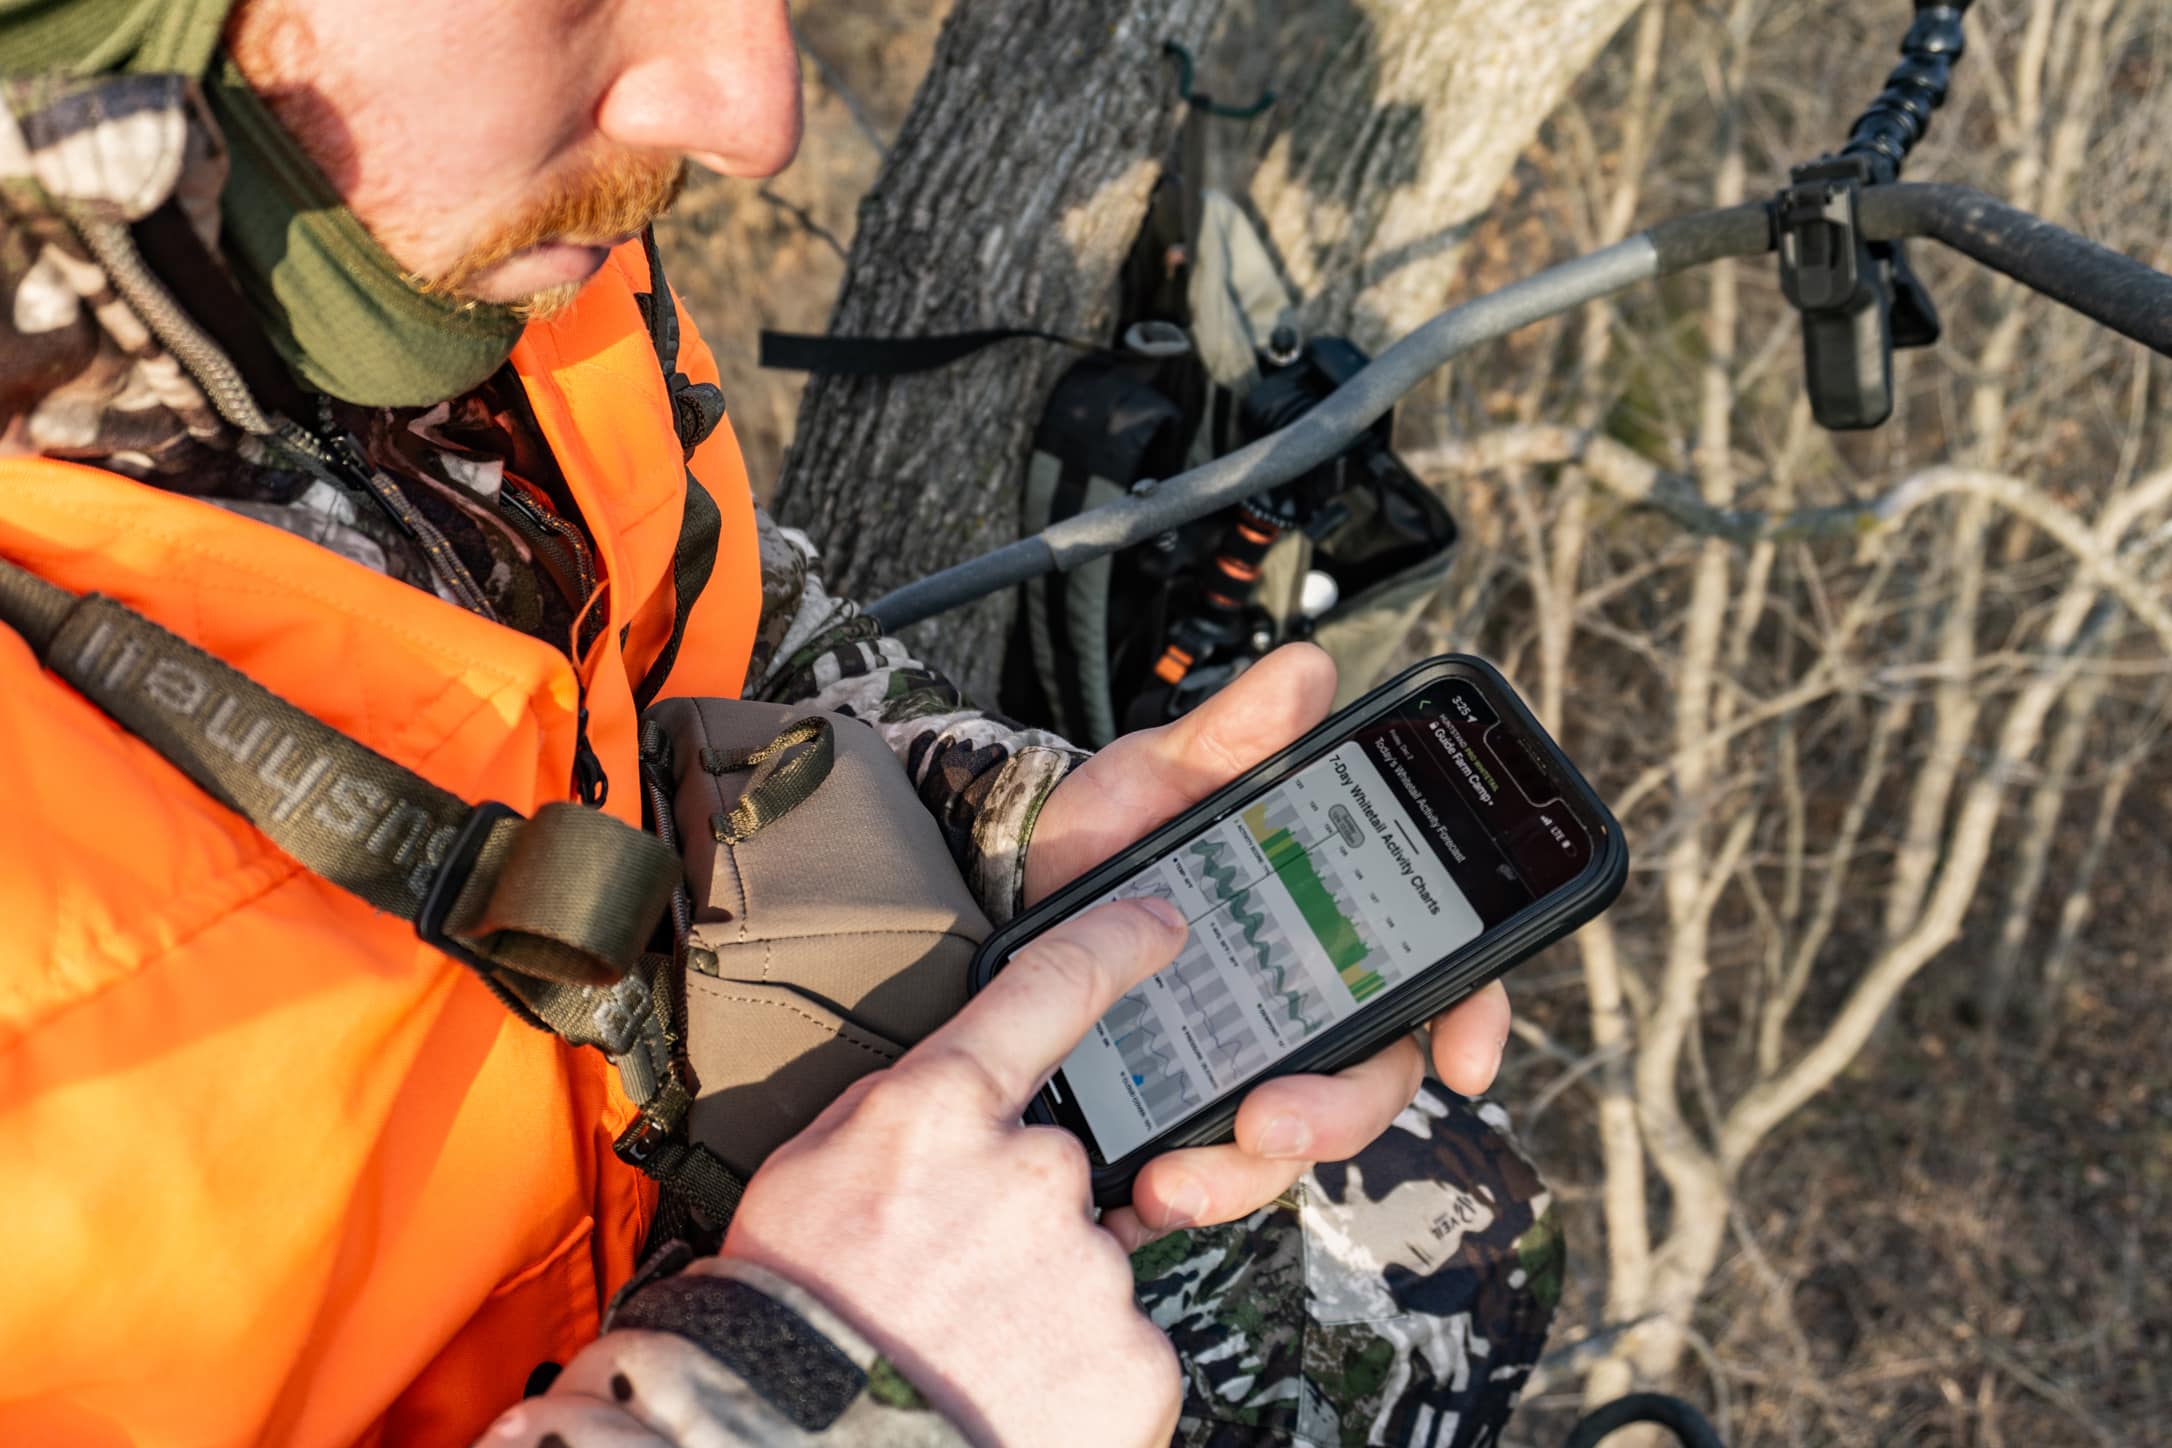
Not quite sure when to hunt your late-season hotspot? Utilize the Whitetail Activity Forecast to identify peak movement times up to a week in advance. The author used it during his recent Illinois hunt and found it to be on point.
As a side note, you can use both the Crop History and Monthly Satellite Imagery features to see agriculture on adjacent lands, too. This can have a bearing on the deer movement on your property, or the public land that you’re hunting.
In the big woods, watch for brand-new clearcuts on the Monthly Satellite Imagery layer. Be prepared that the app doesn’t highlight these areas. However, you might suspect logging operations are happening on public lands, or a piece of private land that you have permission to hunt. In these cases, simply look for missing swatches of timber. Deer love to browse on tops, so a brand-new clearcut is a great place to try some late-season hunting in areas void of agriculture.
Whitetail Activity Forecast
Timing your hunts is a critical piece to late-season hunting. By this point in the season, deer have felt hunting pressure—moderate to significant—and are typically edgier than earlier in the season. Hunting as often as you can isn’t always conducive to success, unless you have lots of stand options. In other words, hitting the same stand every afternoon introduces more human presence, and your odds typically dive with each unsuccessful mission.
Ready to take hunt planning to the next level? Open up the Whitetail Activity Forecast layer and see when movement is likely to peak. Proprietary algorithms create the 7-day forecast, and users are already raving about its accuracy.
If you have only a few stands or blinds to hunt from, keep them fresh by hunting only during optimal conditions. Not sure exactly what that means? No sweat! The ground-breaking Whitetail Forecast layer in Pro Whitetail puts peak movement times at your fingertips. A 7-day percentage-based graph details days and times that will likely produce the best deer movement. I just used the layer during the first few days of December, during an Illinois hunt. When movement percentages in the layer were low, I saw minimal deer movement. When it was high, deer moved. Pretty fascinating.
Of course, not all stand locations are equal, so temper your expectations just a bit. In addition, the Whitetail Forecast includes other important details such as temperatures, wind, pressure, cloud cover, humidity and precipitation—no need to alternate back and forth between screens.
Nationwide Rut Map
The new Nationwide Rut Map layer, believe it or not, can be an important part in planning your late-season hunt. But, wait, the rut’s over, isn’t it? Not exactly. I’ve witnessed plenty of rutting behavior in the Midwest during December. Bucks fighting. Does bellowing out estrous bleats. I’ve also watched bucks follow, smell and nudge does. My brother once killed one of three bucks that all were chasing the same doe in the middle of December.
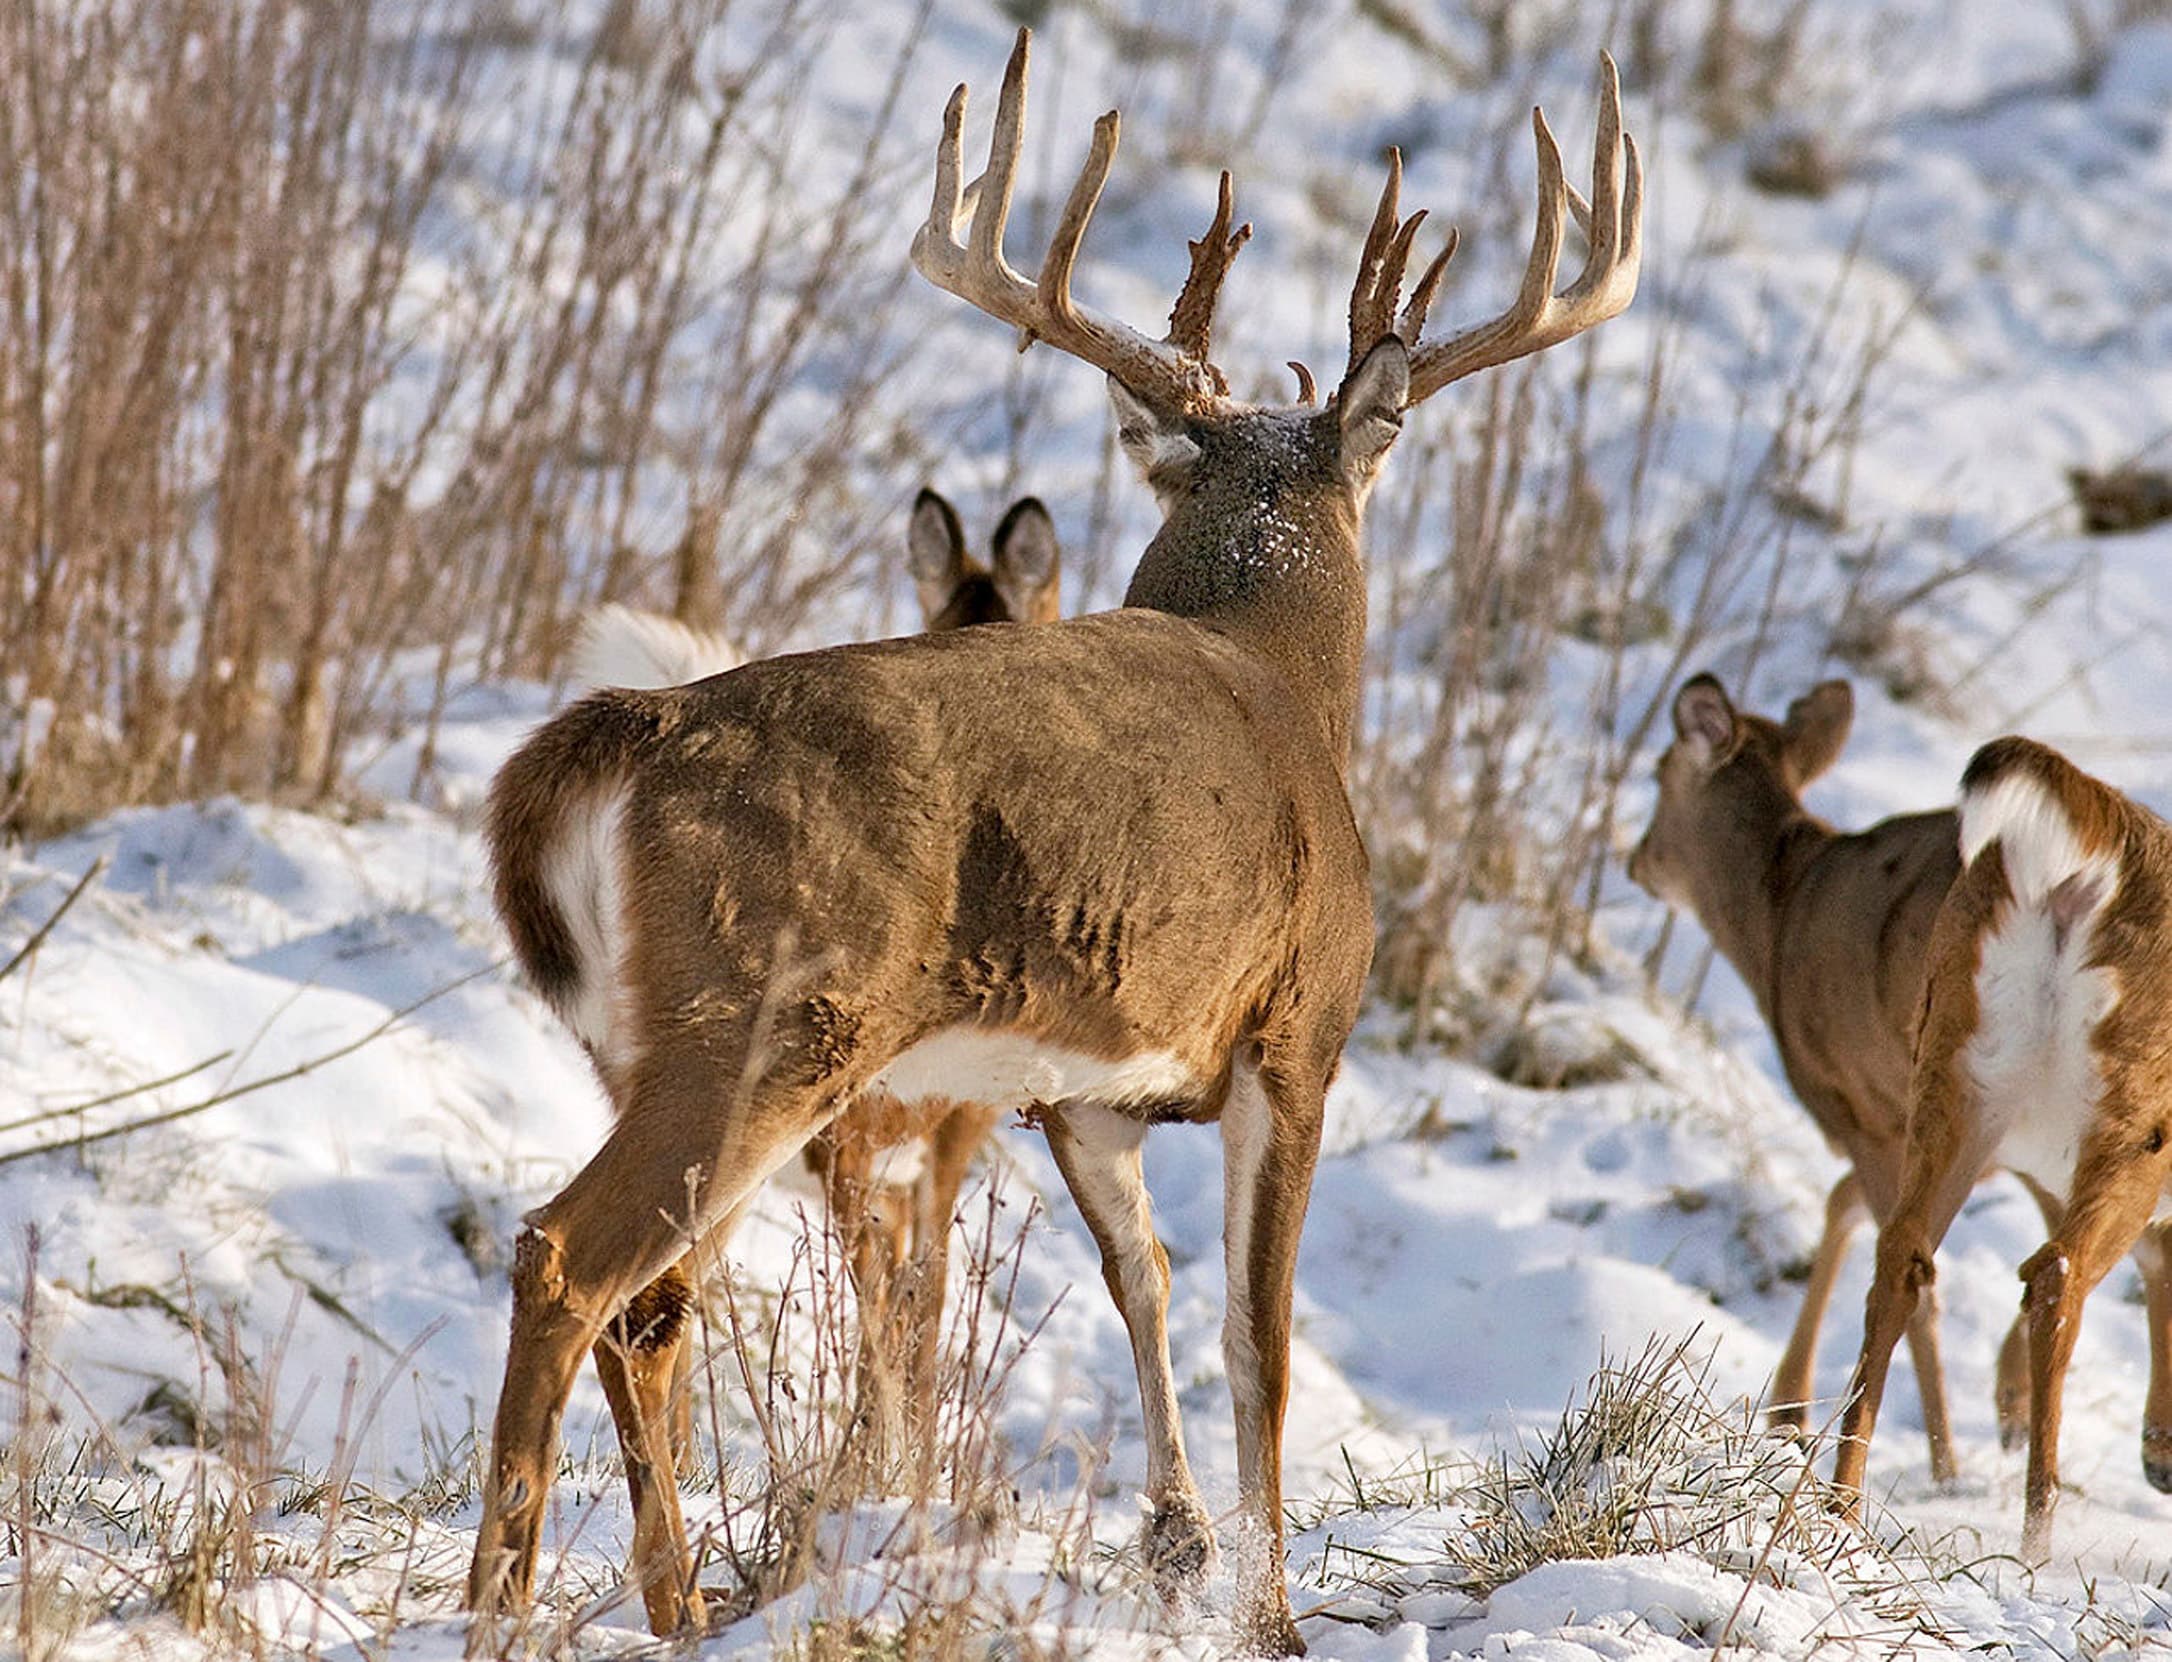
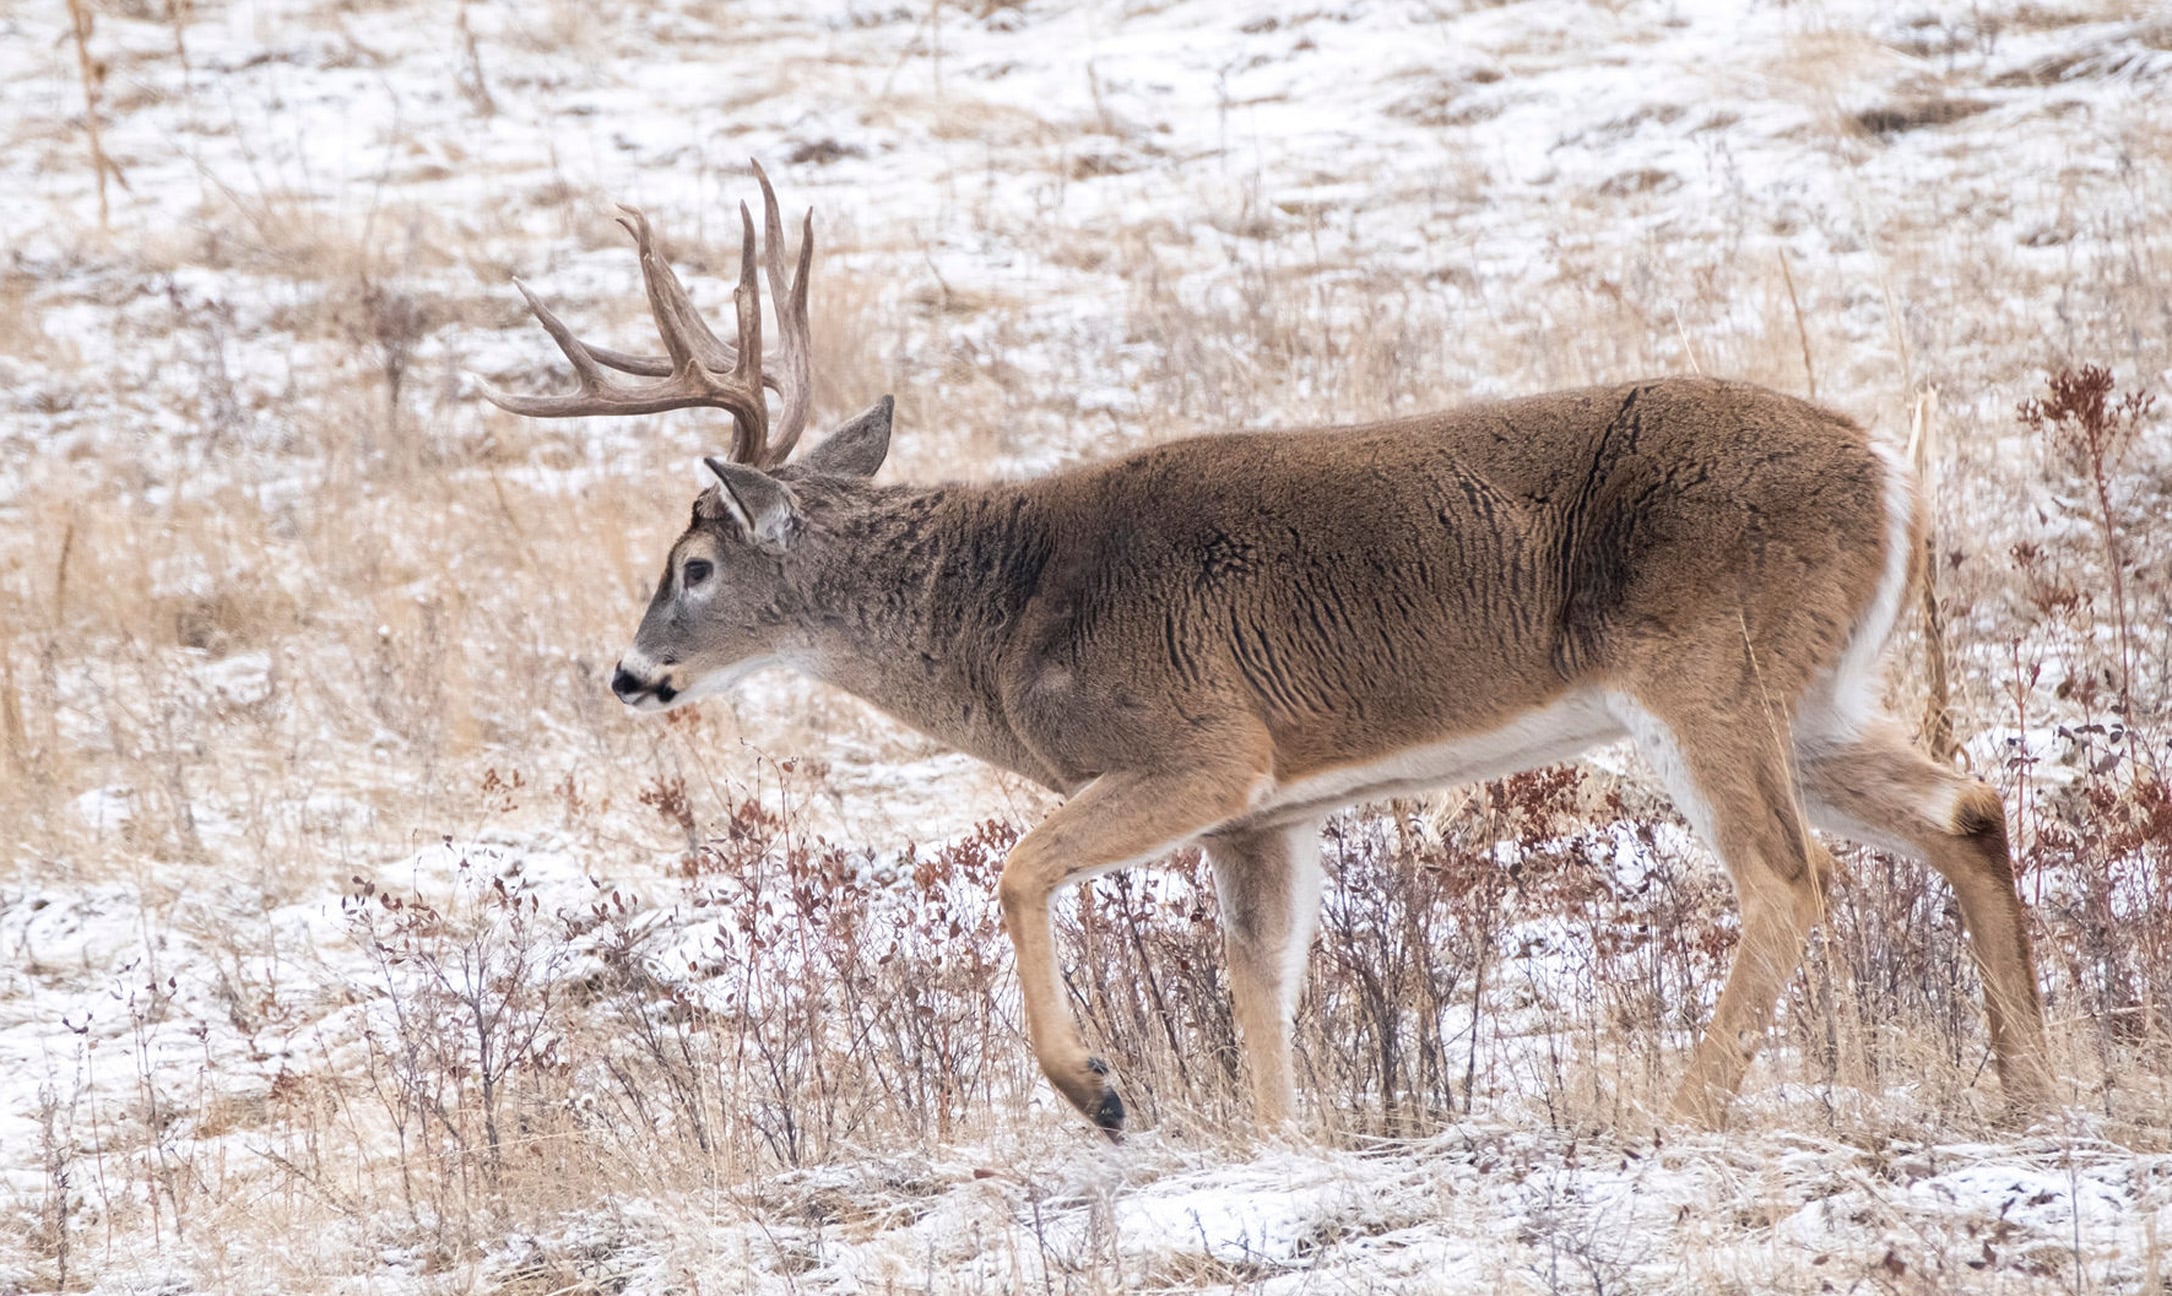
Is the second rut a real thing? Research and science, along with observations from whitetail experts, say it is, and the HuntStand Pro Whitetail Nationwide Rut Map notes dates for your specific area.
I know that the second rut is controversial, but I’ve seen enough of it in 22 years of hunting to know that it’s a valid piece of the late-season puzzle. HuntStand Pro Whitetail’s Nationwide Rut Map provides rut and second-rut timing for every location. It’s all based on research by whitetail biologist Brian Murphy, in collaboration with deer biologists from every state whitetails are hunted. More ground-breaking stuff.
Field-Tested Accuracy
Even though this layer is brand new, I’ve already found it accurate. In McDonough County, Illinois, where I hunted in early December, the Nationwide Rut Map said that my December 1-4 hunt would coincide with the pre second rut. I observed exactly that type of behavior. Two different 2 1/2-year-old bucks were seen following single does through the timber. I saw scrapes being worked again. I observed young bucks fighting. The second rut doesn’t hit with the tenacity of the first, but the activity I observed was consistent with the Nationwide Rut Map. Don’t overlook it.
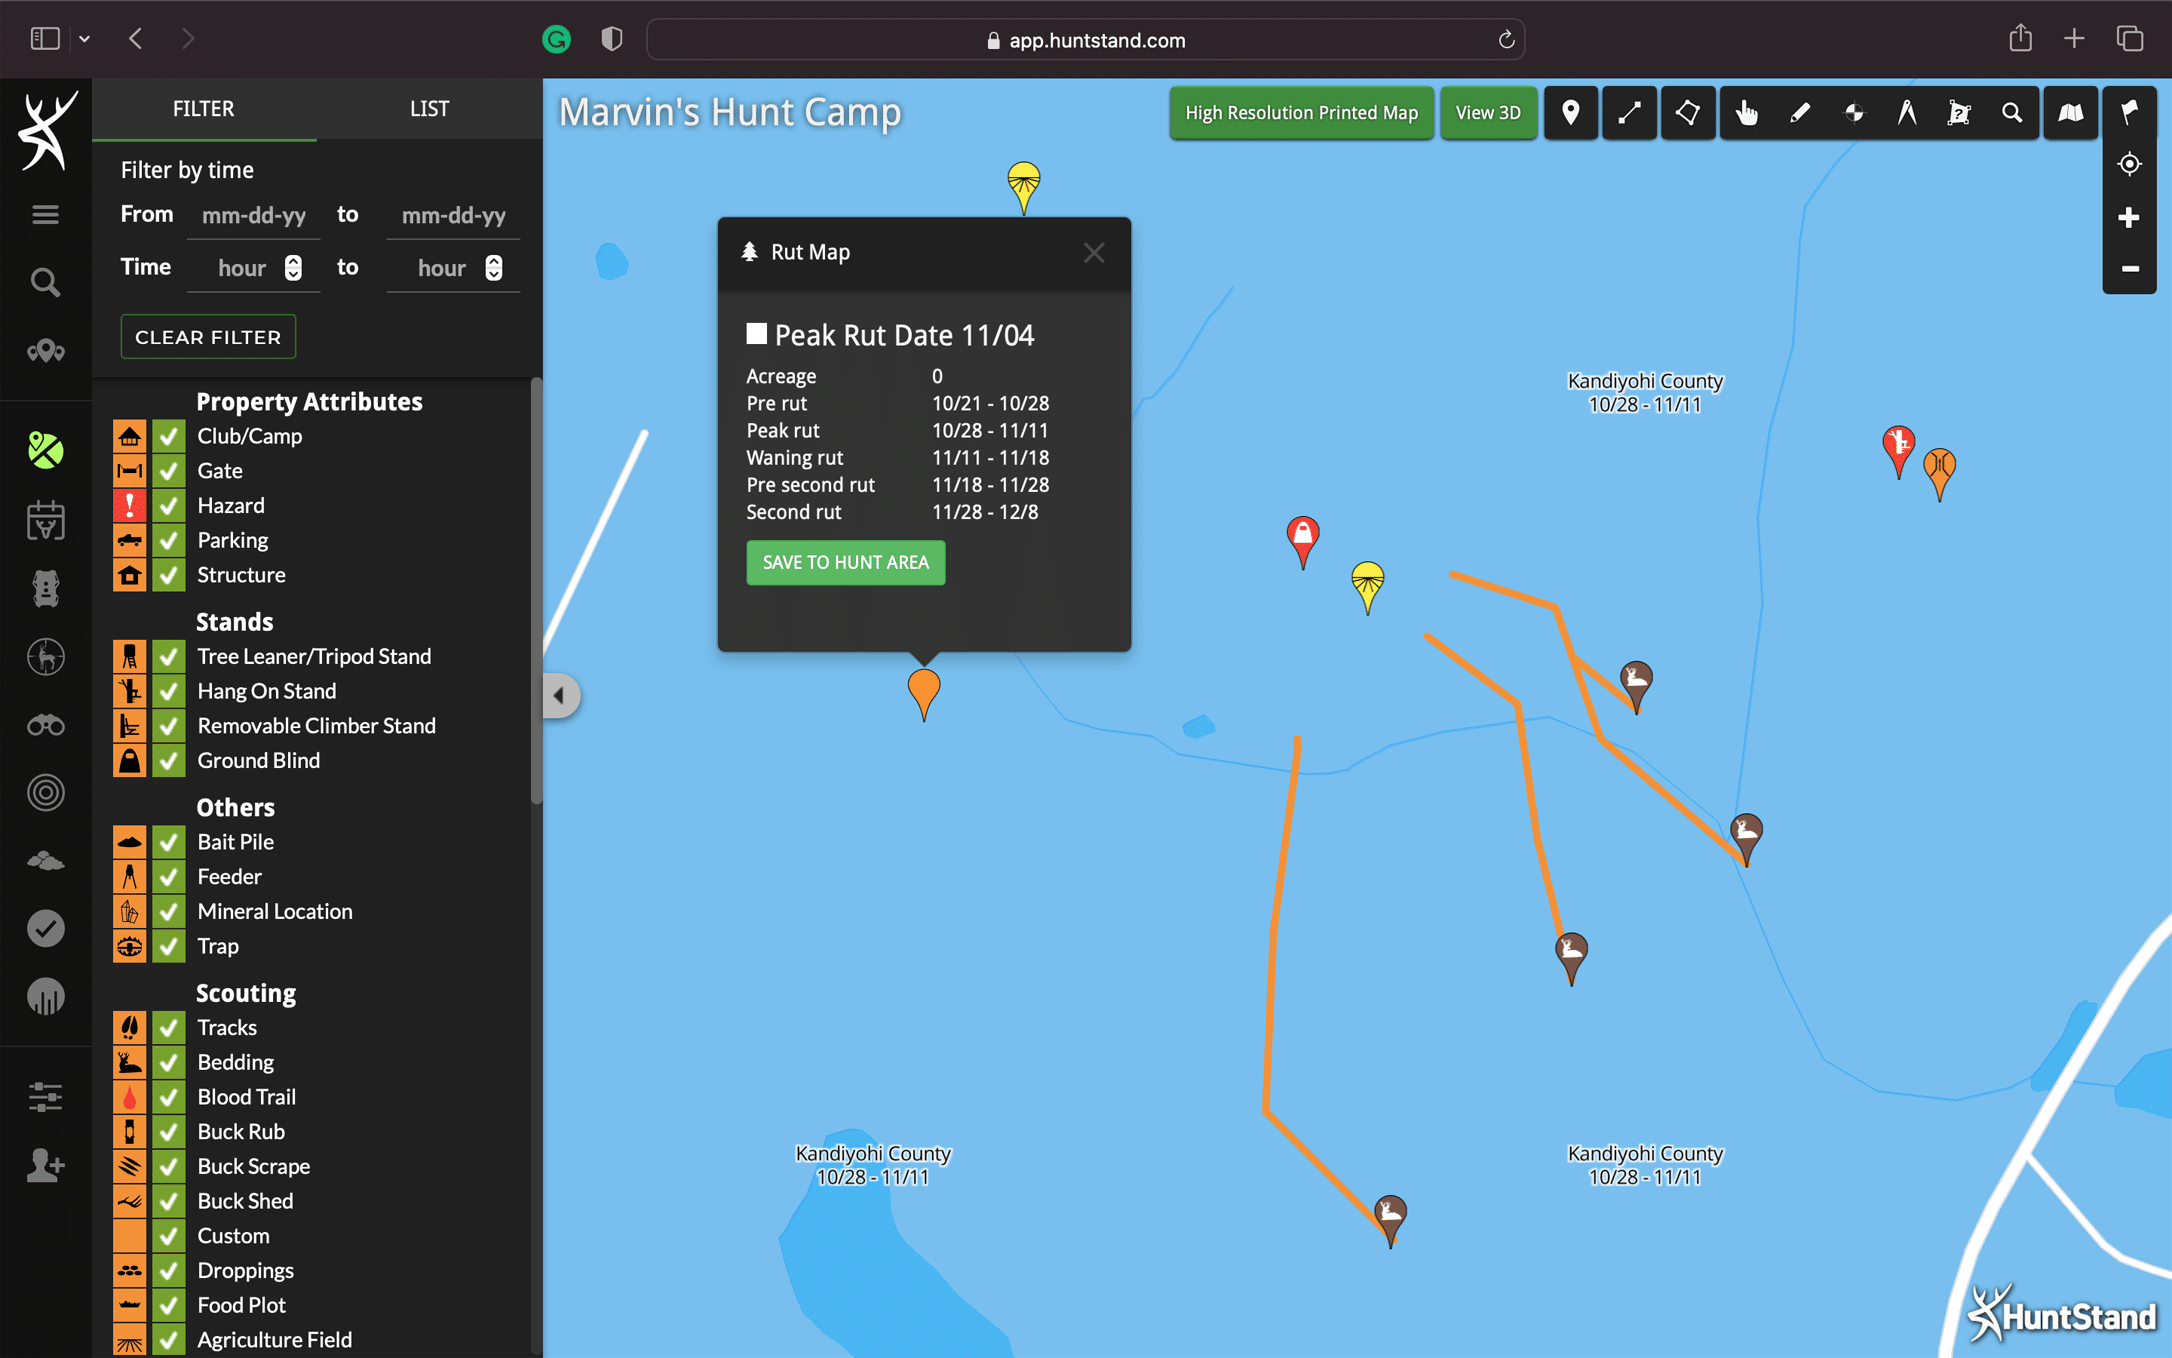
Referencing the Nationwide Rut Map will show you the rut dates—including second-rut dates—for your county. This can help you understand when bucks are likely to be interested in a doe-littered food source.
How is knowing second-rut dates helpful? Well, it can tell you when to focus on food sources littered with does, if you’re still shopping for a buck. In the Nationwide Rut Map layer, zoom in on your property and simply tap on the shaded overlay. Instantly, a pull-up window that details dates for the primary and second rut will appear. Then, you’ll know when to set up where does are feeding, at a time when bucks are most likely to be interested in them. Again, this is all based on research and science, and applied to every county.
Whitetail Habitat Map and Tree Cover
Habitat is probably more important in late season than at any other time. Habitat often diminishes by late season as foliage decreases (areas with four seasons) and winter manifests. Identifying prime habitat makes a good starting point for a late-season hunt.
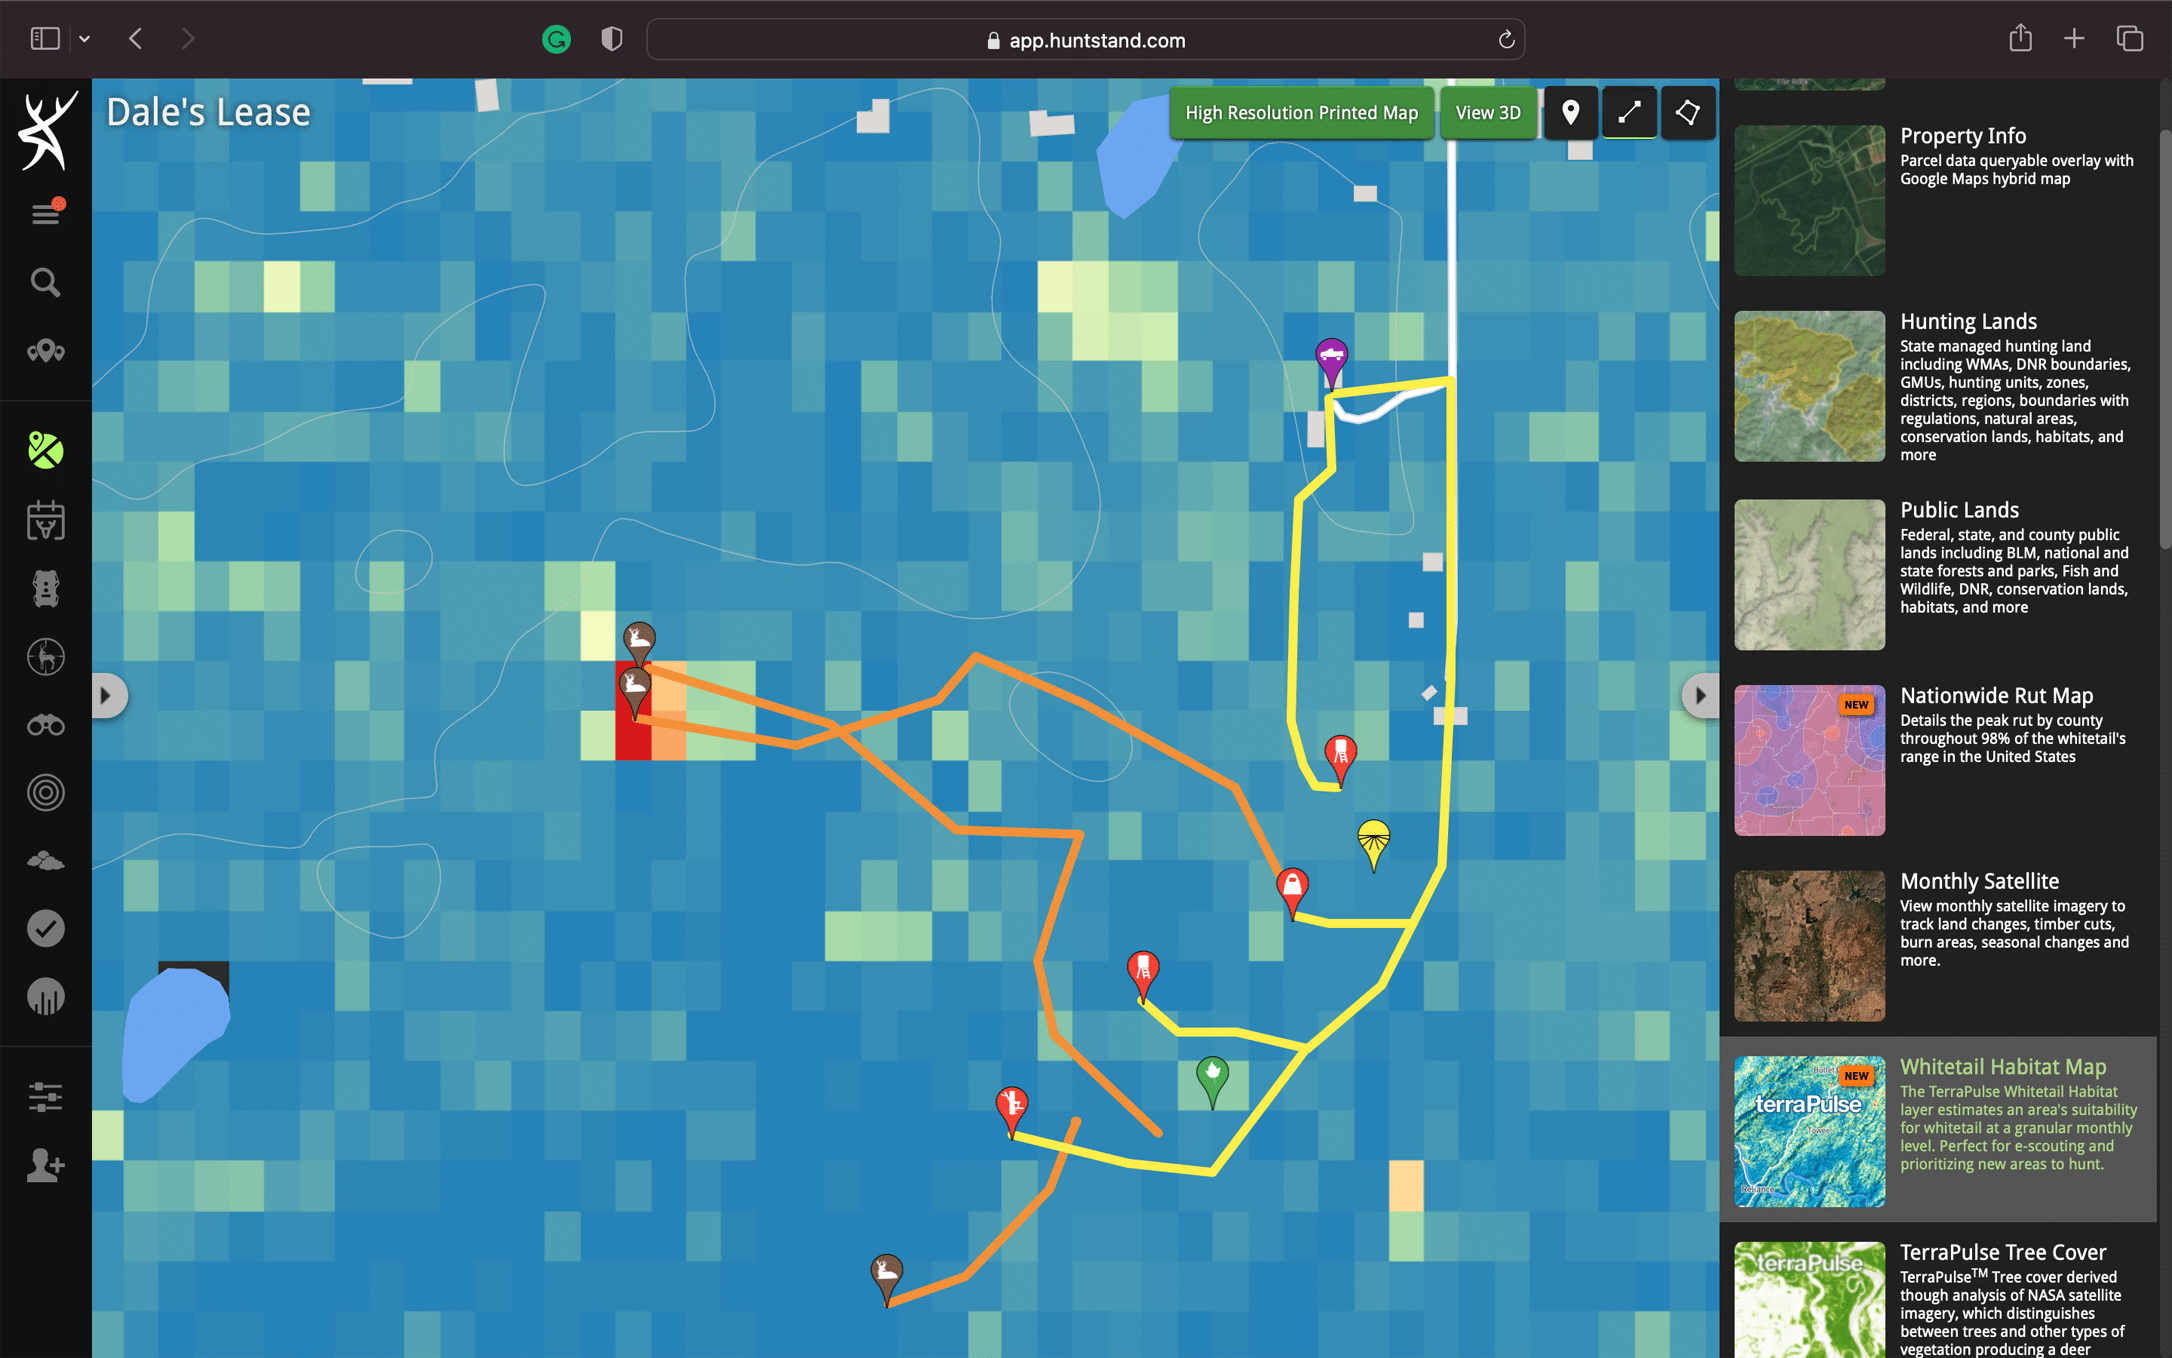
When you’re looking to hunt a new area, habitat is a key element to learning the property. The Whitetail Habitat Map, a new HuntStand Pro Whitetail exclusive, helps you key-in on great habitat with convenient color-coded overlays. It can even help you "rediscover" overlooked parts of your own hunting property.
If you have history with a particular property, the new HuntStand Whitetail Habitat layer will help only minimally, because you’ve been hunting the property. However, for large properties, you might see the benefit in checking out areas shaded in red—red notes optimal whitetail habitat in the layer. Maybe these are areas that you’ve previously ignored while scouting and hunting.
Zero-in on Great Habitat
If you’re a DIY hunter bouncing around and trying to optimize your chances of getting into late-season deer, this layer can really help. And especially, on properties that you haven’t hunted. The Whitetail Habitat Map, which updates monthly at a granular level, is worth paying attention to if you have little time to scout and hunt, but want a strong starting point.
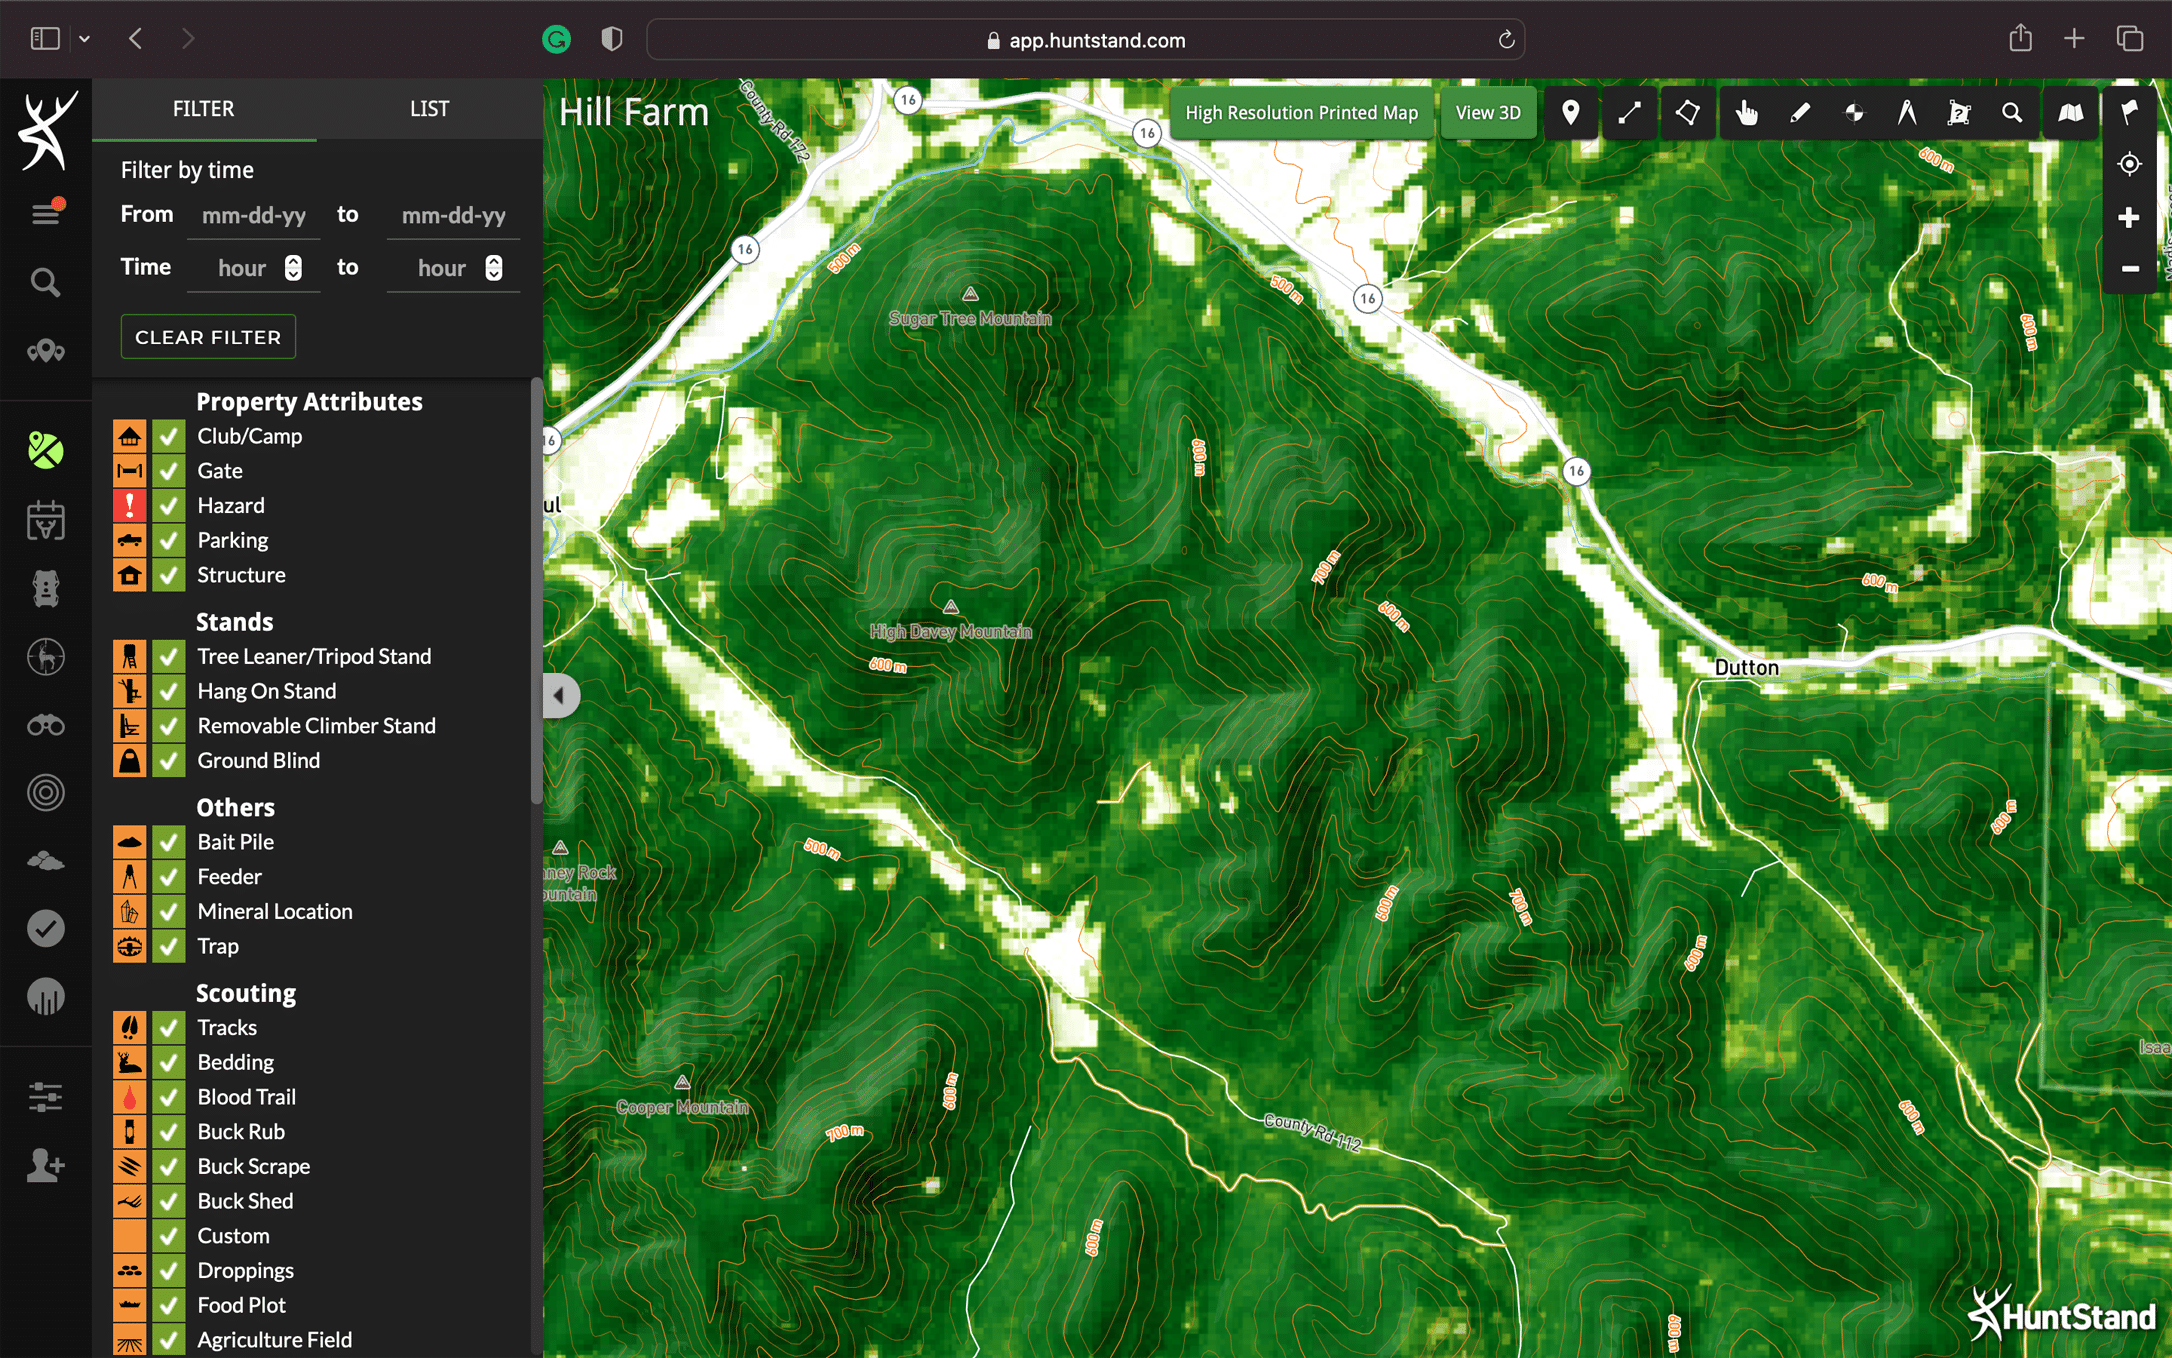
The HuntStand Pro Whitetail Tree Cover feature is useful in determining where there’s timber. This feature is an ideal way to find good whitetail habitat including edges and transitions.
The Tree Cover layer is another one that’s perfect for e-scouting in a late-season pinch. It distinguishes between trees and other cover, to produce a map layer detailing suitable habitat. It’s related to the Whitetail Habitat Map in ways, so alternating between the two is wise business.
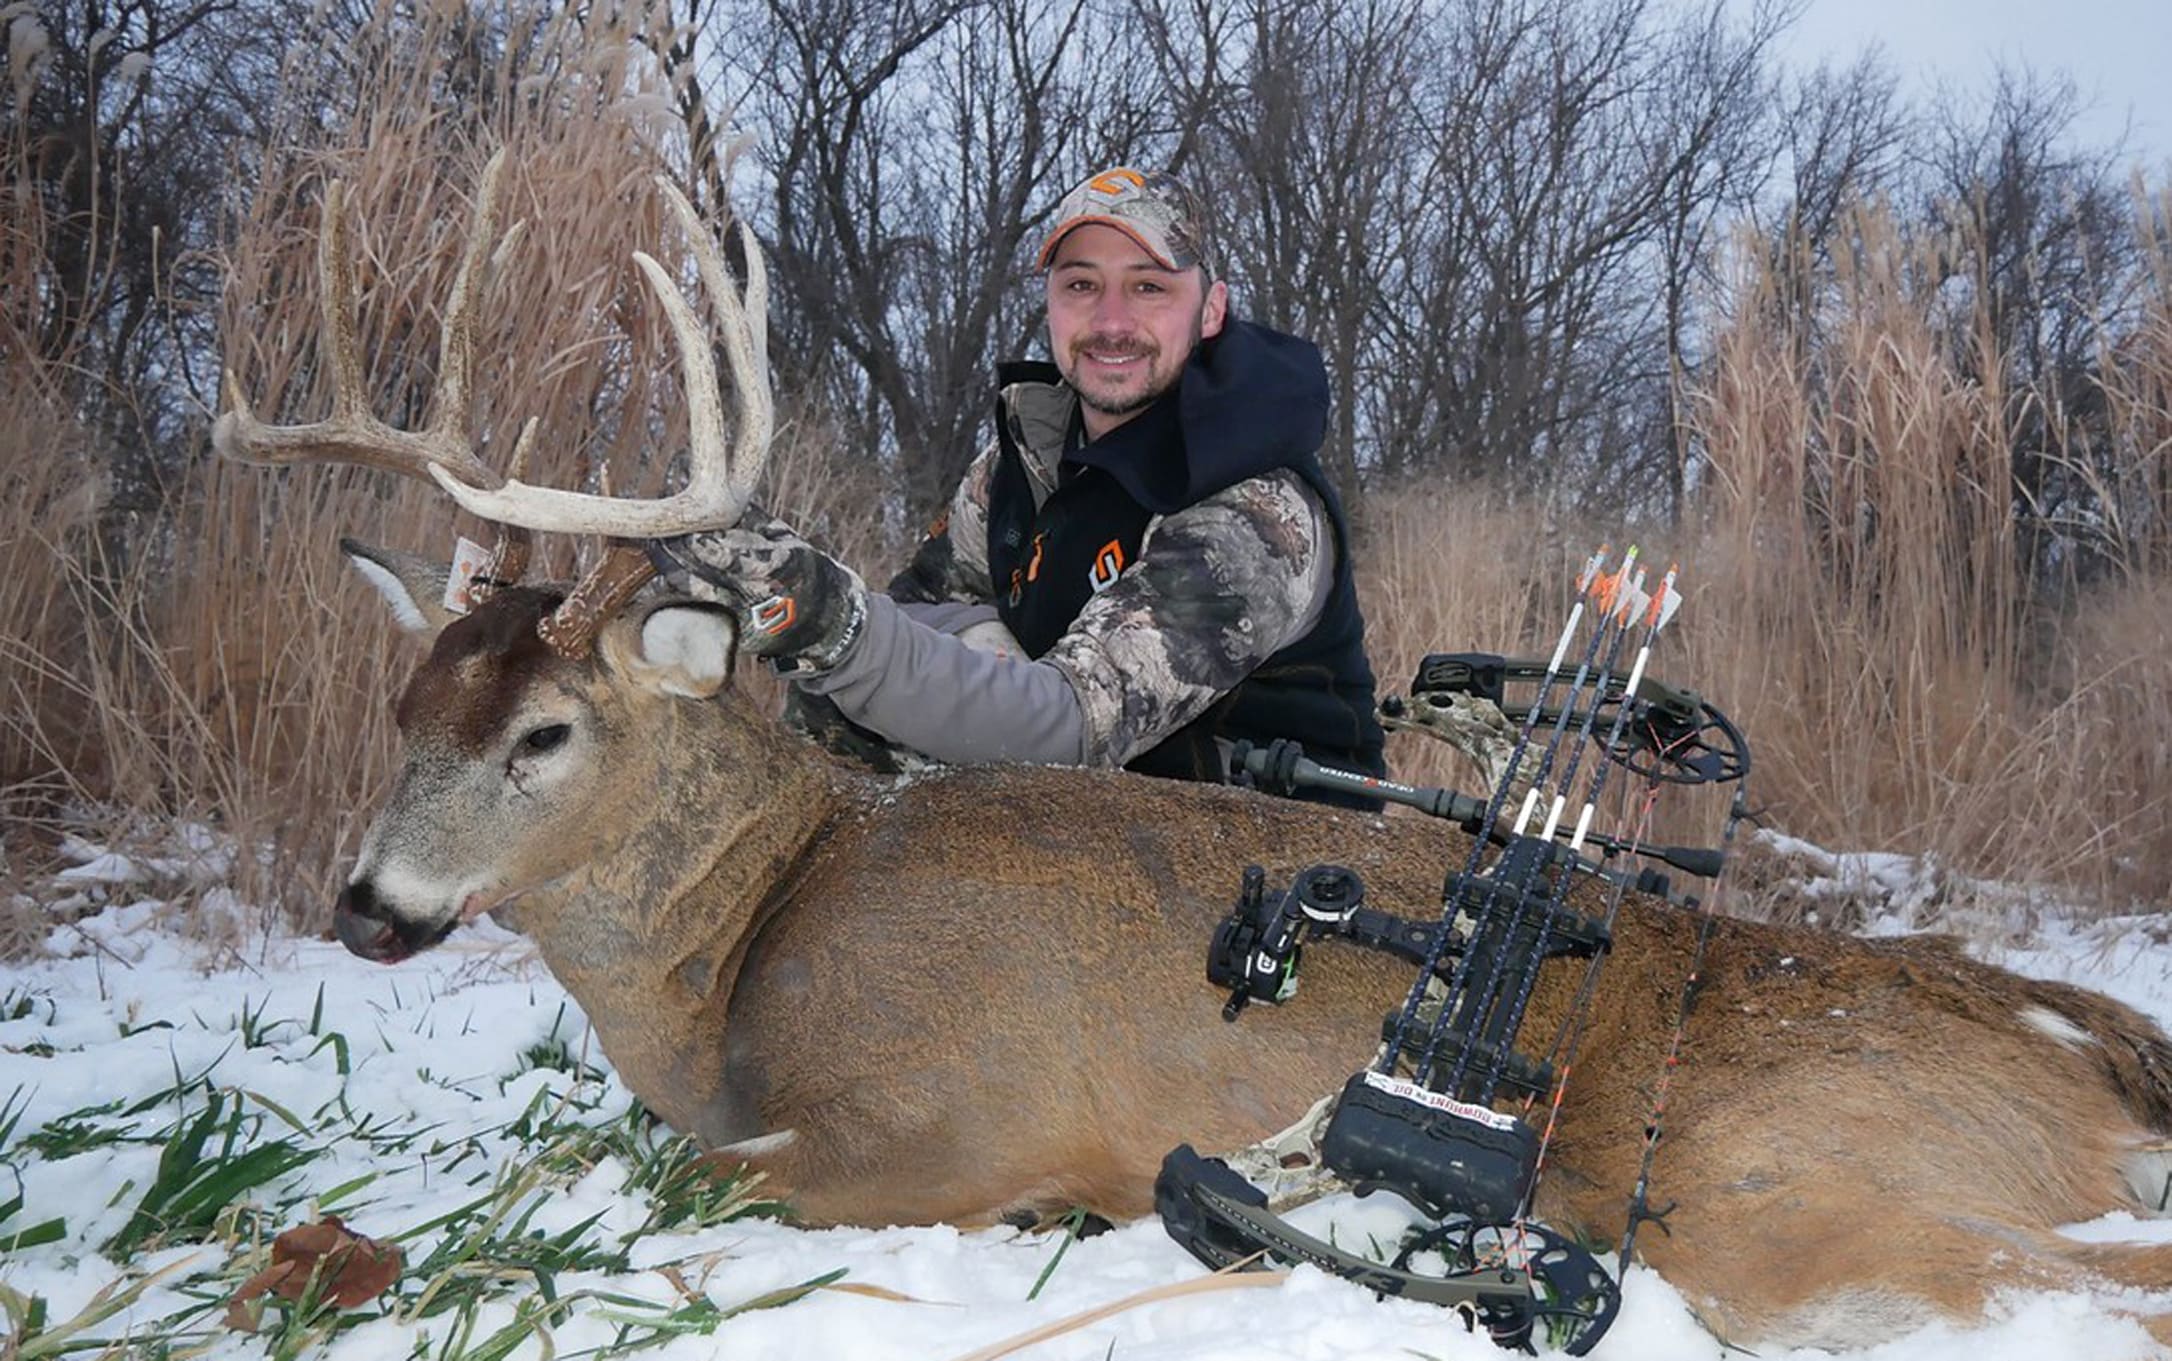
Tyler Rector bow-bagged this Illinois stud over a cornfield. Food is a key to late-season success, but so is planning your hunt based on conditions. HuntStand Pro Whitetail has all the features you need to get an edge on wise late-season bucks. (Photo courtesy of Tyler Rector/bowhunting.com)
Go Down Swinging!
If you haven’t upgraded to HuntStand Pro Whitetail, now’s the time to do it. Late season doesn’t get the glamor of early season or the rut, but it’s your last chance to end the season with a bang—or a satisfying thump. These six helpful HuntStand Pro Whitetail features might just be what it takes to put together a successful late-season hunt.
Routinely successful public-land deer hunters share a common attribute. Do you know it? Adaptability. Let’s face it, public lands open to other hunters and everyday recreational enthusiasts are unforgiving. They serve up dozens more variables to hunters than do managed private lands. In other words, you can plan for and find public-land deer hotspots, but ultimately, it only takes one other hunter (or trail-hiker) to upset your hunt.
That’s why adaptability is the key to consistent public-land success. When someone or something foils your initial plans — yes, I said when, not if — you’ll have to regroup and revisit the drawing board on the fly. If you don’t, you’ll be kicking the dirt in frustration.
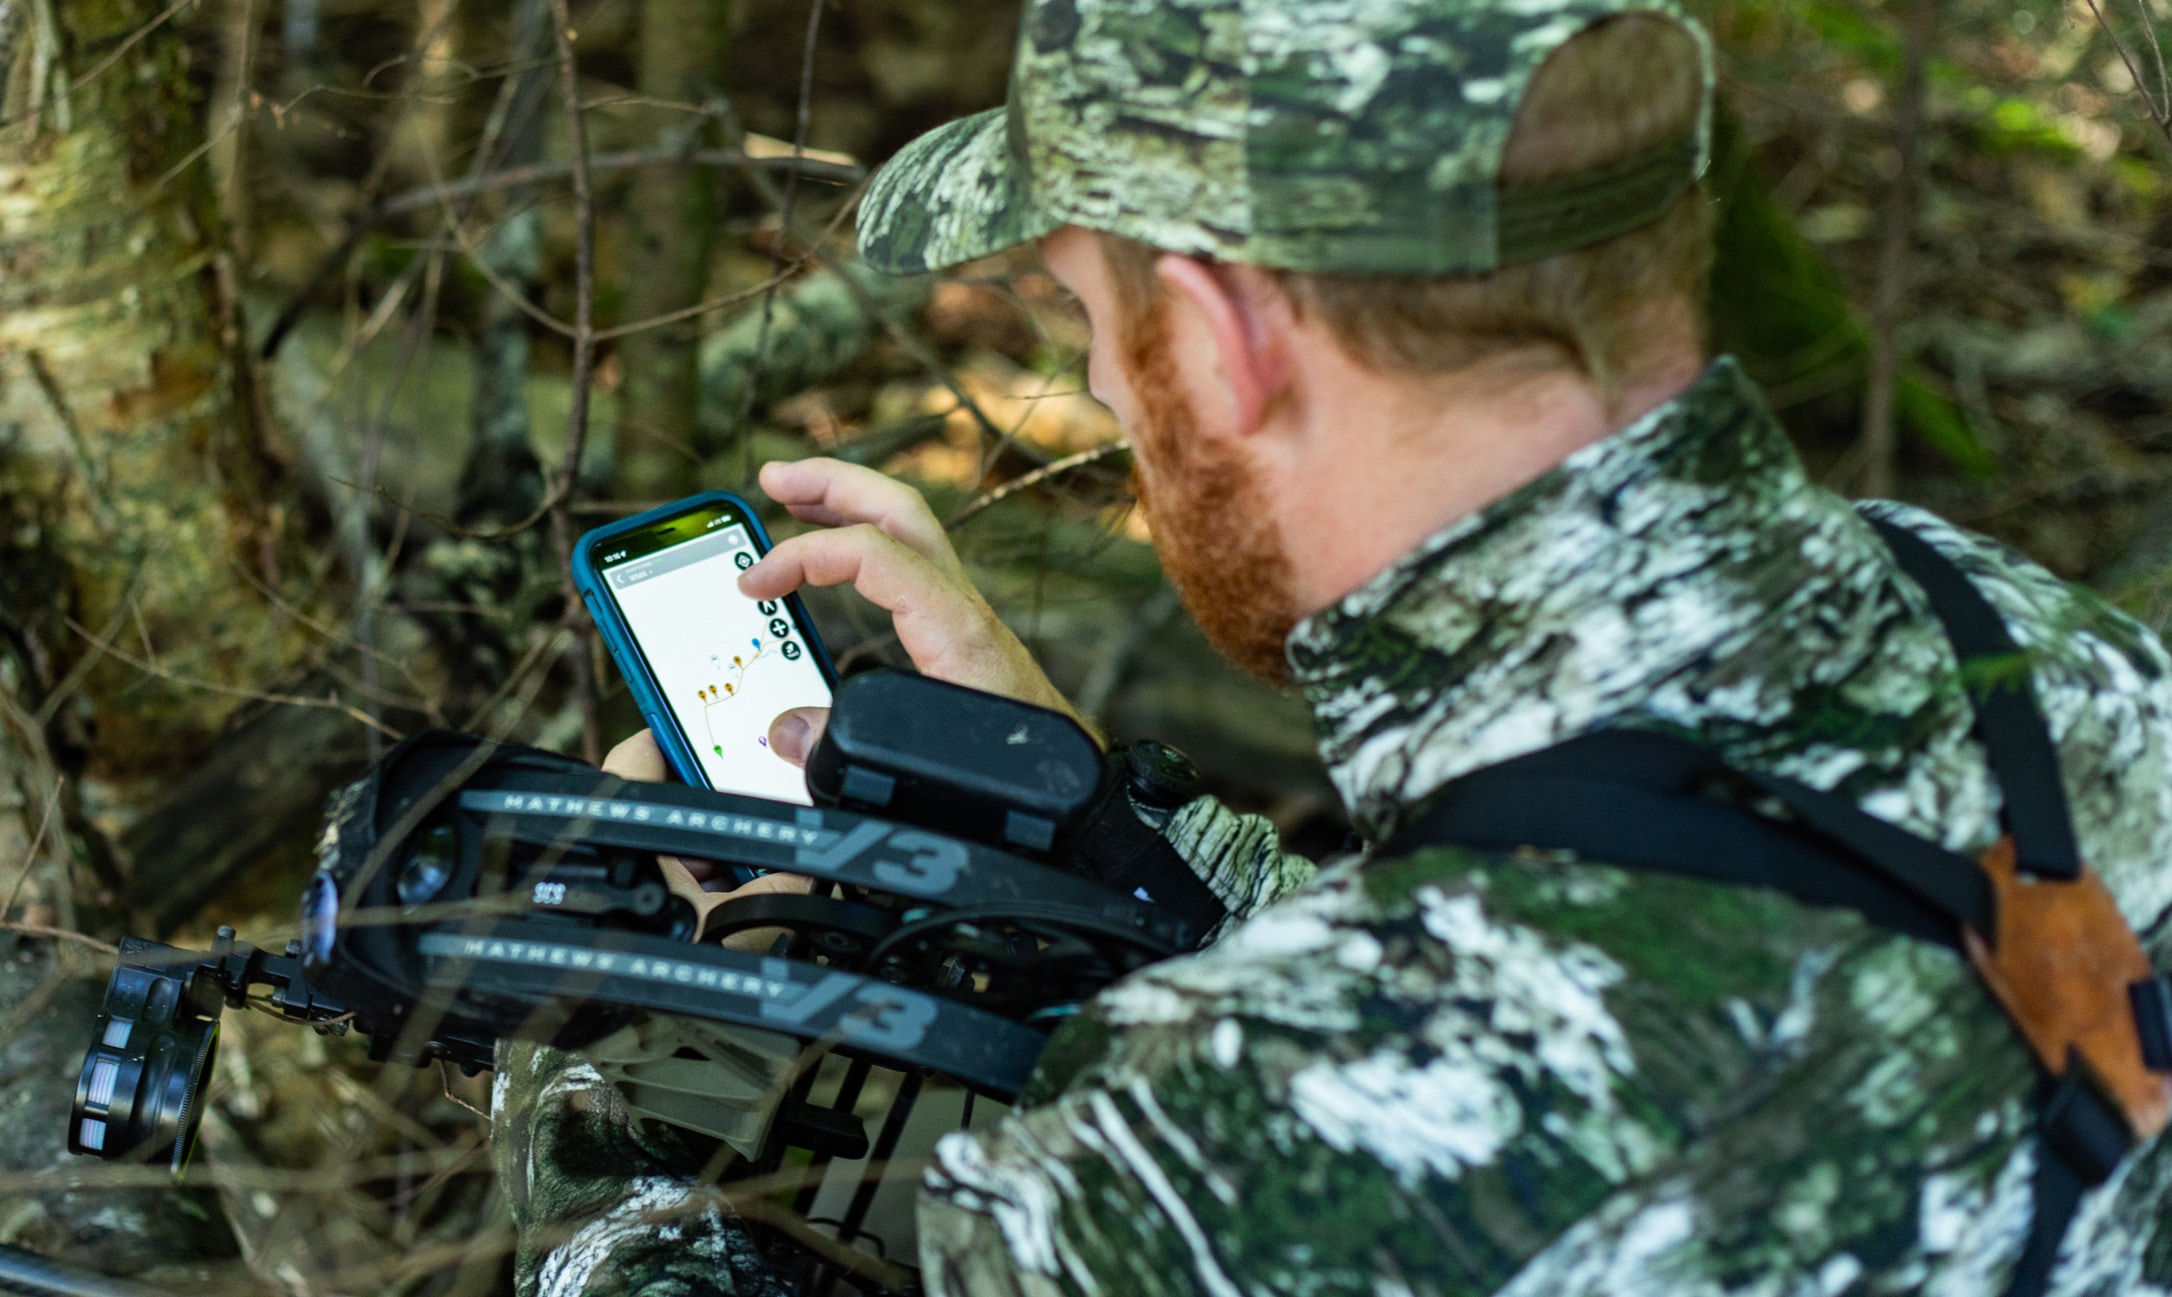
The ability to map hotspots on the go, in the palm of your hand using HuntStand Pro, is a major advantage to the public-land deer hunter.
I know of no better way to do this than to open my HuntStand Pro app. Whether I have two days left to hunt or 20, I know that I need to get serious. In addition, I have to be willing to outwork and outthink every other hunter to find the real hotspots. It all begins in the palm of my hand.
I’ll detail what I look for with help from HuntStand Pro, including the specific app features I use to unveil the hotspots.
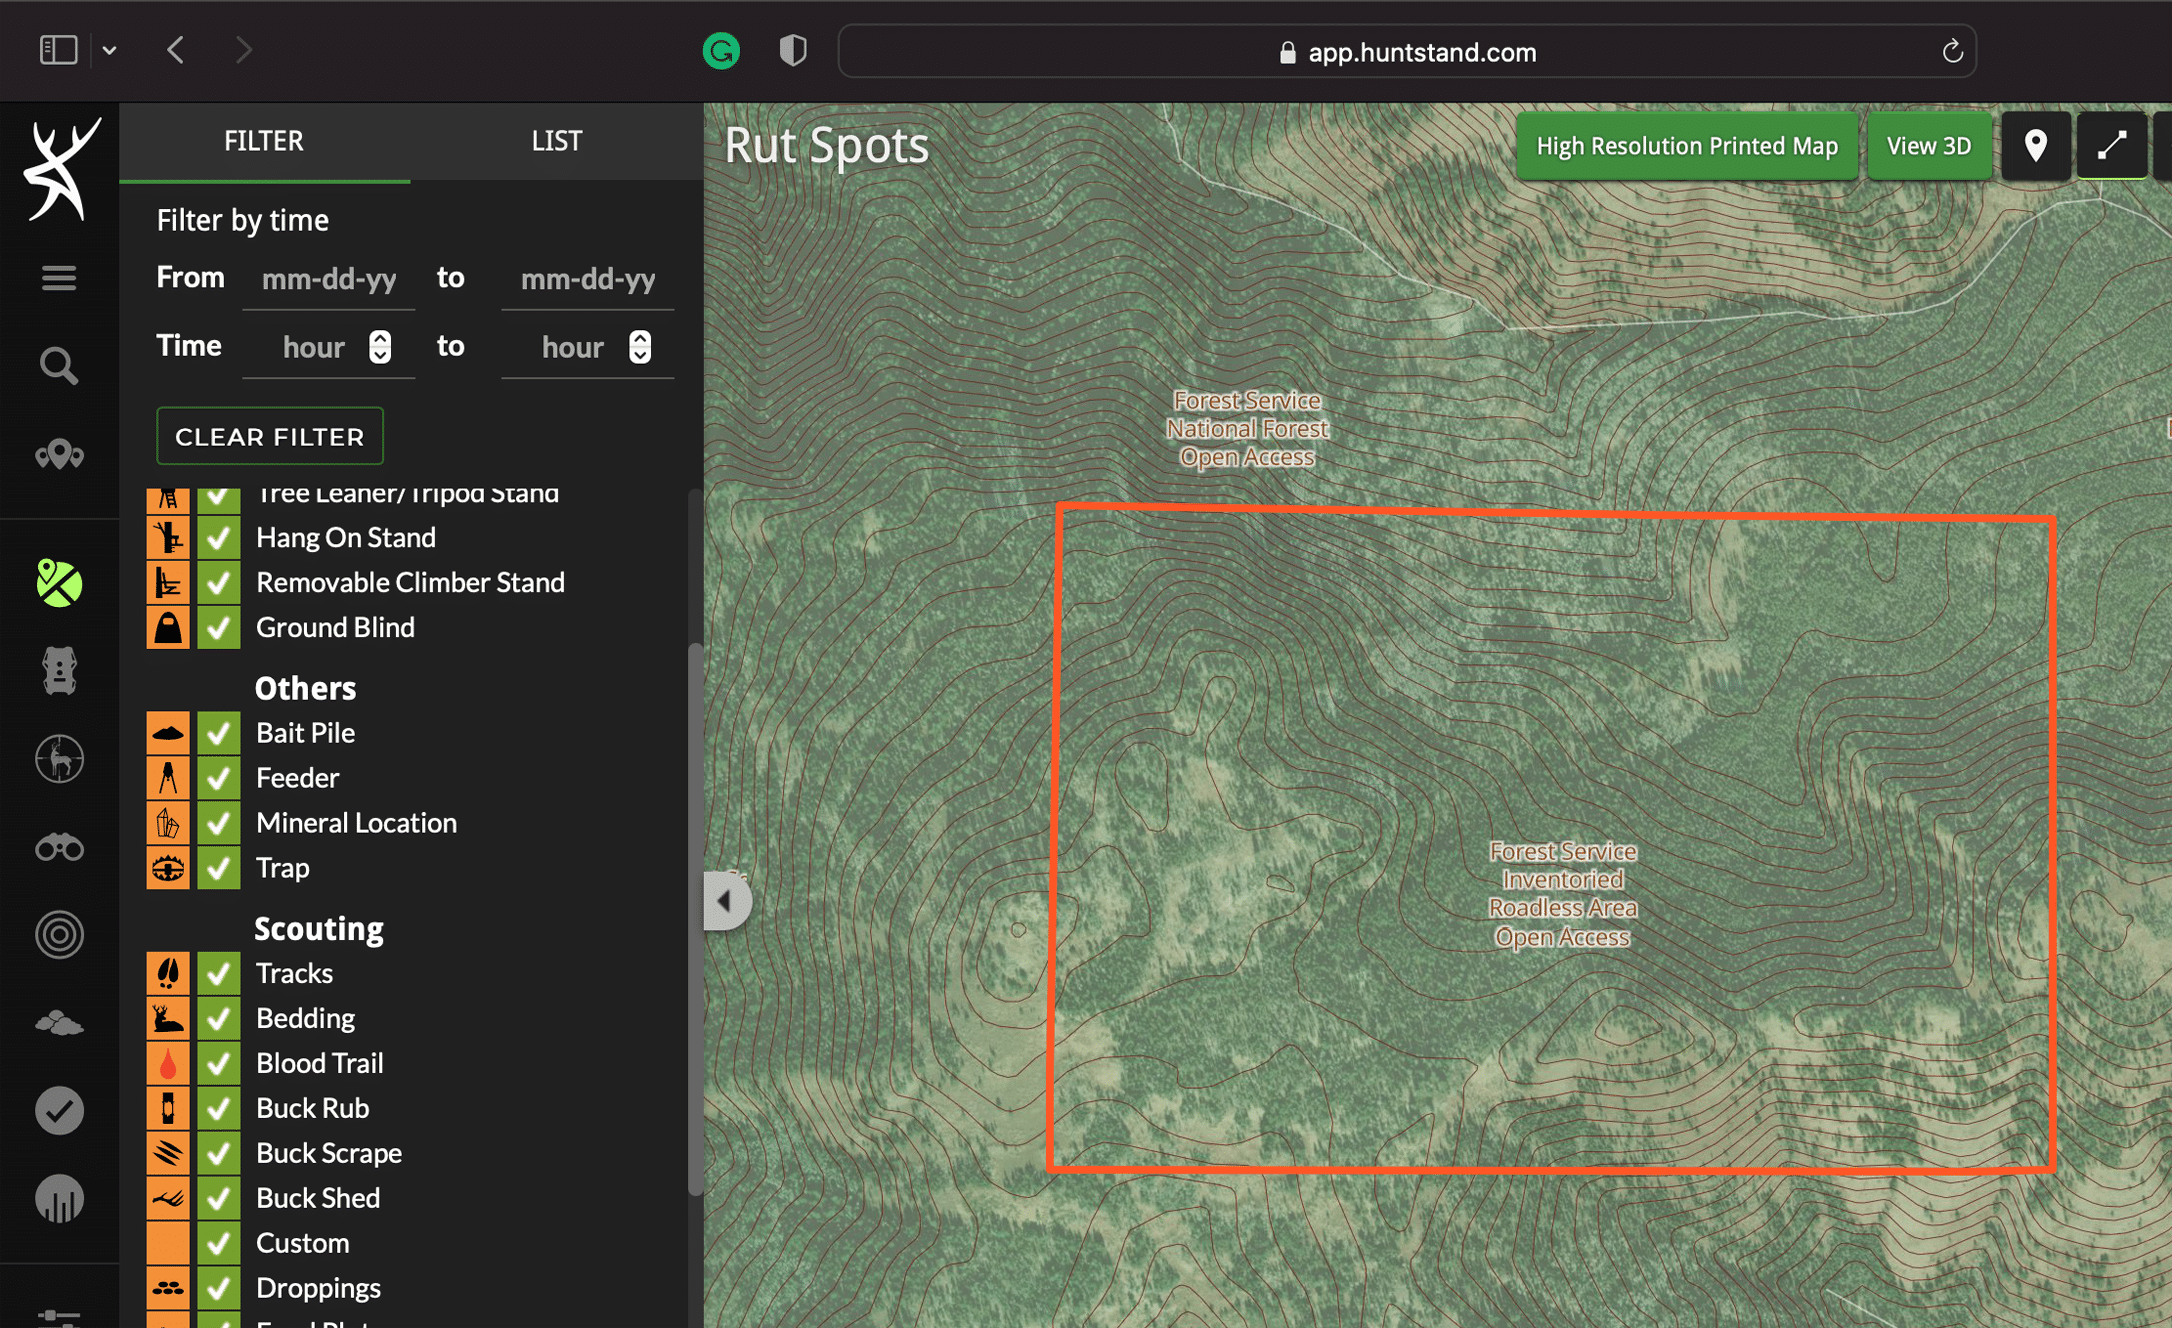
Roadless areas on forest-service lands are noted on HuntStand's Public Lands map layer. These isolated tracts hold less-pressured animals, if you’re willing to go the distance.
Roadless Areas and Overlooked Easy Access
Hundreds of articles have outlined the importance of getting away from roads and parking areas when discussing public-land deer hotspots. But the topic is evergreen and must not be ignored. In general, most average hunters aren’t willing to hike more than half of a mile. So diving in deep can put you amongst unpressured deer. Anywhere that deer feel more comfortable is a hotspot in my book. My goal is to find a way to hunt such locales, be it stationary, ground ambush, or via still-hunting.
How can you find those difficult-to-reach areas that most other hunters aren’t willing to access? HuntStand Pro. The app’s Public Lands map layer is a best bet. You can easily see roads and access points to public lands. Then, you can focus in on portions of a parcel that are free of roads and trails.
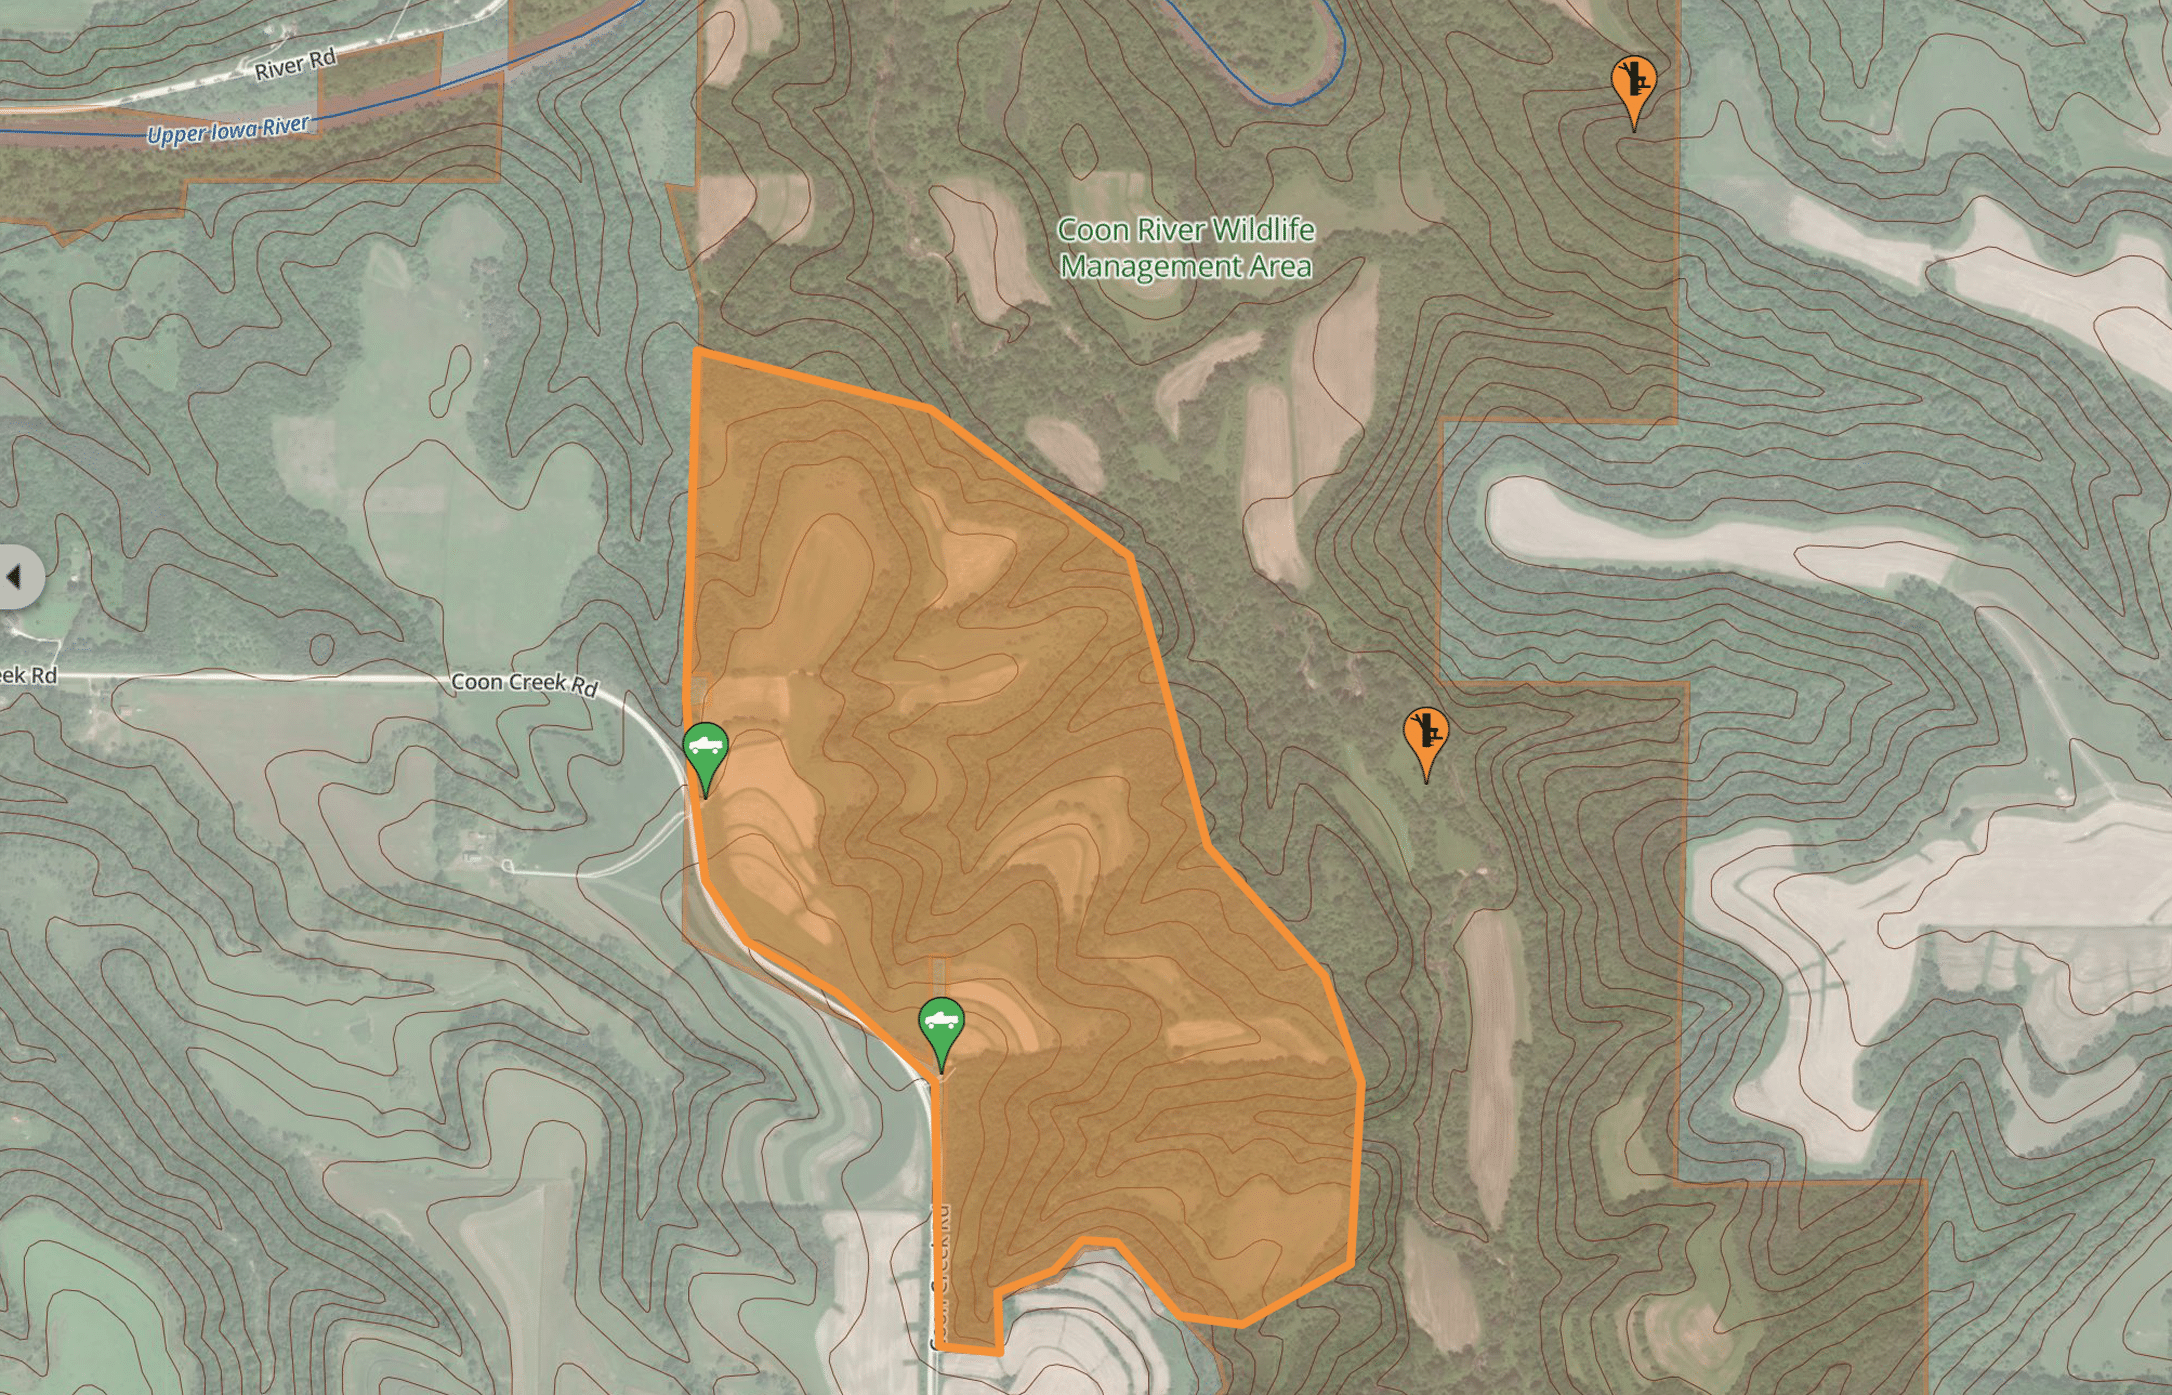
Use the Measure Shape tool to shade out public-land areas you believe will see most of the local hunting pressure. This makes it easier to peg some hotspots that most other hunters won’t reach.
HuntStand Measure Tools Help
When you locate prospects, I suggest using the Measure Line tool to measure how far they are from roads and parking areas. If they’re at least three fourths of a mile, then I get excited. Also, you’ll note that some forest-service lands on the Public Lands base map will read “Inventoried Roadless Area.” Pay close attention to those.
Of course, folks have proven that big bucks can be killed short distances from roads and parking areas, too. The key to unveiling potential opportunities in this realm is studying the app and identifying motorized and hiking trails that lead into the property. It’s a given that most folks will use major thoroughfares, and then dive off 200 yards or less from the trail before climbing a tree.
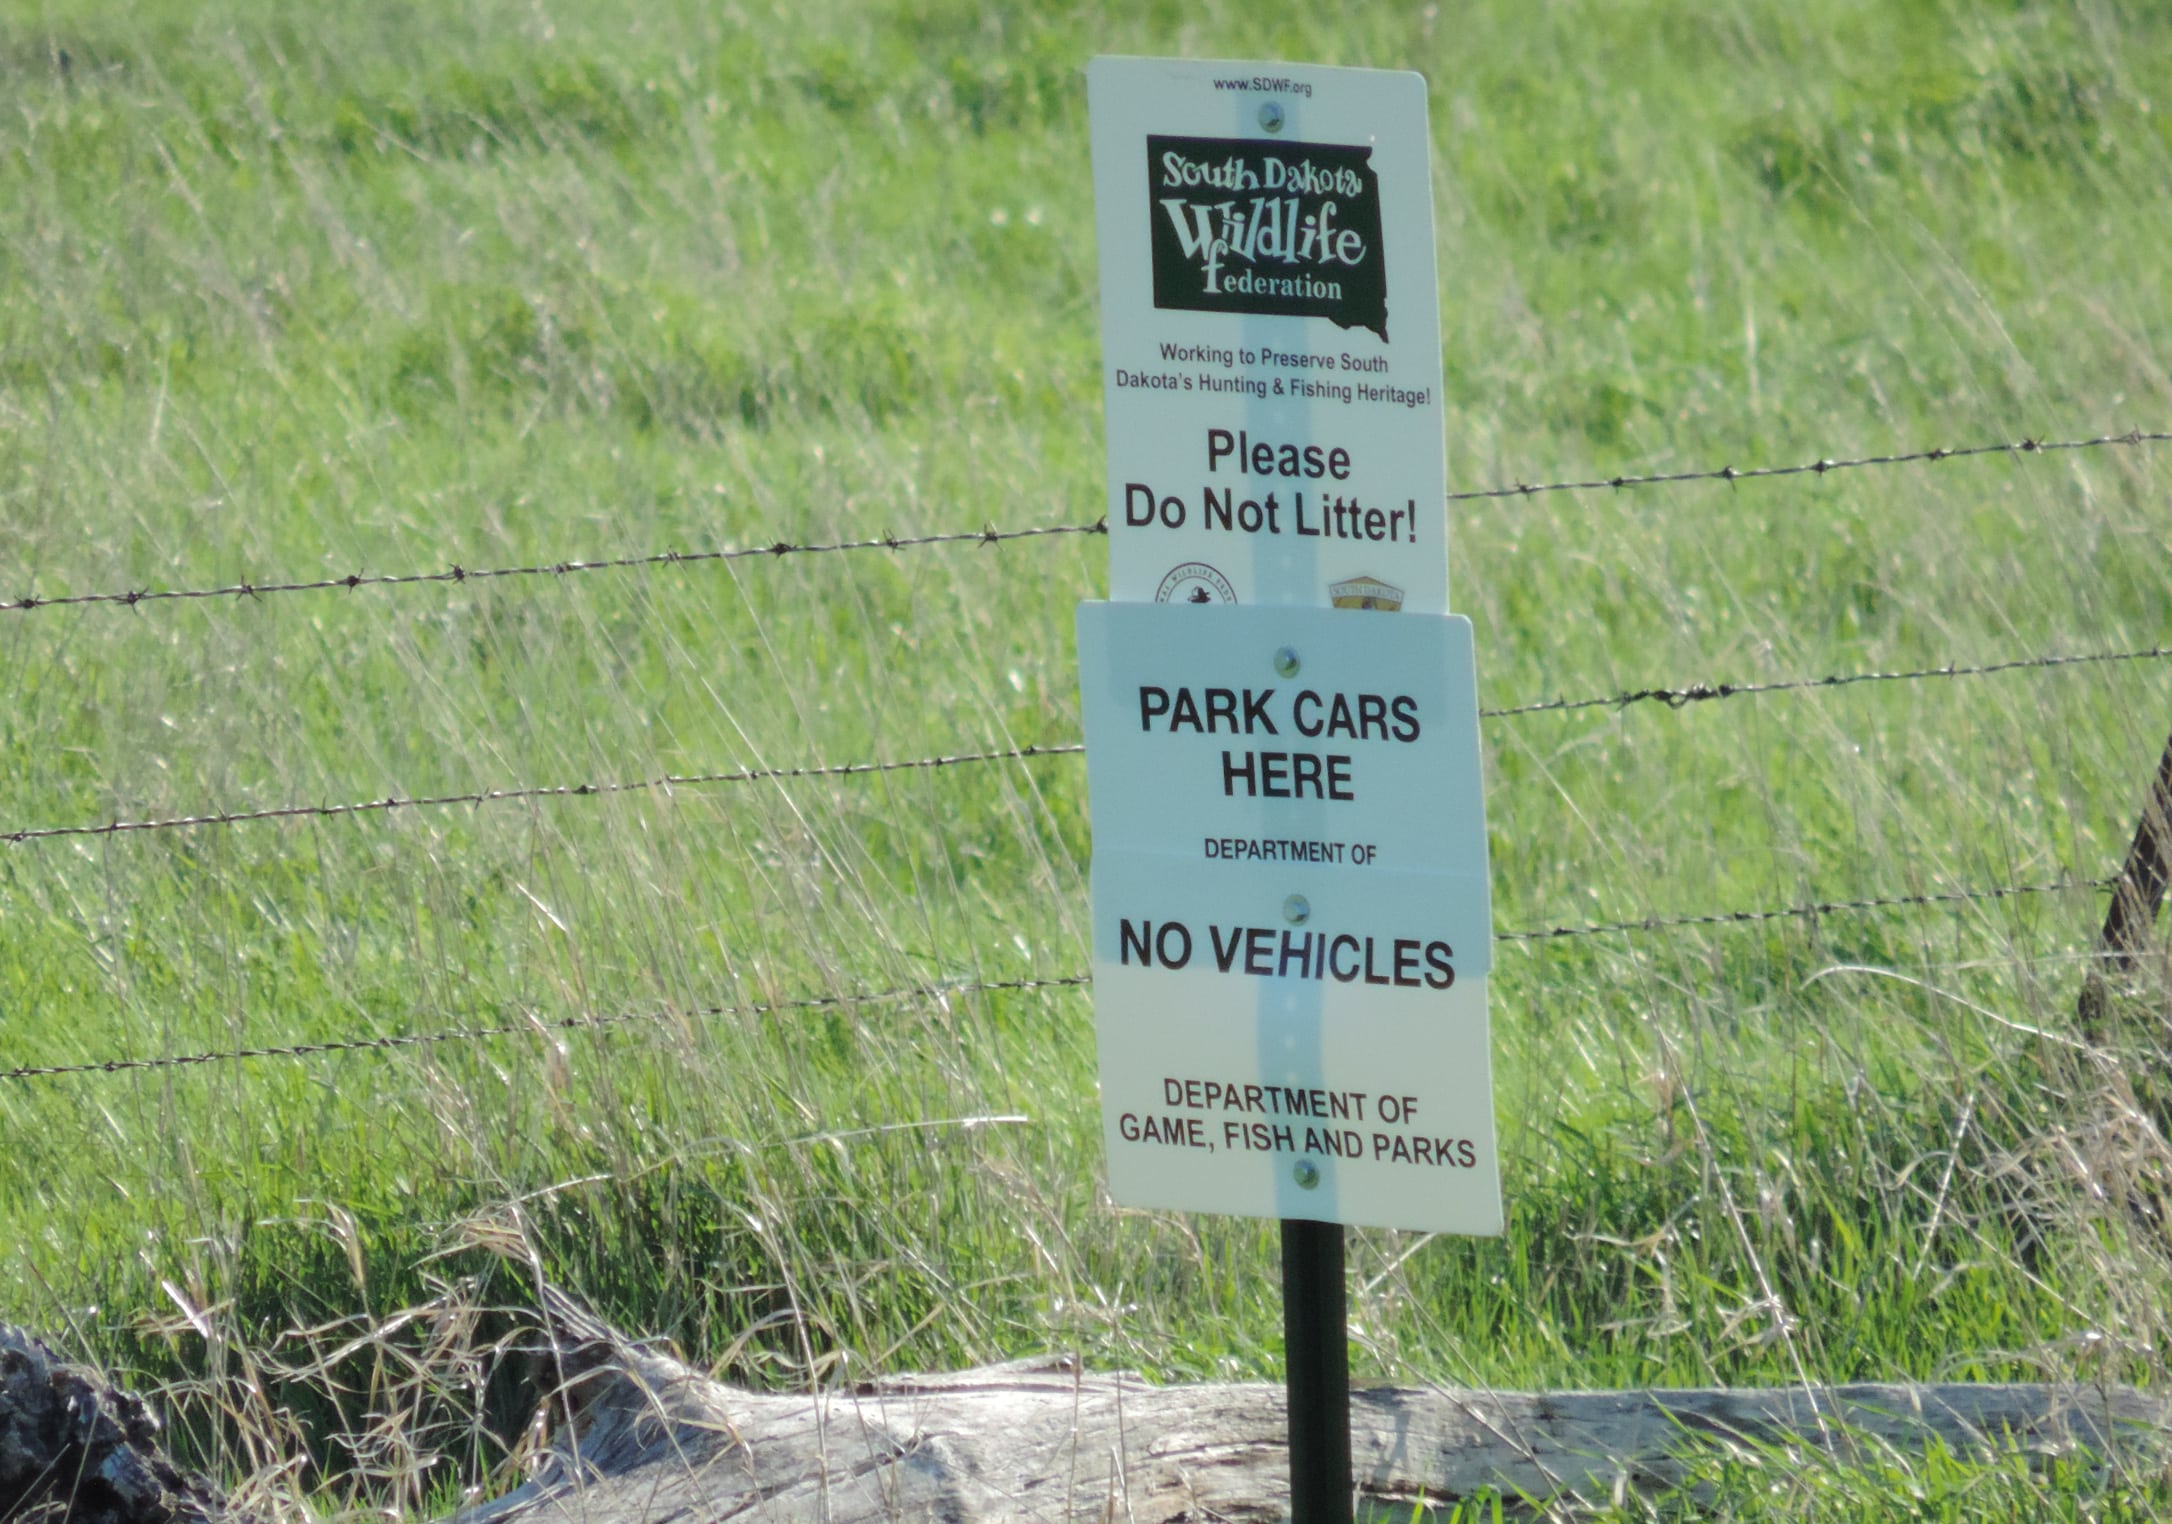
It's wise to look for areas in HuntStand's Public Lands layer that are far from designated parking areas and easy-access roadways.
Knowing this, you can predict pressure pretty accurately. I’d use the HuntStand Measure Shape tool to outline the entire trail, and a 200-yard buffer on either side of it. You can think of this as “pressure central.” Having that shape on the map helps you to see where you shouldn’t focus your attention. In addition, even if the habitat around the access trail looks great, the best hunting is usually had in other places with less foot traffic. Move on.
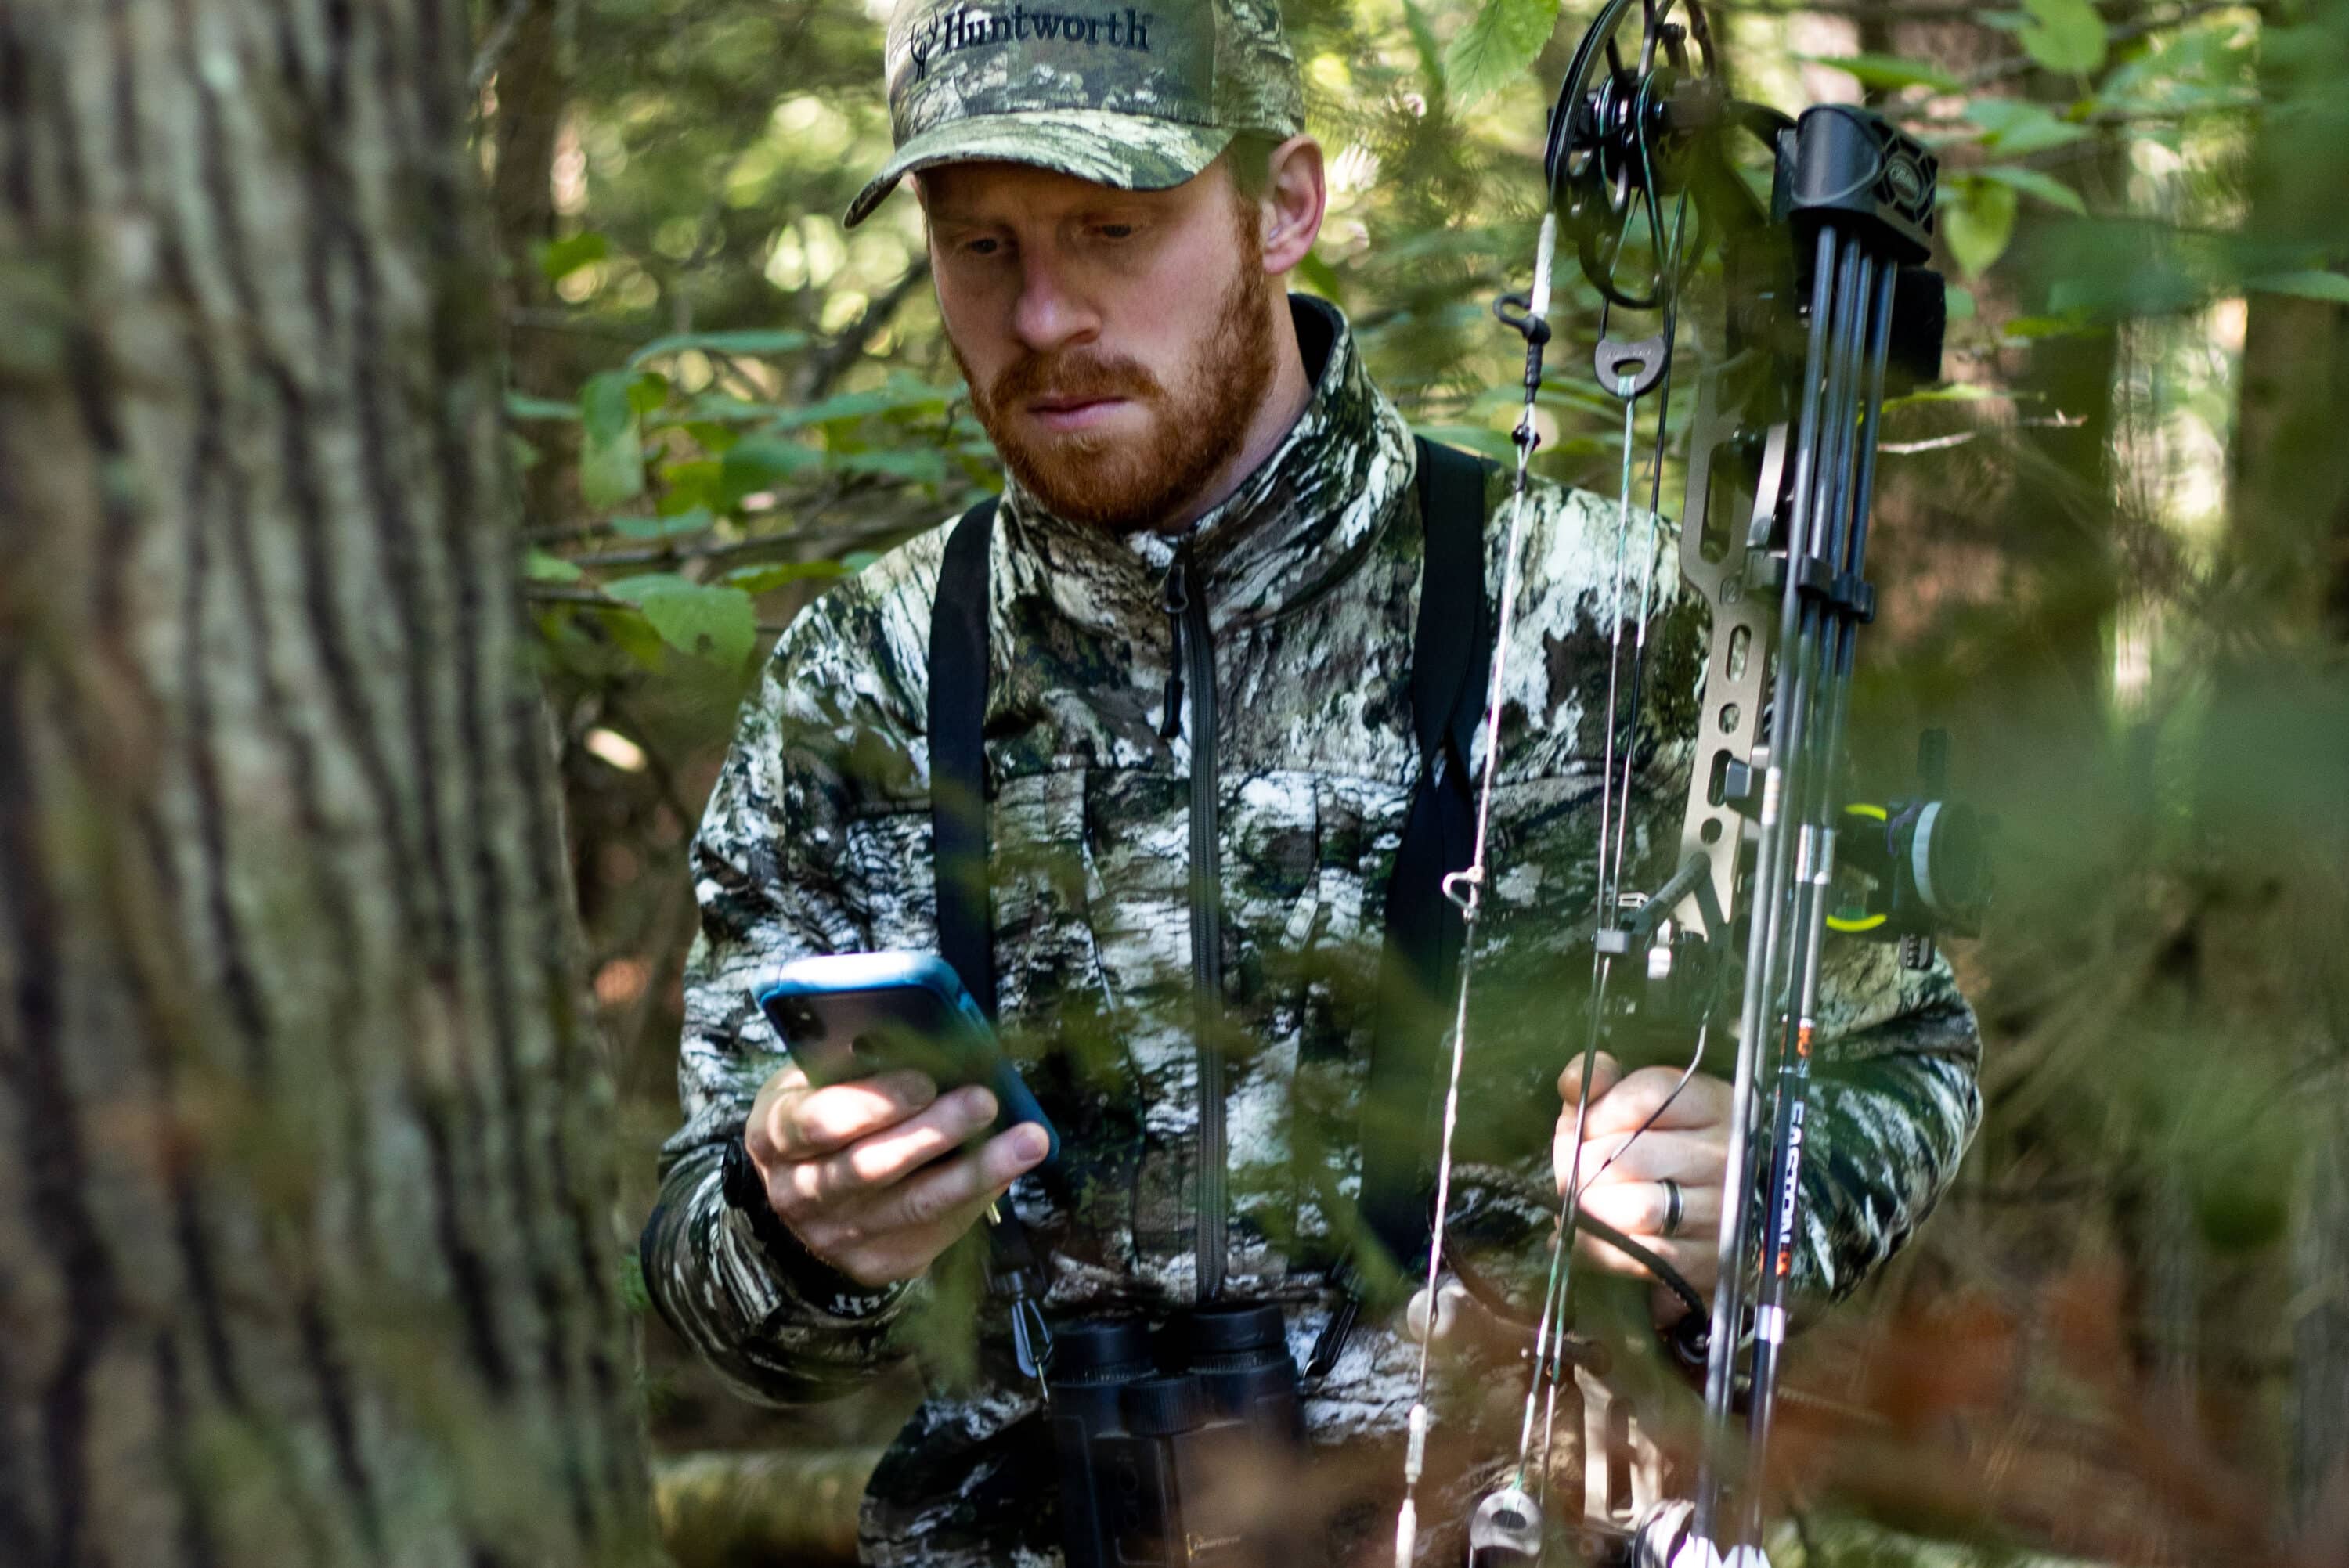
HuntStand Pro’s many features simplify the mapping of hotspots. You can use the different base map layers for different tasks, to get the best perspectives of the area without tromping around.
Using HuntStand Terrain and Tree Cover Layers
Instead, you can focus your attention on areas that will likely see far less pressure. I specifically study for land features where deer will likely cross a public roadway to get from private land to public, or vice versa. Let’s discuss an example.
Suppose that the parking area is in the wide open and that the trail heading into the parcel runs south toward some timber. It’s a given that most hunters will hike south to hunt that timber. However, there is a subtle tree-lined creek about 400 yards straight west of the parking area. Across the road on private land is a thick bedding area that you’ve identified using the Terrain and Tree Cover layers in HuntStand. These types of spots are almost always worth a look, as deer will travel back and forth across the road, especially during the rut. But, because there isn’t an easy trail heading to it, most hunters will overlook it. Plus, most hunters don’t want to hunt where they’re likely to see more vehicles than deer. So the competition usually isn’t terribly fierce.
Once you find either difficult access or overlooked easy access, home in on some specific land features. We’ll discuss those now, along with which HuntStand features are valuable in finding them.
Keep in mind that things might look a little bit different in person than on the HuntStand app, but you can save a lot of time and effort by using your phone first, before any boots-on-the-ground scouting.
Productive Ridges
Ridges can be hunting hotspots. First, winds are usually more consistent atop a ridge than anywhere below it. Also, many ridges across the whitetail’s range serve as natural thoroughfares. This is especially true if the ridge leads to a food source, or if the ridge itself holds grub in the form of hard mast.
As for mapping productive ridges, HuntStand Pro offers four different layers that can help. The 3D Map is unquestionably a killer option, and it will give you the most-commanding perspective of the ridge or ridge system. You’ll also be able to identify little benches and shelves where deer might bed on sidehills beneath the ridge.
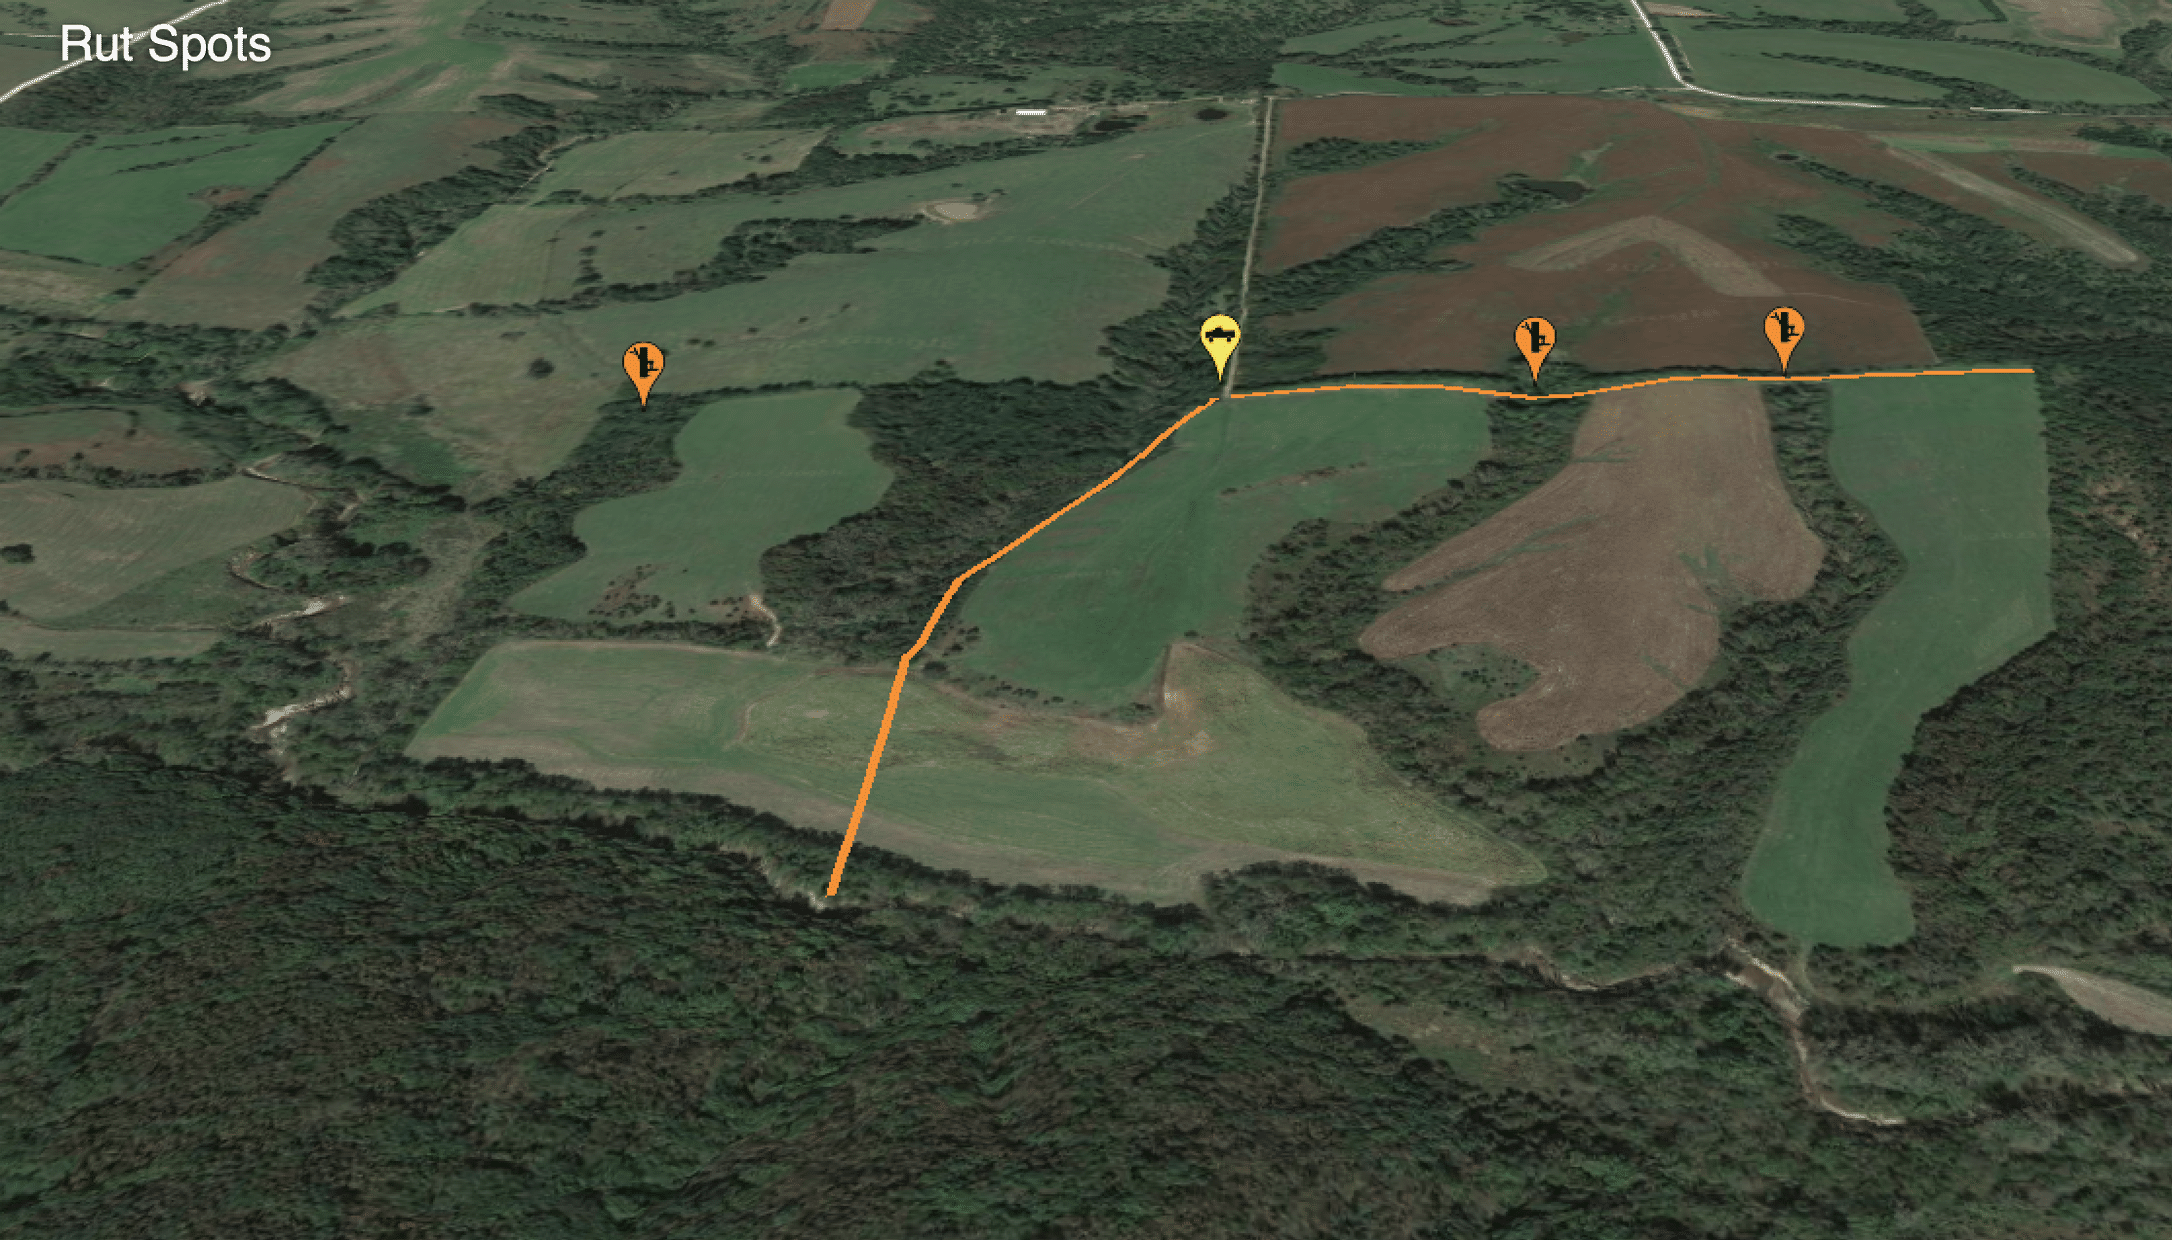
The orange line tracks walking trails that head out from the public-land parking area (shown in yellow) toward the largest blocks of timber. Most hunters will hike to either the south or east, and hunt the big timber. But, how many hunters would think of hiking straight west to hunt the smaller tract of timber that adjoins private land, or the two little fingers east of the parking that most hunters would walk right by? This HuntStand Pro aerial view offers instant clues to success.
HuntStand Map Layers to Tap
Next, you might want to utilize the Contour, Terrain and Quad Topo layers to get multiple perspectives of the ridge/ridge system in question. Alternate between the maps. I find the 3D Map most helpful, but you might find the other layers helpful, too. The best part is that all are at your fingertips in HuntStand Pro.
When scouting ridges on HuntStand, also scout for access. If you’ll be hunting the ridge in the morning, avoid any potential feeding areas as you hike in to hunt. Similarly, if hunting the ridge in the afternoon, avoid benches and thick areas along the sidehills, as deer usually bed in these. Deer like to take advantage of the wind, and also to escape the sunshine (early season when it’s hot) or to soak it up (during late season in cold temps). Well-planned access is as important as the tree you hang your stand in.
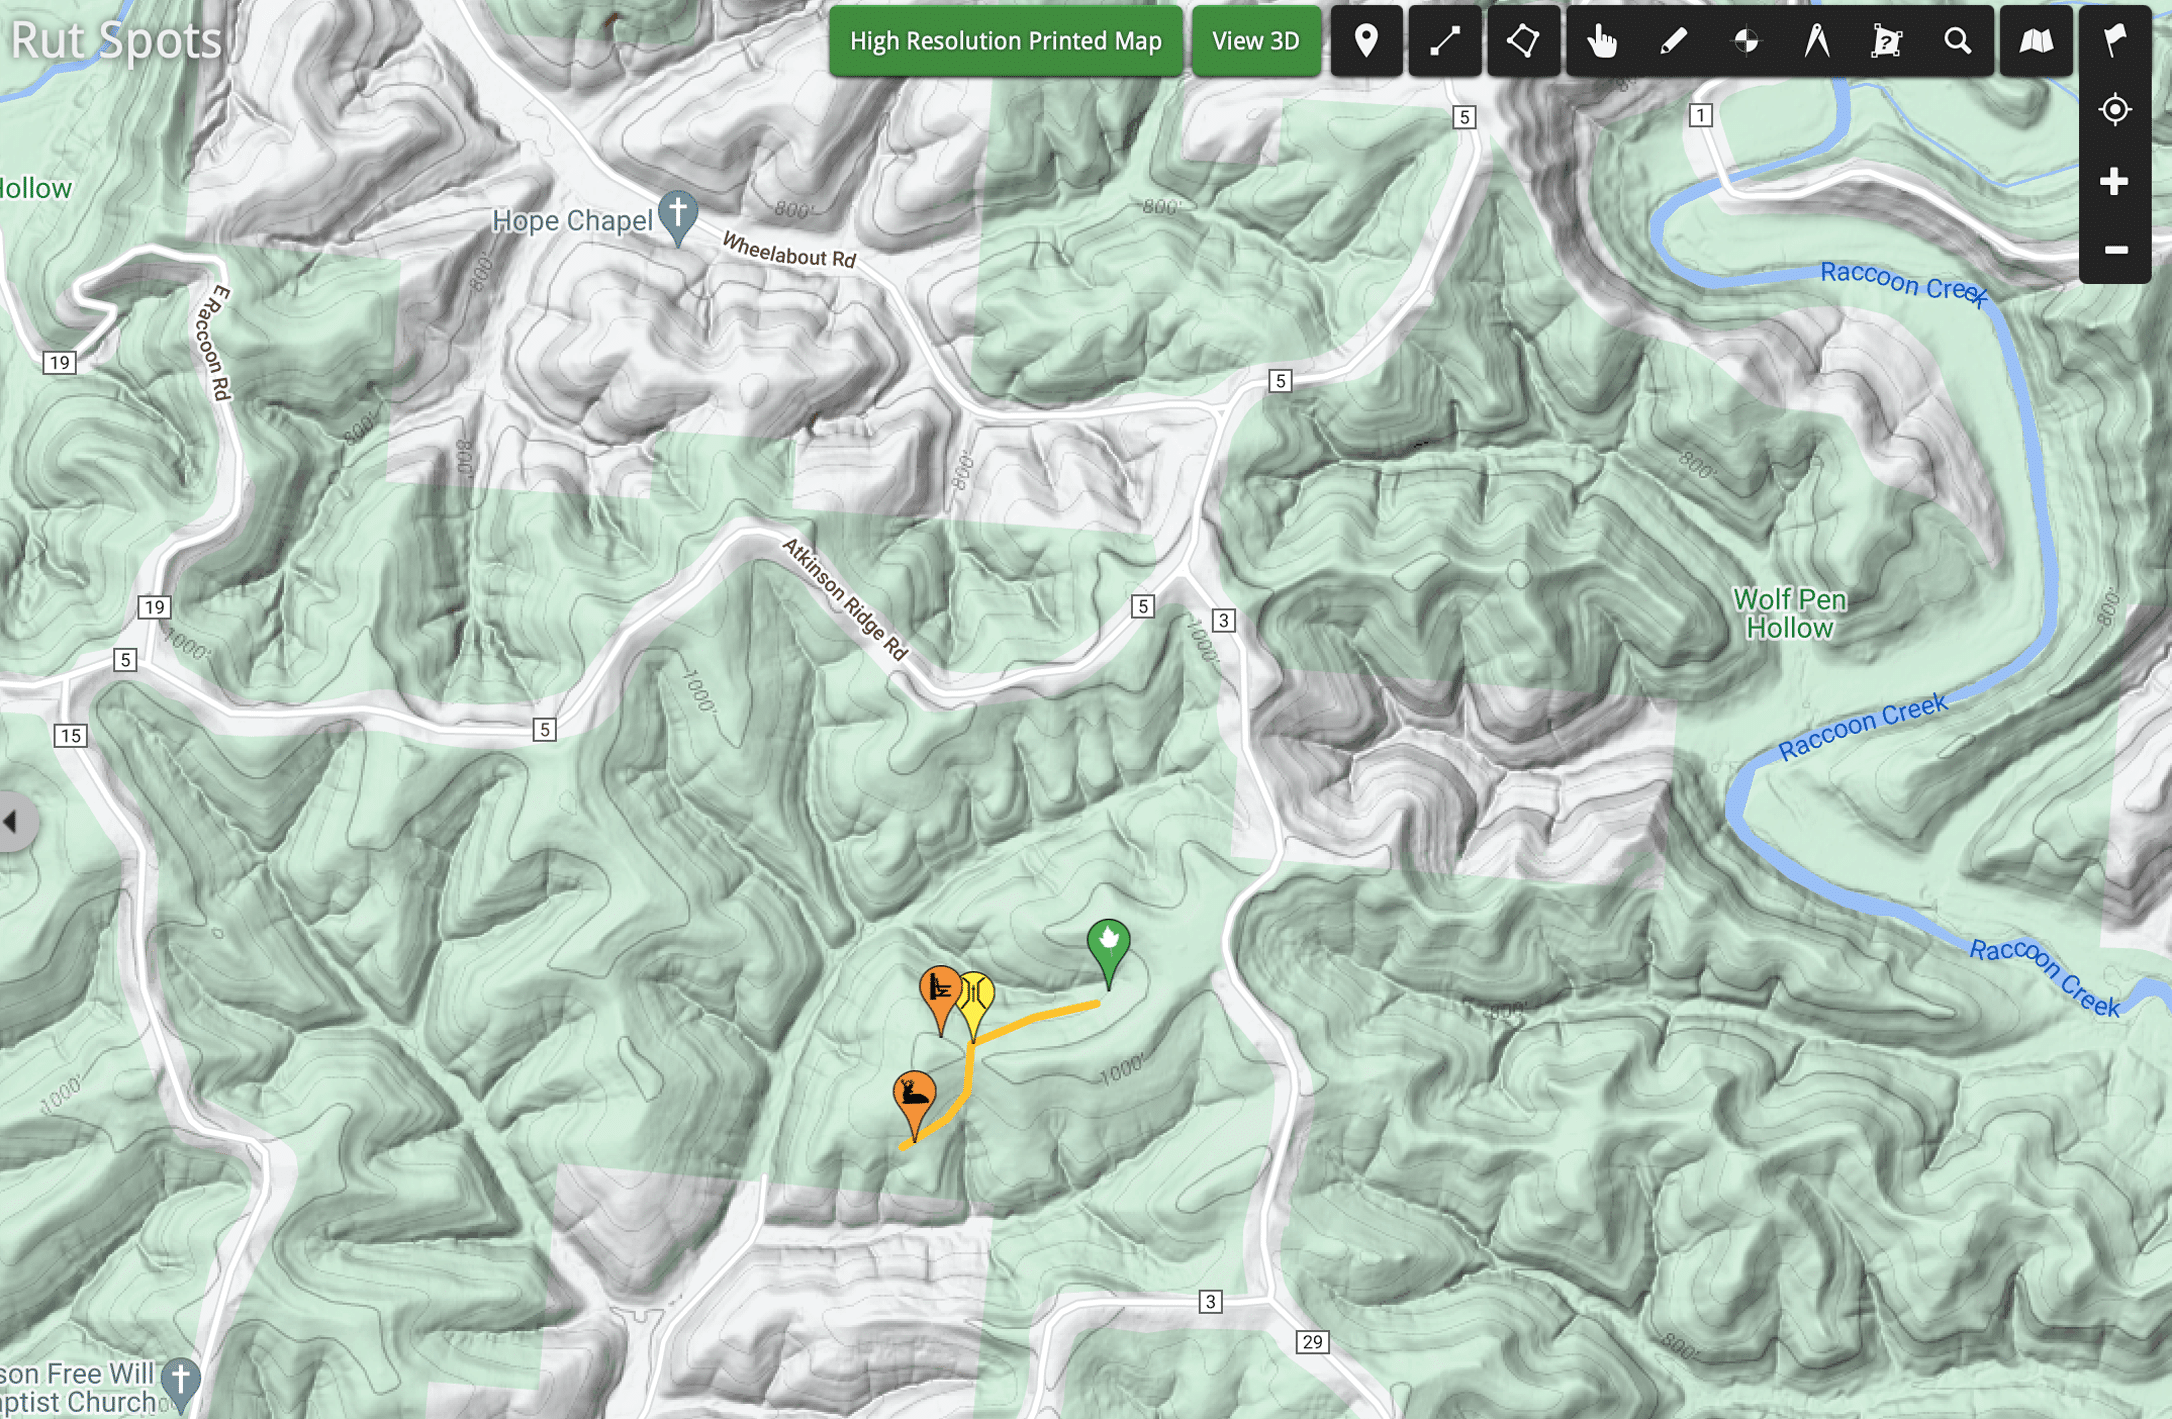
The HuntStand Quad Topo layer is a great way to find promising ridges, as well as saddles like this one that cuts through the ridge. Saddles can be deer-funneling hotspots.
Deer-Funneling Saddles
Sometimes hunting directly on a ridge is best, and sometimes it isn’t. Look for a “sag” in the ridge where deer might travel from one hillside to another, without exposing themselves on the ridge top. A saddle is easy to identify, both in person and on the app. I like to begin with either the Quad Topo map or the Terrain map layer. A continuous ridge on these layers appears as an undisrupted line, but when a saddle occurs, you’ll notice the low spot disrupts the otherwise continuous ridge line.
Once I identify a saddle, I switch to HuntStand Pro’s Property Info layer and then the 3D Map. I want to see what necessities — bedding cover, food sources, water sources, etc. — are nearest to the saddle. In addition, I want to know what’s on adjacent private lands. In other words, why would deer use the saddle? If I pin down enough info that I feel good about it, I like to physically visit it. Maybe I’ll just scout it, or maybe I’ll go ahead and hunt it immediately. I did this recently in Iowa, when I had a few does and a good-looking 3 1/2-year-old buck cruise by at 30 yards on my first outing.
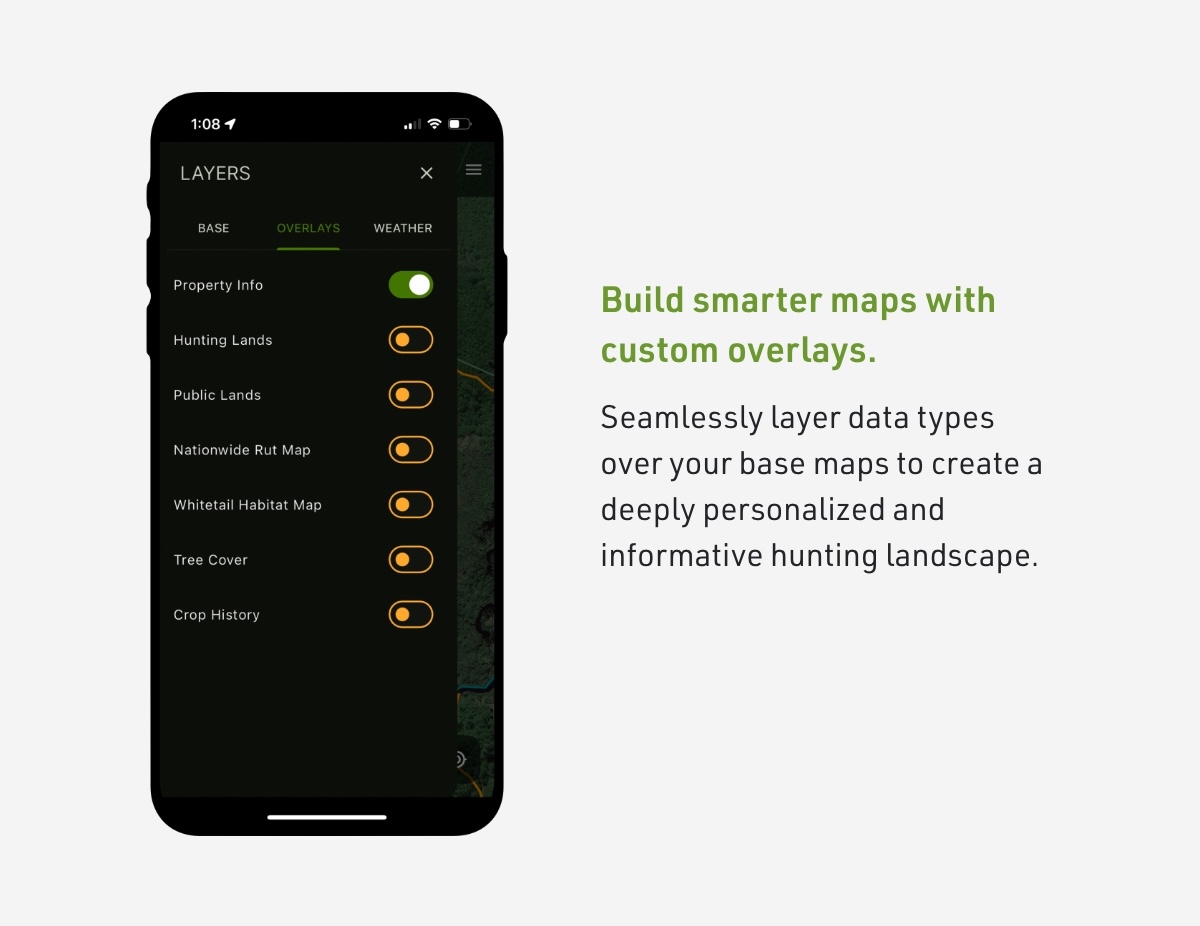
Pinches and Funnels
Terrain features that funnel deer can be extremely productive hunting locations. However, I want to emphasize that most stand out like sore thumbs to anyone with a mapping app. I mean, a wagon-wheel series of draws with a common hub, or a classic “hourglass” (strip of trees connecting two large bedding areas) rarely go unnoticed. Especially, if they’re easily accessible from roads or parking areas. That’s why I prefaced this article with pegging roadless areas or overlooked easy access. Don’t always jump at the terrain funnels that immediately stand out on the map. Instead, look for obscure, overlooked or tough-to-reach funnels.
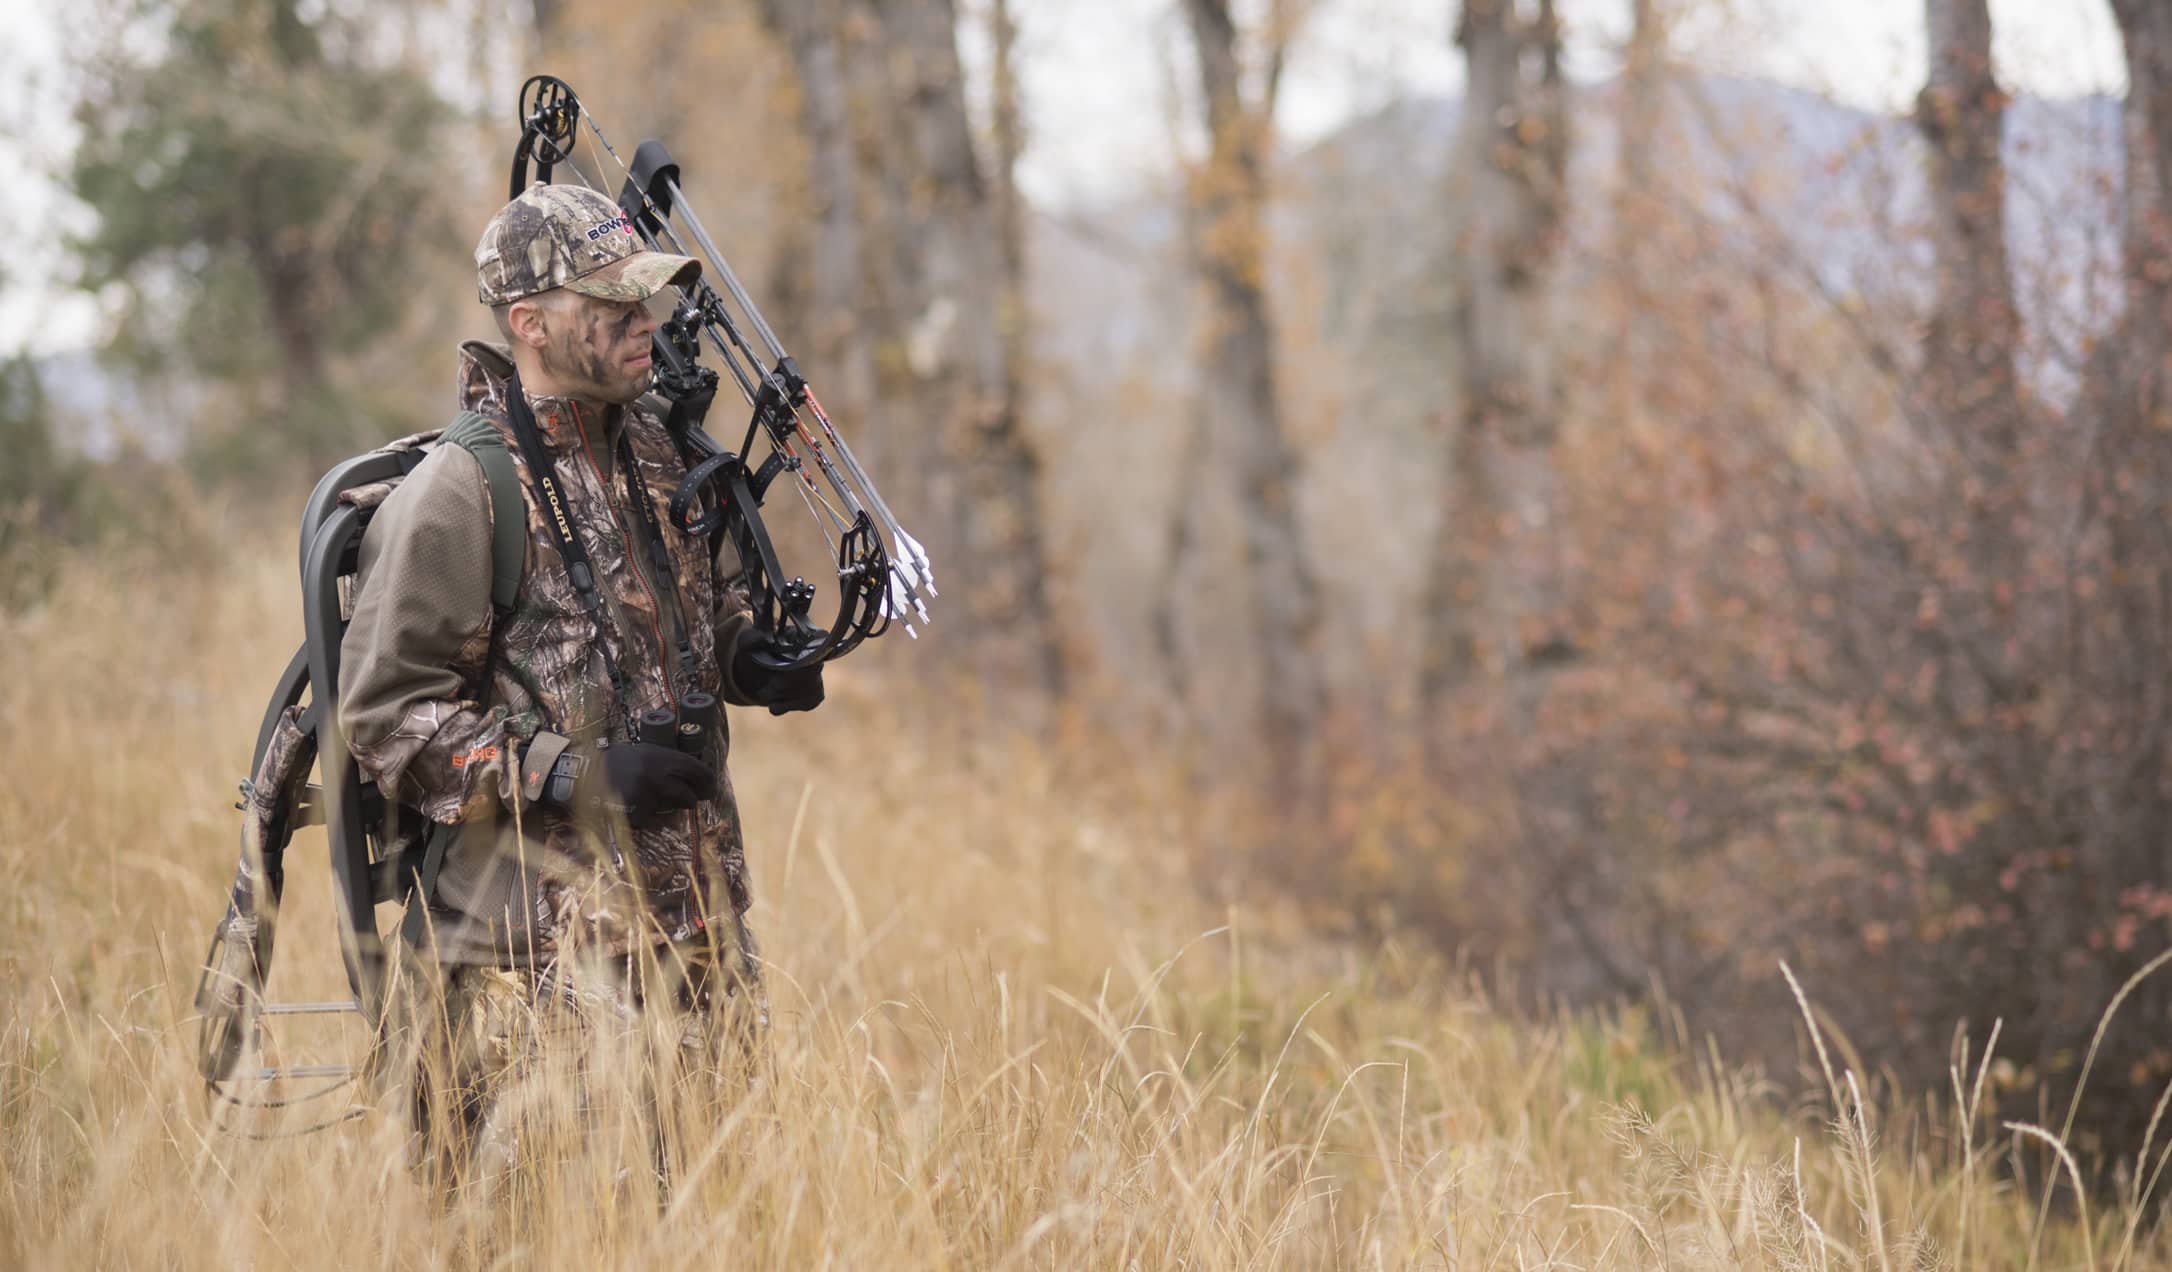
Regularly successful public-land hunters share a common attribute: Adaptability. On public lands, you’re only one hunter or recreationist away from a ruined hunt, and so you must be ready to adapt on the fly. HuntStand Pro makes the "regroup" process fast and easy.
Now, funnels on flatter ground are typically visible with any of HuntStand’s satellite base maps. However, when the area has topography, don’t forget to reference the Quad Topo map. This layer can help you identify things unnoticeable on the satellite map. Examples include the top of a ditch, or a flat shelf between a steep hill and a river-bank drop-off.
Obscure Food Sources
On public lands with wildlife plantings, hunters flock to the plots and fields. Often, it’s because those areas have the most sign, which is a direct result of most deer in the area feeding there. However, in my experience, deer sightings are few, if any. Why? Those areas typically have upwards of 80% of the local hunting pressure — everyone wants to hunt over deer sign. In turn, that causes most deer, especially mature bucks — to feed there nocturnally. I’ve run trail cameras in such locations. Mature buck photos aren’t hard to come by, but they’re almost always nighttime photos.
“If you notice a swatch of missing timber when you switch from the regular satellite maps to the Monthly Satellite map, you’re probably looking at a fresh clearcut. And that is a potential hotspot, either now or in the near future.”

Darron McDougal
HuntStand ProFor that reason, you need to get more creative and identify other food sources that are less obvious to the general public. I’m talking about fruit trees, hard mast and regrowth from clearcuts. Unfortunately, there isn’t a way to peg fruit trees on the app. However, a good tip is comparing satellite views of known evergreens, and known hardwood timber. You should be able to tell the difference in most cases while satellite-scouting a public property. Where there’s hardwoods, there’s potential for oaks and, thus, acorns.
HuntStand’s Whitetail Activity Forecast Tool
Clearcuts and Monthly Satellite Imagery
Clearcuts are blatantly obvious on HuntStand’s satellite base maps. Within several months and lasting for at least a few years afterwards, regrowth from clearcuts can be a wildlife magnet. Of course, it can be difficult to tell just how old a timber cut is. But, the key is to study the satellite map of the public property first, and then reference the Monthly Satellite Imagery map. The regular satellite maps are usually outdated, but the Monthly Satellite Imagery layer updates on the seventh of every month. So, if you notice a swatch of missing timber when you switch from the regular satellite maps to the Monthly Satellite map, you’re probably looking at a fresh clearcut. And that is a potential hotspot, either now or in the near future.
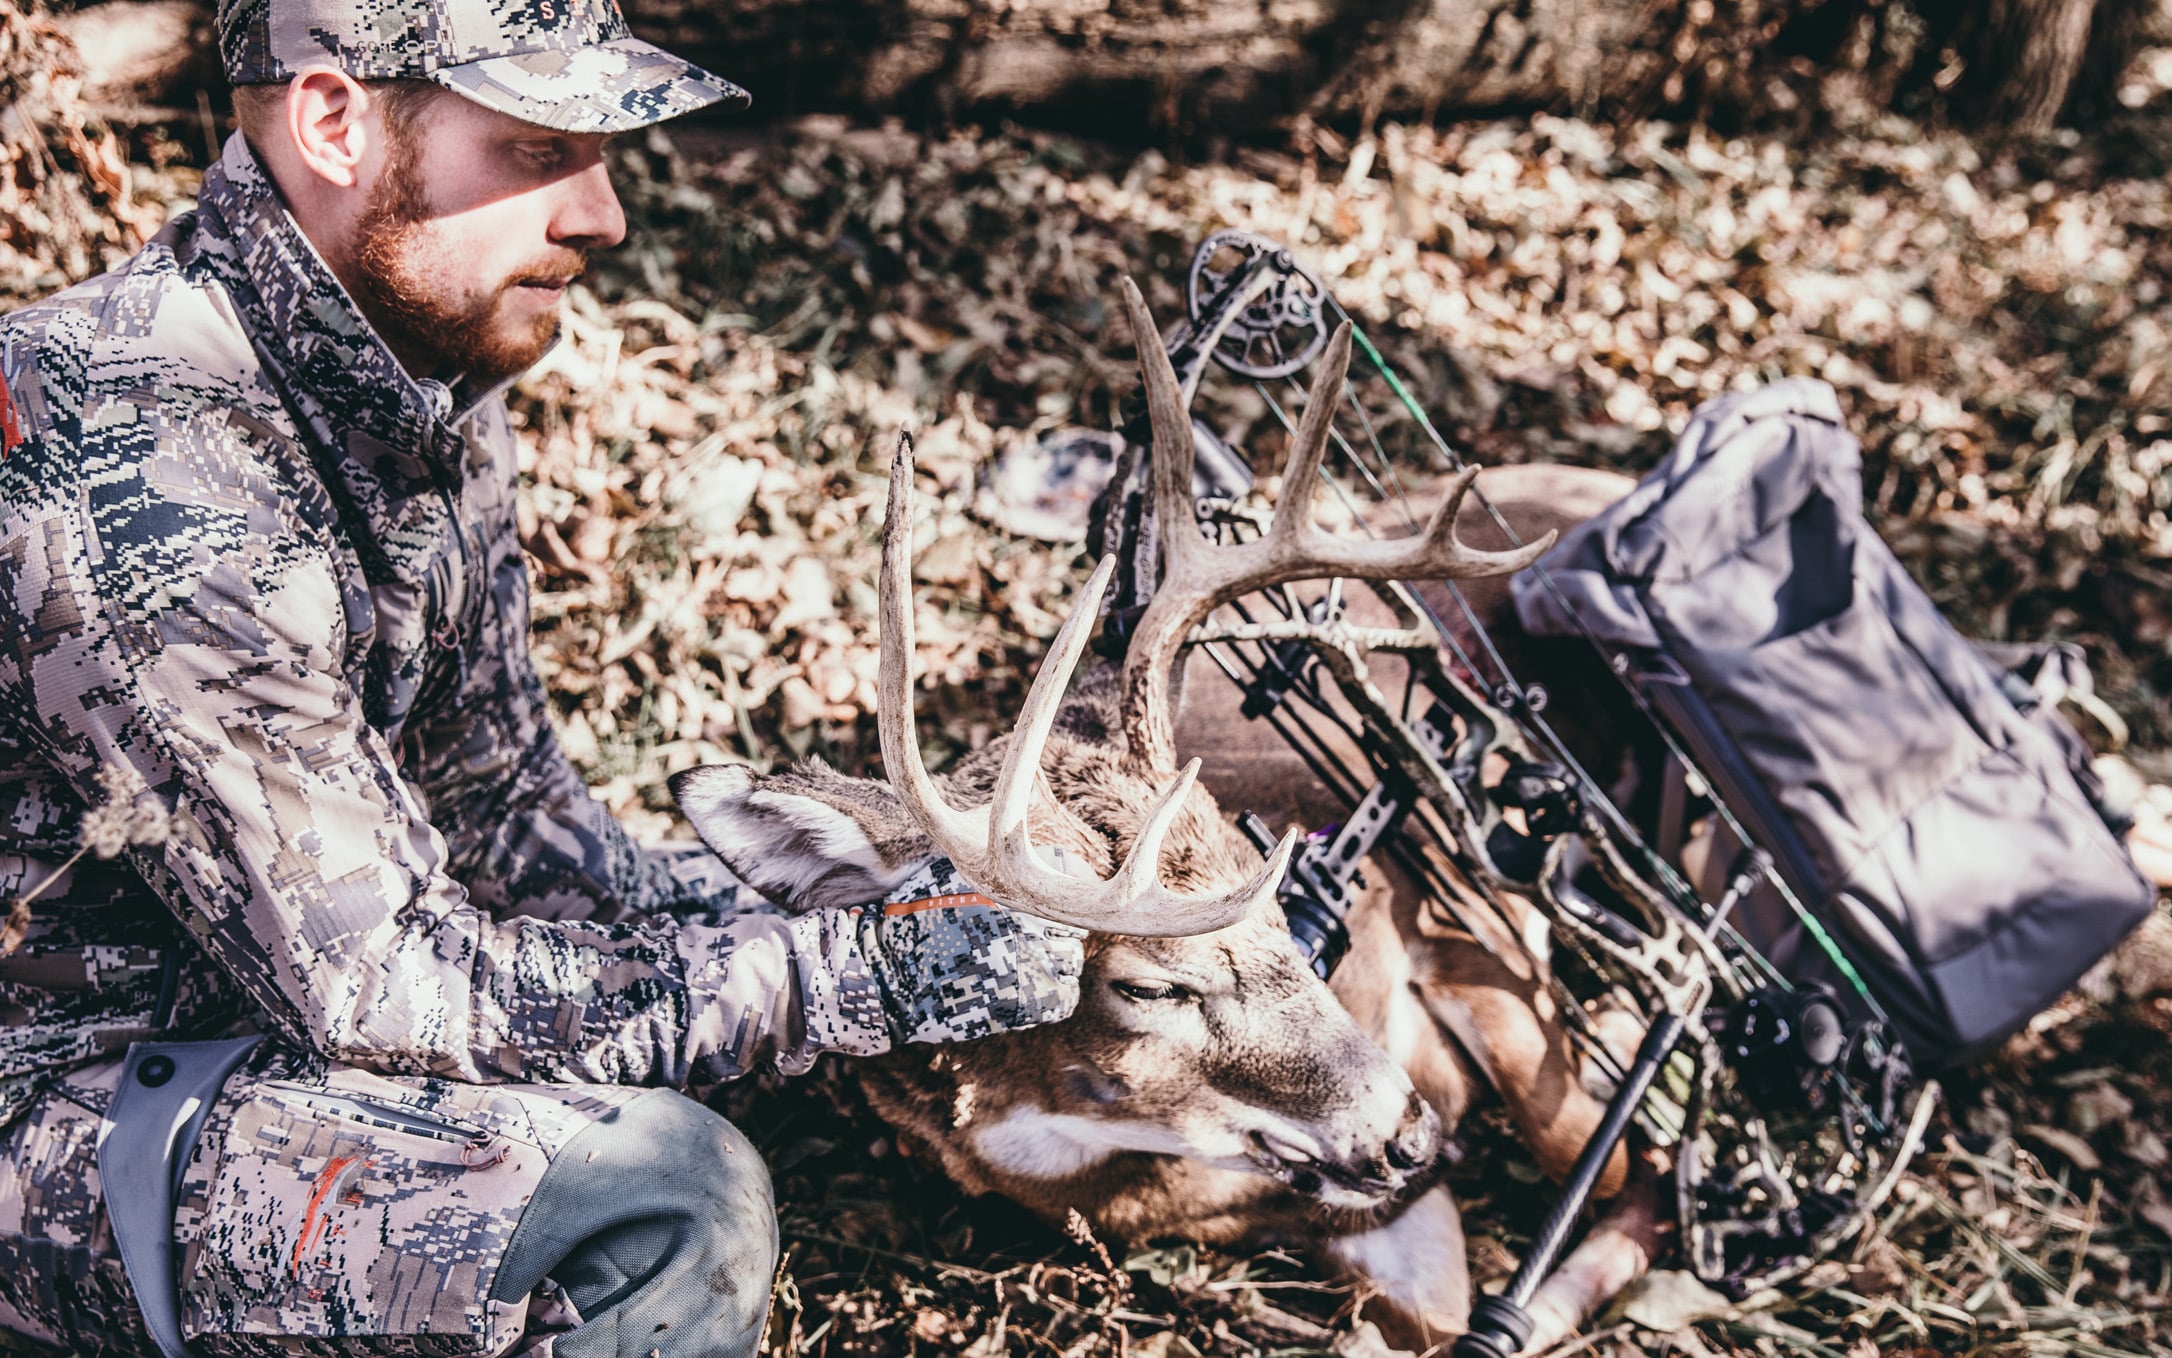
With help from HuntStand Pro the author arrowed this decent public-land whitetail a short distance from a public roadway in an overlooked, yet highly accessible location.
The Takeaways
No, HuntStand Pro won’t put a screamer buck in your shooting lane 20 yards away. You’ll still have to work very hard and adapt to experience opportunities — as all regularly successful public-land hunters do. However, the tools at your fingertips will instantly simplify the scouting picture. And when your initial plans are upset by something unplanned (remember, it’s public land), you can hop on your smartphone and find some potential hotspots on the fly.
And after all of that, when it comes time to hop into your stand, don’t forget to harness the potential of HuntStand’s HuntZone. It gives you a 72-hour advance perspective of wind speed and direction, so you can plan the best locations to hunt on any specific day. After experiencing the power of HuntStand Pro while pinpointing and hunting public-land deer hotspots, I’m not willing to leave all of these advantages out of my hunting program. Are you?
From my experience, HuntStand Pro offers many powerful features that positively impact my day-to-day hunting, but one of my absolute favorites is HuntStand Pro’s Monthly Satellite imagery. I’ve got plenty of reasons for this but a great example stems from a hunt I experienced several years ago in Oklahoma. My jaw dropped when I arrived that fall to hunt a chunk of that state’s public dirt. Here’s why. One year prior, I arrowed my best buck with a bow there, and saw two other hammers. The landscape teemed with crops, especially soybeans. And those soybeans had been a deer magnet.
However, this trip to my Sooner State hotspot was different. Very different. What had been booming soybean and corn fields the year before, were now nothing but sky-high grasses. Previously beaten-down trails now appeared to be virtually untraveled. Why was everything so different? Well, the habitat had taken a major slide — due to unforeseen spring flooding. The flooding had apparently decimated the crops before they even had a chance to grow.
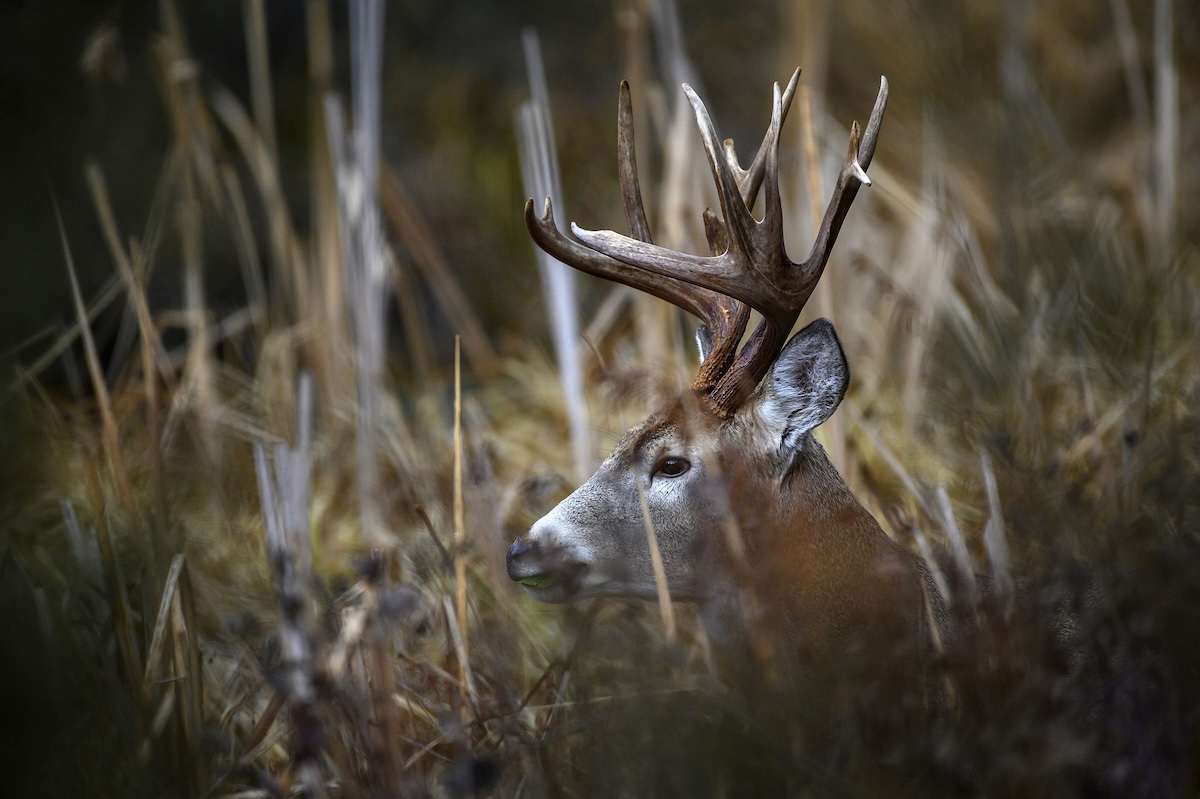
Anticipate how deer will react to changes on the landscape.
Hard-Earned Lesson
I don’t have to be told public-land hunting is almost always difficult, but it was obvious that the big habitat change had compounded the difficulty. In fact, I struggled to see a deer — any deer — during a week of pounding the Oklahoma whitetail woods. If I’d known things had changed so drastically, I could’ve tempered my expectations — and spent more time strategizing and developing back-up plans.
Fortunately, HuntStand Pro now makes it possible to peg notable habitat changes on a regular basis. With HuntStand’s Monthly Satellite Imagery feature, you can see important changes to the landscape without physically visiting your hunting location. For dedicated hunters, this is huge. You won’t see everything, but you’ll see most of the big things. It’s especially beneficial to hunters who cannot frequently visit a hunting lease, or those public parcels located a few hours away or farther. However, even if your property is just 10 minutes away, you could potentially benefit from this special capability.
Let’s discuss the many benefits of Monthly Satellite Imagery, and how this HuntStand Pro-exclusive feature can be a huge asset for identifying shifting domains. Follow along.
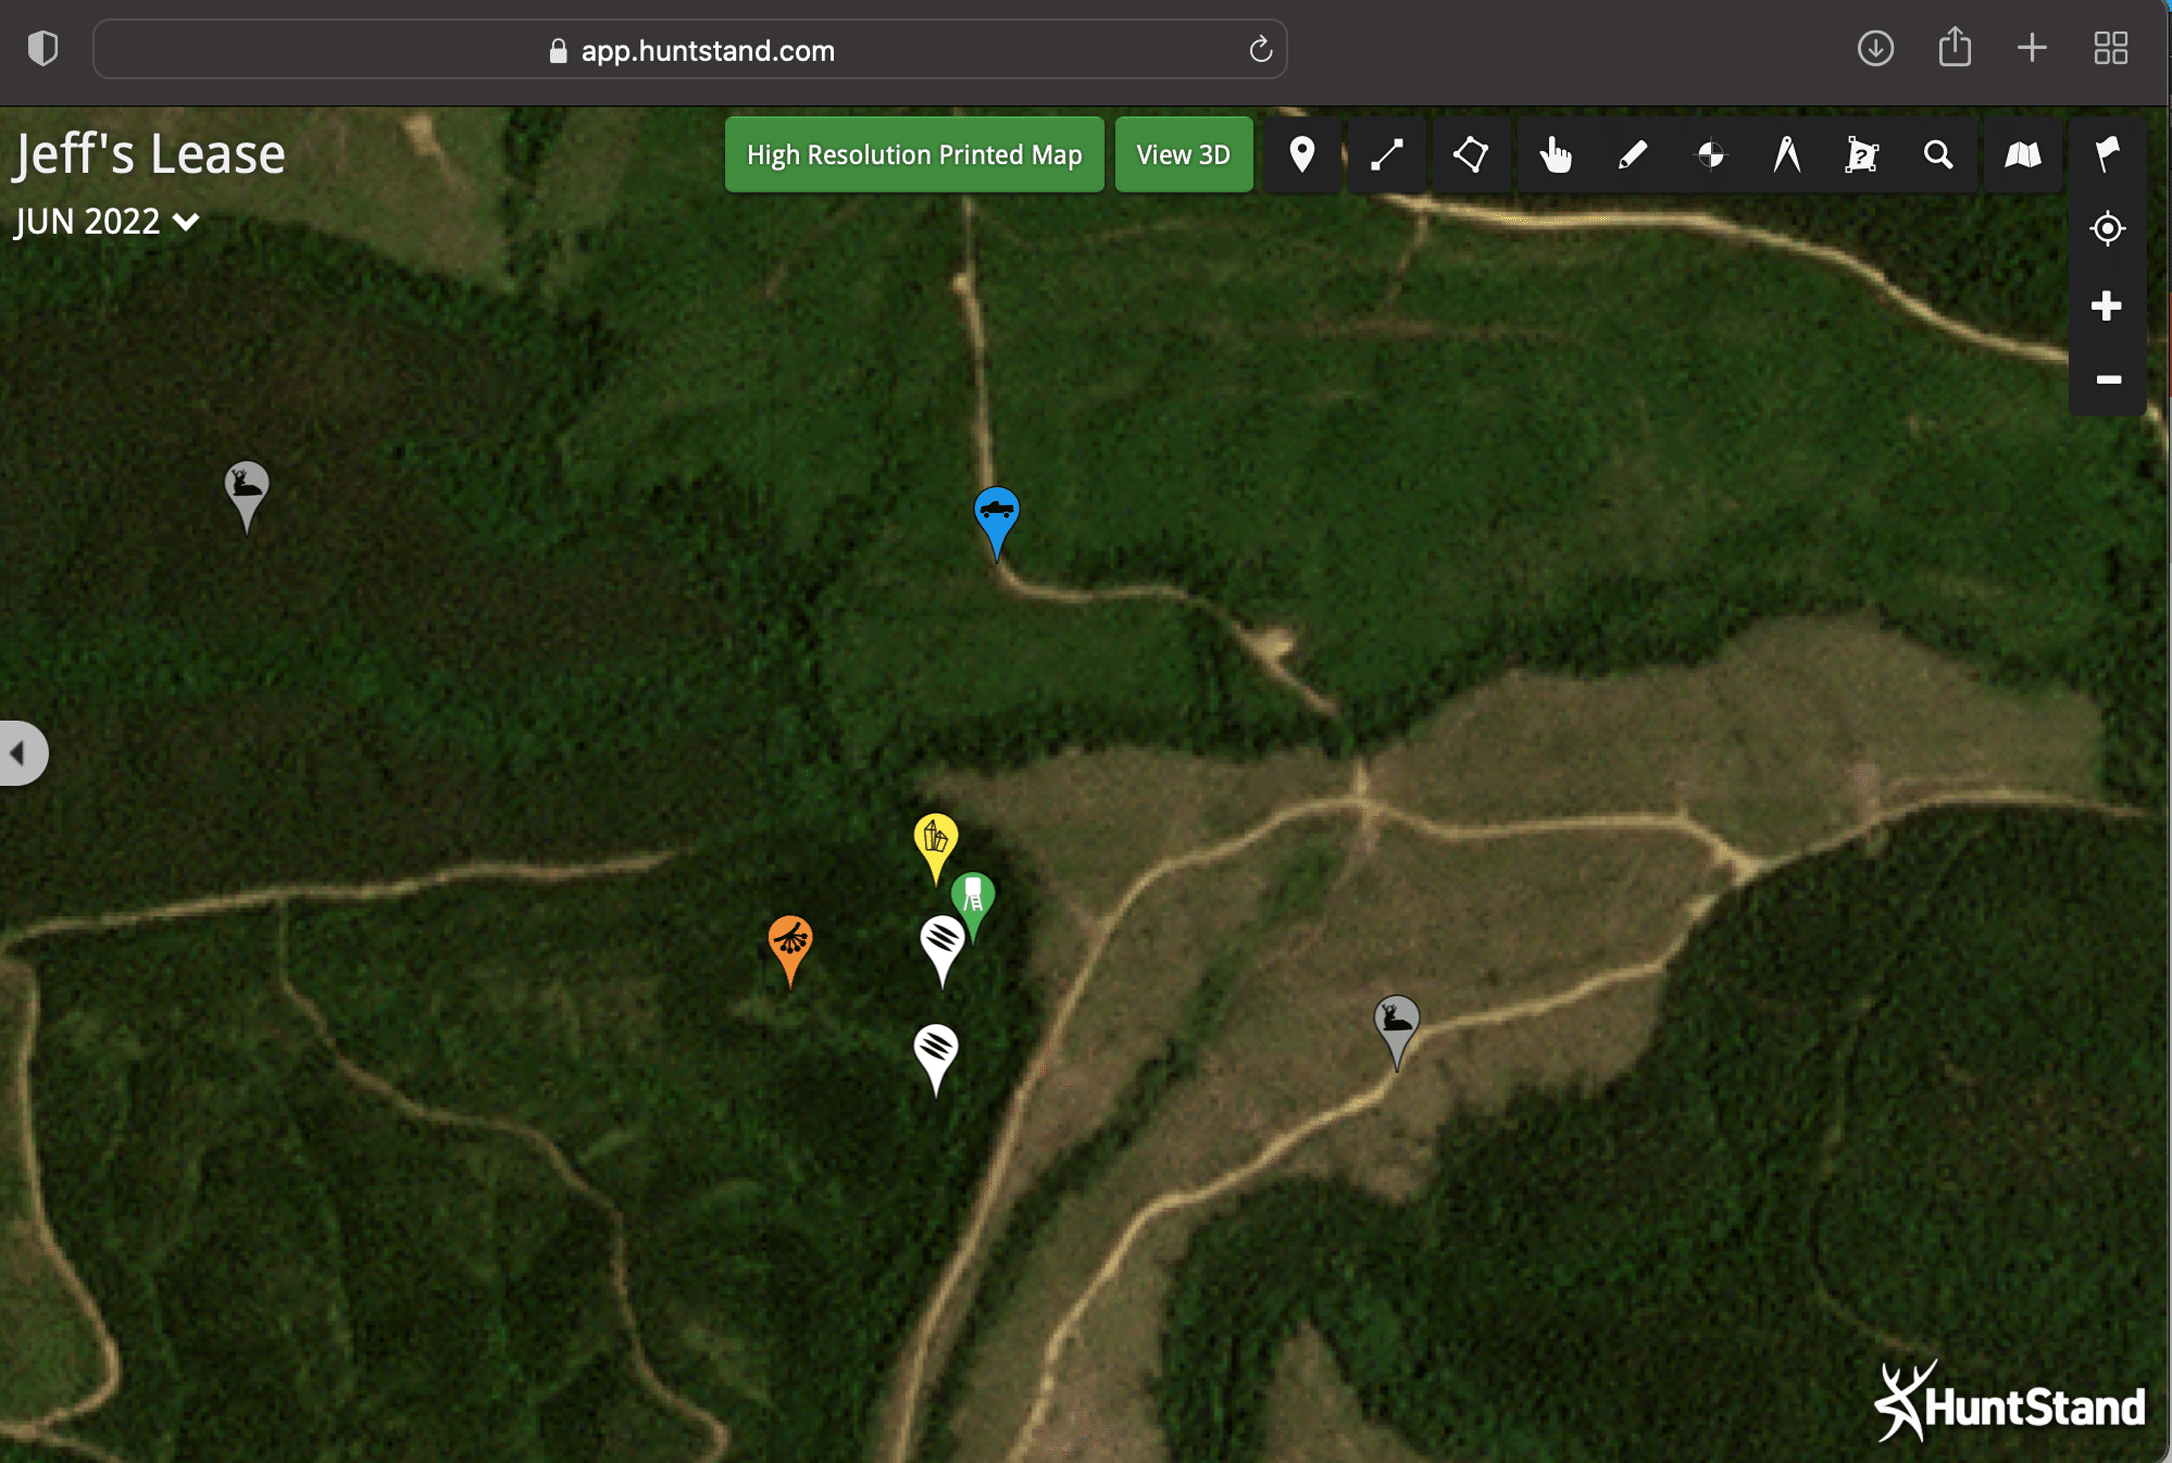
Here's the same hunt tract viewed with Monthly Satellite imagery. As you can see, a new, recent clearcut has totally changed the way this property should be hunted.
Whitetails and Changing Habitats
Whitetails are incredibly adaptive. Consider: Whitetails thrive most everywhere they exist across North America’s most-diverse eco-regions. From the sprawling plains of northeastern New Mexico to the huge forests of northern Maine, whitetails don’t just exist. No, they thrive, and it’s because they’re so adaptive.
Their adaptive nature is why their habits can substantially shift yearly, monthly and even weekly. What am I talking about? Well, remember that stand from which you saw three mature shooters two years ago during the rut? And how about when you sat it again one year later, and saw absolutely nothing? It doesn’t mean the stand has now morphed into a complete dud. Rather, it likely means that the local habitat has changed, and that deer have simply adapted to the changes.

Areas where timber cuts are common are susceptible to changing deer patterns, due to shifting domains. Nothing helps you see and react to these changes as quickly and efficiently as a HuntStand Pro subscription.
Change Comes in Many Forms
Changes can be as basic as crop rotations, or as severe as a clearcut that was previously a thick bedding area. Think about it in human terms. If you go to a beach to swim and find a sign stating that the beach is “closed until further notice,” you’re not going to wait there until it reopens. You’re going to adapt and go to another beach so you can swim as planned. Whitetails aren’t going to linger at a recent clearcut until regrowth provides new bedding cover. They’re going to adapt and bed somewhere else.
What habitat changes affect deer most? Food is number one. Stands that target deer movement going to or coming from food sources—or stands directly over food sources — are most susceptible to shifts in deer movement. For example, if a field is planted to soybeans one year, it’ll probably have a lot of deer activity around it. But, the following year when it’s planted to potatoes, it probably won’t be the deer hub it was a year ago when it was a bean buffet.
“The advent of HuntStand Pro’s Monthly Satellite Imagery layer puts you on top of habitat changes, so that you can adjust your hunting plans accordingly.”
Darren McDougal
HuntStand ProLook For the Silver Lining
Understand that food-source changes aren’t all negative. For example, when a standing cornfield is picked, it reduces cover, causing deer to bed in the timber or adjacent cover. This makes it easier to determine where deer will bed because there are now fewer cover options. It also creates more visibility from stands overlooking the field, which previously offered only edge visibility.
Other habitat changes that can greatly affect deer movement are the result of flooding, wildfires and timber cuts, to name a few. In the past, satellite mapping hasn’t been a reliable source for identifying these key changes/alterations. Often, satellite map views are well-outdated, and the only way to know what’s currently happening in your neck of the whitetail woods was to physically visit the property. Even then, happenings on adjacent properties remained mysteries.
Change has come. The advent of HuntStand Pro’s Monthly Satellite Imagery layer puts you on top of habitat changes, so that you can adjust your hunting plans accordingly. Let’s dive a bit deeper into how it happens.
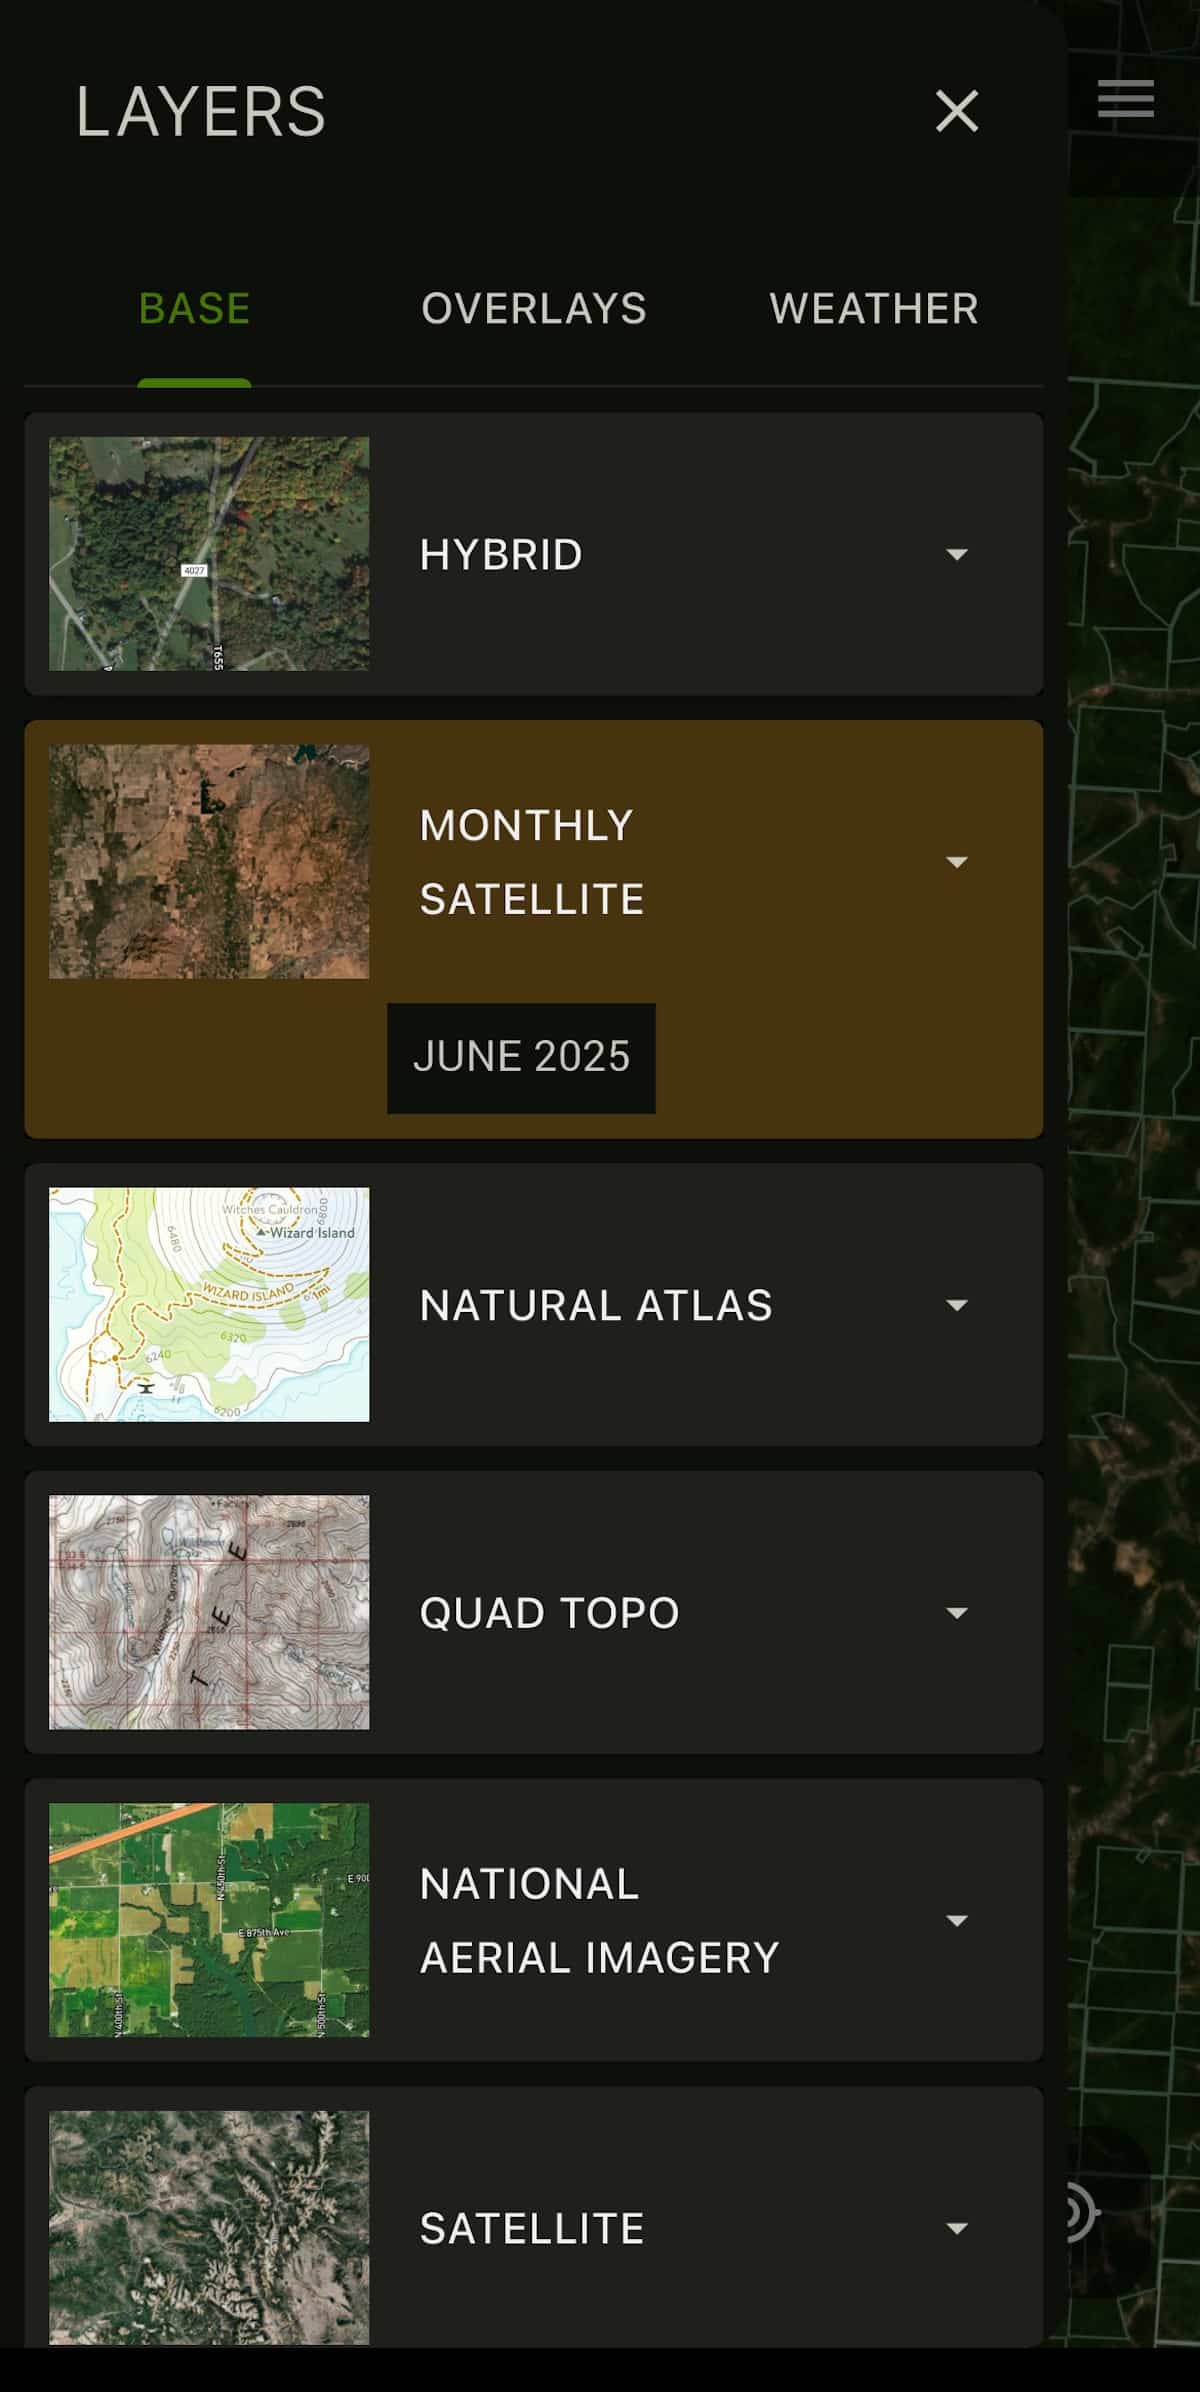
Use the Monthly Satellite to see recent changes.
How Monthly Satellite Imagery Works
How does HuntStand’s Monthly Satellite Imagery work? Well, when you subscribe to HuntStand Pro, it become an available base layer that you can utilize in your map scouting. Aptly named, Monthly Satellite Imagery provides an updated satellite view on the seventh day of every month. The only downside is that the resolution is somewhat lower than in the other base layers. Still, the advantage of an updated view is worth a lot in identifying monumental habitat changes. Interestingly, HuntStand was first among consumer mapping apps to accomplish this.
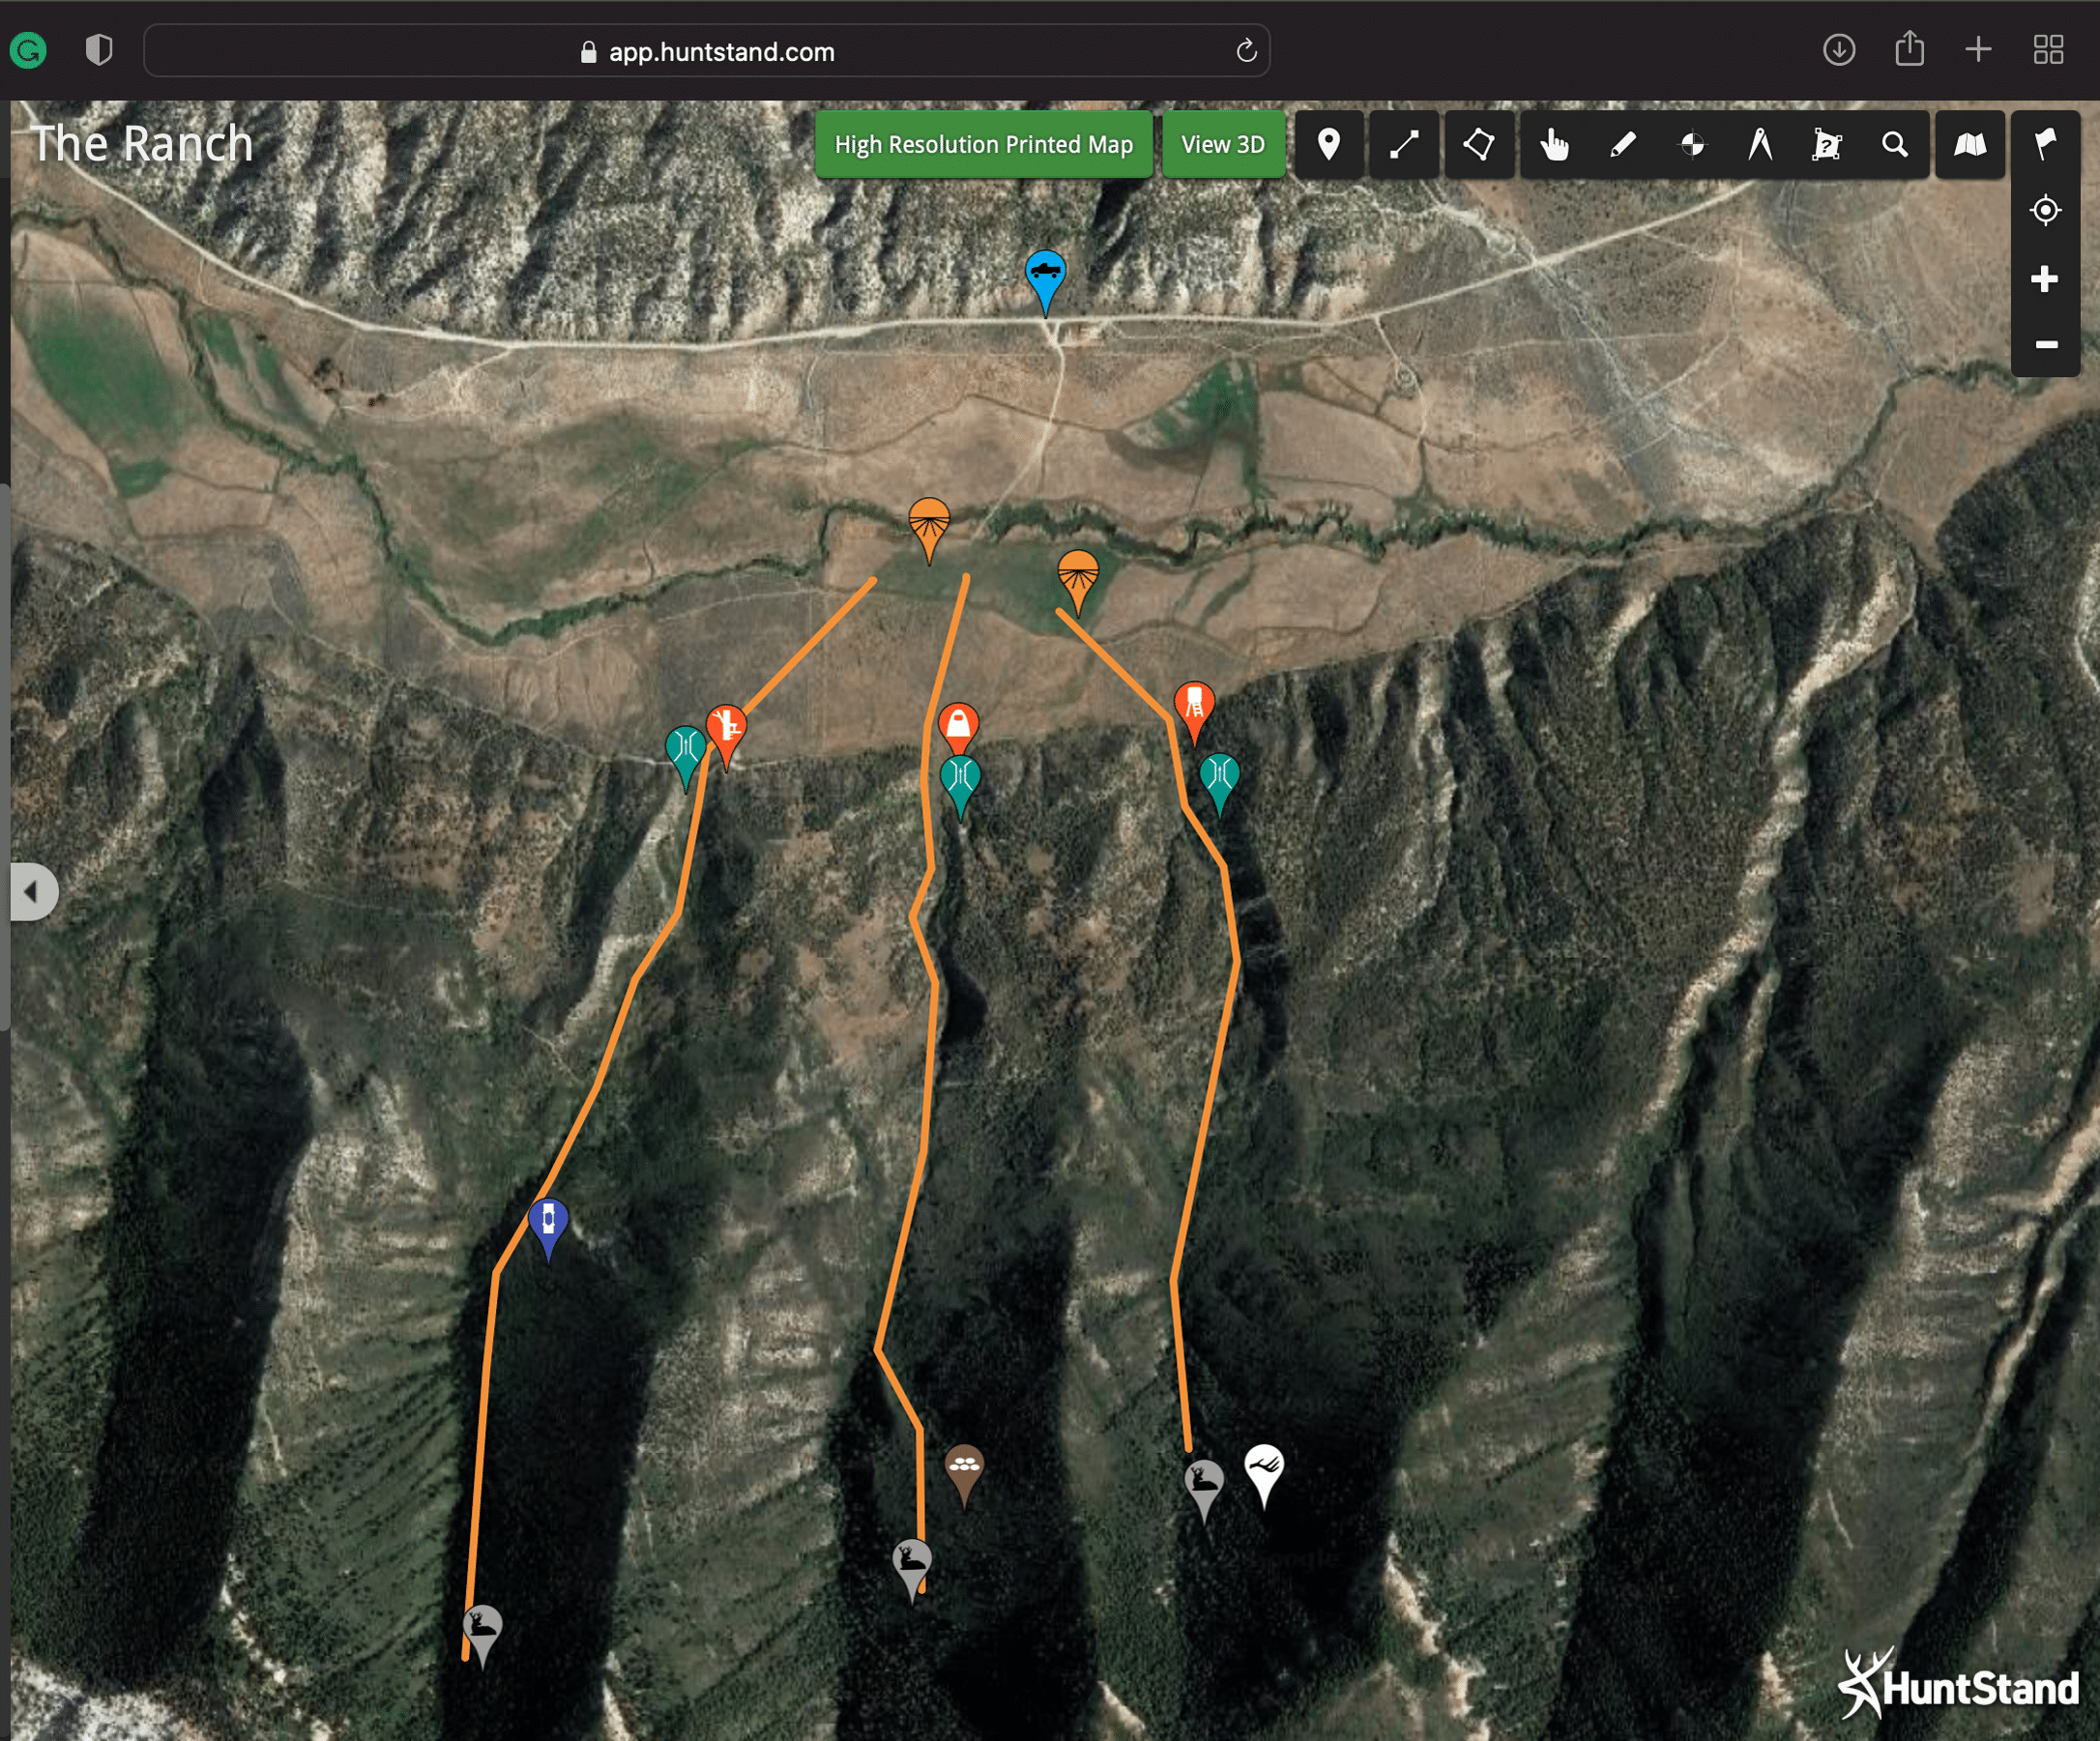
Out west, the deep canyons that provide thick bedding cover dive off to an alfalfa field below. Deer can be intercepted at the funnels where these canyons meet the farm habitat.
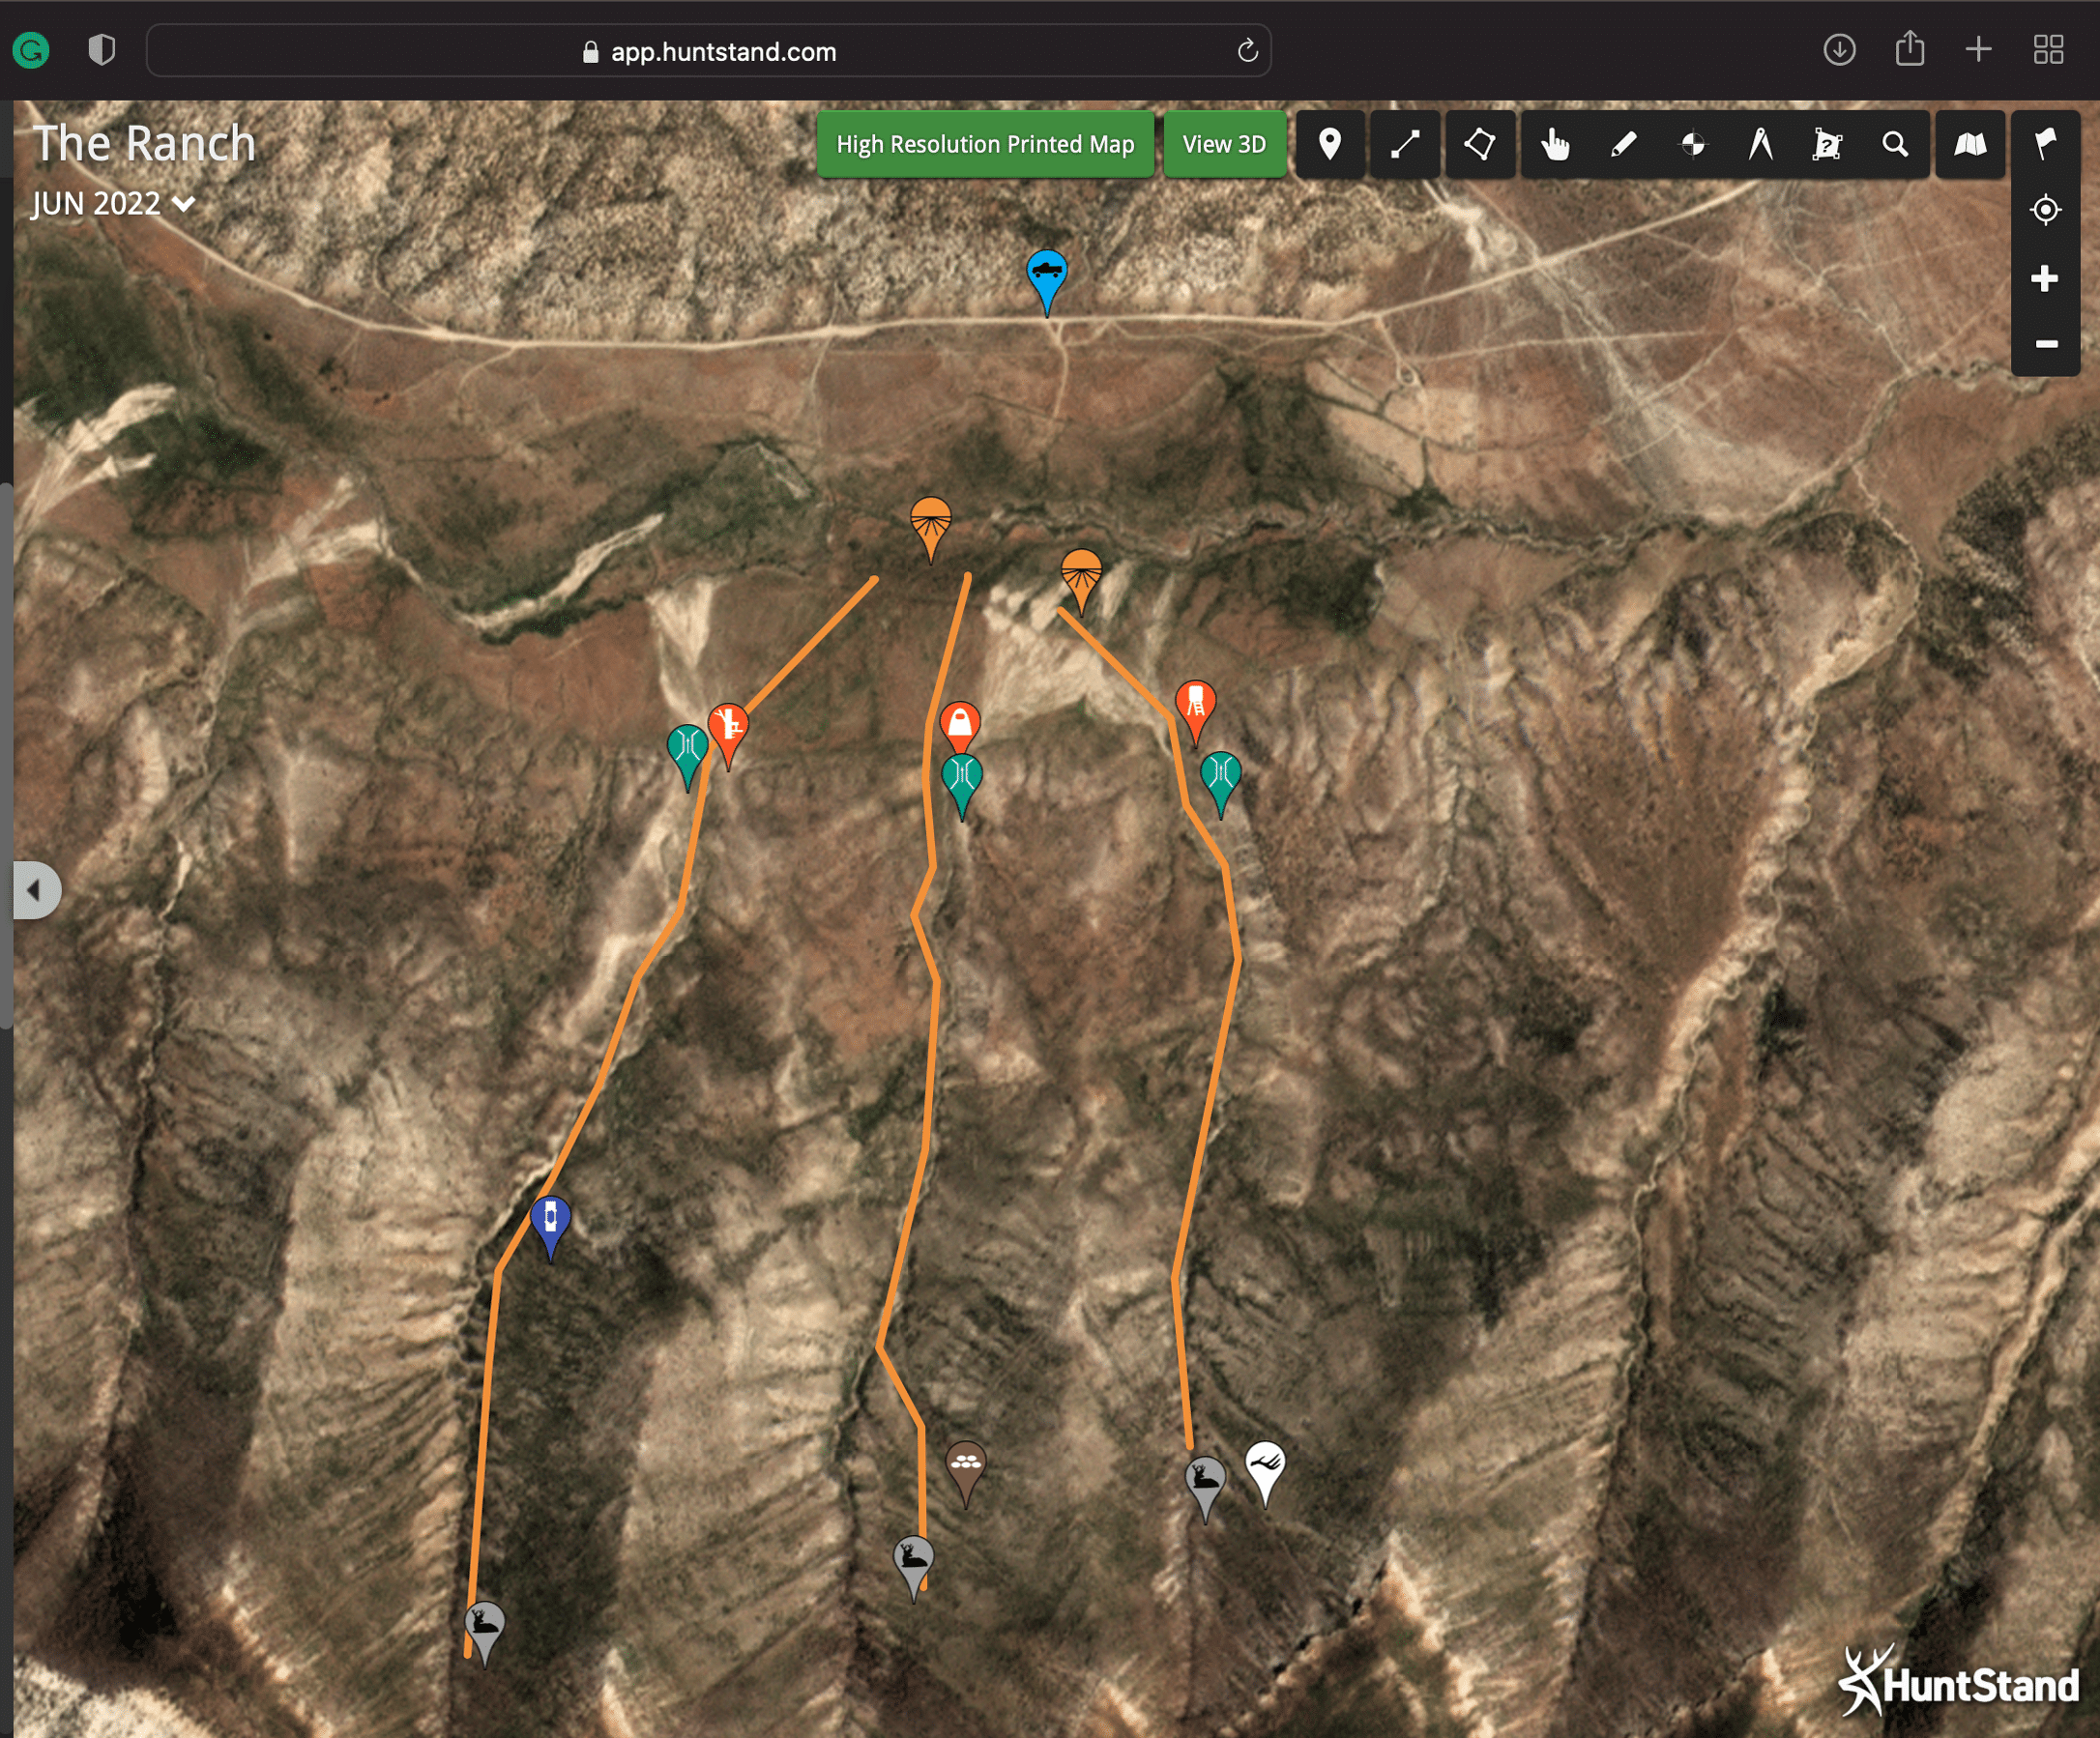
This view of the same tract using HuntStand's Monthly Satellite Imagery shows a recent fire has totally decimated the bedding cover in the canyons. This will surely change animal patterns, and you can expect even more change as regrowth emerges.
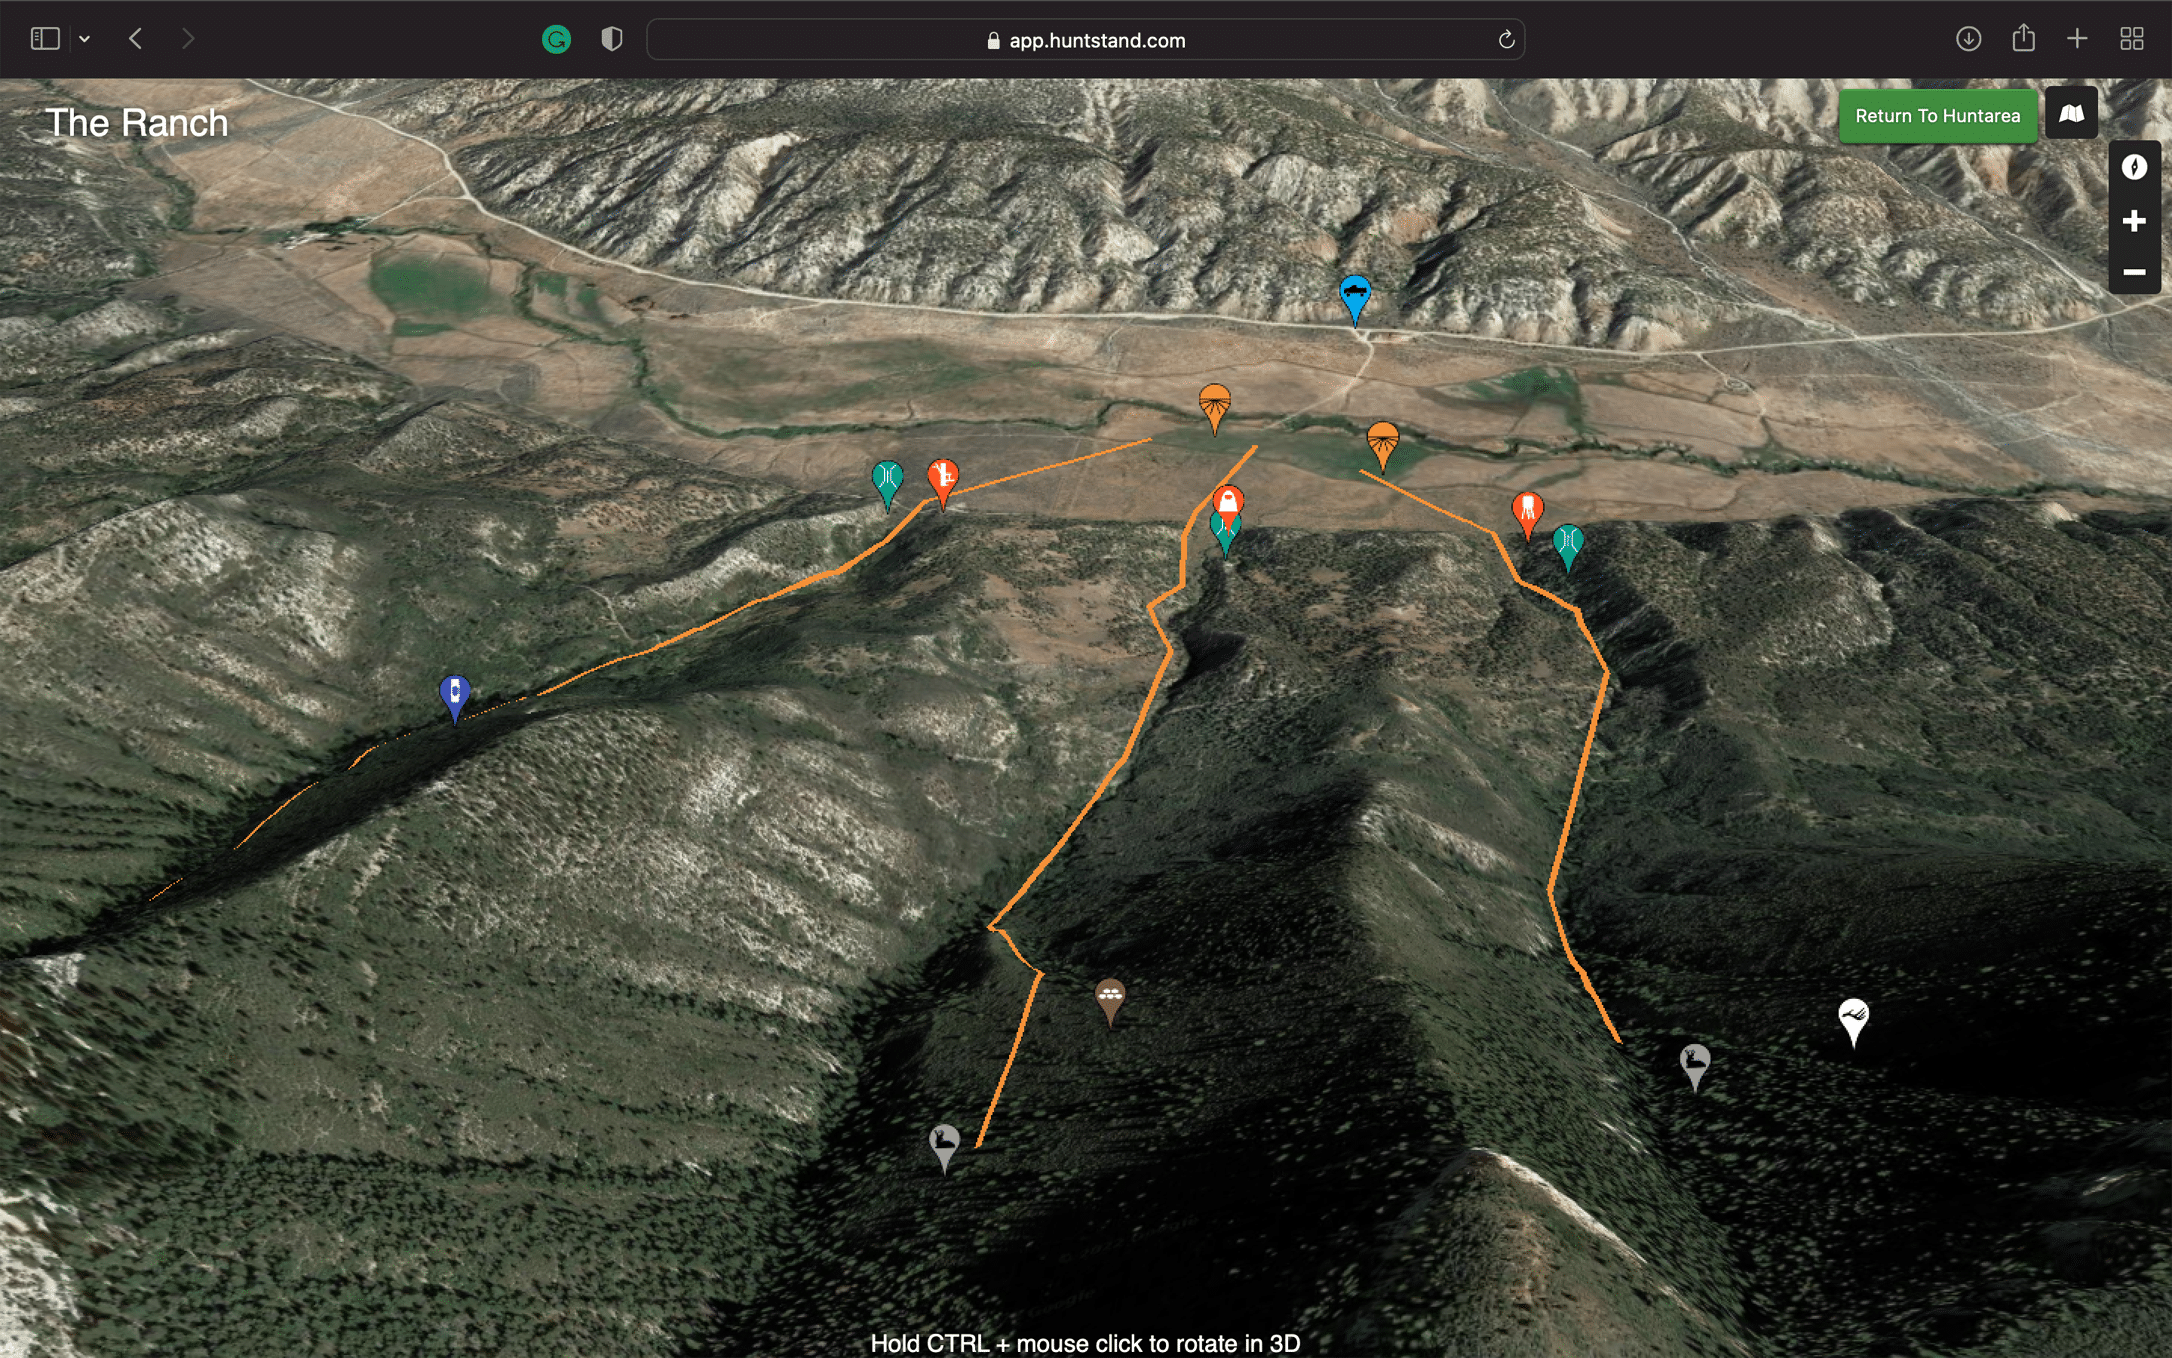
How valuable is the Monthly Satellite layer? This image of the same hunting area shows HuntStand's amazing 3-D view capability in play, and it certainly provides a more-detailed perspective of the lay of the land. However, this view is outdated, as it doesn’t show the habitat wipeout caused by the wildfire. Monthly updates are amazing!
Using the Layer to Speed Scout
So, how does this layer apply to your hunting strategy? Let me offer a couple of examples to get you thinking. First, imagine that you live in Wisconsin, and that you’re planning to hunt another state, an area that’s 10 hours away. You’ve heard rumblings that a wildfire has recently hit the area, but you’re not sure if it wiped out the habitat. You don’t even know if the blaze affected your stand locations at all. Should you call off the trip or travel elsewhere? Many likely would.
Not so fast! You can jump on the Monthly Satellite Imagery layer to identify areas that burned and areas that did not. If the burn happened well before deer season, you could track regrowth progression every month, as this could make edges of the burn productive places to hunt over natural foods. This might require tweaking your original stand placement, but at least you’re aware of what has changed before you arrive. It means you can be much more efficient, and waste less time, when you arrive to hunt.
Another instance monthly updates could prove beneficial is if your stand location in a western state hinges on a large pond being full or dried up. If the water source is visible from the sky, you should be able to see if it’s holding water — or if drought conditions have dried it up. Knowing this without physically being on site is a huge benefit — and a major timesaver.
How to Manage Hunt Clubs & Leases with HuntStand Pro
Knowledge Is Power!
Now, does the Monthly Satellite Imagery layer replace HuntStand Pro’s other helpful base layers? Absolutely not. Does it let you see if oaks are dropping acorns right now? Nope. And that’s OK, because a few unsolved mysteries are part of hunting. I mean, what fun would hunting be if an app gave you coordinates to a world-class buck caught up in a fence? The unknowns make hunting interesting, and your physical commitment — boots-on-the-ground scouting and hunting — will help validate your virtual-scouting efforts. HuntStand won’t kill a deer for you.
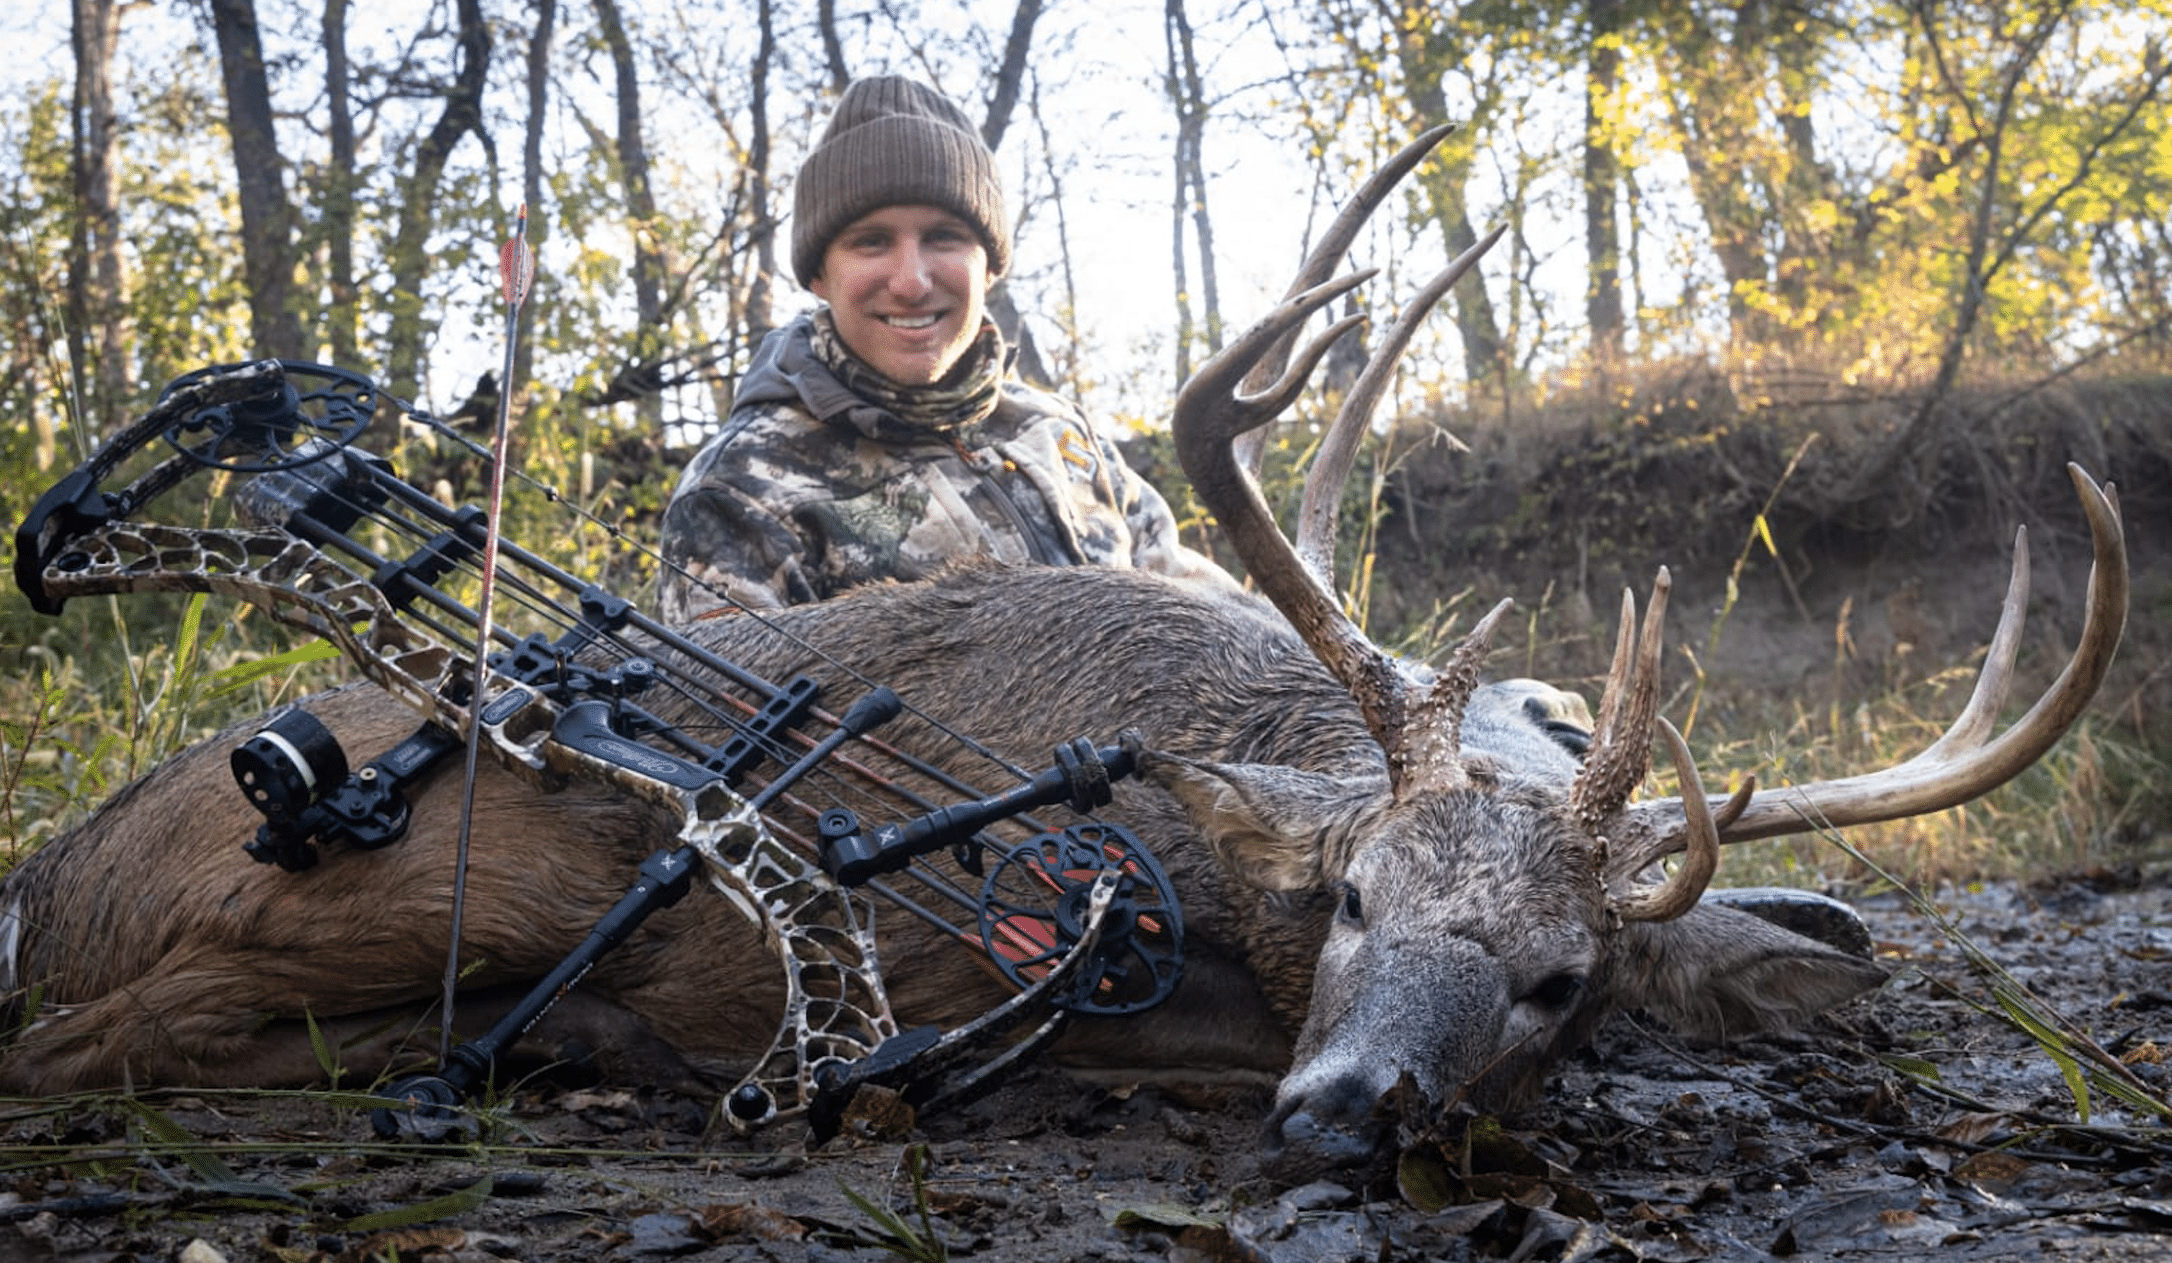
The Bowhunt or Die crew, including Tyler Barron shown here with a stud Kansas buck, relies heavily on HuntStand Pro’s many features including Monthly Satellite imagery.
Here’s the takeaway: Without physically visiting a property, you don’t get the benefit of knowing what spring floods did to your lease in another state. Nor would you know how a recent clearcut impacted a historical bedding area on your local property. That is, unless you subscribe to HuntStand Pro — and leverage the serious power of the Monthly Satellite Imagery layer. I believe you’ll agree that the layer has a valuable place in scouting, regardless of where or what game animals you hunt. And from my experience, HuntStand Pro’s Monthly Satellite imagery will show its value whether you own, lease, or hunt exclusively on public lands. Try it and see!
Saddle hunting has grown big wings over the last five years. In fact, it’s now the talk of the whitetail-hunting world, and for many this intro to saddle hunting article will be very beneficial. But to understand where we are now, it might help to understand a bit of saddle history. Many folks don’t realize that the tactic has existed at least since the mid-1980s. In talking saddles with longtime expert, Brad Kuhnert, his favorite of the few available back in those early years was the Anderson Tree Sling.
The Early Years
While saddles have existed for more than three decades, interest in them sort of died on the vine. They were all but forgotten by most hunters for many years, but now saddles are the “smoking gun” everyone’s talking about. Worth mentioning, Kuhnert, who continued saddle hunting even when the buzz had faded, introduced the first known saddle-hunting platform, the Assassin, and mini Climbing Sticks under the Lone Wolf earmark back in 2007. While the products generated some interest, they didn’t exactly garner worldwide recognition. So, why did saddles take so many years to catch on?
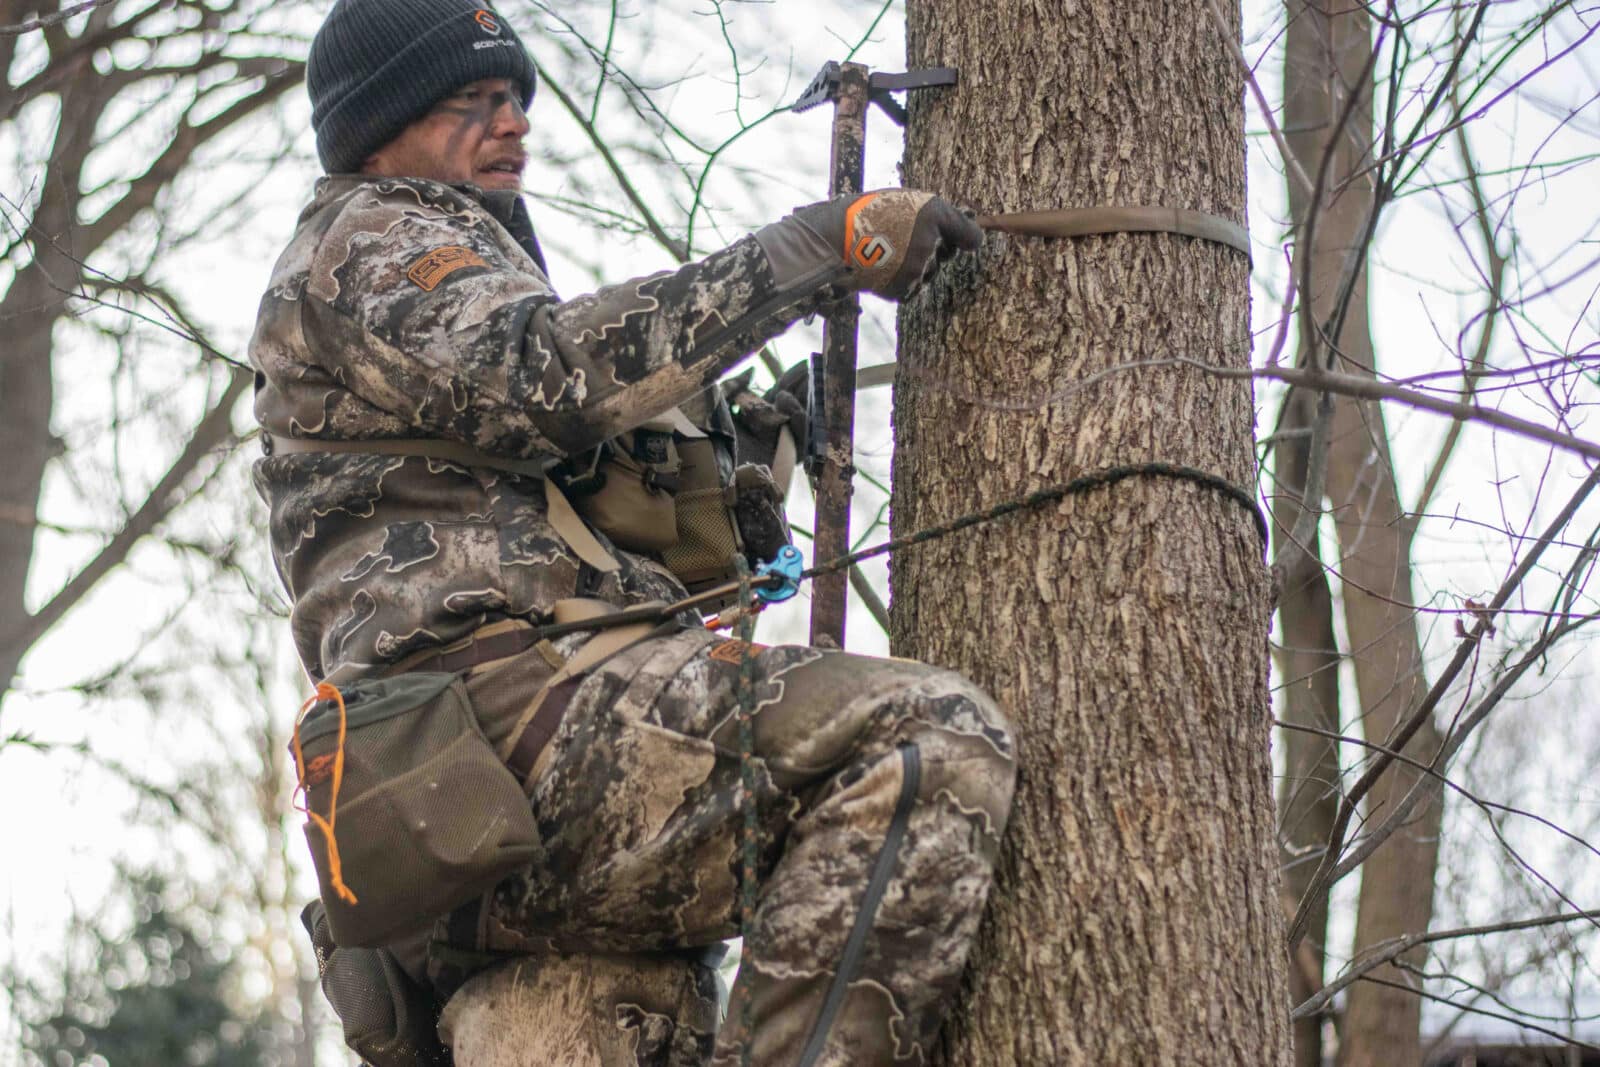
“Back in the earlier years, we had few ways to promote saddle hunting,” Kuhnert explained. “People didn’t know about it as much, and the ins and outs could only be articulated at trade shows or in hunting magazines. This style of hunting back then was almost something you needed to see in person to understand all of the benefits. In contrast, social media has blown it up today. Not only are people learning that it’s a great hunting tool, but the general public has access to tons of informational resources on how to get started, and how to maximize the saddle’s potential. That’s why it has gained so much traction recently. Social media is helping people understand the advantages.”
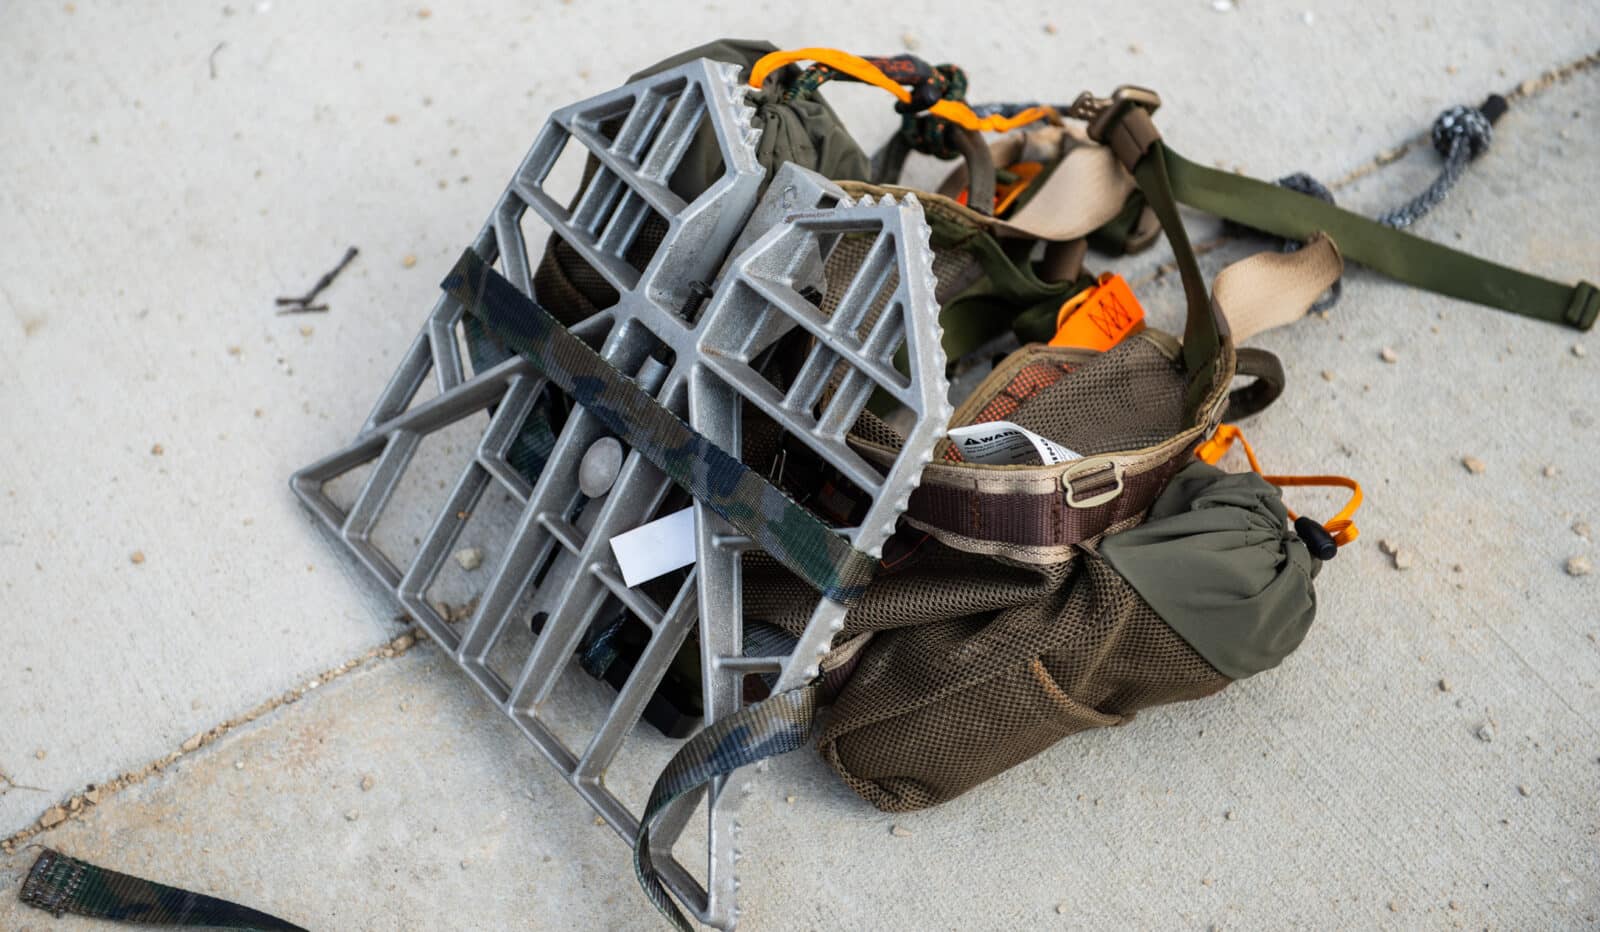 With some history out of the way, perhaps trying out saddle hunting has been on your radar. However, you might not know much about it, or simply, don’t know where to start. Let’s explore some benefits of saddles for hunting. Then, we’ll discuss who is a good fit for saddle hunting, some of the challenges that new saddle hunters can expect to encounter. In addition, we’ll examine a brief overview of what you need to get started. Follow along.
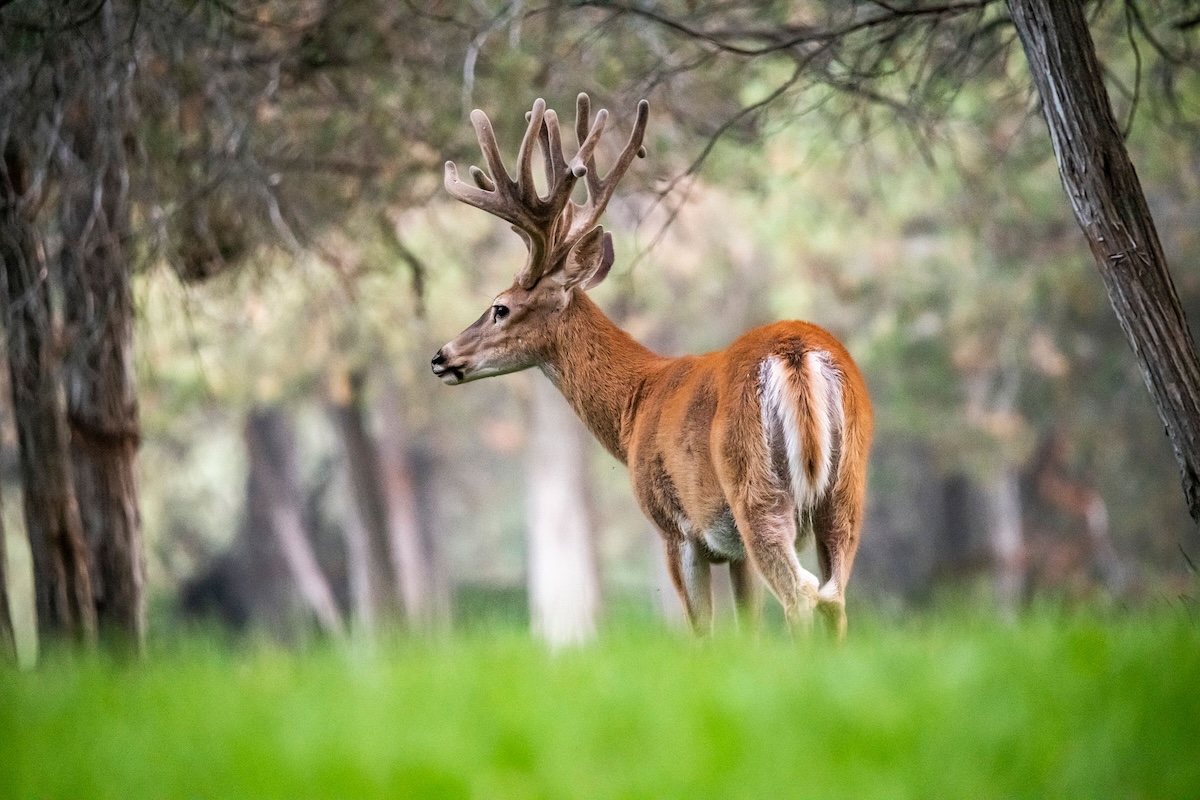
Summer is an excellent time to begin running cellular trail cameras to scout bucks.
How do I get trail cam photos of every buck on my hunting property? That’s an important question that requires answering many other questions. But good locations, attention to detail, and the right trail cameras and accessories can make all the difference in your trail camera program’s effectiveness.
When I first started hunting, we only had 35mm trail cameras. By the time the photos were developed, the intel and movement patterns were ancient history. And then came a digital rendition, which had an actual digital camera inside a weatherproof housing. I could check pictures at the camera location, which was pretty neat, but the trigger speed was like 6 seconds. In other words, that dinosaur provided just as many blank photos as photos of deer.
Whether you use them or not, modern trail cameras drastically change the way that we hunt. No trips to the department store’s photo desk, and no more visits to pull cards. Cellular trail cameras deliver instant results.
As good as cellular trail cameras are, they don’t automatically capture every buck roaming your chunk of woods. A lot of details and strategy go into a successful trail camera program. To that end, here are some tips that can put more buck images on your phone.
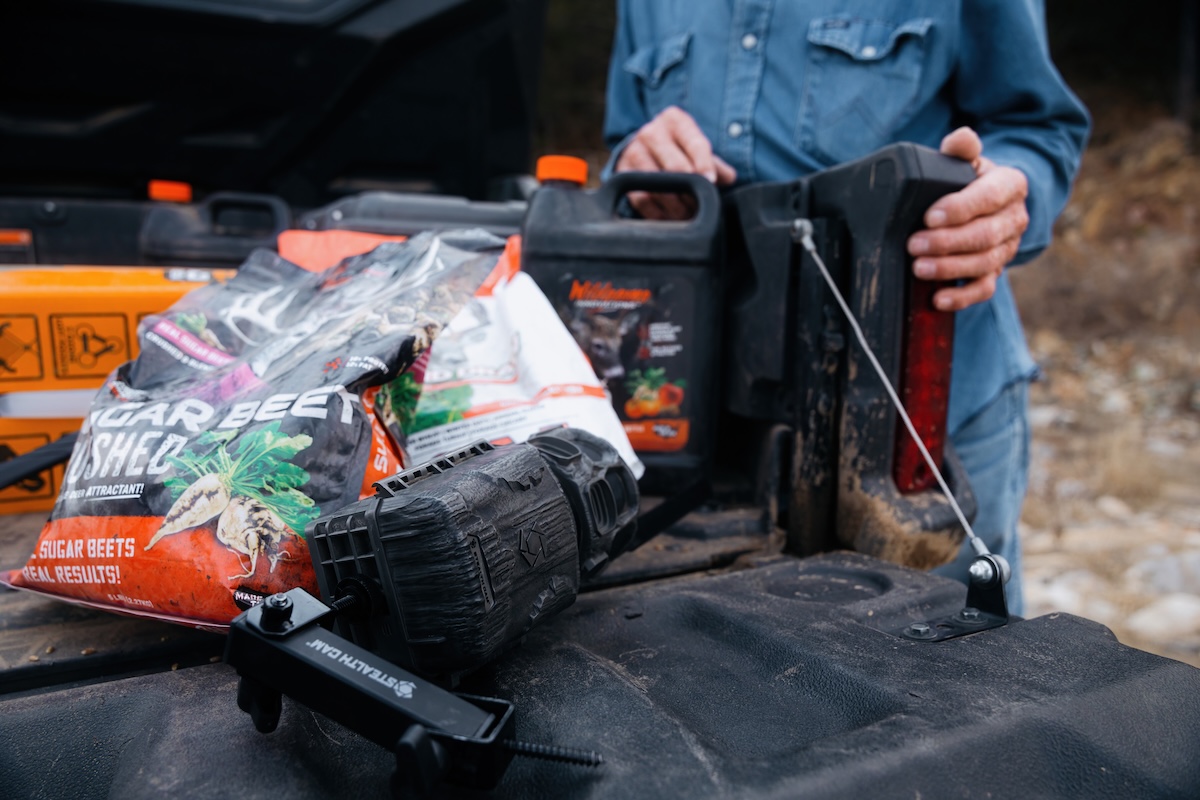
Where legal, mineral licks are excellent for inventorying deer herds.
How Do I Use Cellular Trail Cameras Over Mineral Sites?
Summer bucks are very photo-friendly. Be sure to place your cellular trail cameras by mid-July or sooner. If legal, feeding minerals and/or supplements creates a hub that bucks cannot resist and makes an excellent camera location to take buck inventory. Does and fawns crave the nutrients for overall health, and bucks need them for that and antler development.
Set the camera delay to at least a few minutes, because one deer will likely spend at least that much time feeding. You don’t need a picture every 10 seconds. Also, consider setting the cameras to video mode. If you want to adjust your cellular Muddy or Stealth Cam camera, you can do so in the Command app.
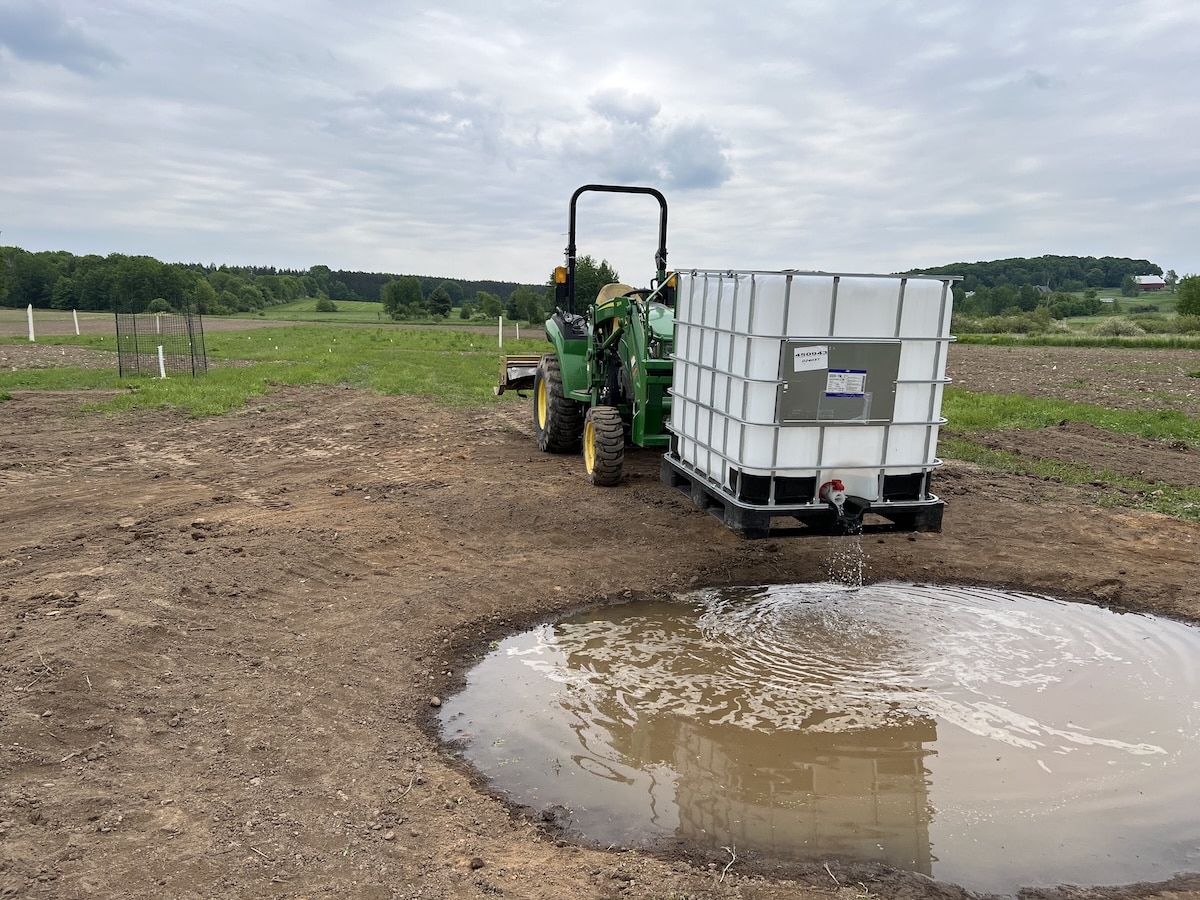
Water sources can be great locations to photograph bucks anytime ice is covering them, but summertime in the heat can be especially productive.
How Do I Use Cellular Trail Cameras Over Water Holes?
Water sources also make excellent summer trail camera locations, especially in a drought. On public land, use HuntStand’s Hybrid and Natural Atlas base maps to identify water, but also be sure to scout in person, as some obscure waterholes won’t show up. Locate a small, solitary water source, and it should be rife with buck activity.
If you own a property but doesn’t have a water source, consider adding one. Also, if you have a tractor with a bucket or a mini excavator, all you need is a pond liner, and if the soil has enough clay, you won’t even need that. If you don’t have equipment, consider renting. It might cost $200-300 per day, but it should only take a few hours to put the pond in. In some cases, filling it might be the most difficult logistics. As for the camera’s delay, one minute is usually a good starting point.
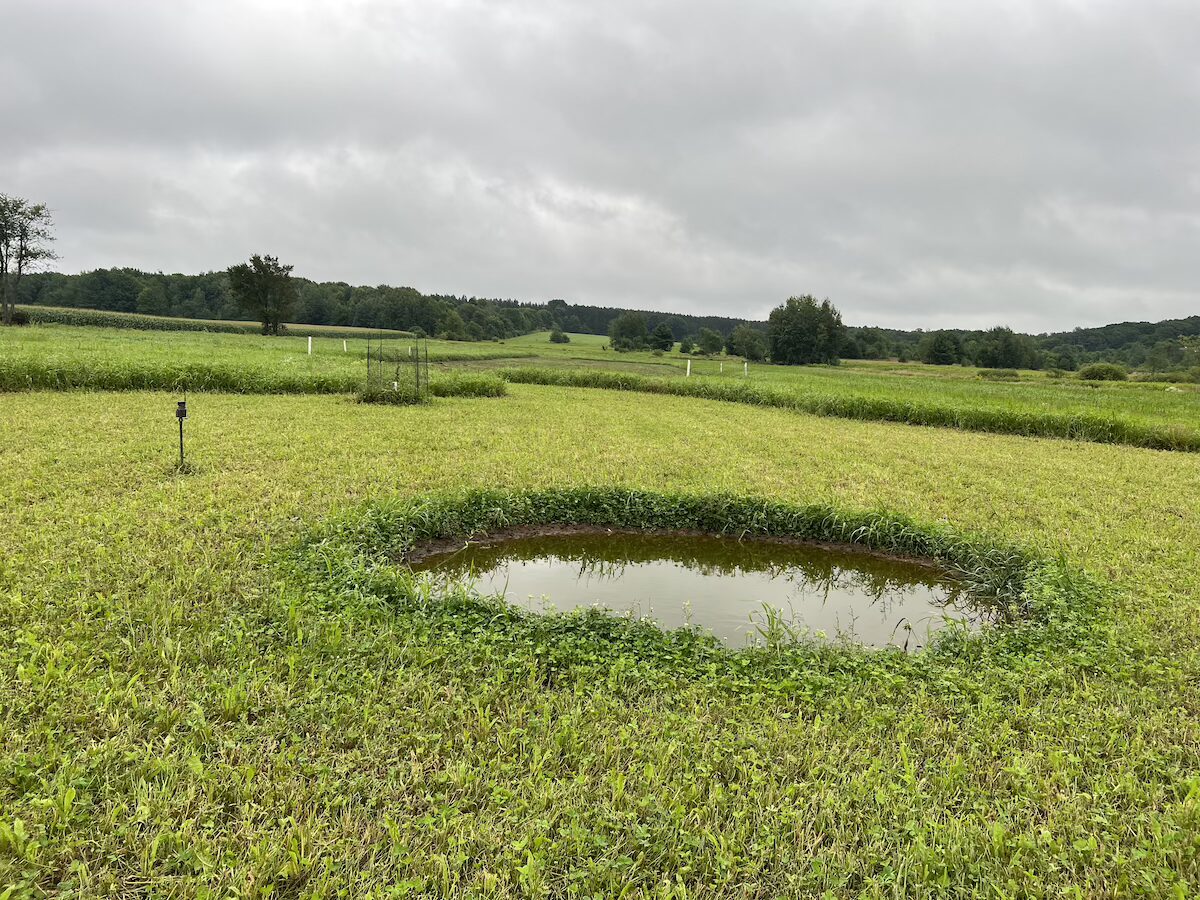
Green food sources, such as clover or alfalfa, draw lots of bucks during the summer and warmer fall weather.
How Do I Use Cellular Trail Cameras Over Food Sources in Summer?
From summertime through early bow season, set cameras on food plots and soft-mast trees. Deer eat like crazy all summer long to bulk up for the fall, making alfalfa, clover, chicory, and soybeans great camera locations. Position your cameras where deer enter and exit the most frequently, and in a week, it’s likely all or at least most of the deer will walk in front of those cameras.
Field edges and soft-mast trees don’t always have ideal trees nearby on which to hang your cameras, but with a Solar Camera Mounting Post by Wildgame Innovations ($37.99), simply place your camera where you want.
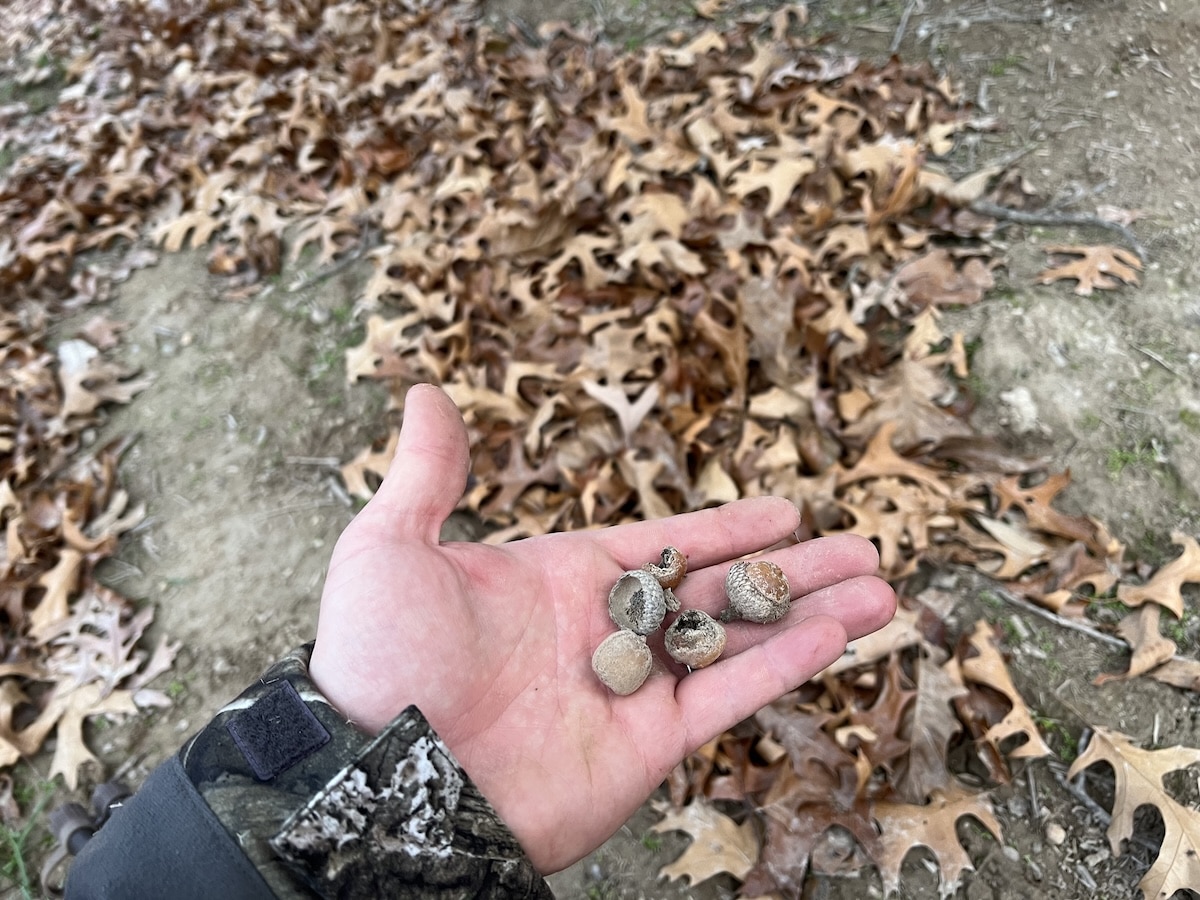
As seasons shift, be sure to cover new food sources with your trail cameras.
How Do I Use Cellular Trail Cameras Over Food Sources in Fall?
Now that you have a recipe for summertime trail camera success, be prepared for the bucks to throw you a curveball. As bucks shed their velvet and more food sources become available (hint, hint: acorns), patterns will shift, and bucks might vacate food sources they frequented all summer. Call an audible with your trail cameras.
Scout for acorns. With your binos, glass the oak treetops for acorns. Also, watch for acorns on the ground or the telltale signs of deer activity below oak trees, such as fresh acorn caps and rooted-up leaves. Place cameras under trees with obvious feeding activity. Don’t forget to hang some trail cameras on ridges, benches, and saddles in the vicinity of acorn-producing oaks, too. At the feeding area, a delay of two to three minutes should be good, but on the travel routes, I’d set it to 10 seconds. You also might want to use video mode for easier antler assessment.
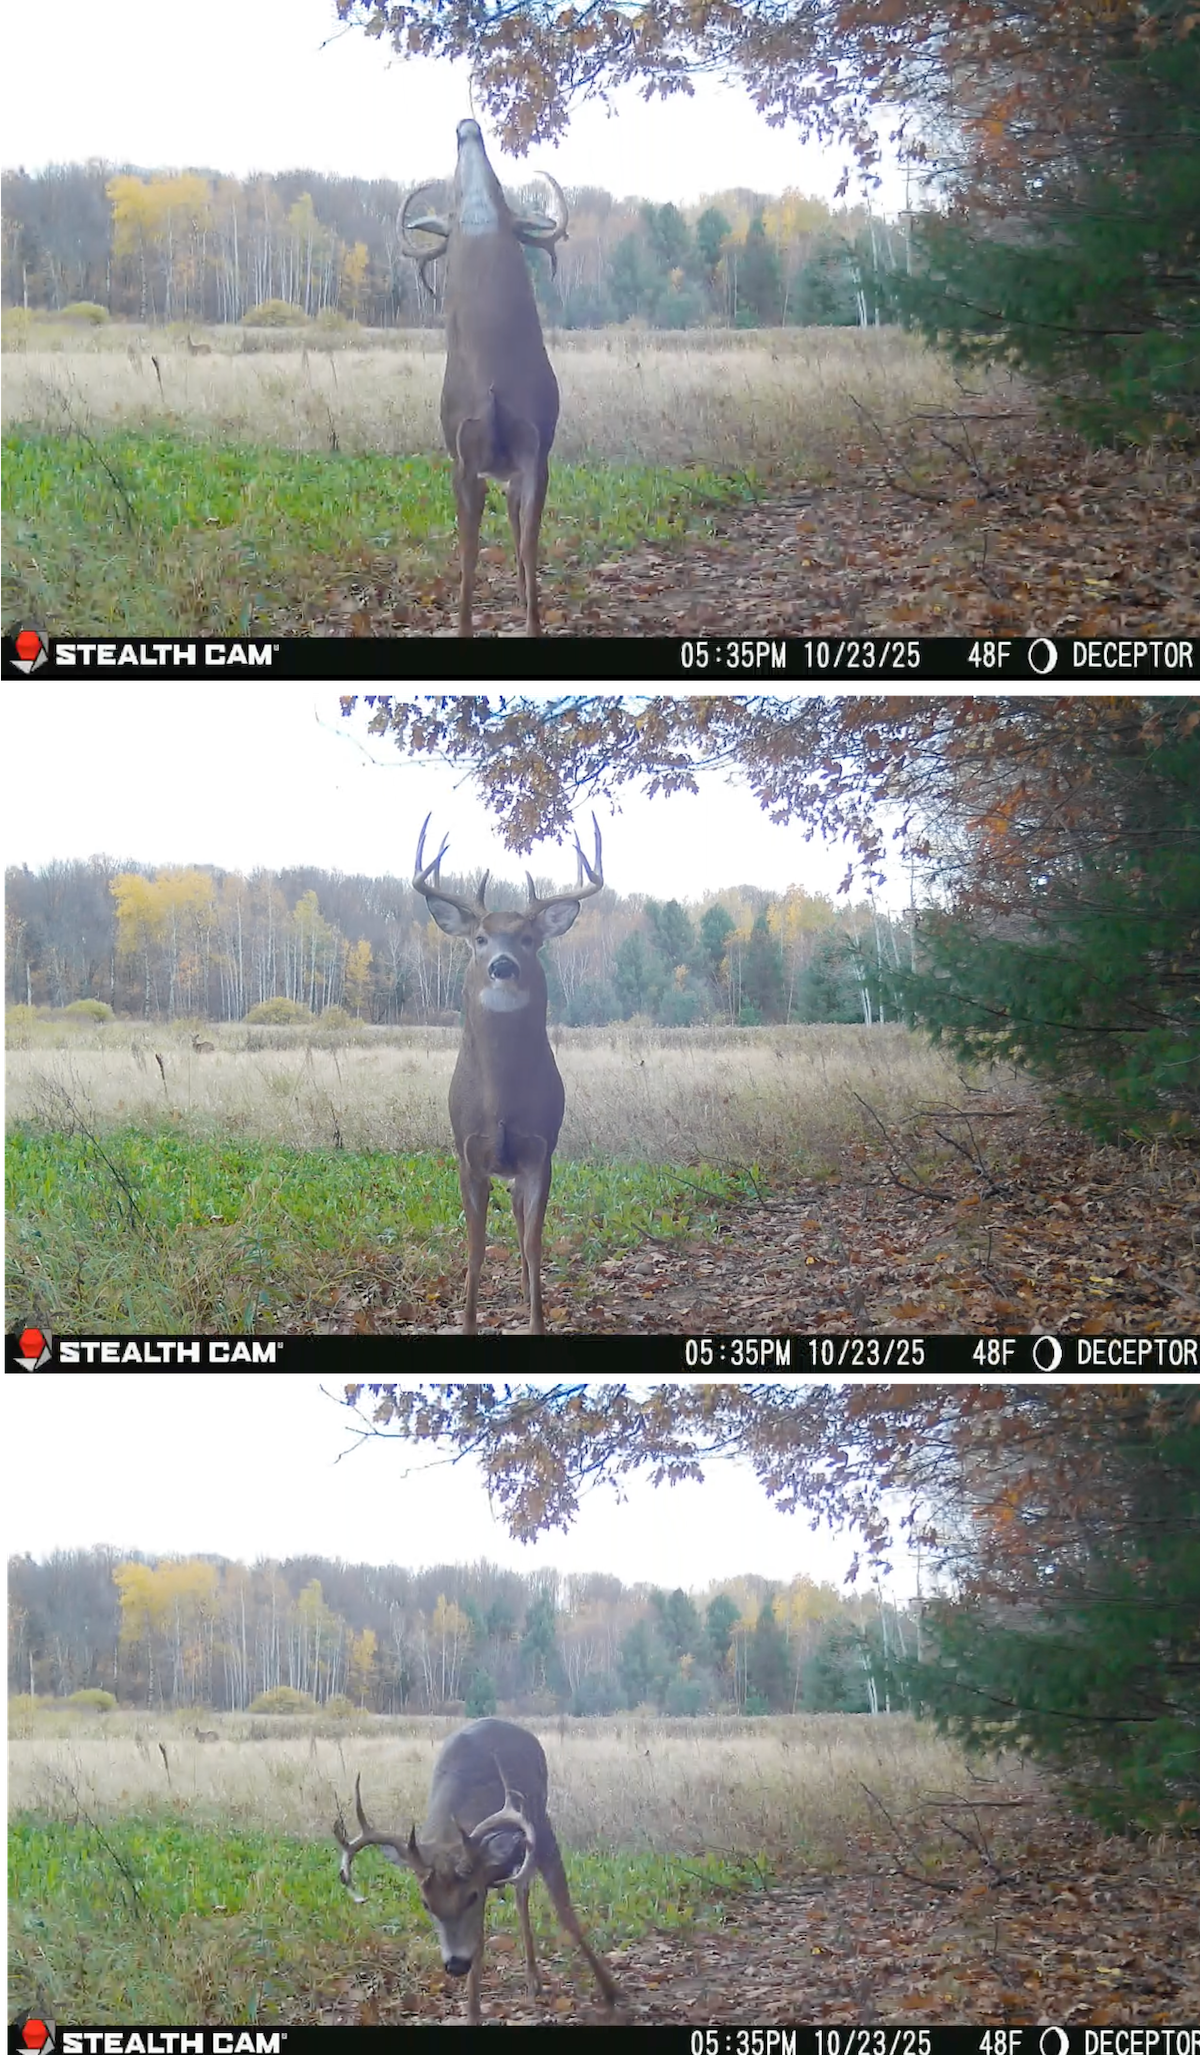
Are you leveraging the best locations at the different points of the year in order to capture the most bucks on your trail cameras?
How Do I Use Cellular Trail Cameras Over Pre-Rut Sign, Such as Rubs and Scrapes?
Although the rut is weeks away, it is also a good time to scout for fresh scrapes. If bow season is open and you find screaming-fresh scrapes, go ahead and hang cameras over them, but be sure to hunt them the first time the wind allows, as bucks are very susceptible to this now versus compared to during the rut.
If you find an area with obvious deer traffic and you believe bucks are using the area, create a mock scrape using some scents, such as Buck Bomb’s Scrape Kit ($13.99). Mock scrapes make excellent trail camera locations during the pre-rut, and most bucks cruising through will hit them. I usually have the camera delay set to 30 seconds or less (even down to 10 seconds), as bucks rarely spend much time on scrapes, and a new buck could come to it relatively fast. Video mode provides the best antler perspective.
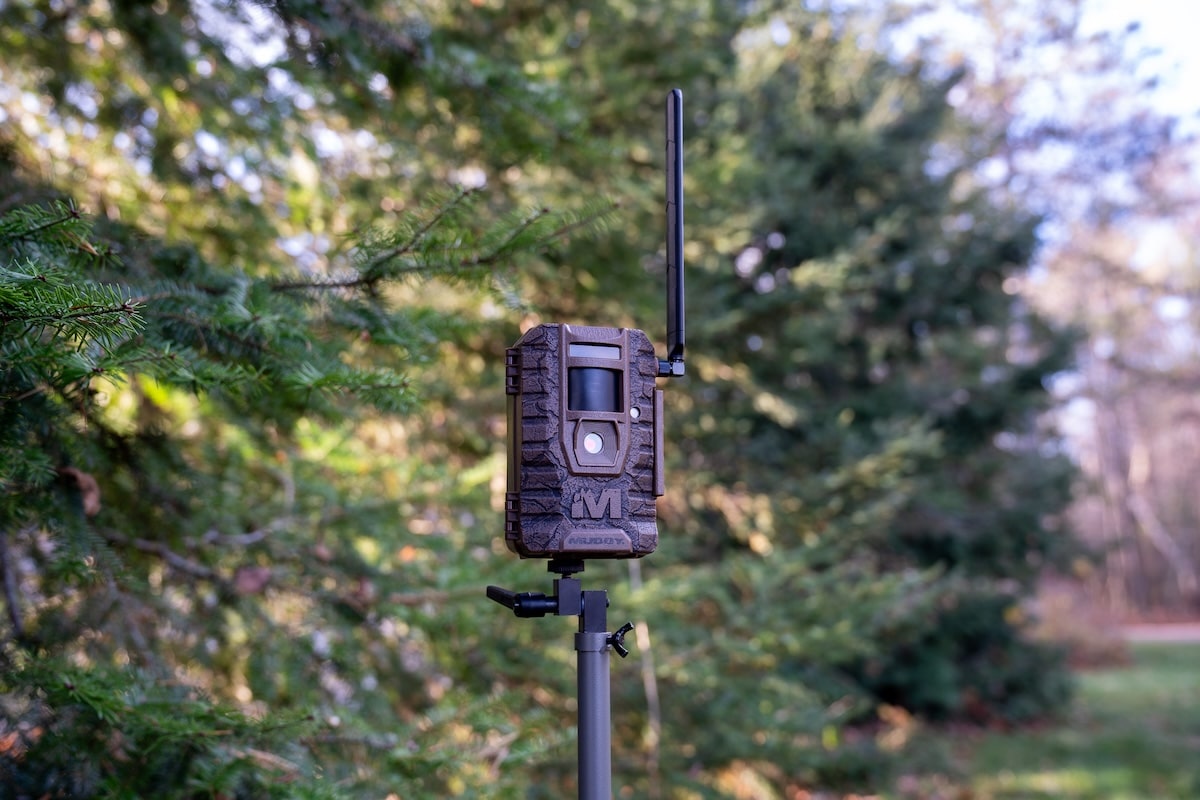
The best trail camera locations don’t always have ideal trees on which to hang cameras, which makes a portable mounting stick a worthwhile tool.
How Do I Use Cellular Trail Cameras During the Peak of the Rut?
The rut brings on a whole new dimension. I prefer to leave cameras on scrapes from early October through November. Towards the end of October and into November, I fully anticipate new bucks to pop up on the scrapes. Cameras on scrapes also tell me when bucks go into lockdown. Often, a scrape or mock scrape will have daily buck activity, and then abruptly go dead, informing me that breeding is in full swing.
During the rut, funnels and travel corridors, especially ones that connect bedding areas, are good places to catch cruising bucks. If you get a buck on camera that you want to kill, your window of opportunity could be slim. He’s likely in the general area and will cruise through again, but maybe only once.
Food sources with consistent doe traffic are great during the rut. When temperatures are higher, try green food sources, such as clover, alfalfa, or winter wheat. In cooler weather, corn and soybeans are king. You might have to wade through lots of doe photos, but you’ll get a good sampling of what bucks are in your hunting area, including new ones moving through to scent-check does.
Even during the rut, the oldest and wisest bucks don’t typically run around in the wide open all day long, as some folks misconceive. I’ve interviewed dozens and dozens of successful hunters who’ve taken giant bucks, and I’ve learned that the really old bucks tend to have smaller rut areas. There are exceptions, of course, but the oldest bucks sometimes even have a specific spot that they push does to during the 48-hour lockdown period.
If you’ve gotten to know a buck or two from several consecutive years of scouting and hunting them, hopefully, you’ve identified some lockdown locations and can hang trail cameras there for kicks, too. During the rut, I want my camera’s delay set as low as it goes, because it’s possible that multiple bucks could run by a camera within minutes or even seconds. I want to capture images of all of them.
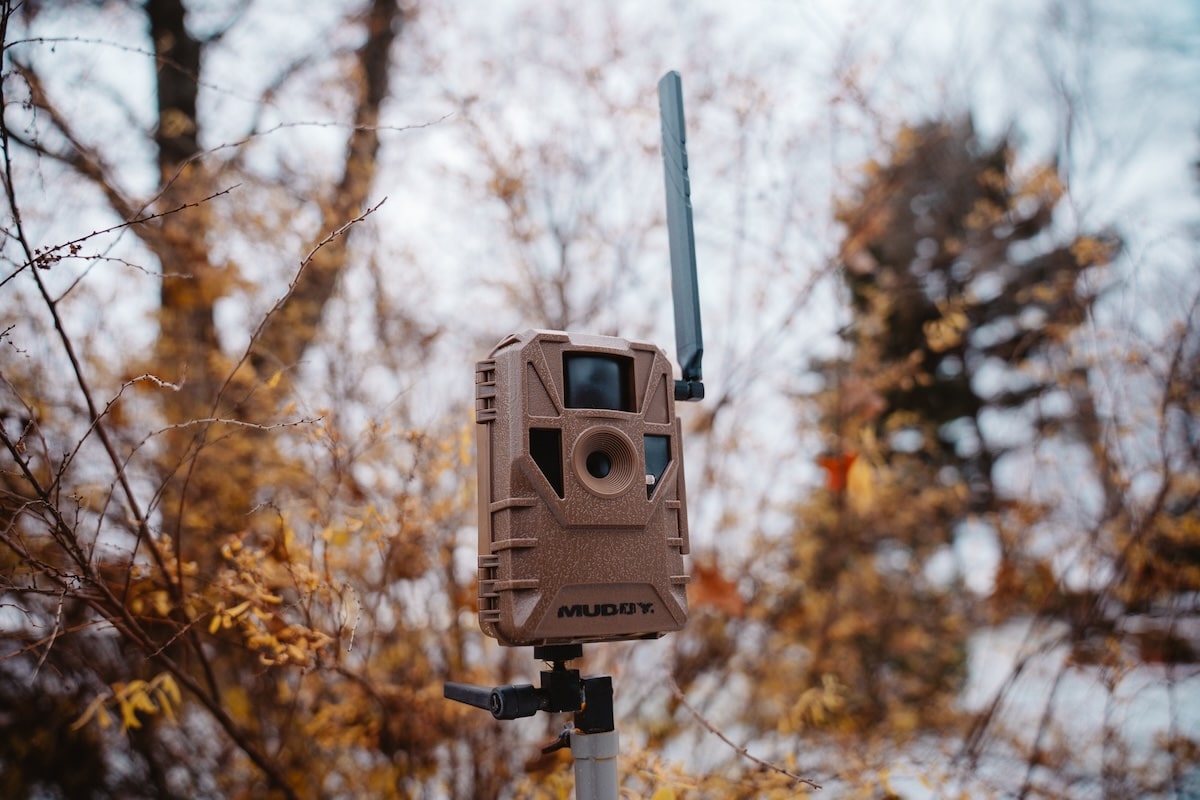
In the fall, shift trail cameras as deer transition into new patterns.
How Do I Use Cellular Trail Cameras During the Late Season?
A lot of hunters lose enthusiasm by late season. In my opinion, this is perhaps the best time to keep your trail camera strategy and hunting going strong. With the primary rut over, bucks will be on winter food sources: corn, soybeans, winter wheat, brassicas, and out west, hayfields. Count on it.
If there’s snow on the ground, it will be pretty obvious where to set your trail cameras, given all of the tracks. If not, study the food source for feeding activity and scat. Get your cameras up and be sure to rig them with a solar panel, as cold winter weather can drain batteries fast. Two great options are Stealth Cam’s 3,000MAH FieldMax EX Solar Battery Pack ($119.99) or HME’s Trail Camera 12V/Solar Auxiliary Power Pack; $99.99).
Hunting over food sources during the late season is unforgiving. Unlike the rut, being in the woods as often as possible can actually hurt your chances of taking a great buck. Deer have been hunted for two to three months, and they don’t tolerate pressure at this point. If bumped, they might continue hitting the food source at night, but the mature bucks might vacate altogether. Rely pretty heavily on trail camera intel as far as when to hunt.
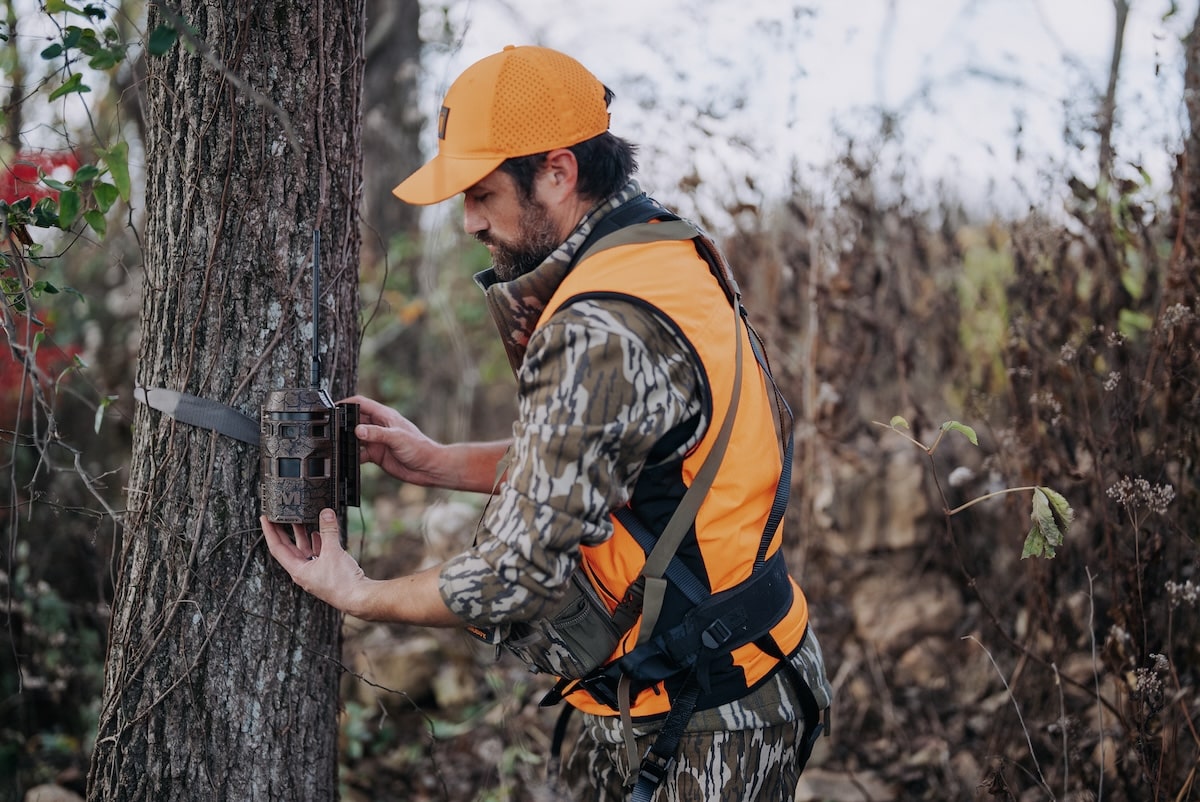
Be mindful of scent when handling trail cameras.
How Do I Keep Deer from Smelling My Scent Around Cellular Trail Cameras?
Now that we’ve discussed top locations to capture every buck in the area, let’s address some fine details that can significantly impact your success. First, anytime you go into the woods and hang a camera, swap a card, or replace batteries, wear rubber boots like Muddy’s DV8 13” Non-Insulated Boot ($159.99) to minimize odor contamination. Always douse your boots with Scent-A-Way Max Odorless Spray ($11.99), and be sure to spray your hands before touching the camera.
I mentioned the benefit of lengthening battery life with solar panels during the late season in low temperatures, but solar panels are great because you can keep your trail cameras going all year with virtually no woods visits. Remember, the more you visit a camera location, the more commotion and scent will disrupt your results.
Stealth Cam’s Revolver Pro 3.0 360° Cellular Trail Camera is arguably one of the best ways to see what you’ve been missing, especially on field, food plots, and other open areas. See sidebar for more details.
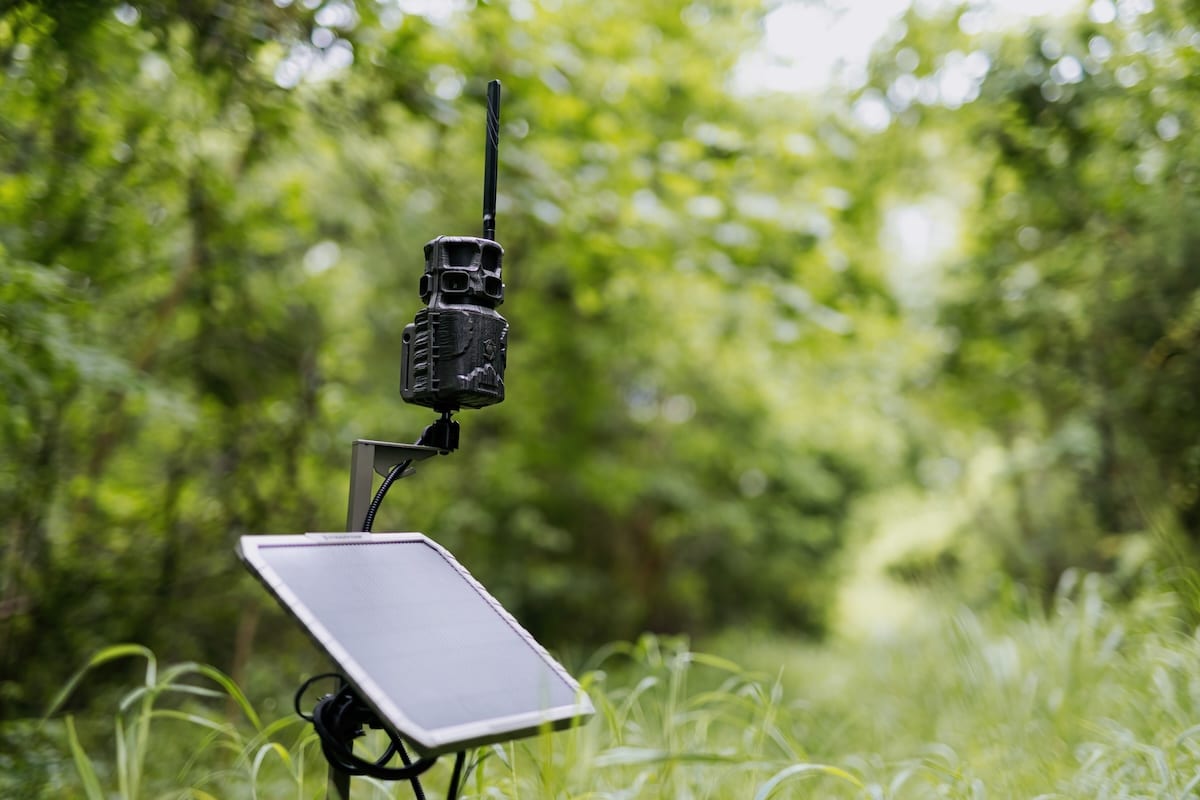
Pair your cell cameras with external power sources, such as solar panels, to maximize battery life.
What Are the Best Cellular Trail Cameras on the Market for Inventorying Deer Herds?
Stealth Cam’s Revolver Pro 3.0 360° Cellular Trail Camera
- Six cameras in one: Great for fields, food plots, clearings, and water sources where deer enter and exit from unpredictable locations. With 360 degrees of detection and coverage, you won’t miss deer.
- Get it now: Photos and videos can be transmitted on demand for instant intel.
- Go long: The Revolver has a 100-foot detection range.
- Choose your quality: Select from image resolutions ranging from 4-40MB.
- Take command: Manage data and camera settings remotely via Stealth Cam’s Command app.
Muddy Matrix 3.0 Cellular Trail Camera
- Reliable network coverage: Two preinstalled SIM cards provide automatic connectivity to AT&T or Verizon, whichever provides the stronger cellular signal at the camera location.
- Bring your data to life: 36MP images and 1080P full HD video, complete with audio, enhance buck identification. On-demand data transmission is possible at the push of a button.
- Settings and sharing: Do it all within the Command app.
- One with nature: The distressed camera shell blends seamlessly with tree trunks.
- Quick setup: Just scan the QR code.
Wildgame Innovations Terra XT 2.0 – 3 Pack
- Killer value: Get three trail cameras at one great price.
- Wireless connectivity: Reliable coverage is provided by Verizon and AT&T networks.
- On-demand photos and videos: Yes
- Settings and data management: The user-friendly HuntSmart app puts the camera’s back end at your fingertips
- High-quality images and videos: Images are captured at up to 24MB, and videos are shot in crisp 720P resolution.
- Don’t miss: A fast 0.5-second trigger speed puts more subjects in the center of the image for easier review.
How Do I Capture Every Buck in My Hunting Area? All of the Above.
No matter how many trail cameras you have in the field, it’s always possible that a buck can slip through the cracks. But stay persistent and keep a journal, and you can improve your trail camera program every year, which can influence your hunting success. The insights and tips we’ve discussed here will get you started.
Is baiting deer fair-chase hunting? Baiting has long been a touchy subject among deer hunters, and there are three political stances around it. One camp is flat against it and knocks bait hunters. The other camp hunts almost exclusively over bait. And the third consists of neutral folks who aren’t necessarily for or against it. The question is, who’s right?
Our quick answer to this article’s title is yes, baiting is fair chase. Before you start throwing punches or posting nasty comments, please read this article in full. There is far more to baiting than throwing down a corn pile and killing deer over it, so let’s explore all facets of this contested topic before you take one stance or another.
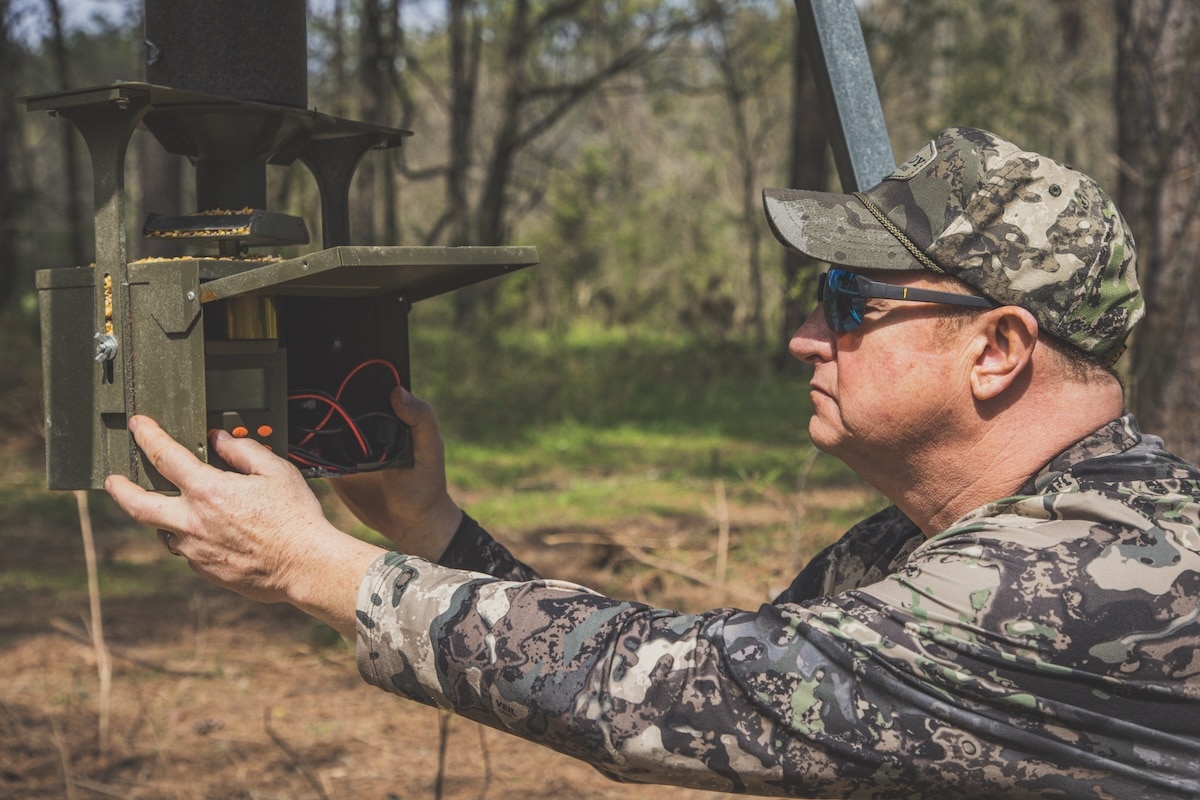
Where legal, feeders can be used for completely ethical feeding programs and even to create shot opportunities.
Are Baiting and Feeding the Same Thing?
Baiting is often lumped into one category. That is, anyone who puts out corn or a mineral lick is automatically considered a bait hunter. But there is more to the story, as HuntStand’s Brian Murphy, a longtime wildlife biologist who has devoted his career to deer, mentioned while discussing deer baiting for this article.
“Before we discuss baiting, I’d like to define my terms,” Murphy began. “Baiting and feeding are different. In my opinion, baiting is the placement of any substance to attract deer for harvest. Feeding sometimes has the benefit of attracting deer for harvest, but the main goal is to provide nutrition. Baiting is usually short-term placement of substances, while nutritional feeding is typically a year-round ordeal. So, a hunter who feeds deer isn’t automatically a bait hunter. Lots of hunters feed but don’t hunt those sites.
“Research in Texas and Oklahoma, particularly in low rainfall periods, shows that nutritionally feeding deer as much as they want, as often as they want, can boost antler and body sizes,” Murphy detailed. “Among deer biologists, we call it the 15-15 rule. Bucks that are five and a half or older and fed all they can eat of high-protein feed, year-round, can yield 15 additional antler inches and 15 more pounds of body weight in arid conditions. If you do the math, it’s an expensive per-inch and per-pound investment to make bucks just a little bit bigger. And, there’s only evidence of this in Texas and Oklahoma; I wouldn’t expect the same results in a state like Iowa with excellent agriculture, ample rainfall, and all of the beautiful things that grow big deer.”
Edge Habitat for Deer (and How HuntStand Helps Find It)
Unlike long-term spring and summer feeding, Murphy noted that short-term baiting for hunting has not been proven to measurably impact deer herd dynamics. Most baiting is done during the hunting season, when bucks’ antlers are fully developed, thereby mitigating any impact on antler size.
He also noted that the benefits of minerals are different than the benefits of feed.
“Research has produced no evidence that adding minerals to a deer herd’s diet measurably affects body or antler development,” he commented. “The vast consensus among deer biologists and nutritionists is that minerals provide benefits in the form of general immune health.”
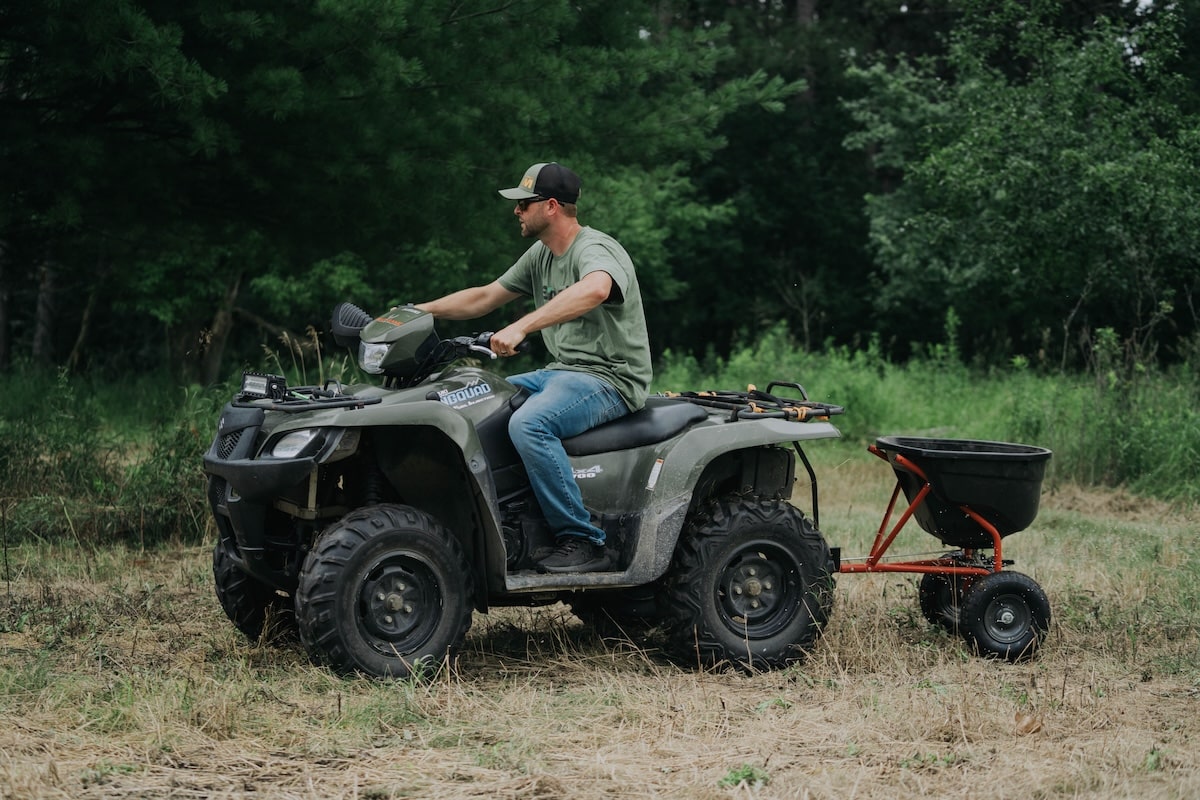
Consider spreading bait over larger areas to decrease risk of disease transmission.
Does Baiting Transmit Diseases?
Murphy mentioned communicable diseases on the whitetail landscape relative to feeding and baiting.
“Obviously, the big one is CWD, but there are others,” he said. “Diseases have curtailed baiting opportunities. Many state agencies are trying to reduce deer-to-deer contact. It is a legitimate concern. If a deer has its head in a trough or on a bait pile long enough and one of the deer visiting the site has something, other deer are being exposed.
“I can just hear skeptics arguing that an oak tree or food plot are no different,” he continued. “I understand what they’re saying, but it’s not quite the same. An oak tree has a 25-foot circle that drops acorns. A food plot may be an acre or larger. Those settings are way less confined than a singular hole or trough.”
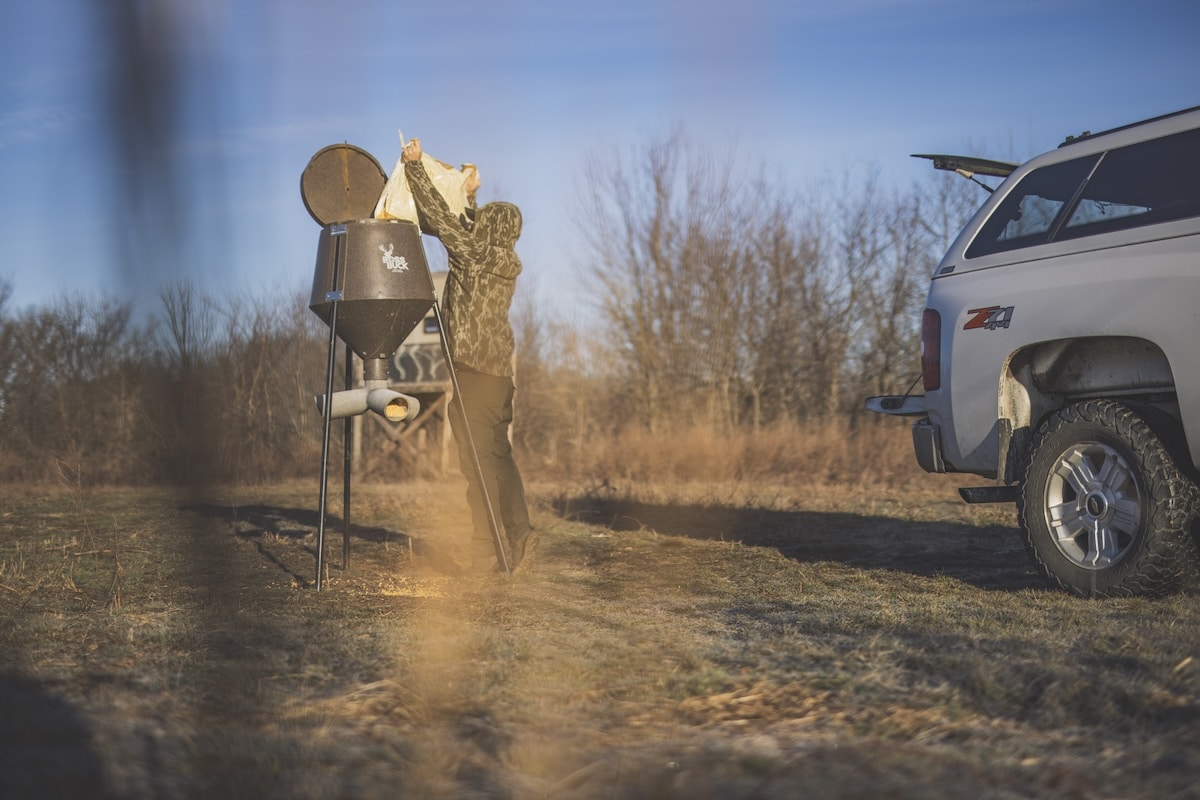
Use Boss Buck deer feeders to provide supplemental feed.
Is Baiting Illegal?
Several states have baiting restrictions in light of the disease scares. Some states outright prohibit baiting and hunting over bait, while others have restrictions that vary by county or management unit. Some states also restrict the amount of bait you’re allowed to place. The point is that you must brush up on the regulations before you even consider placing and hunting over bait.
Use HuntStand’s Property Lines Feature for Deer Hunting
Does Baiting Have Advantages?
While we believe that bait hunting under legal parameters is fair chase and doesn’t offer hunters “unfair” advantages, it can have some pluses for hunters, just like hunting from a treestand or using calls and decoys can have merits.
“I like to set trail cameras over corn piles,” Murphy said. “It’s a vital tool for me to assess the deer population, including herd characteristics, age structure, and target bucks, which is valuable during the hunting season.”
Baiting can also be a good tool for judging deer. “A new hunter and even some seasoned hunters might struggle to judge a button buck from a doe or a middle-aged buck from a mature buck as it walks by on a trail,” Murphy noted. “Bait can cause a deer to pause for a little bit at close range, allowing the hunter time to calm down and more accurately judge the animal before shooting.”
Another advantage, especially for archery hunters, is that bait can attract deer within easy shooting range at a known yardage for a high-percentage shot opportunity. That being said, baiting in no way guarantees that a deer, especially a big buck, will appear during legal shooting light and present a shot opportunity. Just the opposite, baiting can, in some instances, hurt your success more than help it. That makes a nice segue into the next part of our discussion.
![Is Baiting Deer Fair Chase Hunting [imei:865141050166285]](https://assets.huntstand.com/wp-content/uploads/2026/08/Is-Baiting-Deer-Fair-Chase-Hunting-5.jpg)
Improper use of feeding and hunting around feeders can cause deer to only use these areas at night.
Does Baiting Have Disadvantages?
In the natural world, deer have a propensity to move in and around feeding areas during the first and last hour of daylight, or in the dark. Adding human intrusion only fuels that tendency.
“A lot of research has studied the topic of hunting around bait,” Murphy said. “Like any hunting area, whether it’s your favorite oak tree or a food plot, overhunting a baited area, accessing it the same way repeatedly, and even hunting on poor winds will impact deer movement patterns. Many bait hunters fall into these poor routines, and their lack of success shows it. Research proves that disturbances like these cause bucks to actually pattern and avoid hunters.
“One telling study was conducted in South Carolina some years ago. At the time, hunting over bait was allowed in half of the state and prohibited in the other half,” Murphy continued. “Researchers analyzed the data sets from each half and found that bait hunters were actually less successful per hour of hunting than those who hunted without bait. A lot of that goes back to hunting one or two bait sites repeatedly, which makes those sites increasingly less productive during legal hunting hours as the season goes on. Deer don’t necessarily stop using the baited sites; they simply use them at night.”
How to Chart a Buck’s Home Range and Core Area
Murphy emphasized that how hunters go about hunting baited sites matters. “If you hunt baited sites strategically,” he explained, “hunting them sparingly on the right winds and using careful access, even five- and six-year-old bucks can be susceptible to bait sites.”
A timber company in the Southeast studied a typical hunting-club setting, where hunters would arrive, zip around on ATVs to bait and check trail cameras, and then hunt over the weekend. “The study found that deer primarily avoided feeders and food plots over the weekends that hunters were there,” Murphy outlined. “By the middle of the week, deer movements normalized. The study found that hunters who headed out to hunt on Wednesday or Thursday were about four times more likely to connect with a mature buck.”
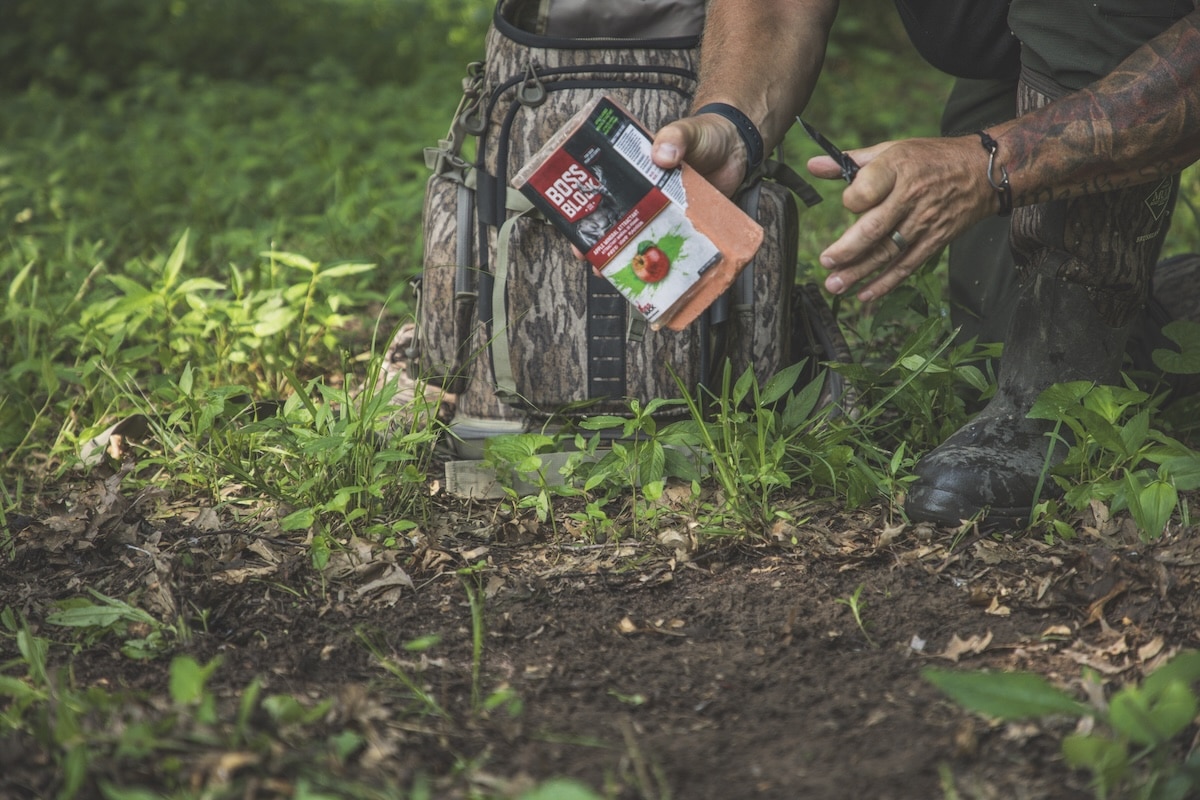
Where legal, decide if baiting is right for you.
Is Baiting Culturally Acceptable?
It’s important to note that baiting politics vary both culturally and geographically. “If you look at Texas, feeding has been legal since the sun came up,” Murphy shared. “There, your argument about hunting over bait being unethical won’t be heard. It is accepted statewide. In other states where baiting hasn’t been part of the culture, many hunters might completely oppose it.”
A Detailed Guide to HuntStand App Tools for Deer Hunters
Is Knocking Down Cornstalks Different Than Placing a Corn Pile?
A highly effective way to attract deer to a defined area for harvest is to knock down cornstalks. Is this the same as baiting?
“I see it this way,” Murphy said. “There is a difference between a farmer or hunter liming, fertilizing, planting the corn, watering it, and then shredding or knocking it down than a hunter simply dumping corn on the ground. You’re contributing to the deer herd on a higher level, and the contribution is more meaningful because the deer herd is fed over a longer period of time and given security cover with minimal human disturbances. A cornfield has value way beyond the corn itself. To me personally, it would mean way more to harvest a buck this way than killing one over a corn pile that required minimal effort to dump out.”
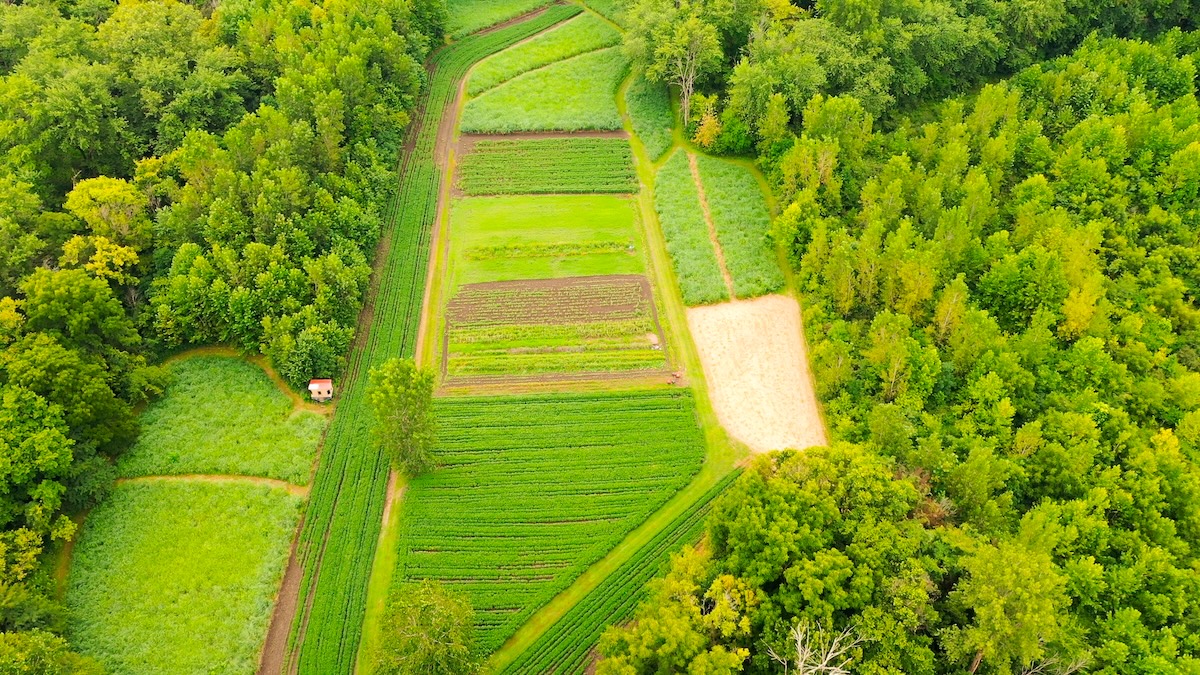
Used properly, bait and supplemental feed can become beneficial parts of overarching land management plans.
Is Baiting Deer Fair Chase?
As we discussed earlier, placing a corn pile doesn’t guarantee that you’ll kill a deer. Nothing is forcing that animal to expose itself, broadside, during hunting hours. And even when a deer approaches a baited site, it still has the opportunity to hear, smell, or see the hunter and flee.
Murphy explained that the non-hunting public and even some of the hunting public falsely believe that hunting over bait gives the hunter an unfair advantage over deer. “It’s a gray line,” he said. “Persimmon trees and food plots with corn pushed down attract deer and make them virtually as susceptible to a hunter as a corn pile. This makes the ethical lines gray. I’d leave it up to each hunter to hunt the way they want, as long as they use legal practices. Where baiting is legal, no hunter is at liberty to tell another hunter that baiting is unethical or not fair chase.”