


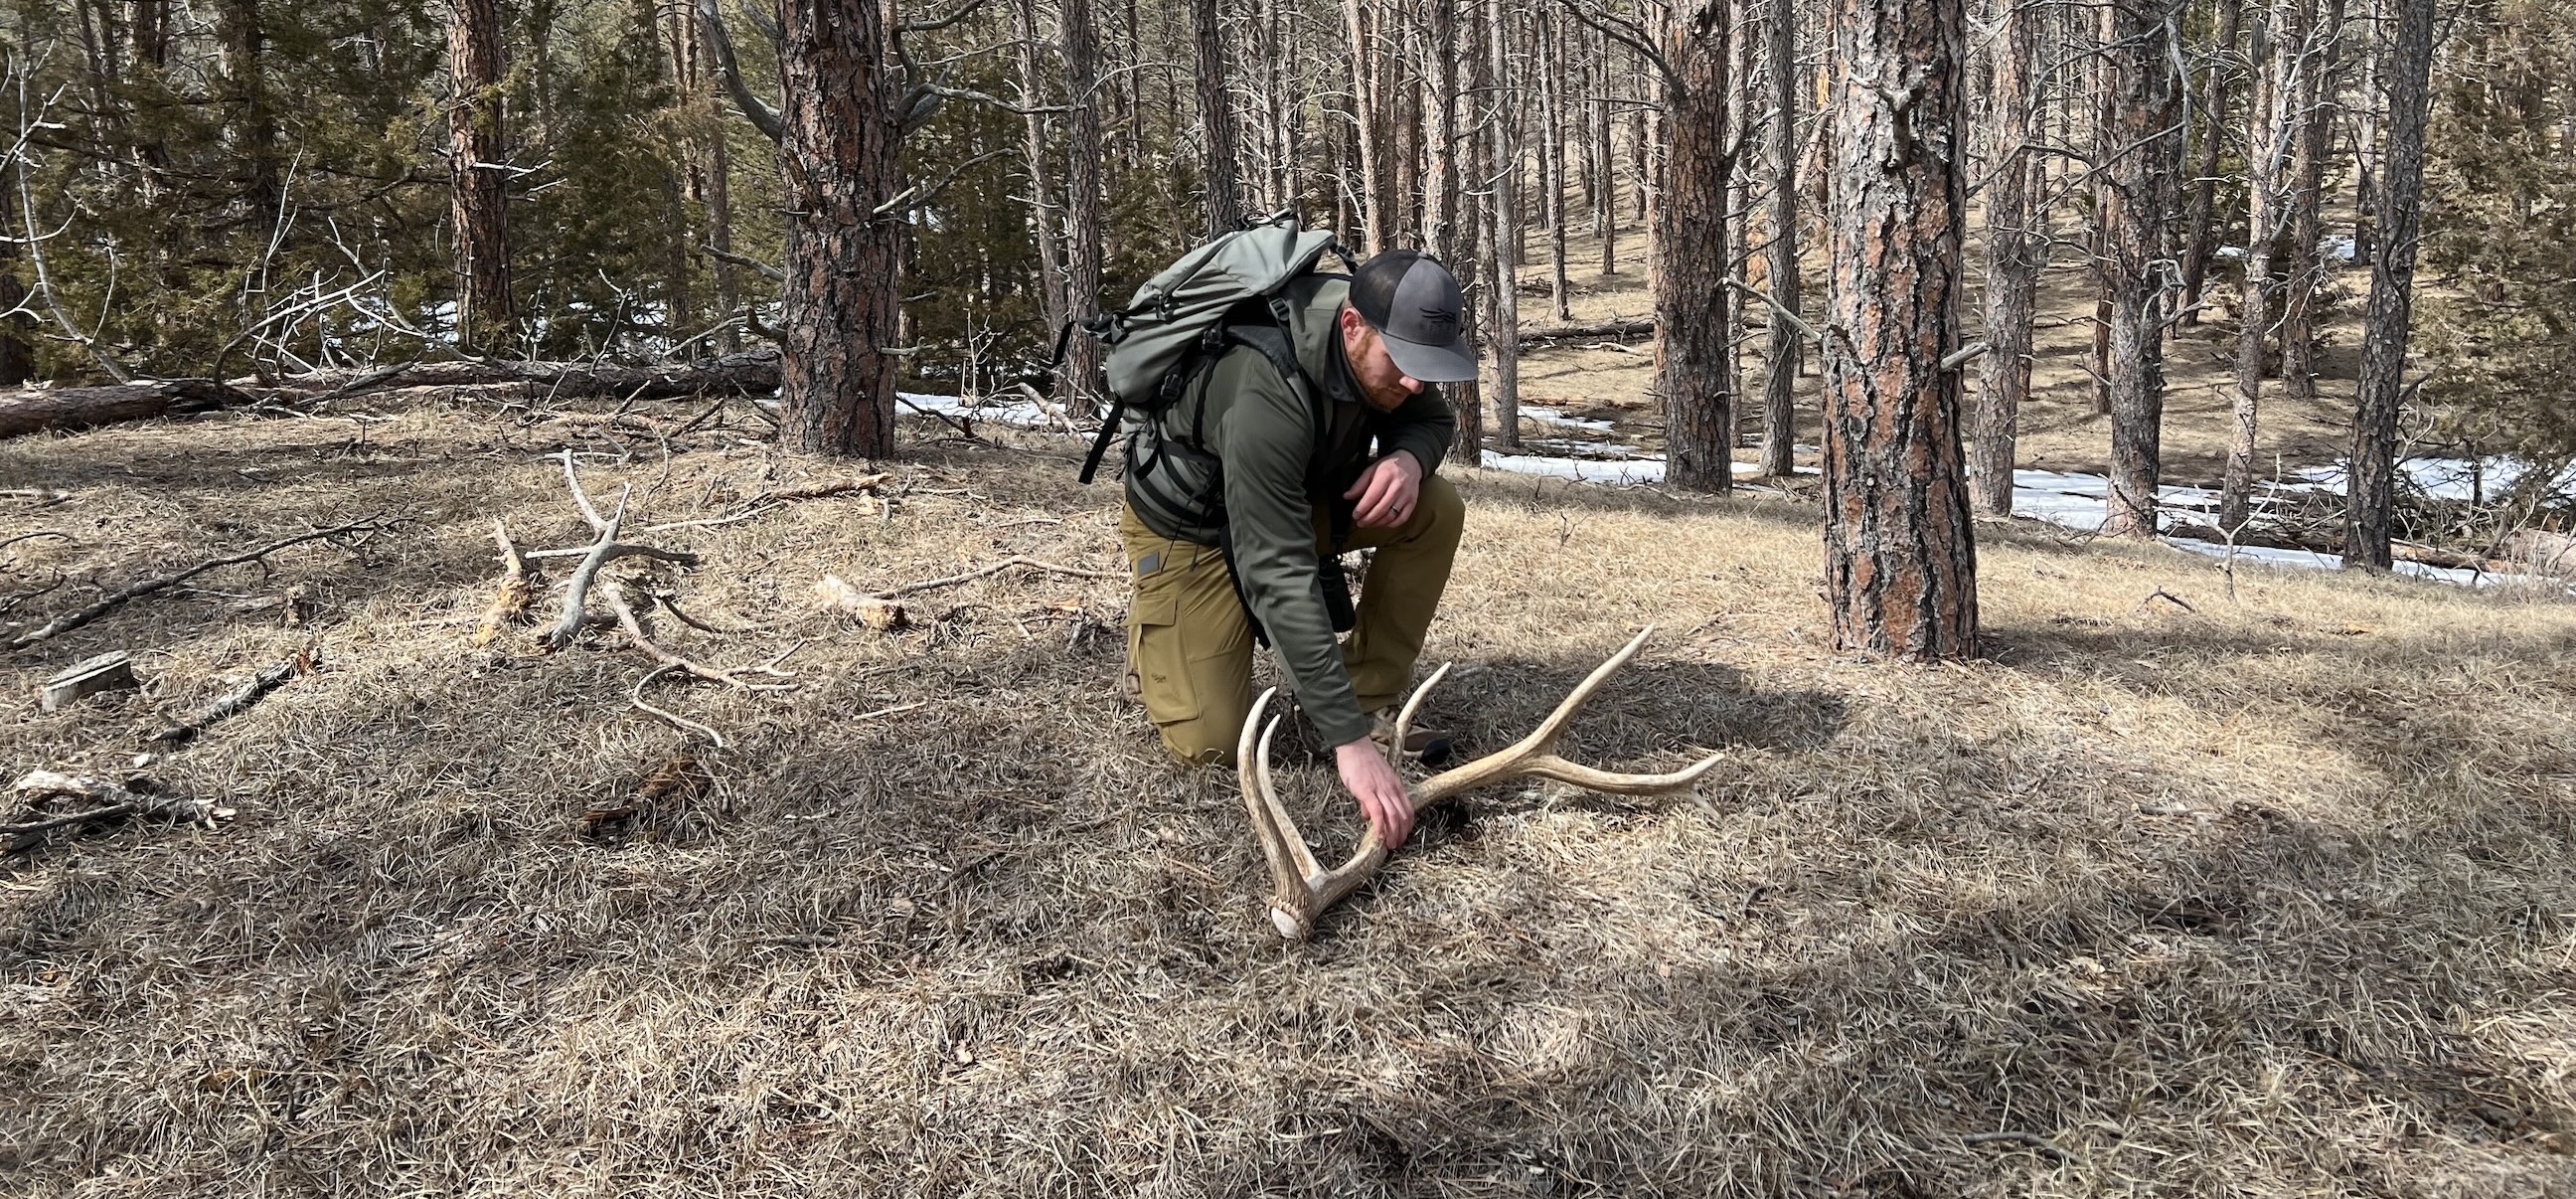

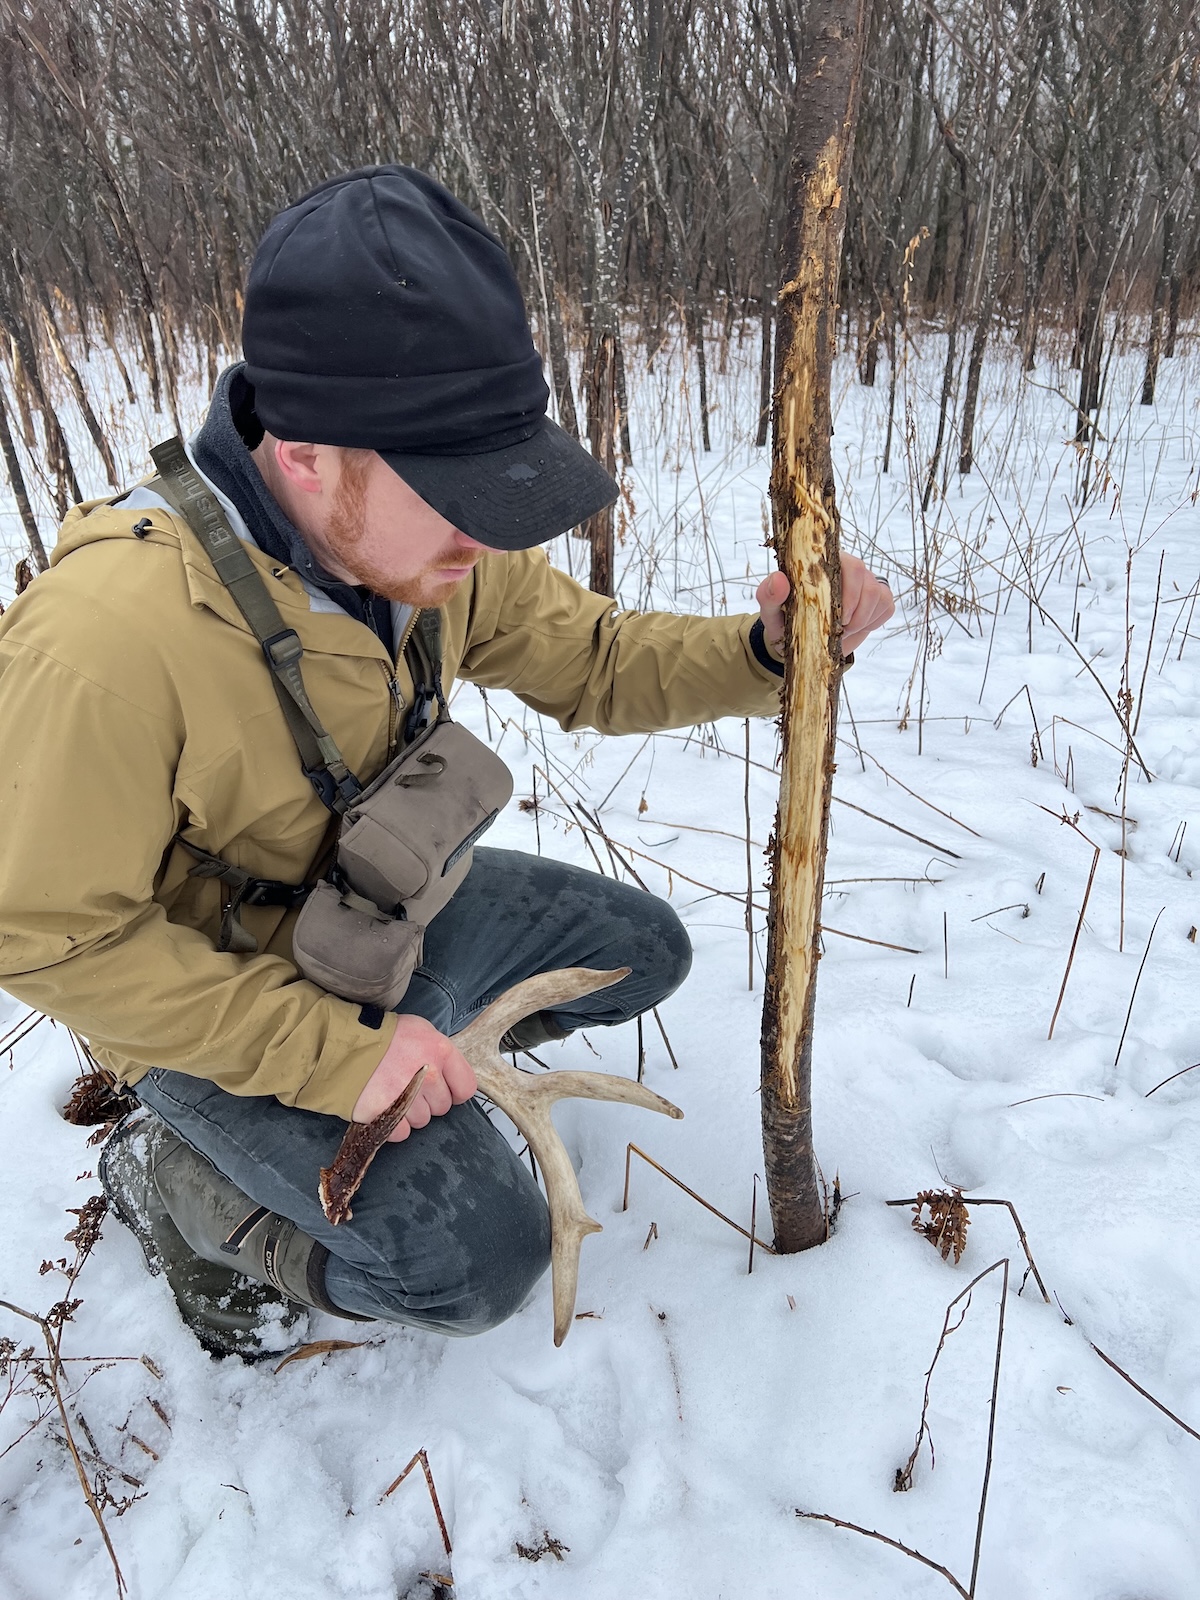

Drop markers when you find rut sign. The ability to reference these during the fall can inform your hunting strategies.
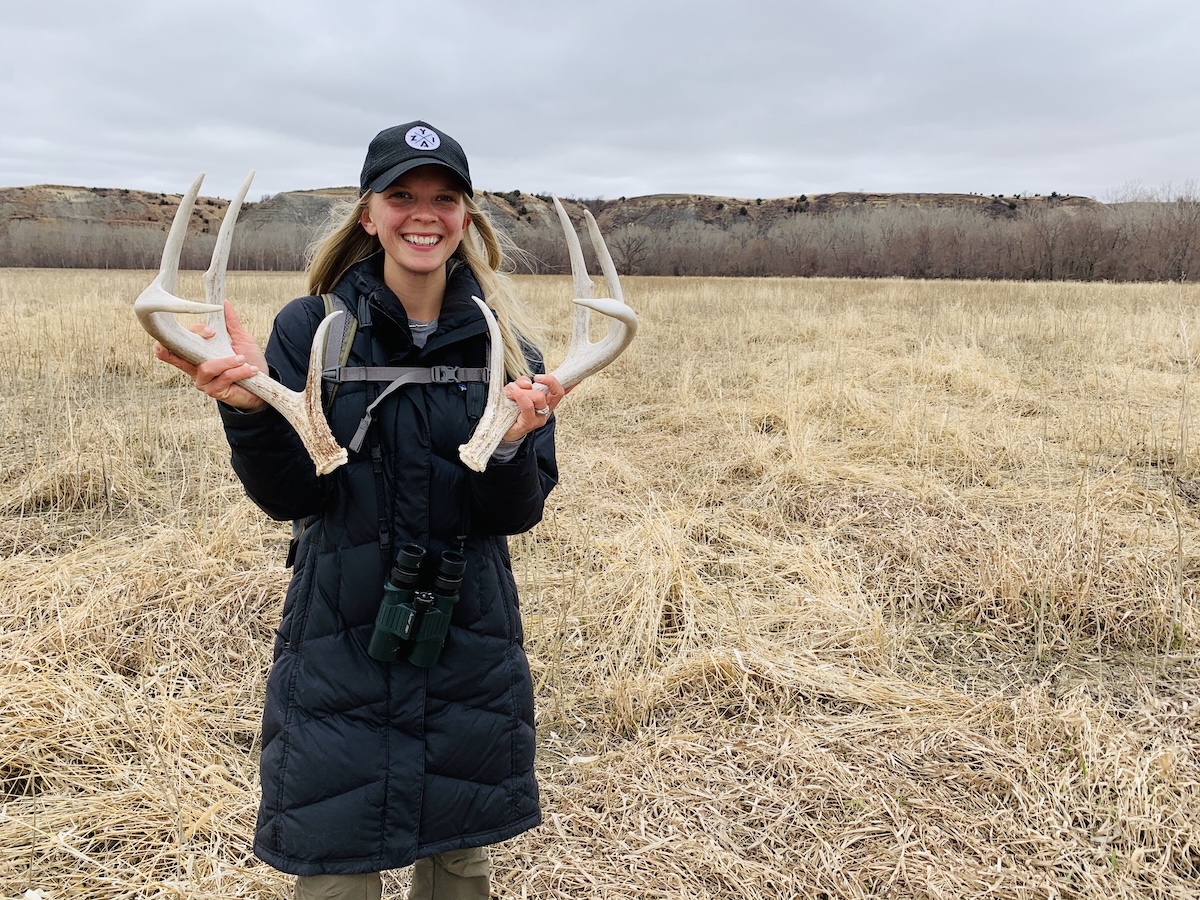
Becca McDougal often looks where most other shed hunters don’t have the patience to look, such as areas of tall grass or in standing cornfields.
I will never forget the moment I spotted it: a spike antler lying atop the matted leaves. It was a warm, early-spring afternoon, and I’d been hiking up and down some deer trails leading in and out of the timber near a friend’s food plot. Finally, after several springs of looking, I found my first shed antler, albeit a tiny one.
I love reminiscing on the childlike excitement I felt in that moment. I had caught the “shed fever.” Twenty-two years have blown by since, and my wife and I have done quite well on sheds considering that we’ve mostly looked on public lands. We’ve grabbed our share of whitetail, mule deer, and elk antlers. I’ve even picked up two moose paddles.
We’re far from the best shed hunters out there and aren’t as “sick for it” as some but being that we own only 35 acres and find most of our sheds on public land, the following tips should be relatable to the everyday hunter. If that’s you, here’s how to leverage some HuntStand features to boost your shed program.
Here’s how to find more sheds, especially with the help of HuntStand Pro.
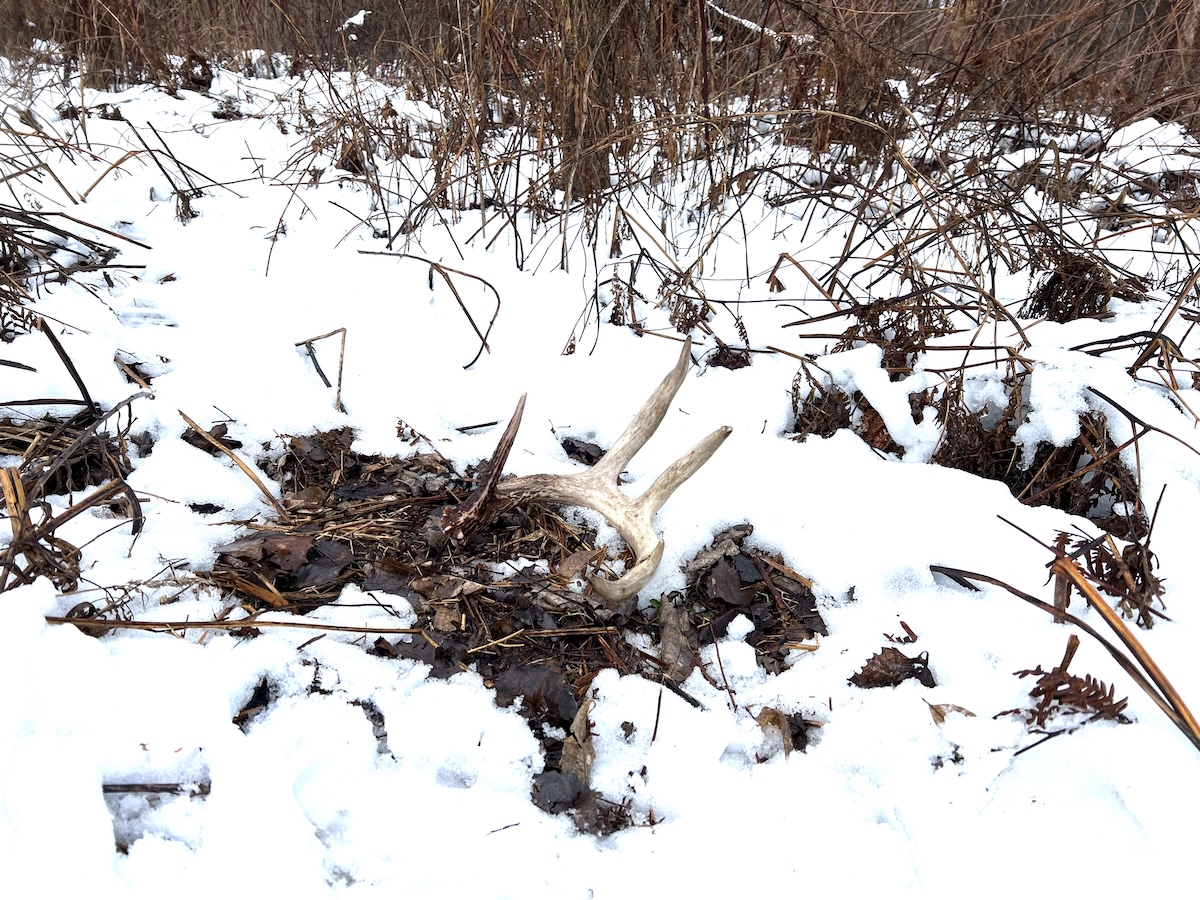
During shedding season, deer and elk love to bed on south-facing slopes in the sun and out of the wind.
Get Started Shed Hunting
Before we dive into some tips and HuntStand usage, let’s get some general housekeeping rules out of the way. In winter and early spring, animals are at their lowest point health-wise. Hunters and predators pressured them throughout the fall and early winter. They had the stress of the rut. Nutritional resources are in much lower supply — if not mostly depleted — than in the fall, and in snow-laden landscapes, the animals must dig through piles of it to uncover food. They have it pretty tough.
If you want to be the first one to post a “shed selfie” to your socials, resisting the urge is best. Pushing around animals that might or might not have shed their antlers yet is senseless and selfish. If you’re out there pushing animals off food sources and from their bedding areas during the winter, you’re inconsiderate of the exhaustion these animals are facing.
Because of this, some states (namely, Wyoming and Colorado) have shed-hunting seasons. These are designed to protect deer and elk from needless shed-hunting pressure during the vital time when any added stress could spell mortality for already exhausted animals.
Now, if it is legal and you must look for sheds when the animals are just beginning to shed, stick to food sources and only look during midday when the animals have moved off the food to their bedding areas. Ignore the “competition” aspect of shed hunting. There is merit to being the early bird, but selfishness can prompt you to do stupid things, such as pressuring animals and pushing bucks or bulls still wearing antlers, out of the area.
How Deer Survive Winter
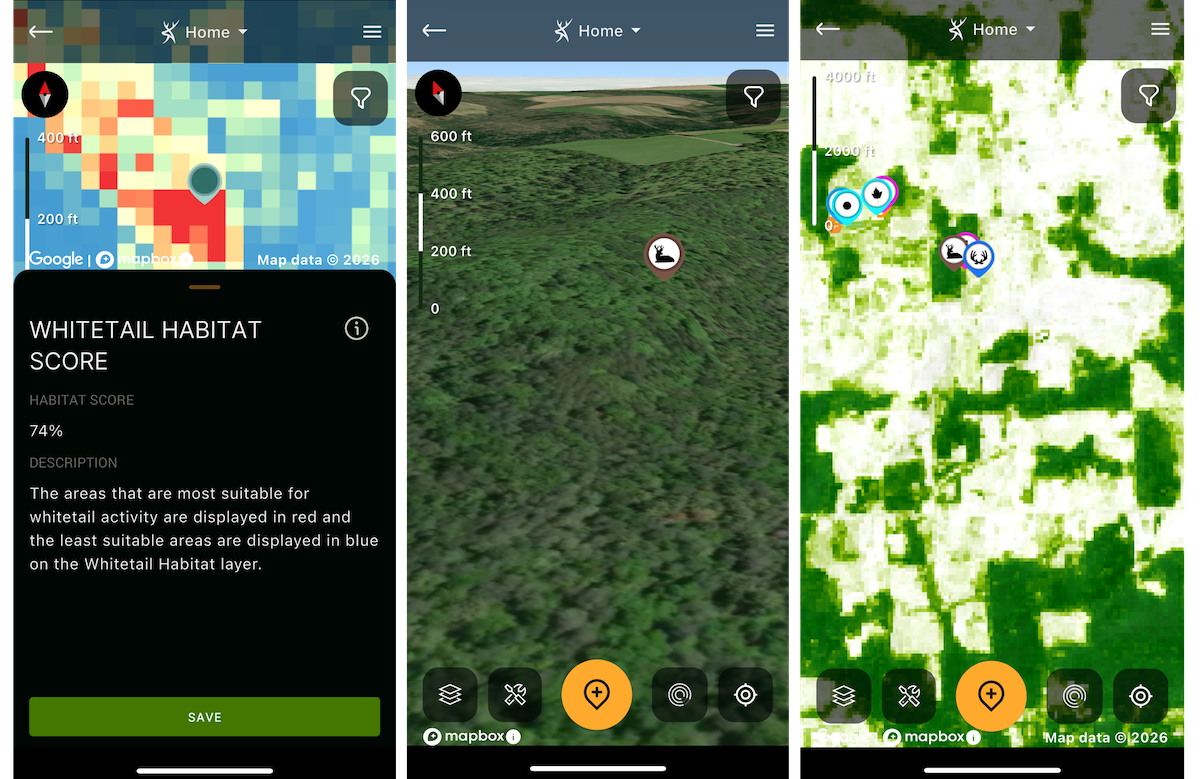
HuntStand Pro’s Whitetail Habitat Map overlay can help you pinpoint productive areas.
Start with Food Sources
Food is important every day of a deer or elk’s life, but it is never more important than in the winter. For that reason, food is usually the best starting point for every shed hunt. While not all bucks or bulls will drop their headgear at a food source, you can make plans around their bed-to-feed patterns and find sheds that way.
Crop History is a great overlay tool for mapping all agriculture in a given area. If you’re walking around on private land, you probably already know where the winter food sources are, but this overlay can also help you identify outlying food sources on adjacent properties that can influence an animal’s day-to-day habits. Knowing what food sources are in the vicinity can give you a better picture of the places a particular buck or bull lost his sheds.
When you click on a food source with Crop History engaged, you can then hit “Advanced,” which provides the crop details for the last several years. This can be beneficial for identifying crop rotations, which can help you learn which years you can expect specific ag fields to have winter food sources.
When you put boots on the ground, winter food sources are great places to begin searching, but they aren’t the end-all destination. If you’re on public land, it’s often a given that someone else has already searched it. Expect to see boot tracks and other signs of human activity. The other side of the coin is that other shed hunters can’t find all of the sheds. Not many folks thoroughly search standing cornfields, for example, as combing them is tedious. Some folks might only glass large bean fields and corn stubble, so a thorough walk could yield the prize.
How to Scout Deer in Winter
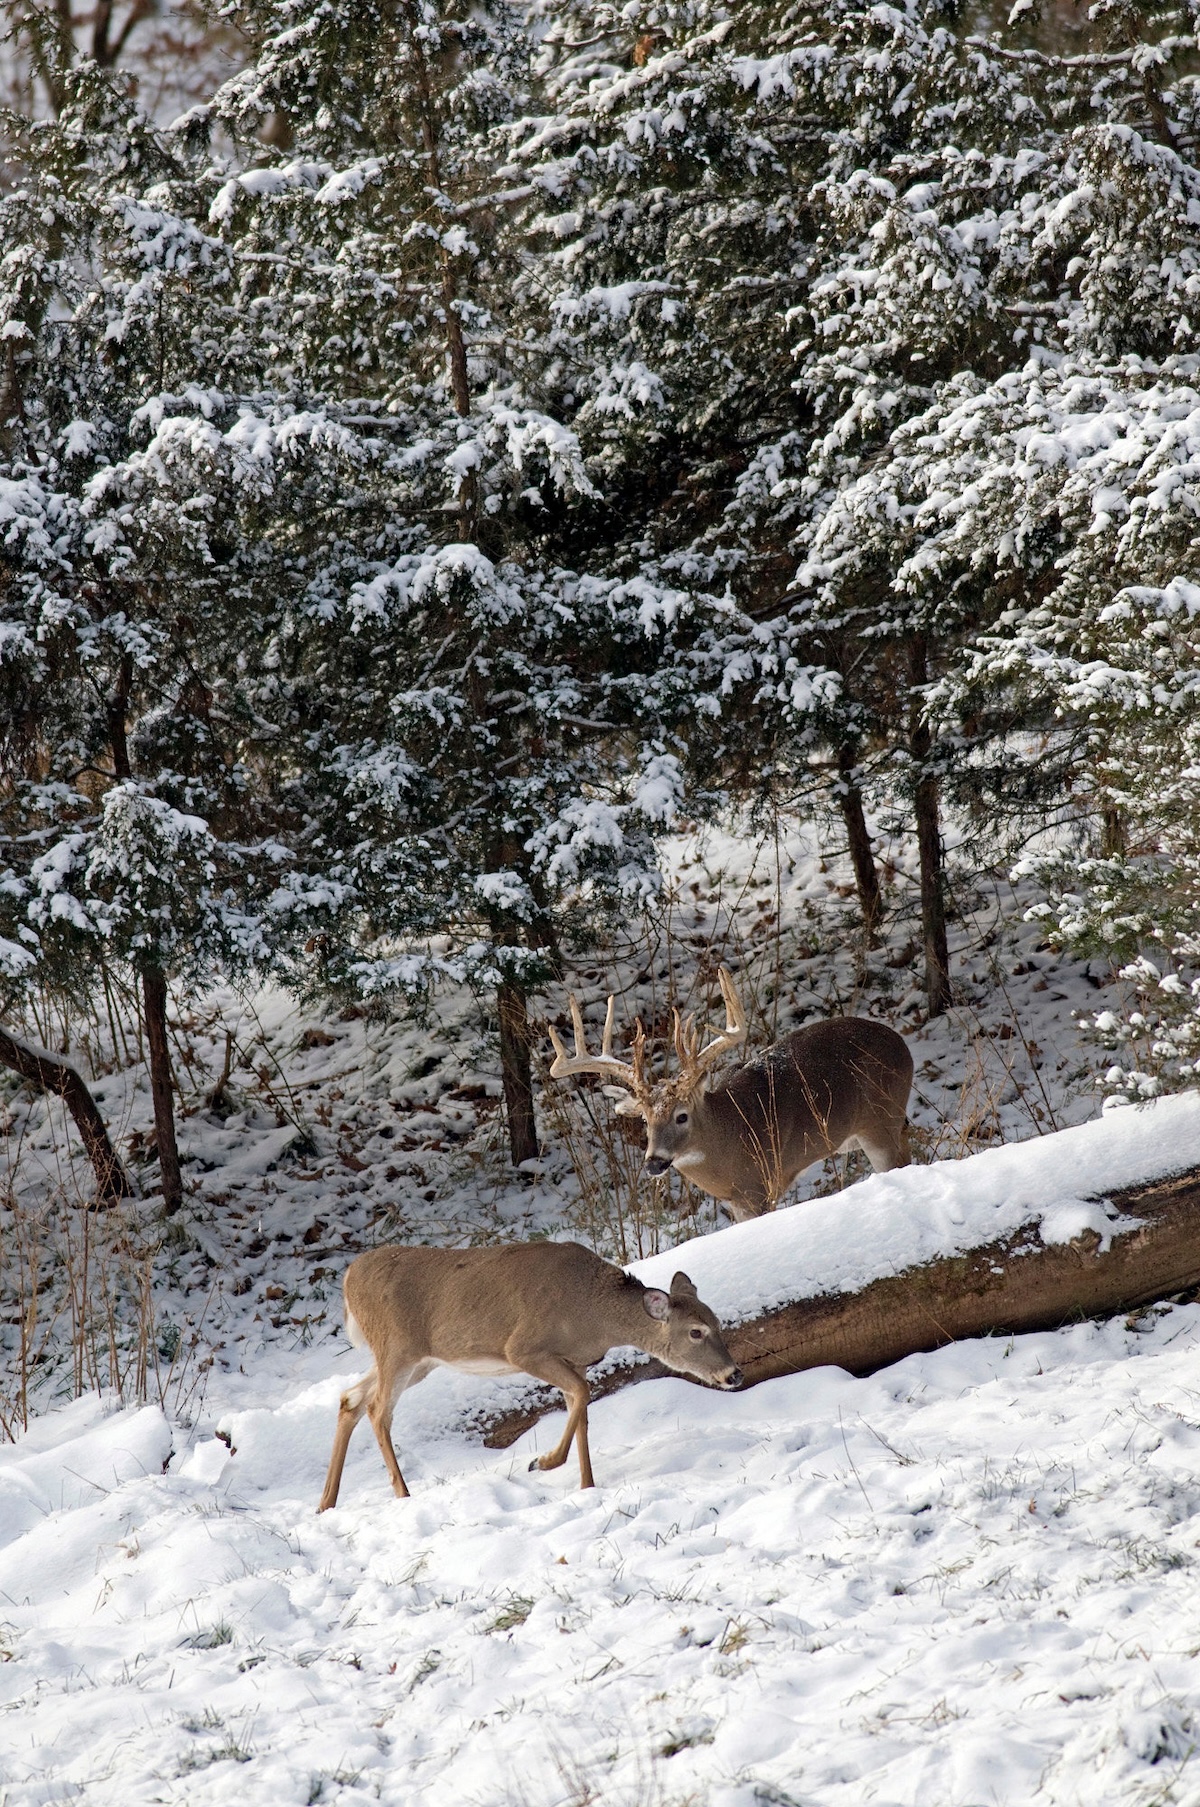
It’s exciting to be the first one to find a shed but avoid pushing animals around. They’re already exhausted from tough weather and hunting pressure.
Check Edge Cover
Because lots of people focus on food sources, edge cover, especially tall grass, can be a solid bet. Several times my wife has combed tediously through tall grass that most folks wouldn’t have the patience to search. And she’s found some nice sheds this way. One beautiful five-point antler was within 200 yards of a main public-land parking area. I had honestly given up, but she took the path less traveled and found a great antler.
Using the Hybrid or Satellite maps, zoom in tight and look for deer trails paved through switchgrass or cattails. These locations aren’t nearly as glamorous as a stroll through hardwoods, but they can be more productive.
Follow the Wagon-Wheel Spokes
Using the Hybrid base map and the Tree Cover overlay, pick out potential bedding sites that bucks likely used during the shedding season. These are generally within a few hundred yards of a food source, possibly farther in years with shallow snow or out west in areas with minimal habitat. Once you identify likely bedding areas of thick cover, it’s time to map out your search of all trails leading to and from the food source. Think of the food source as a hub, and all of the trails congregating to it as spokes.
A common dilemma is knowing where you’ve searched, especially as you get farther away from the food source. I have a suggestion. In the app, draw areas you know you need to hike using the shape tool. Then, enable the Track feature while you’re searching. There will be no guessing what you’ve covered and what you have not. It’ll be plain and obvious on the map.
Hit Riparian Habitat
At almost any time of year, creeks and rivers are busy with whitetails because they often provide top-notch habitat. At a minimum, deer travel up and down these areas, but they often bed along them, too. My wife and I have found plenty of sheds along riparian habitats. Although most of HuntStand’s base maps make it easy to identify creeks and rivers, be sure to engage the Riparian overlay for even easier reference.
Advanced Shed Hunting Tips
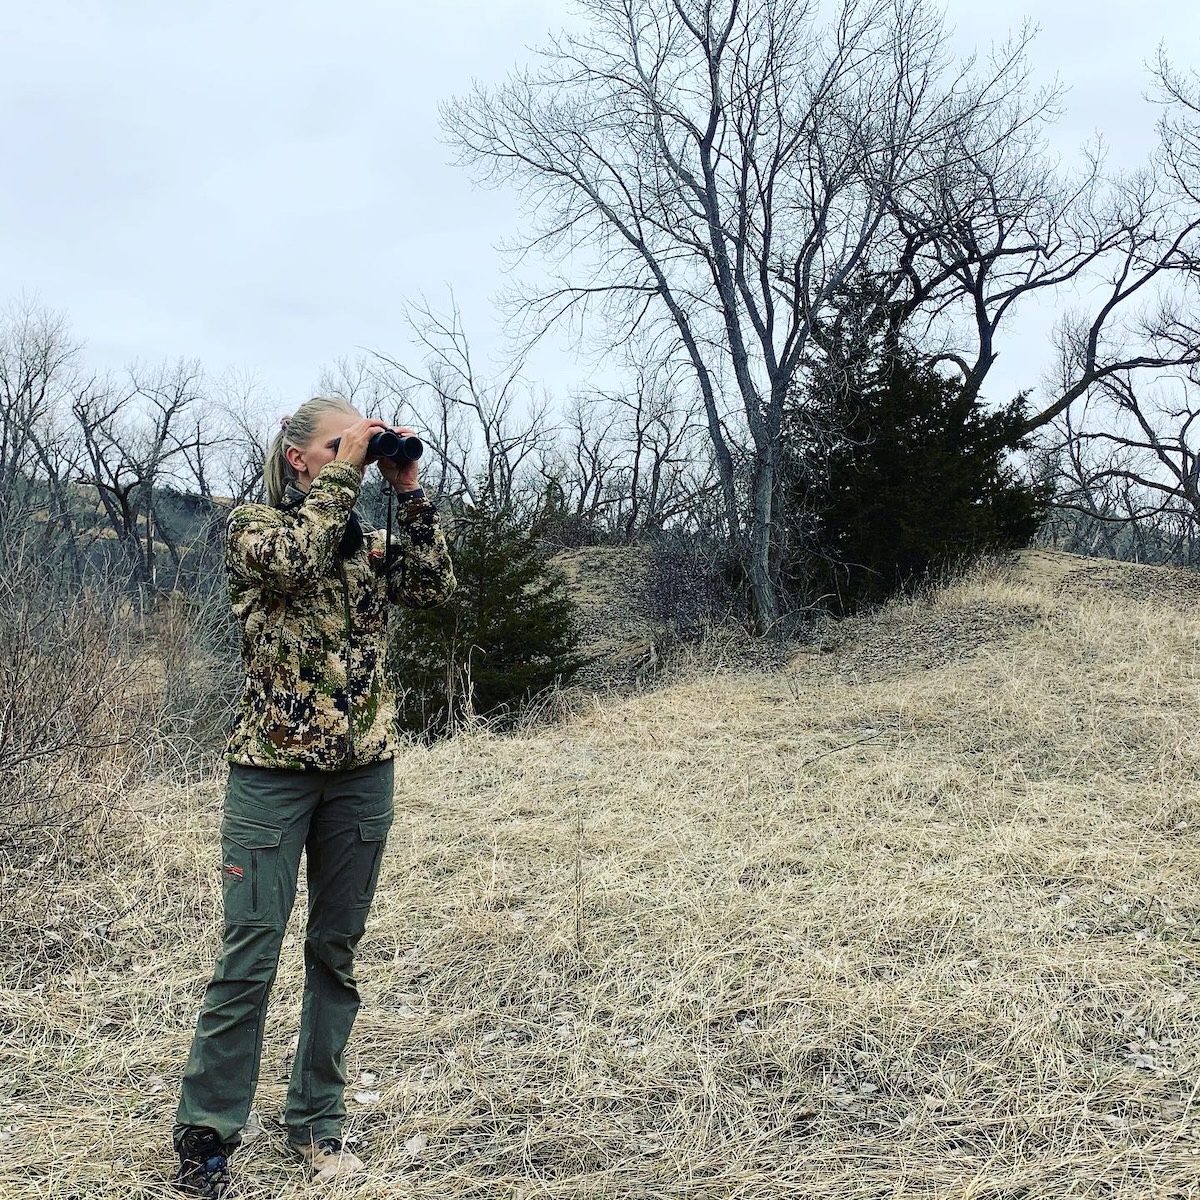
Don’t go shed hunting without binoculars. Then, everything that looks shed-like is just a quick binocular scan away.
Search South-Facing Slopes
In timbered areas, food sources are less obvious. In bumper mast-crop years, there might be enough acorns to see deer through the fall and well into shedding season. Look near oaks, and you should be able to see if deer were or still are feeding there. If not, don’t worry. Big woods deer make a living on browsing, and while the big woods generally hold fewer deer and yield a tougher shed hunt, you can have some luck in the right places.
Engage the Terrain base map and identify south-facing ridges. Bucks habitually bed on these to take shelter from prevailing west and northwest winds, as well as to soak up some rays during midday. In steeper terrain, you might find the 3D Mapbox Satellite map extremely helpful for pegging these south-facing ridges.
Elk are no different. In lower-elevation wintering habitat, elk often can be spotted on south-facing slopes above hayfields. They might seek cover in areas with greater human presence, but if they aren’t pressured, they just might be lying in the wide open or amidst some cedars and drop their sheds there.
Shed Hunting Hacks, Tips, and Tactics
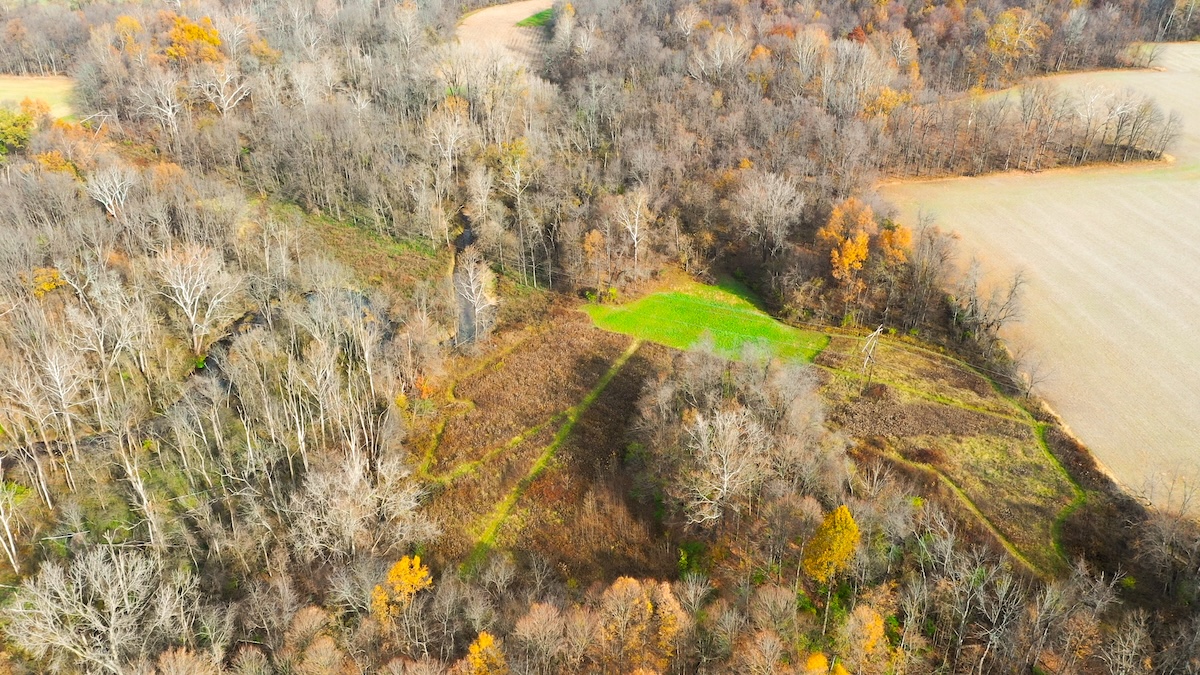
Thermal cover draws bucks and bulls during windy, inclement weather, and they often drop their headgear in such haunts.
Check Whitetail Sanctuaries
Save this one for last. Sanctuaries are not to be invaded, with one exception. A trip into a sanctuary during spring, when you know all of the bucks have shed their antlers, is permissible. It’s a good learning experience, and you can combine a shed search with some potential habitat work, improving cover through hinge-cutting, brush piling, or planting thermal cover.
If you’re a public-land hunter, you might think this one doesn’t apply to you. Not so fast! Public parcels often have sanctuaries, tough-to-reach haunts that most other hunters don’t go to. If this weren’t so, hunters wouldn’t kill huge public-land bucks that are 5 1/2 years of age or older, but it happens annually.
In HuntStand, begin by engaging the Whitetail Habitat Map overlay. Each area of the map will be shaded in a color code, and when you click on a color, you’ll get a percentage-based habitat score. Now, alternate to the Hybrid map, which denotes roads and lets you see possible parking and access areas. Next, engage the Public Lands base map and try to identify areas that are the least accessible. Sometimes these are a mile or more from the access. Be sure to keep overlooked spots in mind, too, such as thickets that are along roadways and perpendicular to parking areas and trailheads.
Learning From Shed Antlers
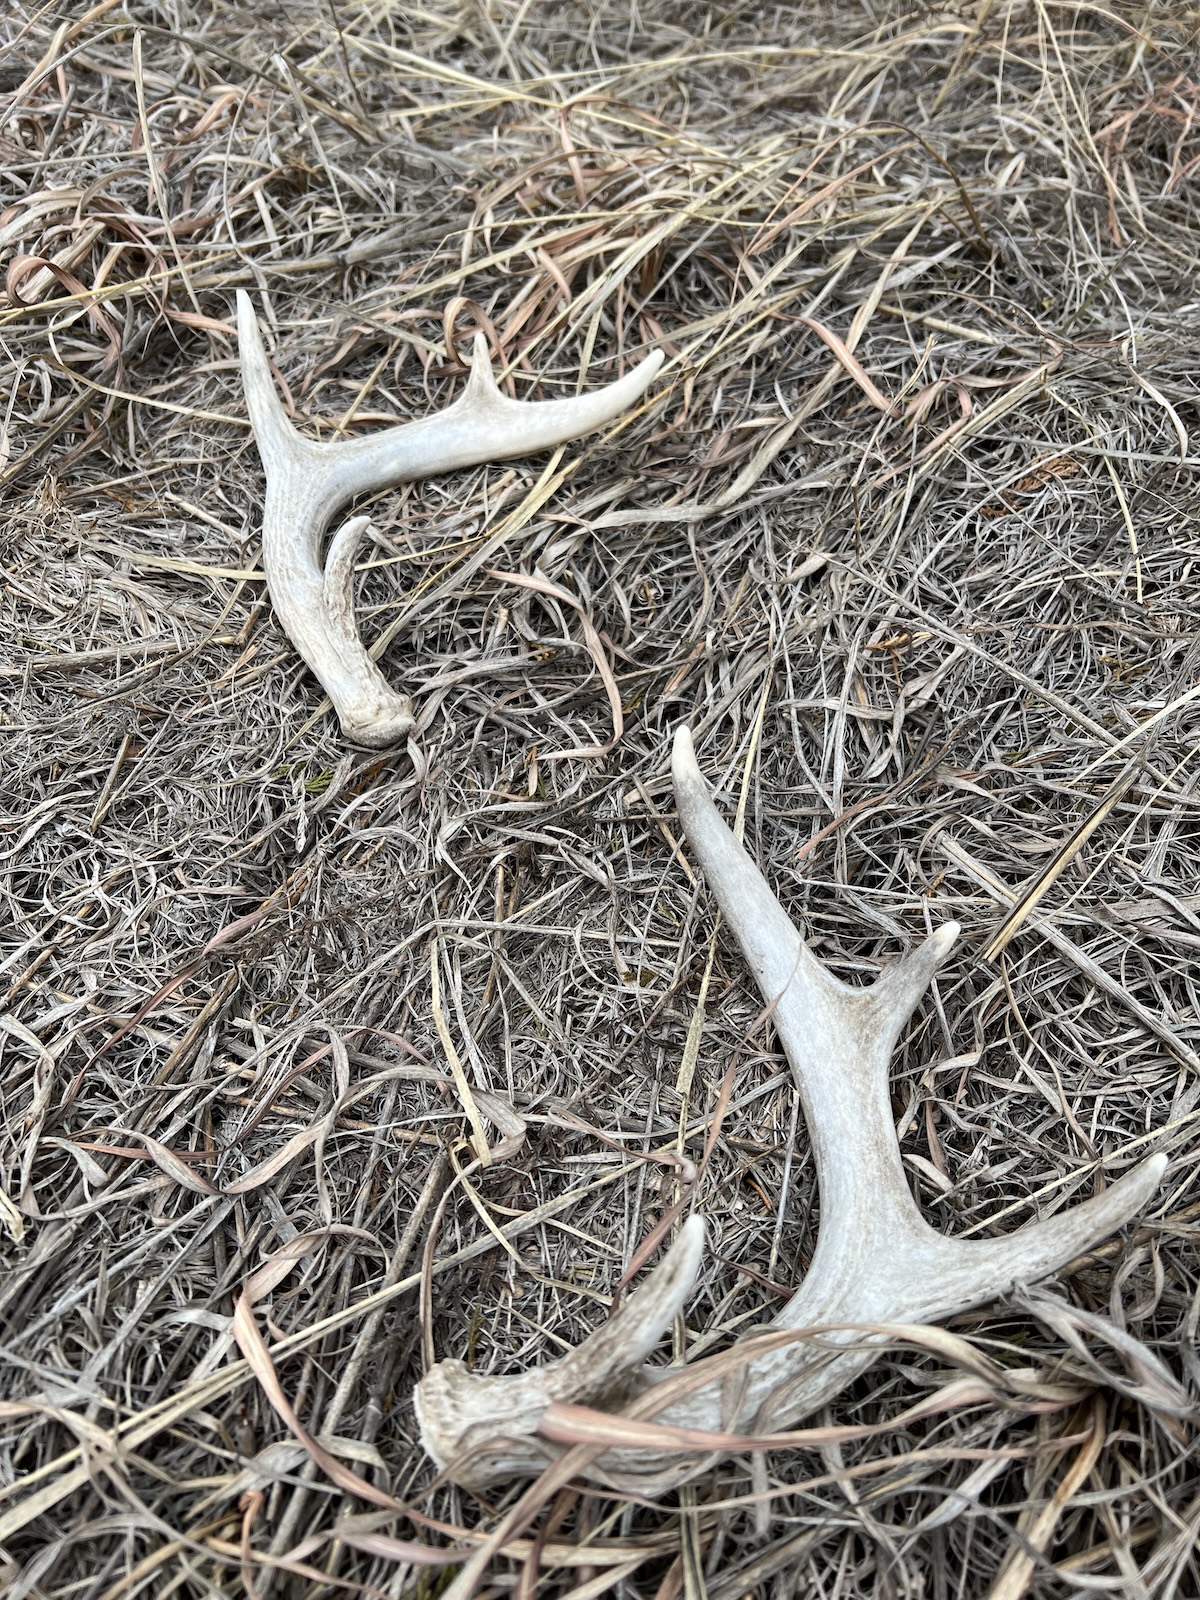
Finding any sheds, even a small, matched set like this one, makes for an exciting spring day.
If All Else Fails
If you come up empty-handed, a last resort is to strap on your boots and hike as much as you can, especially on public land. Even if you don’t find sheds, the amount of knowledge you’ll gain by being in the woods can be priceless and inform a lot of your hunting decisions.
When you go roaming, HuntStand is your GPS for navigation. Because some of the best shed hunting occurs in areas with low or no cell signal, it’s important to download offline maps for these areas. If you’re questioning whether or not the area you’ll be focusing on has cell signal, simply pull up your Hunt Area and select the Cell overlay. It will show the cell signal for each map location. If the signal is noted as poor, you’ll definitely want to download that area prior to going there.
The details, such as those we’ve discussed here, can influence shed-hunting success. With those in place, diligence and time spent will serve you well. Oh, and don’t forget to carry binoculars. It is common to see objects from a distance that appear antler-like. If you have to walk up to each one to confirm or deny, you’ll needlessly walk lots of extra distance in an outing and waste a bunch of time, too.
Armed with these tips and a never-quit mindset, go have a blast shed hunting this spring! Oh, and don’t forget to drop markers in the app on things you find, such as rubs, trails, and scrapes. This can help inform your hunting strategies come fall.
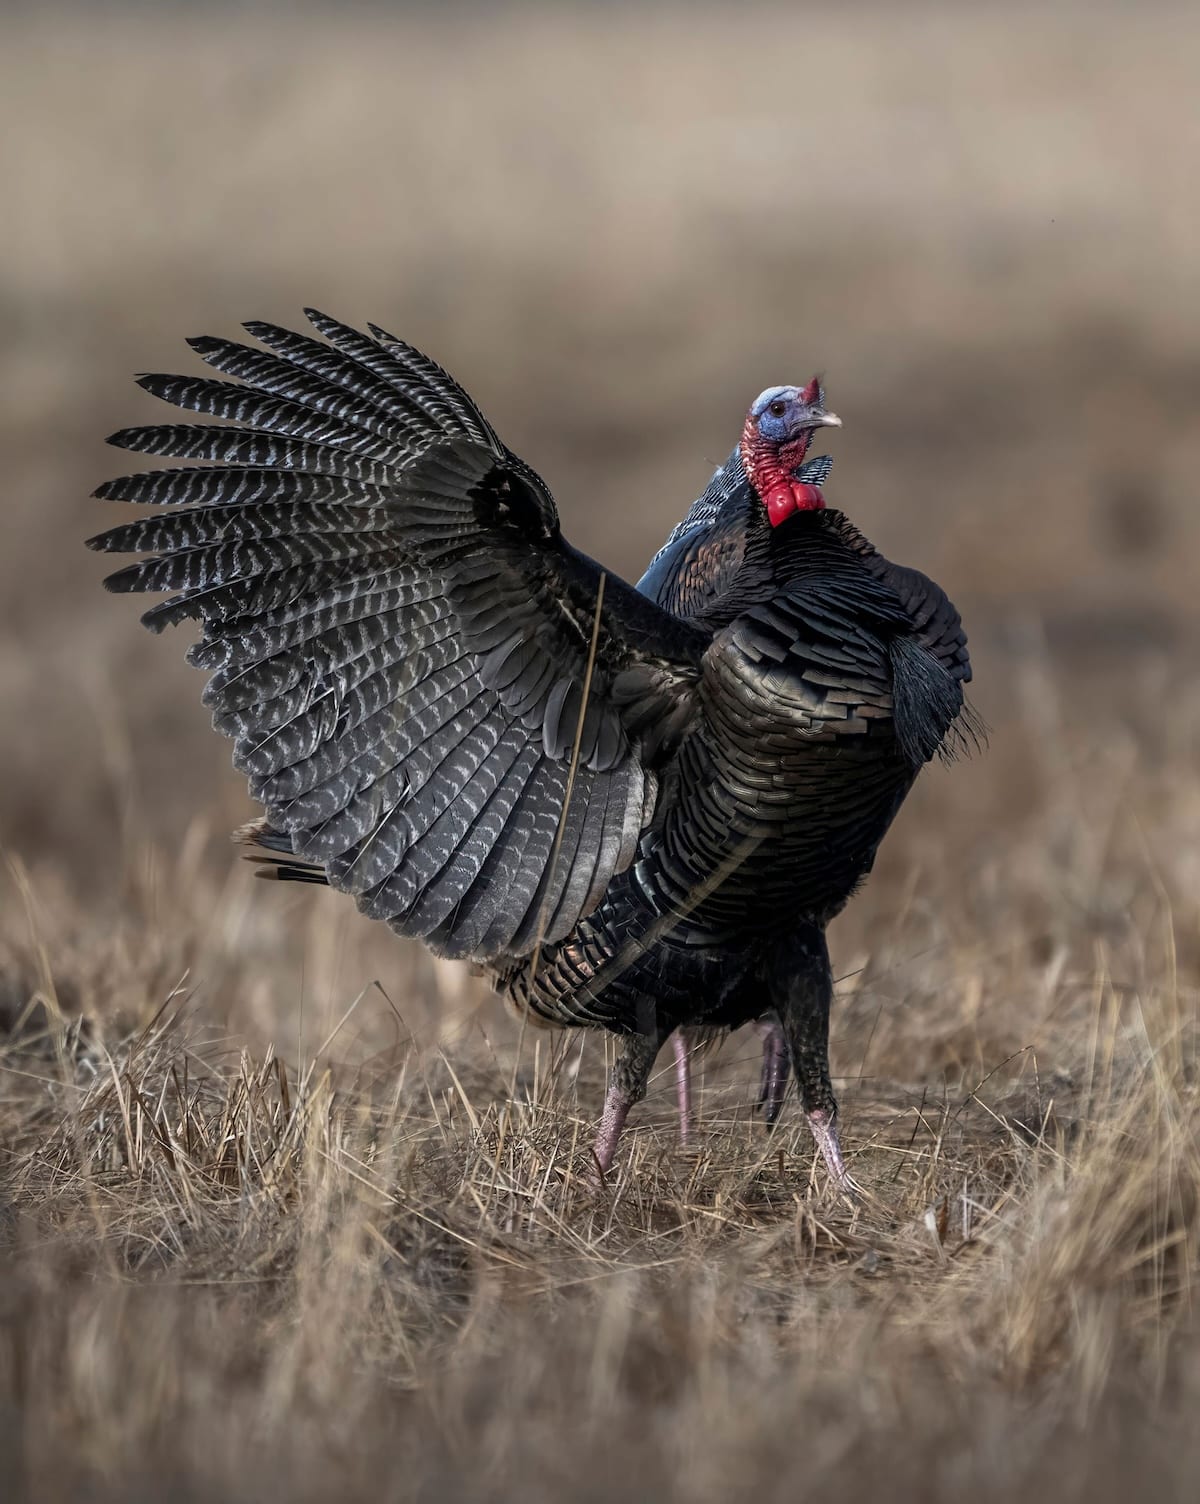
Hit the road this spring to see turkey action in new places.
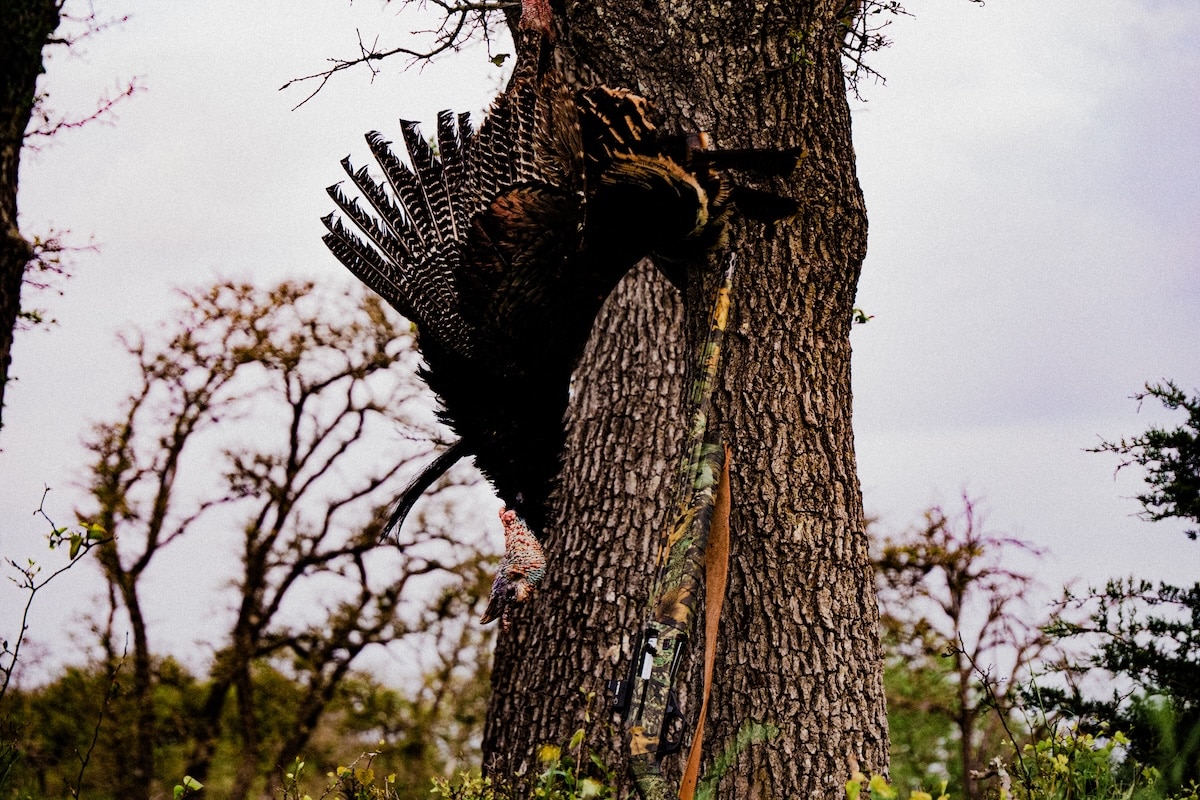
Plan well and you can string up a big out-of-state gobbler by the feet.
Deer season is closed or soon will be across the U.S. and Canada, and as hard as it is to accept that it’s already over, one season’s closure welcomes the next into focus. Yep, spring turkey season is right around the corner, and maybe you’re itching to shake things up this spring and take your turkey game across state lines.
Southern openers begin as early as the first week of March (southern Florida), and most other states are going full bore by mid-April. That leaves little time to prepare, especially if you want to pull together a last-minute hunt. In light of that, concreting a plan right now can substantially help your odds.
Whether you’re heading for the Texas desert, Minnesota hardwoods, Florida swamps, or Washington’s evergreen hills, we’ve saved you a pile of work by compiling these versatile pointers, which will serve you well as you buckle down and prepare for your upcoming road trip.
Here are HuntStand Pro tips for last-minute turkey hunting road trips.
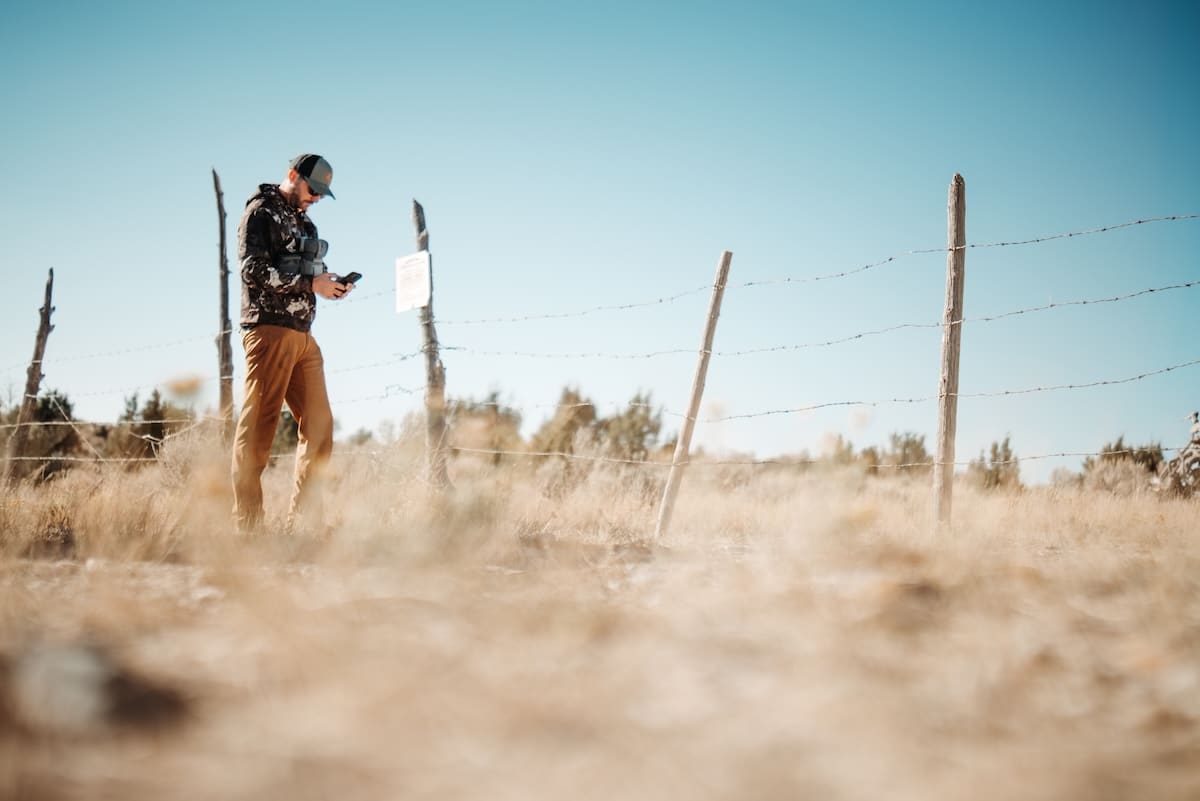
Select the right destination(s) for your wild turkey road trip.
1. Pick a Destination
Countless turkey hunting adventures exist across North America. Some states or units require hunters to apply for and draw a tag, while tags in others are purely over-the-counter (OTC) options and can be purchased on arrival. If you have a specific state in mind, hopefully you already considered this business end of things, but if not, now’s the time to determine if you’ll be able to hunt the state you want, or if you’ll have to pivot and hunt elsewhere.
Now, if you haven’t settled on a state and haven’t applied in the draws, it’s time to narrow down a destination. In doing so, questions worth pondering are:
- What do I want out of my hunt?
- What type of terrain/habitat best suits my individual skills?
- Am I OK with a one-bird bag limit, or do I want the opportunity to take two birds?
- How far am I willing to travel for a turkey?
- Is the equipment I want to use legal in the state(s) I’m researching?
- Do I want to chase a specific subspecies?
These questions will weed out some options and help you land the plane on a manageable number of destinations.
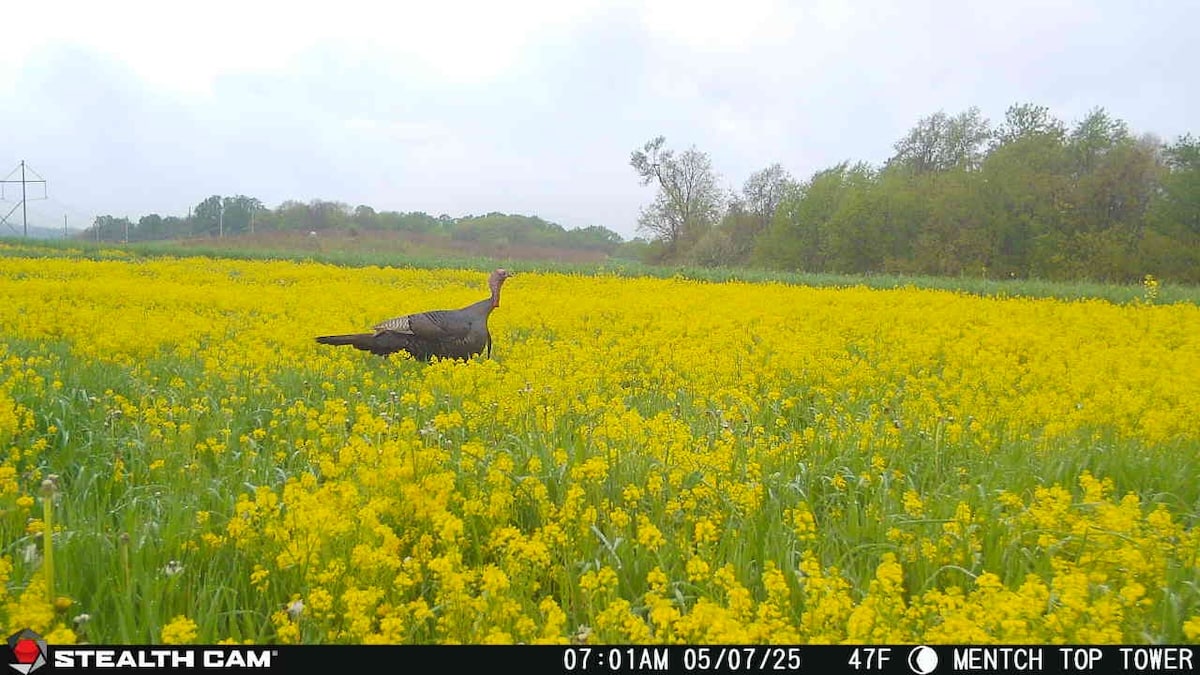
Where legal, scout public lands with cell cameras.
2. Dial in on Productive Public Lands
First and foremost, traveling to turkey hunt as a nonresident means you’ll have to begin your hunt on public land, unless you have a friend or family member who has invited you to hunt their land. Of course, there’s the outfitter angle, but this article is geared toward the DIY-er.
In public-land hunting, there are two logical approaches. First, you can choose to hunt large-acreage parcels. Let’s focus on this for a minute. First, these are highly visible in the app when you engage and alternate between the Hunting Lands and Public Lands overlays. Large acreages often teem with habitat and turkeys, but they generally attract more hunting pressure.
It’s typically a given that some corners of large public parcels will be more productive than others. Begin by identifying easy access, such as large parking areas and maintained roads and trails (generally visible in the Hybrid map), as the general hunting public gravitates toward said areas, meaning high hunting pressure. Avoid these areas (more HuntStand usage details in tip No. 4). Instead, look for areas of the parcel that either entail a long hike or an obstacle, such as a creek or river (visible in the Hybrid or Natural Atlas maps).
Also, study the outer fringes of the public parcel (alternate between the Hunting Lands, Public Lands, and Property Info overlays), especially where birds potentially might cross back and forth between public and private throughout the day to achieve necessities: roosting trees, water, food, shade in hot weather, sunny south-facing slopes in cold weather, and thermal cover when the winds pick up.
Use Tree Cover to identify potential roost sites and thermal cover, Natural Atlas to find water, and Crop History to peg agricultural food sources. When these dots connect in a given area, park your butt there for at least several hours and only move if you’re hearing gobbling toms a distance away. Staying put throughout the day can boost your odds, especially if you find lots of turkey sign upon arrival. The other thing is that most hunters give up after the morning hunt, and the midday action can be on fire.
Foremost Public-Land Turkey Hunting Rules to Follow
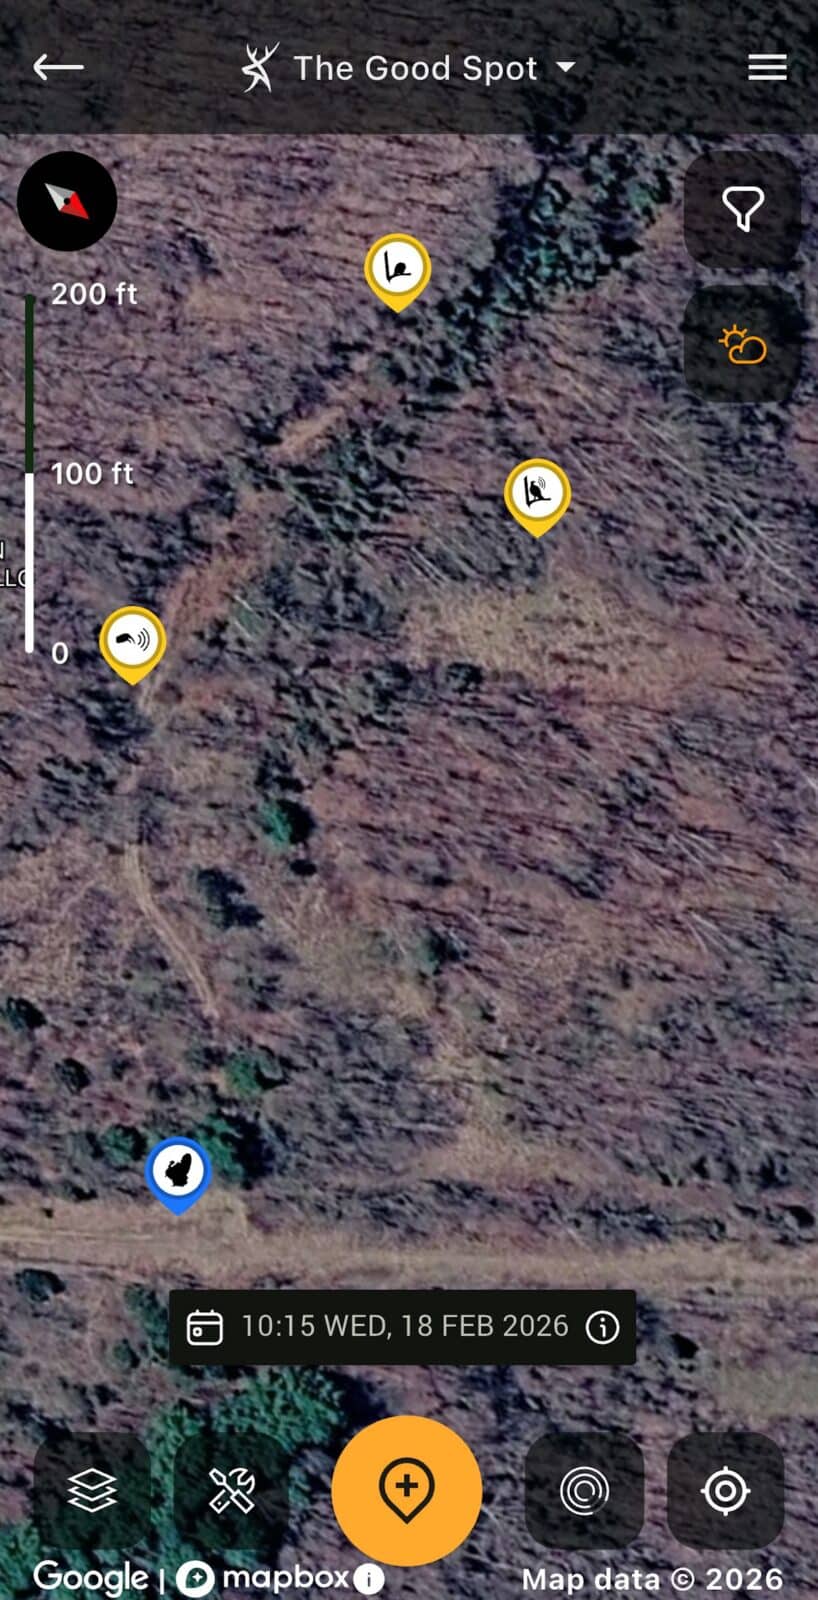
Now, onto the second school of thought for a public-land approach. Focus your hunt around an area with dozens of smaller, more dispersed public parcels rather than one or two large parcels. This angle is best suited for fast-footed folks who prefer to cover lots of ground. The idea is to not get hung up on one particular parcel, unless it’s screaming hot with action. Pop in and out, calling and trying to strike a bird. Another option is to glass adjacent private lands near these small parcels, if possible, from roadways. If you spot a gobbler not far from the public, try to slip near the edge of the public and call him onto the public parcel. Respect lot lines by not only referencing your whereabouts using the Property Info overlay but also staying at least 60 yards from the lot line to avoid conflict and confrontation.
Both large and small parcels vary greatly in potential. I’ve hunted large parcels with the best habitat and struggled to get on birds (usually as a result of high hunting pressure), and I’ve had some great hunts on small parcels with very few trees. The main thing is to find little sweet spots that other hunters drive right by.
Typically, finding birds means focusing on riparian areas (use Natural Atlas and Hybrid to find the water and get a feel for trees), padded with tree cover and food sources, but don’t overlook sneaky options that other hunters overlook. Boiled down, you just have to dive in and see during your hunt.
Finding and Hunting Terrain Features Turkeys Love
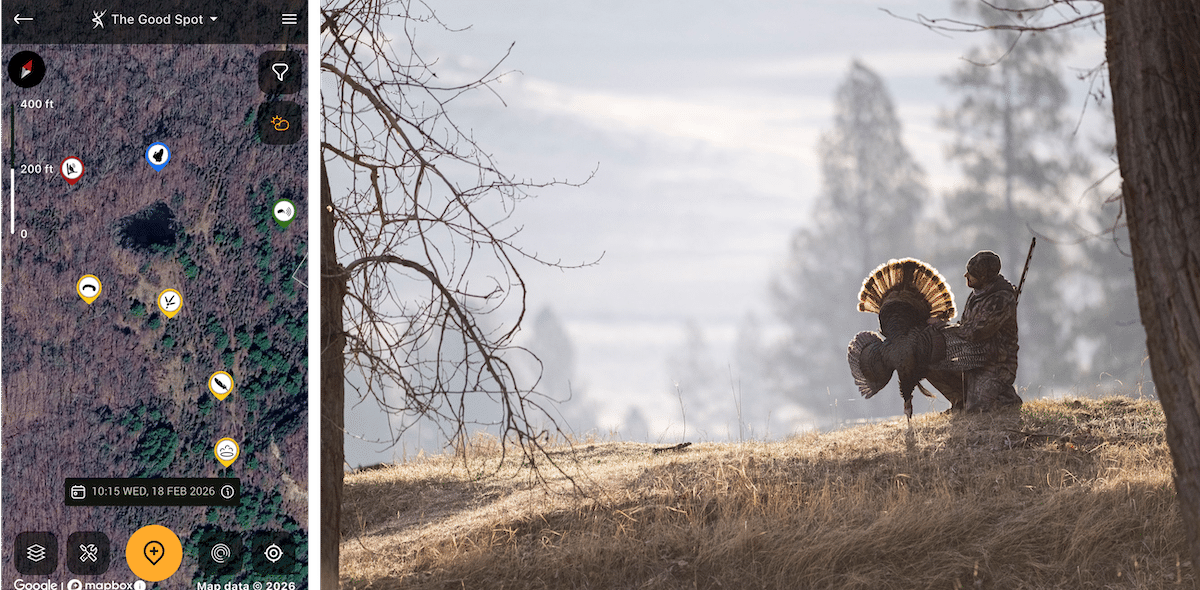
Create Hunt Areas in HuntStand for your anticipated hunting spots. Log all scouting discoveries before and during the hunt.
3. Build a Hunt Area
Staying organized is one of the best aims of map scouting. When you’ve settled on a specific area for your hunt and have identified what you believe are some solid public parcels to focus on, get your ducks in a row by building out a HuntStand Hunt Area.
The app has all sorts of markers related to parking, food sources, water sources, turkey sign, and so on. Engage the Terrain and Lidar maps, and even 3D mapping, to identify ridges to call or glass from (think open country). Using the Line tool to draw inconspicuous, terrain-informed access to those calling/glassing locations. Spend some time building out the Hunt Area with all pertinent markers on each of the public parcels that you believe have solid potential.
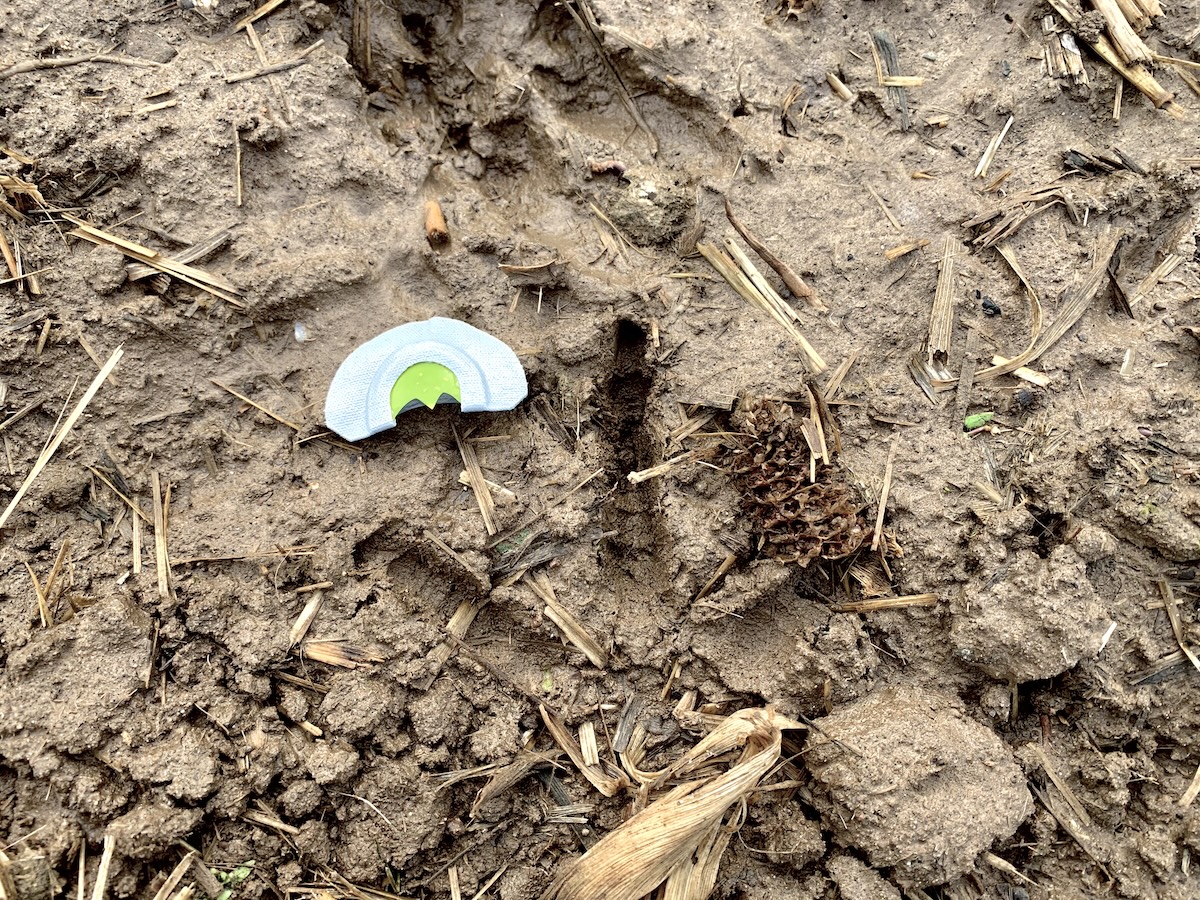
Know where you can't or don't want to hunt within each Hunt Area.
4. Create No-Hunt Zones
An effective way to weed out unproductive acreage before your hunt is to predict where hunting pressure is likely to be the highest and then avoid those areas. It’s a given that most hunters will park in the main parking areas and then walk half a mile or less on a maintained road or trail, jutting off that trail 250 yards or less.
To denote these no-hunt zones, draw a line along the main access trail or road in the app. Once you have a half-mile line, draw lines perpendicular to that trail or road for about 250 yards. With these lines, you can now use the shape tool to draw your rectangular or semi-rectangular no-hunt zones. There are no absolutes, of course, but very seldom will you find what you’re looking for where everyone else is hunting. And even if those areas have birds, you’ll probably be tripping over other hunters, which isn’t very fun or safe.
The Best Turkey Hunting Spots (and How HuntStand Pro Finds Them)
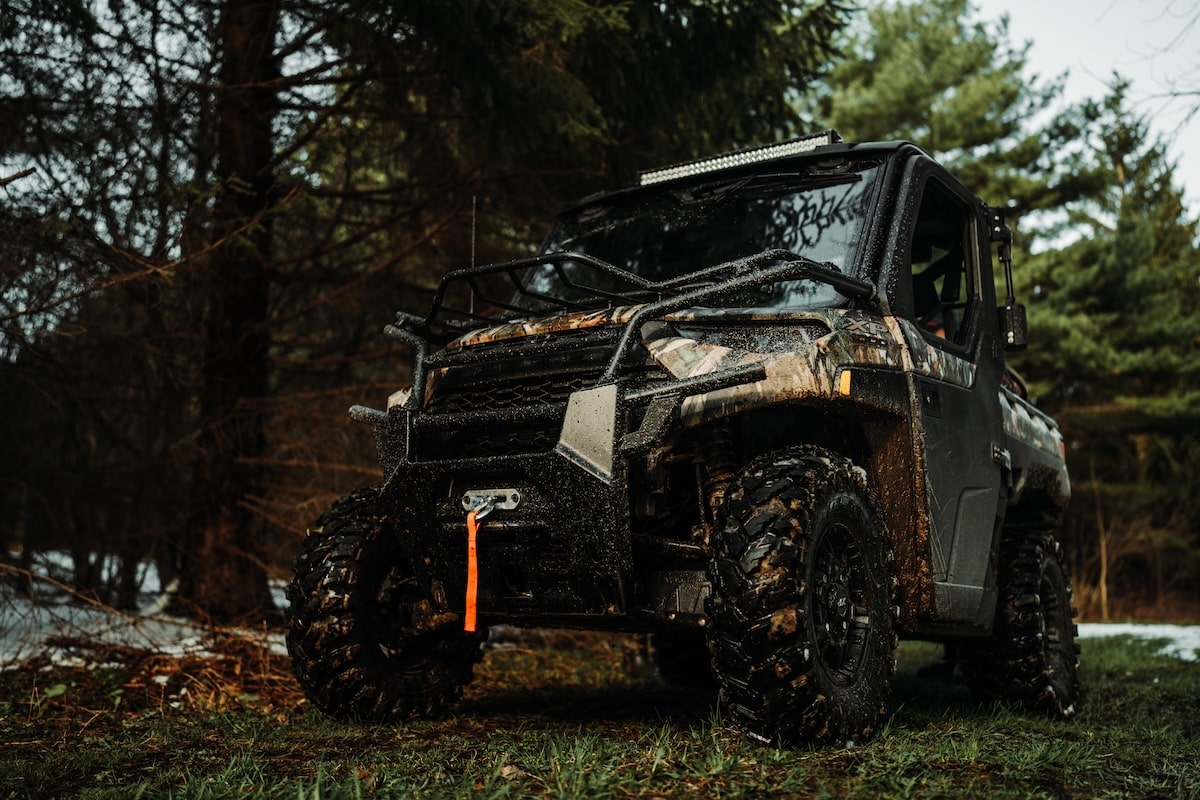
Consider some private land plan B, C, and D options.
5. Have a Private-Land Backup Plan
Some public-land turkey hunts can be a grind. If you’re a few days in and the only birds you’ve seen or heard are on private land, you’d best pull up the Property Info overlay and determine who owns the land where you’re seeing and hearing birds. Armed with the owner’s name and address, either stop in and knock on their door (if they live nearby), or look up their phone number on whitepages.com.
If you present yourself respectably, you’ll likely get a “yes” if you’re persistent and make enough connections, unless the area is dominated by hunting leases and clubs. If you come up empty-handed, consider meeting local folks at some nearby establishments. From service garages to coffee shops to diners, it’s possible to do some on-the-fly networking and connect the dots to some access.
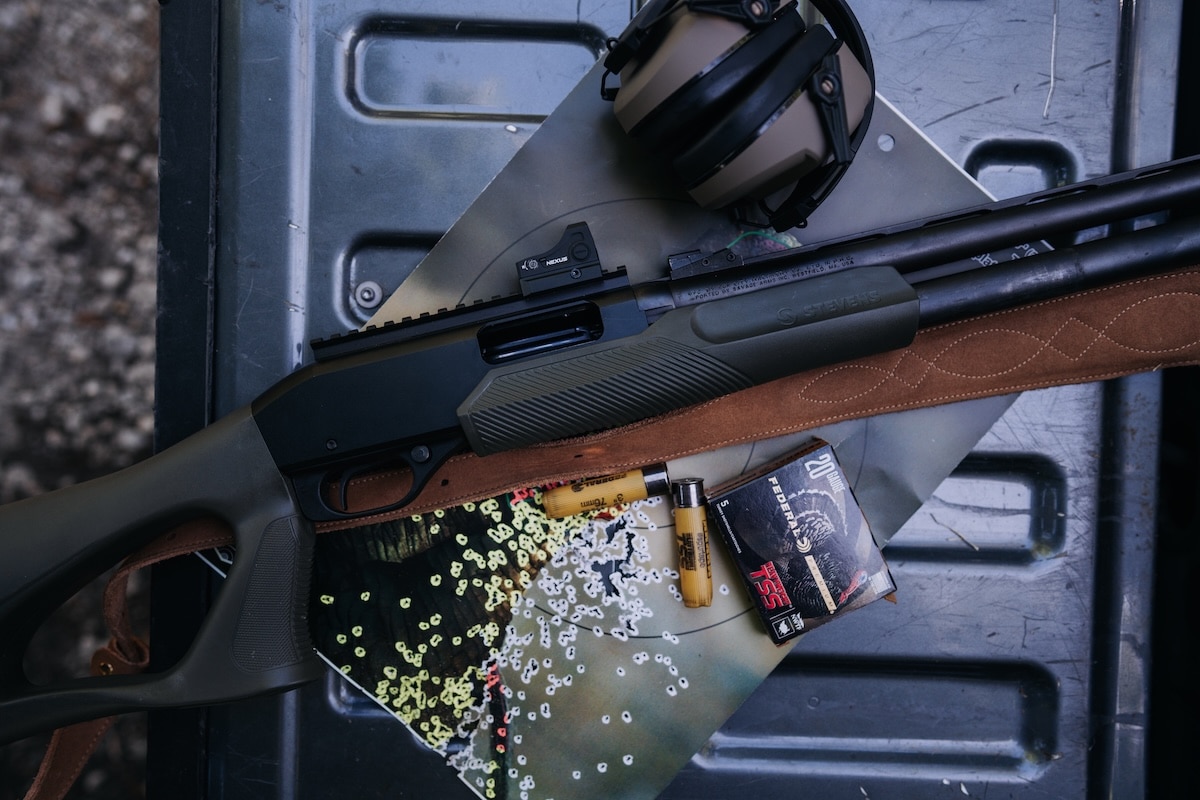
Use gear that's more conducive to out-of-state hunting. This includes greater reliability and lower odds of needing maintenance and repairs.
6. Gear Up
While hunting skills and pre-hunt map study are critical components to your success, the right gear can make the difference, too. This makes upgrading to HuntStand Ultimate a no-brainer. You’ll get special member-only pricing in the HuntStand Store on killer turkey hunting gear from top brands, such as Avian-X decoys, Hunter’s Specialties calls, and Muddy blinds.
HuntStand App Layers and Tools for Backcountry Turkey Hunting
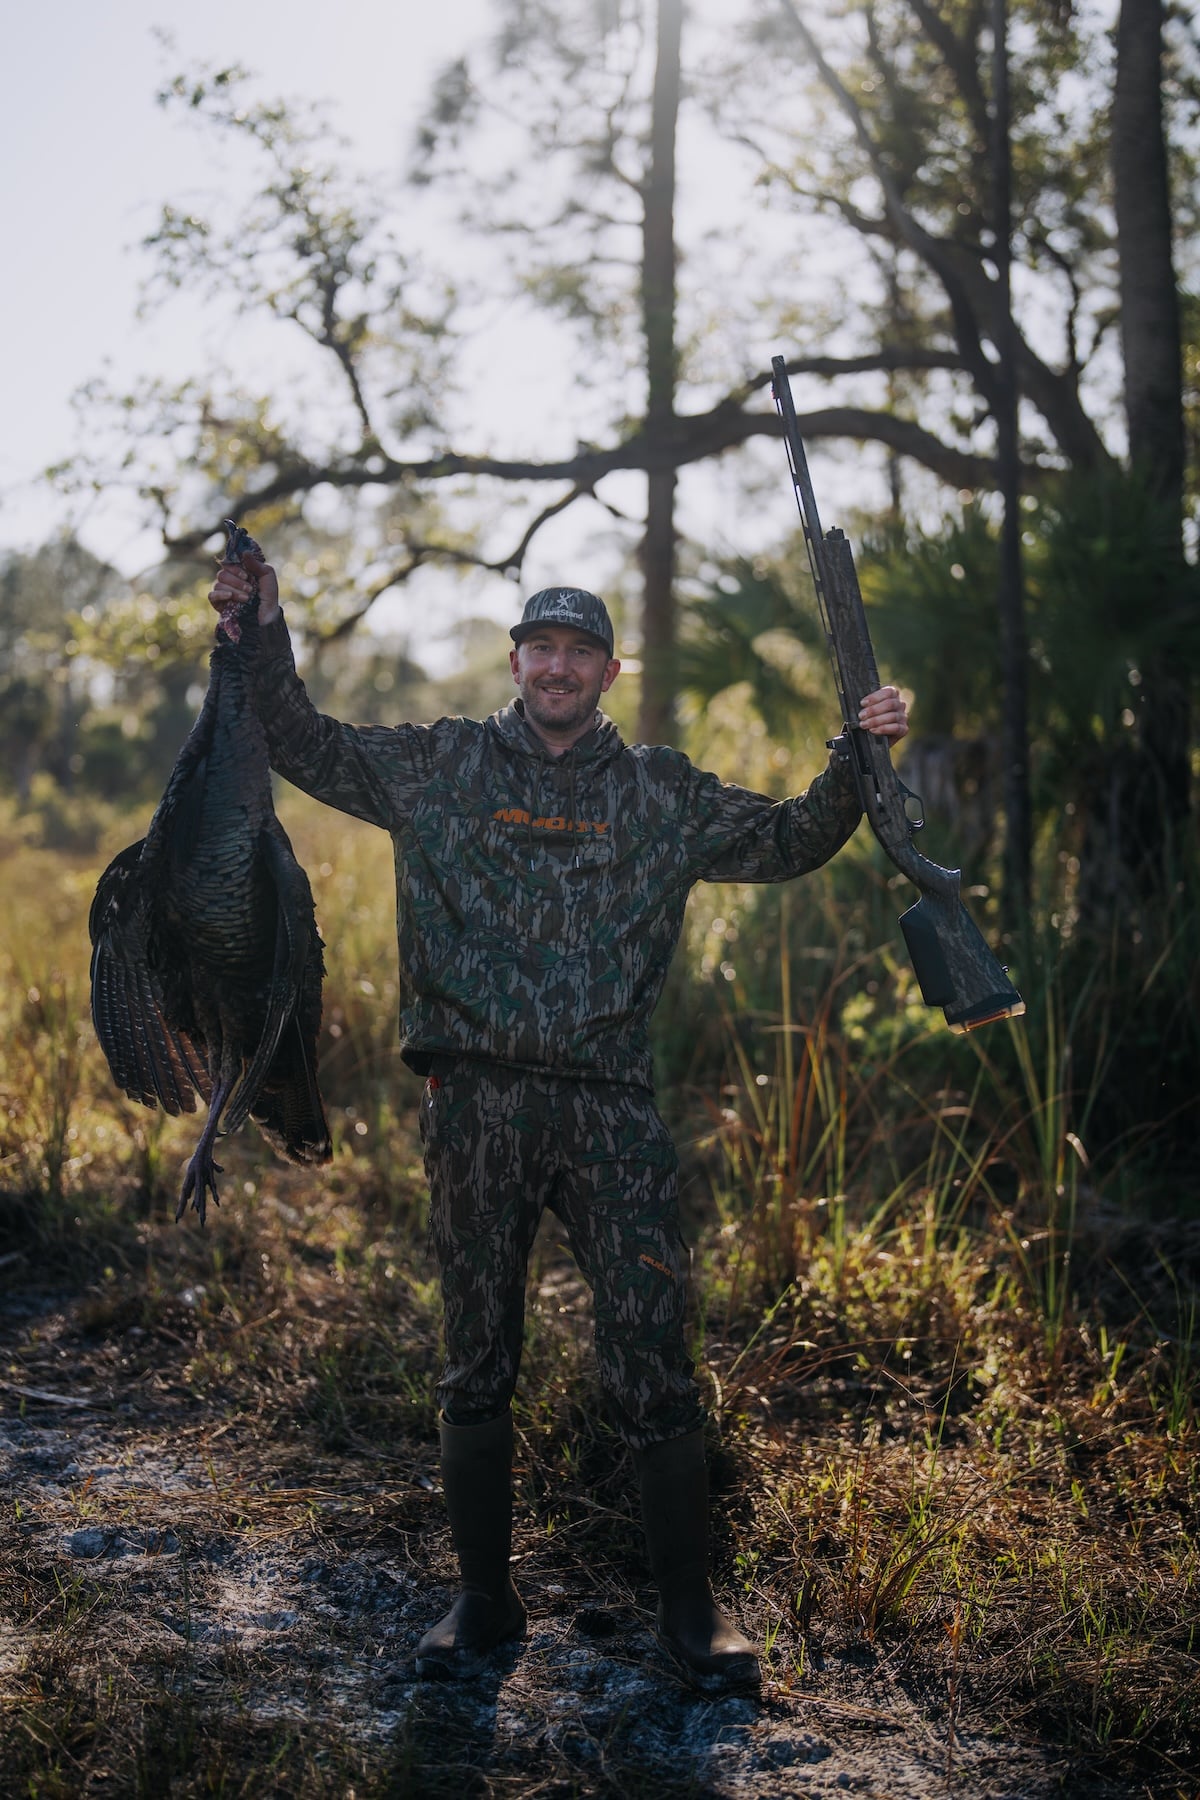
Be prepared for all types of weather, especially those which are seasonally typical.
7. Check the Weather
The weather can be unpredictable in some regions throughout the springtime. The northern half of the U.S. is likely to see cold temps and snow in April and even into May, so checking the forecast several times leading up to your departure can influence the gear you pack. It can also influence where you hunt. Have sheltered areas such as bends in creeks or the backsides of large hills/ridges in mind in blustery conditions and consider bringing a ground blind and rain gear if there is considerable precipitation in the forecast.
HuntStand makes it easy to stay on top of the weather. You can access the current, hourly, and 10-day forecast on the home page of your Hunt Area. One tip that most turkey hunters don’t think of is using HuntZone in high winds to track wind direction. Using the Terrain map and based on the wind direction in HuntZone, look for the leeward side of big hills, and birds might be there when the winds are ripping.
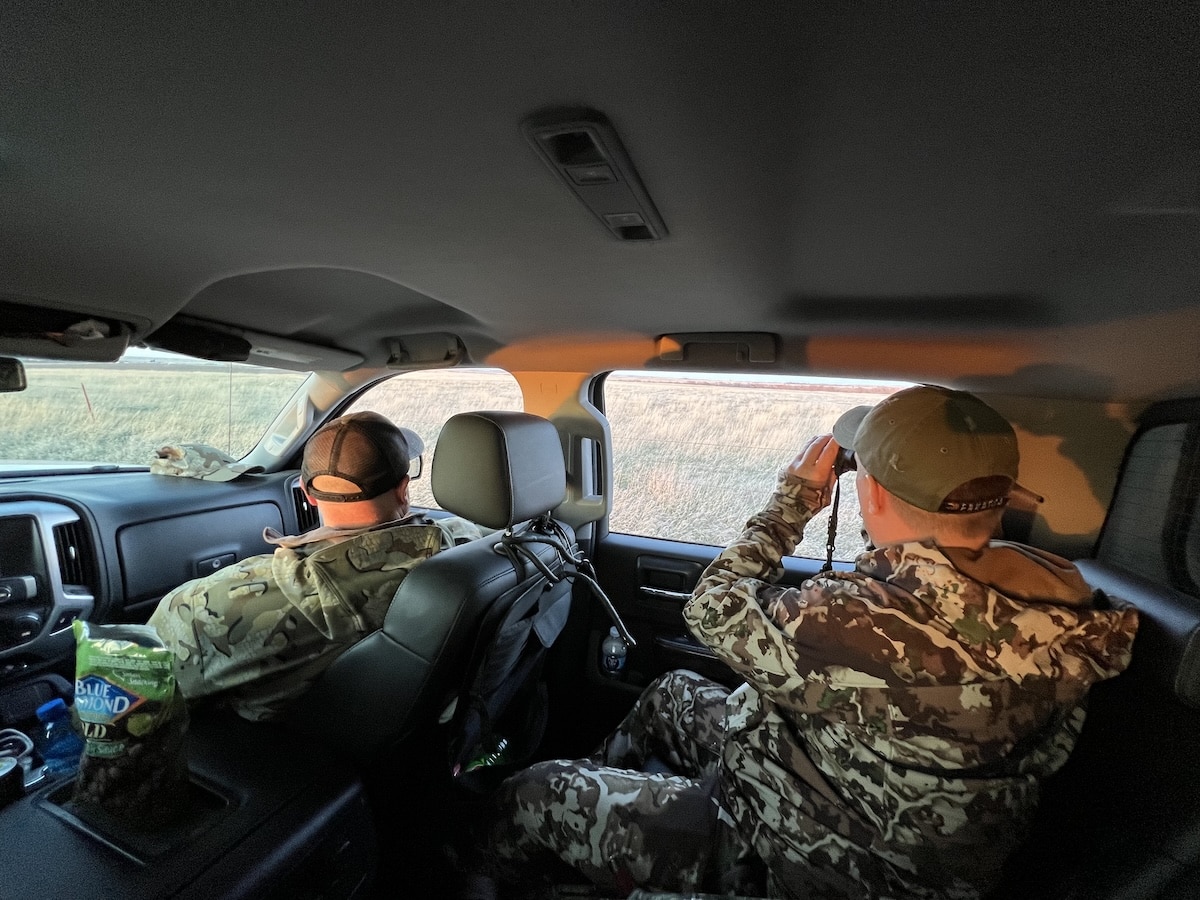
Spend plenty of time scouting upon arrival.
8. Get a Finger on the Pulse
Upon arrival, do some driving in the vicinity of your HuntStand markers and see if you can get eyes on birds, gauge hunting pressure based on parking areas, camping areas, and hunter traffic on roadways. This can inform your first moves and help you make the most of your time.
If you don’t see birds, suit up and start covering ground and popping in on the areas you have marked up. A great way to locate birds is to listen in an area that you’ve marked as a potential roosting area at daylight. If nothing is talking, try some owl hooting or crow calling to trigger a shock gobble.
In the daylight, the best scouting tactics are to sneak around and look for physical turkey sign. Fresh droppings and scratching are telltale signs of regular bird activity. Have a color-based scheme with your markers. As you discover sign or places you feel are worth hunting, change the marker to green. Change the less-promising markers to red and simply delete the duds. Updating your Hunt Area as you go can keep you on task and optimize your results.
Ways HuntStand Pro Makes You a Better Turkey Hunter
Use each available HuntStand tool to your advantage.
9. Engage the Track Feature
When you’re hunting and scouting, use HuntStand’s Track feature so that you can see what ground you’ve covered. It’s easy to assume that you thoroughly covered the parcel, but without the Track feature enabled, it’s tough to know if you’ve left some productive spots on the table.
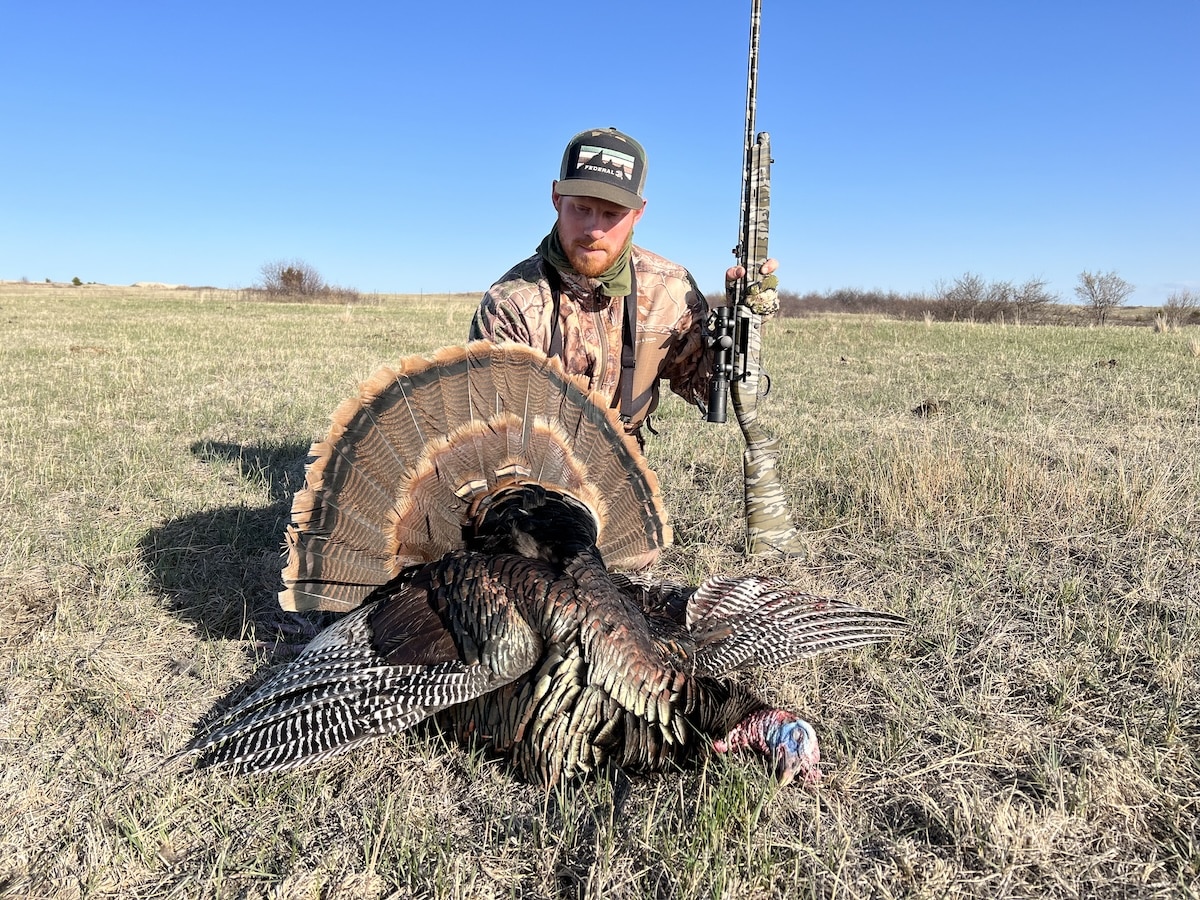
The author poses with a big road trip gobbler.
10. Get Aggressive with Turkey Hunting Tactics
Finally, if you have only three to five days to hunt, you might start out conservatively on the first day, but don’t be afraid to get aggressive. There are a lot of ways to kill turkeys, but on a traveling hunt, it often comes down to spotting birds a mile away in your spotting scope and then running out there and closing the distance or moving with a gobbler and coming at him from different angles all morning long until he caves and comes to your call.
Lastly, as you make aggressive moves, always reference the terrain layout between you and the gobbler using 3D mapping, or the Terrain and Lidar maps. Sure, you can see some of the terrain with your eyes, but you’ll have a greater perspective by engaging these HuntStand features.
That’s all. Enjoy your spring turkey road trip!
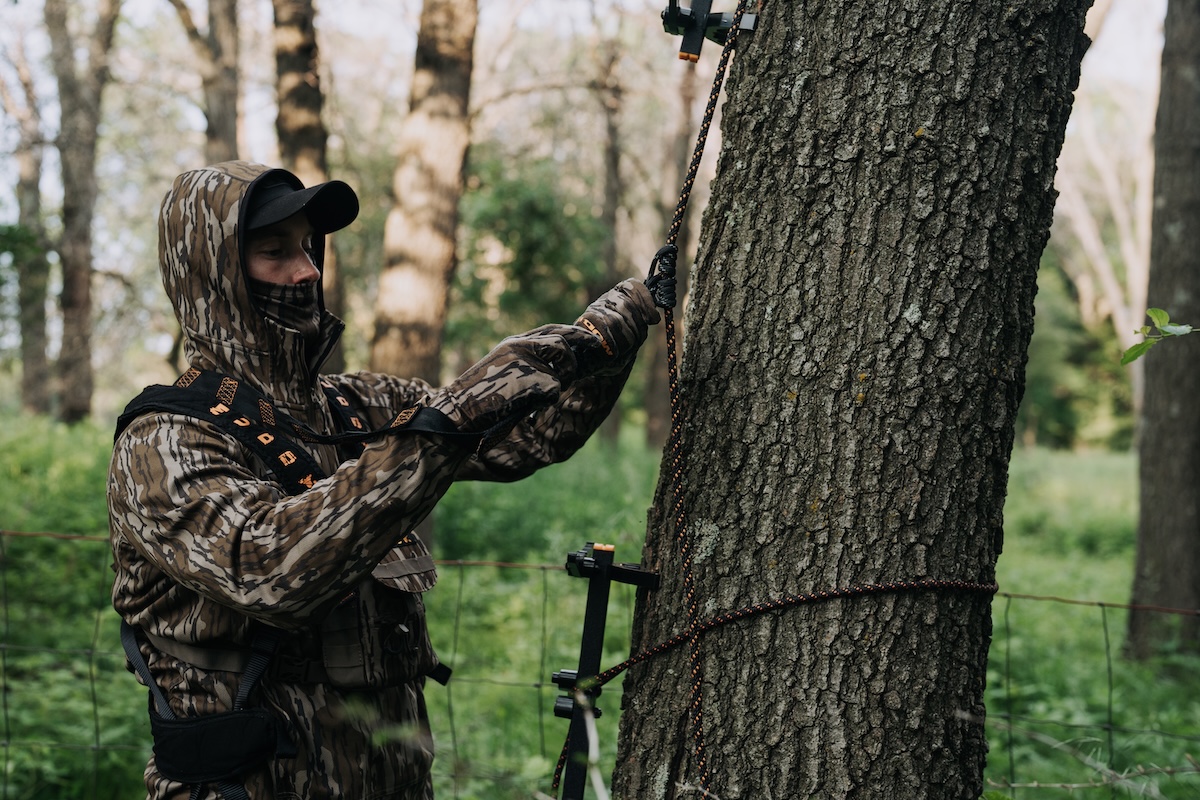
Optimize your treestand setups for the utmost success.
You did your summer scouting and found the hotspots. You hung a handful of treestands, and in September, you canvased the area with trail cameras. A few great bucks are showing up in the dark. You know the pre-rut will be your time to shine. Then, it comes and goes. So does the rut. And now, it’s the late season.
You reach your stand nice and clean without spooking any deer, and now you’re settled in and ready, several hours before dark. A few does and fawns move through, then two young bucks. It’s about 40 minutes until dark, and movement through the hardwoods catches your eye. Through your binos, you identify the buck as one of your targets. It’s a no-brainer.
As the buck approaches, your heart rate skyrockets. Just as he enters your shooting lane, you attempt to draw your bow, but your elbow hits the tree trunk, inhibiting the motion. You adjust your stance and try again, this time reaching full draw, but feeling discombobulated. You try to get the buck in your peep sight, but by the time you do, he’s back in the brush and walking out of your life.
One small oversight is all it takes for an otherwise ideal treestand setup to inhibit a successful hunt. Anyone who’s been hunting long enough has been there. In this article, we’ll cover six separate details that can make or break your treestand ambush. If you’re looking to improve treestand ambushes, follow along.
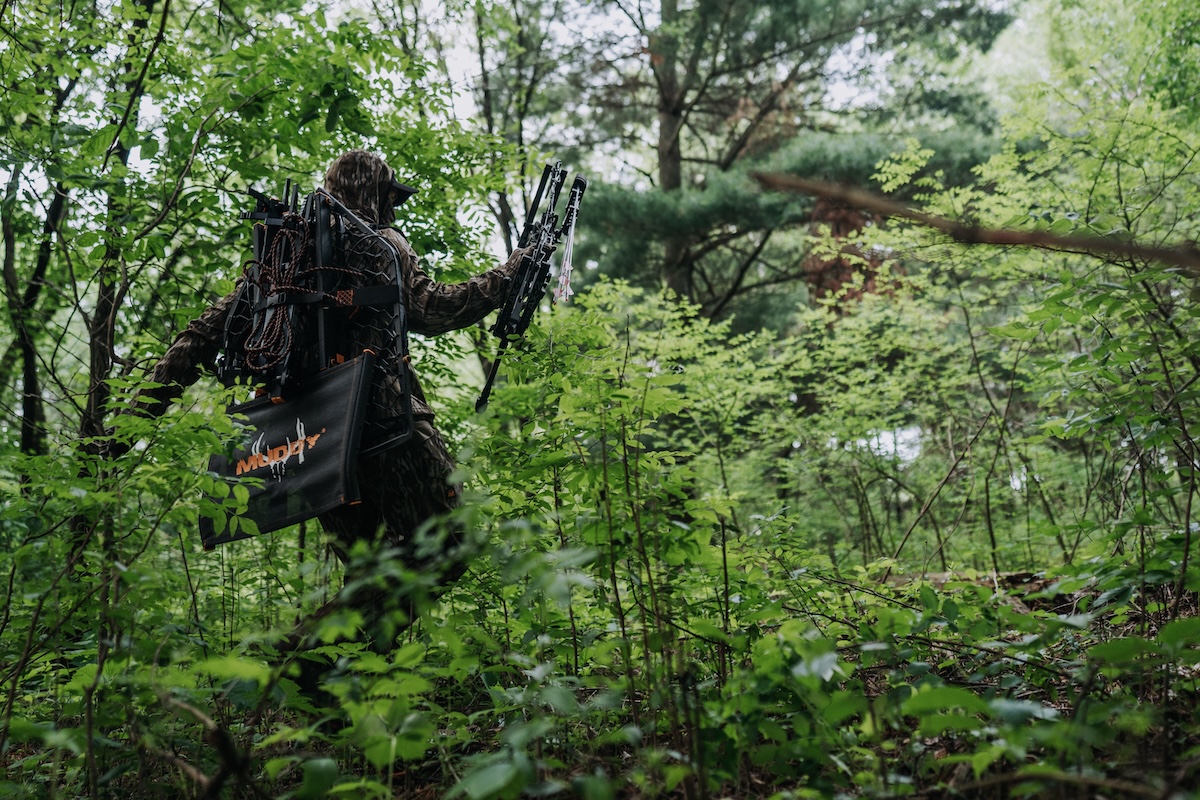
Silence your treestand gear so it doesn't alert deer you're on the way.
1. Silence Your Treestand Equipment
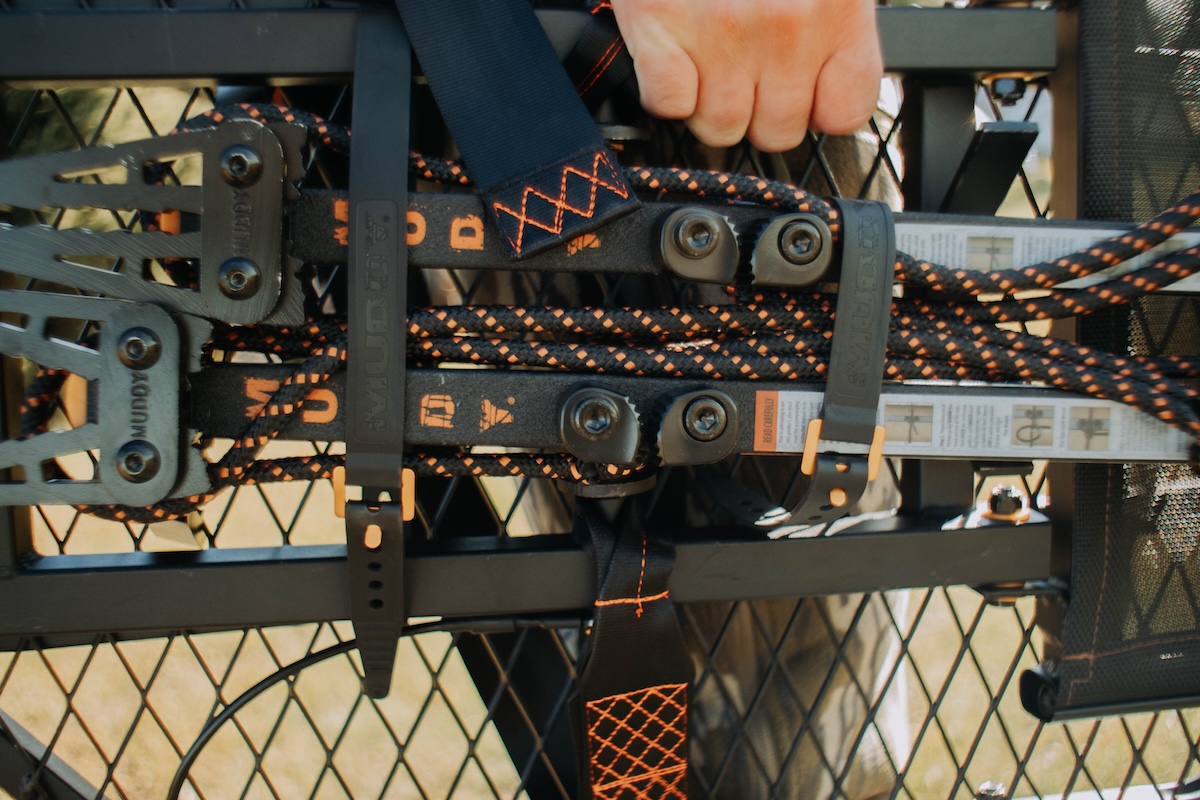
Treestand gear has improved substantially over the last two decades. Hawk Hunting and Muddy manufacture lightweight, streamlined treestands and climbing equipment. Regardless, treestands are made from metal, and we all know that metallic noises don’t belong in the woods. So, you either have to micro-manage your stand and gear to prevent metal-on-metal contact while hauling it through the woods or climbing into a treestand, or you must find ways to silence it. No matter how careful you are, it’s still likely that your tree gear will clink or clank, so silencing it is the best option.
There are a couple of feasible ways to do this. First, you could obtain a rubberized spray paint, such as Plasti Dip Camo. You’ll want to avoid spraying any moving parts of the stand or climbing stick, and you’ll want to check with the treestand manufacturer to ensure that this doesn’t void the warranty. A few coats of Plasti Dip on the platform and other stationary components of the stand and sticks will minimize the noise of unintentional contact with items like rattling antlers and other tree gear. The downside? Fumes will take a while to disappear. Paint naturally has odors for a long time, so plan to leave your gear outdoors to air out.
Another way to silence your tree gear is with Stealth Outdoors Stealth Strips. These are made of an adhesive-backed moleskin-type material that can easily be cut to size and stuck on the solid surfaces of stands and sticks. The odor will be substantially less than with the rubber spray paint. Spray the material with a scent-eliminating spray, and you should be good to go.
With older treestand gear, it’s wise to set it up in the yard before the season and test it out for squeaks and failing parts. Shifting your weight on a treestand platform alters where your weight is distributed, and that can cause the stand to squeak. The initial solution might be WD-40, but it has an odor. There are some odor-free firearm lubricants that would be suitable to lubricate the squeaky spots to keep your stands and sticks as stealthy as possible.
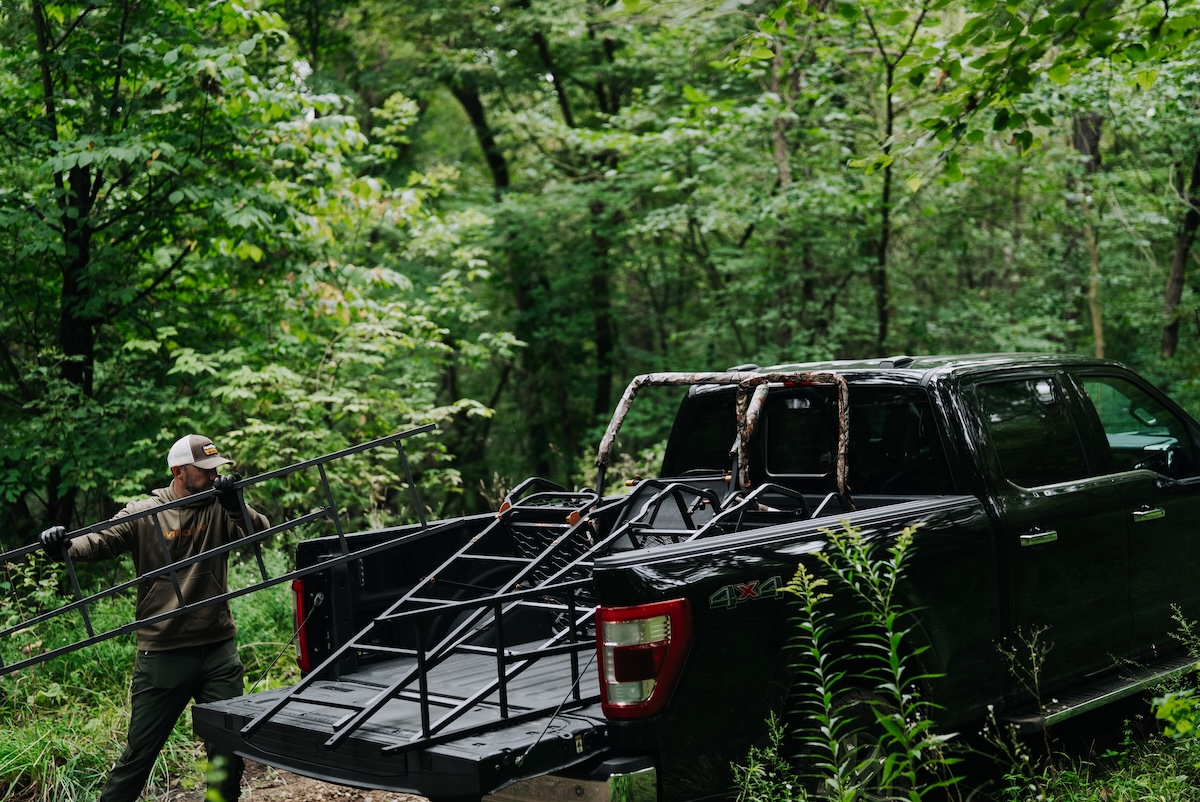
Set up more permanent treestands in proven areas that work for the prevailing wind.
2. Set Up to Exploit Prevailing Winds
When choosing an exact tree to hunt from, there are a handful of things to consider, which we’ll cover here and in the next few tips. Most important is the wind direction. Some stand spots are very limited to certain wind directions, but many stand locations have different trees that you can hang in to leverage the area’s prevailing or dominant wind. In the Midwest, for example, west and northwest winds are common in the fall, which means you’ll have more opportunities to hunt a stand set for those wind directions.
To help with this, track wind tendencies in HuntZone. Not only will you be able to identify the prevailing wind for your area, but you’ll also be able to see how your scent will disperse in your exact stand location. Some hunters don’t realize that their scent dispersal widens into a cone shape as it goes downwind. It’s very important to understand this and plan for it. Don’t just check a generic forecast. Utilize the combination of the weather and HuntZone features in the HuntStand app.
10 Places Pressured Bucks Hide (And How HuntStand Helps Find Them)
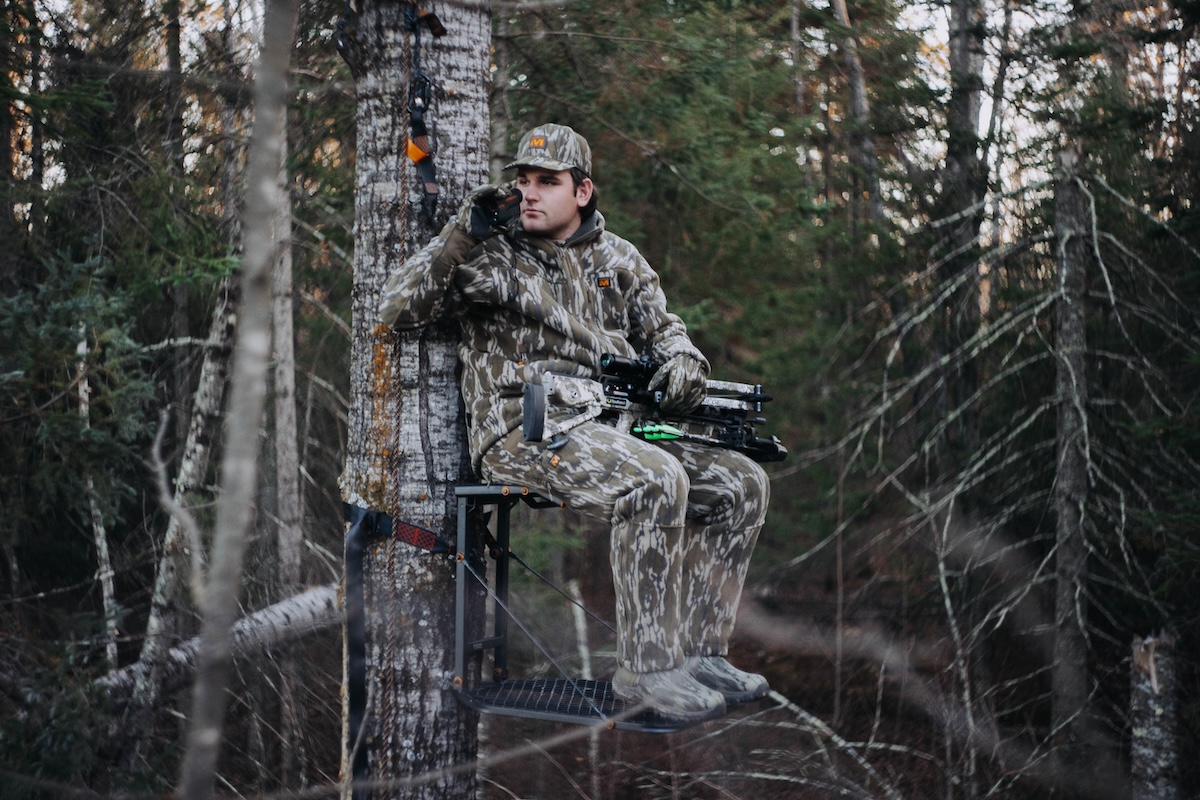
Set your treestand at the optimal stand height.
3. Pick the Best Treestand Height
Some hunters believe you must be 30 feet high, while others hunt 10 feet up. There are merits to hunting high up. First, it puts you above the whitetail’s periphery, making your movements of standing up and drawing your bow less detectable. It also keeps your scent above most of the deer, essentially allowing it to blow over them.
Tall stands have some downsides, too. First, many hunters lose a lot of comfort the higher the treestand is hung. Second, it makes shot angles very steep, which narrows the kill zone on close-range shots. Third, high stands in open hardwoods after leaf-off put you on the skyline, making you actually more visible to deer than if you have the trunks of other trees behind you, as you would with a stand set lower.
It boils down to assessing each stand location individually, and oftentimes, that means settling on a lower height or at least a happy medium.
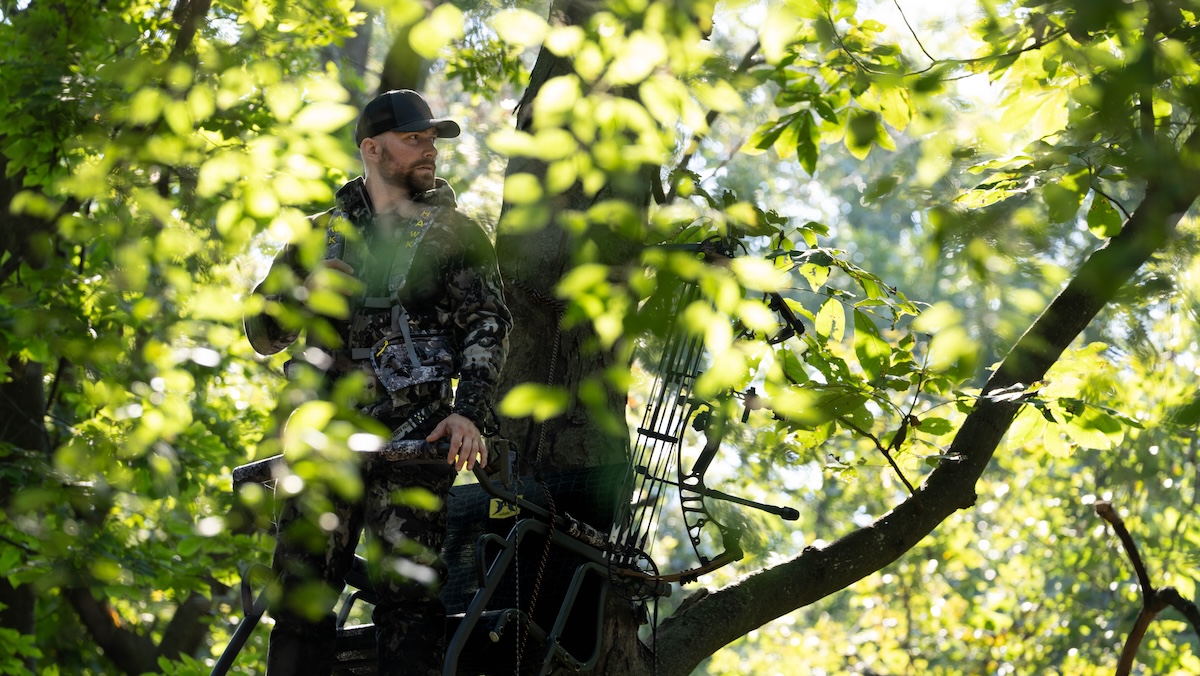
Ensure your setup has plenty of front and back cover.
4. Weigh Backdrop vs. Front Cover
Cover is crucial to staying undetected while treestand hunting. What kind of cover? Well, that depends on the area and what’s available. The main thing is to balance the backdrop and front cover. A little bit of front cover is OK, especially while firearm hunting. For archery hunting, you don’t want very much because it could interfere with your arrow flight.
In most cases, background cover trumps front cover because it better disguises your human outline. A good way to choose the right tree and stand height is to be where the deer will be and look up into the trees. Will your stand be obvious or hidden? What backdrop cover is available to disrupt your outline? This is best done during the off-season and honestly isn’t very helpful for hang-and-hunt outings, as walking on deer trails can inhibit deer movement due to ground scent. But if you can do it well before the season, it’s a great idea.
15 Public-Land Deer Hunting App Tips
Set up your post at just the right distance from the action.
5. Choose the Ideal Distance from Perceived Deer Movement
OK, now onto shot distance and angle. Consider all of the potential deer movement a stand location will provide. Once you nail that down, if there are two or more suitable trees for your stand, consider which will be best for most of the deer movement. Bowhunters: If you pick a tree 10 yards from most of the movement, you’ll potentially be presented with steep, downward shots that narrow the kill zone and require an awkward shooting position, which will challenge and potentially alter your shooting form.
Contrarily, if you say, “Ah, I can shoot 40 yards,” and hang your stand that far from the perceived deer movement, you’ll needlessly lengthen your shot distance, which means a deer is more likely to duck or move during the shot. So, try to select a tree that is within easy bow range and provides a good perspective of the deer’s kill zone. This is typically about 15-20 yards.
Crossbow and gun hunters should also be mindful. While both can be extremely accurate out to their respective long distances, shooting from a treestand is entirely different from shooting off a bench rest. Always set up for the easiest shot possible, so long as the tree you pick also provides cover and works with the prevailing wind.
HuntStand Ultimate’s Distance Measurement tool can be accessed by double-tapping the compass at the lower right when viewing your Hunt Area. Not many hunters remember to bring their rangefinder along when scouting and hanging stands, and this makes a good backup option. Holding your phone parallel with the ground, aim the phone toward the areas of perceived deer movement. You’ll be able to identify the distance to specific landmarks, which can inform tree selection and stand placement.
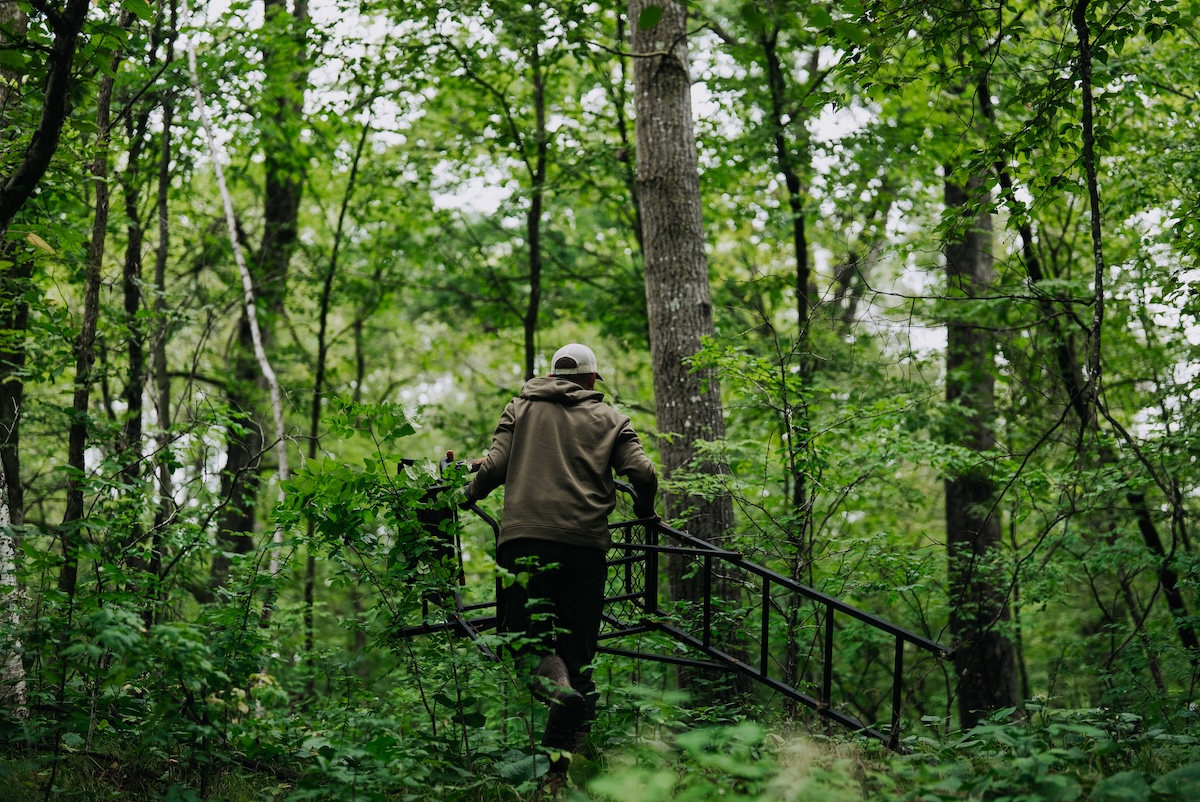
Turn your treestand so that it makes your shot the easiest in the direction you plan to shoot.
6. Position Your Treestand Platform to Minimize Movement
A lot of hunters make the mistake of facing their treestand toward the deer trail they intend to cover. This means that you’ll have to shift to get into a more comfortable position to acquire the animal and take your shot. This applies to firearms, crossbows, and bows. The goal is to position the platform to minimize the movement required to take the shot while keeping the best possible shooting form.
Right-handed shooters do best to aim the platform 90 degrees to the right of the perceived deer movement, and left-handed shooters should aim it 90 degrees to the left. With this orientation, standing up isn’t 100 percent necessary, meaning you can draw and shoot with hardly any movement. Or, if you’re firearm or crossbow hunting, this same platform orientation provides more natural positioning to the target, allowing you to aim with more stability and without shifting.
30 Reasons HuntStand Ultimate Makes You a Better Deer Hunter
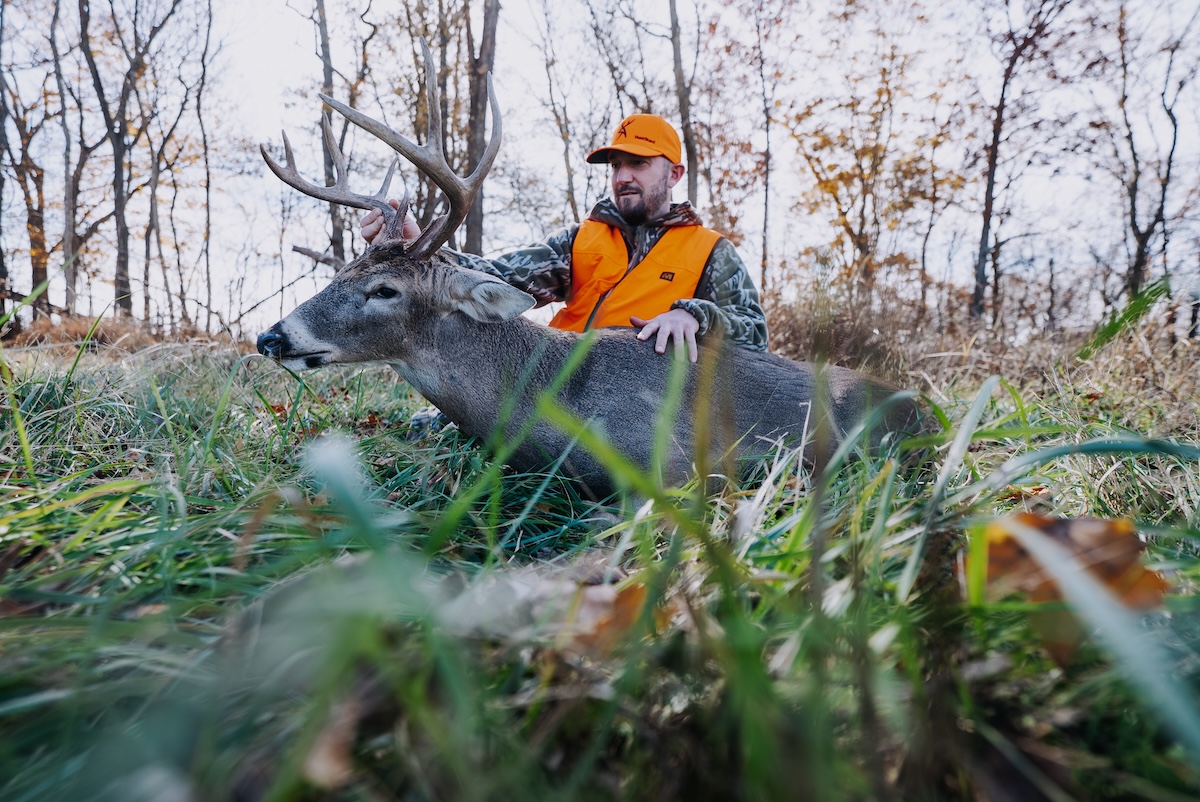
When possible, test your treestand setup to ensure everything works as planned.
7. Check It Out to Make Sure Everything Works
It’s not very practical to do for hang-and-hunt outings, but advance stand setups should be checked for bugs and kinks before hunting from them. Have a buddy or family member stand on the ground and look up at you to see how obvious or disguised you are. Wearing your harness and camo, stand up, shift around, and make the motion of raising your crossbow or firearm, or drawing your bow. If anything is less than comfortable, make some adjustments. You’ll want to be as comfortable as possible when the time comes to take your shot so that you can make the best shot.
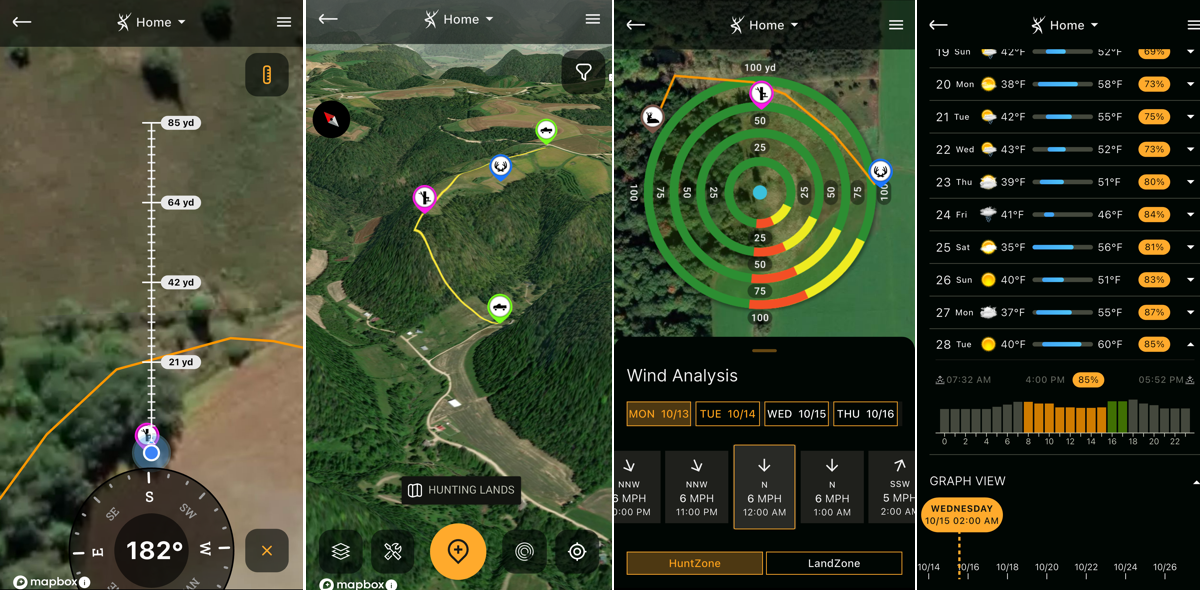
Use HuntStand to dial in your treestand setups.
Fine-Tuning Your Treestand Setups
As we wrap up, you can address all of the details discussed above, but your treestand setup is only as good as your access to it. Identify food sources using the Crop History overlay and also get a finger on the pulse for potential bedding areas using the Hybrid map and on-foot scouting during the off-season. From there, it’s fairly simple: Avoid food sources on the way to your stand during morning hunts and avoid walking through or near bedding areas as you access stands in the afternoon.
As well, make sure that your scent isn’t blowing to areas you know will hold deer en route to your stands. Aren’t sure how your scent will disperse? Reference HuntZone, and you’ll be in the know.
For access, it’s always best to have some sort of hedge between you and the deer. Screen plantings are ideal, but if you are unable to cultivate on the property you hunt due to lack of equipment, landowner permission, or because it’s public land, study the terrain. HuntStand offers several options to visualize the area’s layout and terrain that can shield your approach. Use the 3D Mapbox Satellite, which is best in more rugged terrain, and the tilt and pan feature gives you more or less of an in-person perspective of the landscape. Identify terrain features that will be the least conspicuous and then use the line tool to draw your route. This will be especially useful to reference when accessing stands in the dark.
Finally, wear your safety harness. Family, friends, and loved ones are awaiting your safe arrival following your hunt, and each time your feet leave the ground is an opportunity for misfortune, unless you’re properly using a harness and safety line. There isn’t a big buck worth risking safety for, so don’t cut corners or take shortcuts in the realm of safety.
By following the tips outlined here, you can improve your treestand ambushes, and in turn, that will boost your odds for a successful treestand hunt.
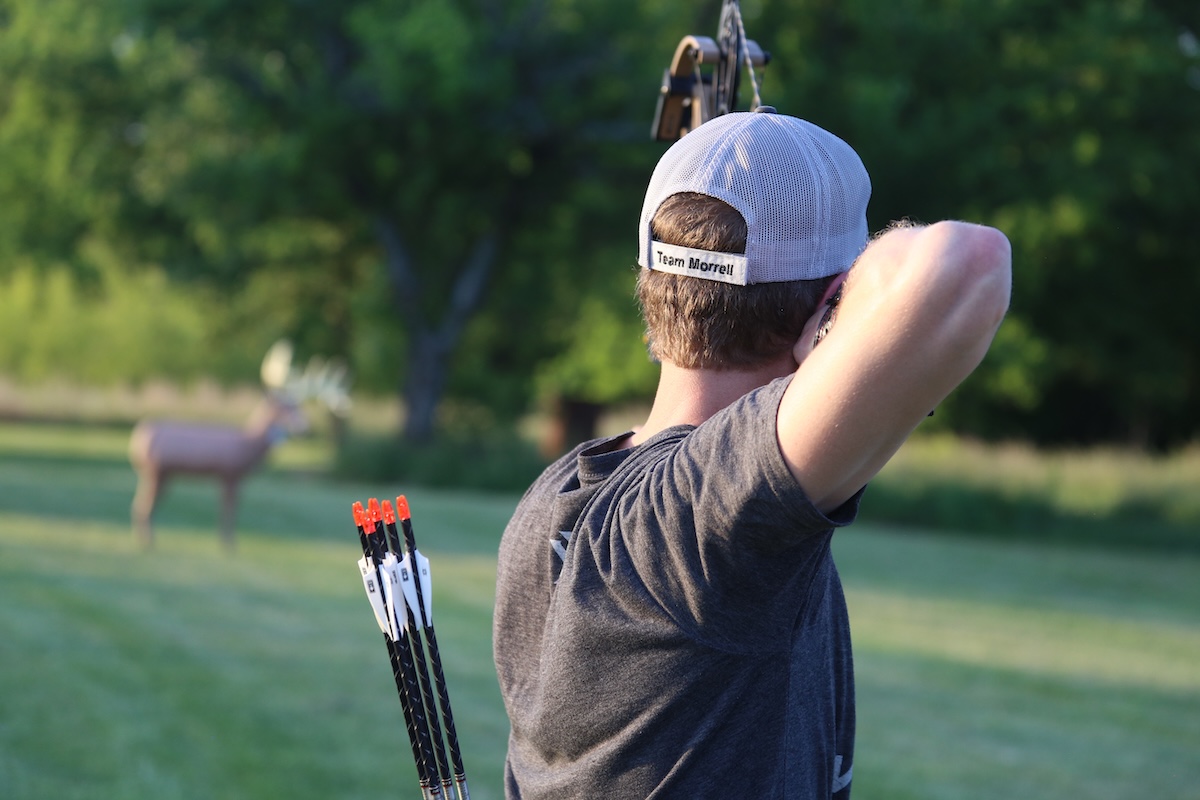
In bowhunting, a lot of things can go wrong, but diligent practice and attention to detail can boost your confidence and performance at crunch time.
It’s early December, and HuntStand Ultimate’s Whitetail Activity Forecast shows a high movement score for the afternoon hunt. The conditions are frigid, and the HuntZone feature shows an ideal wind direction for the entire evening at your stand location, which is near a buck bedding area that you’ve been waiting all season to hunt. Carefully, you access the stand and settle in.
About an hour before dark, you catch a glimpse of antlers as the buck you’ve captured on your Stealth Cam trail cameras emerges from the bedding area. But he veers and begins walking toward a different food source than you had anticipated. Not about to lose the opportunity, and with the second-rut imminent, you grab your Hunters Specialties Adult Doe Estrous Bleat from your Muddy DV8 Morph Jacket and tip it over. The buck stops, looks in your direction, swivels, and marches your way.
The buck is on high alert as he hits your shooting lane, and it’s a now-or-never 37-yard shot. This moment is tough to come by, but it’s right here, right now. Where will your arrow impact? This isn’t an easy shot, and the outcome largely hinges on your equipment, practice, and preparation.
In bowhunting, there are no guarantees, but you can elevate your odds of making a great hit by controlling what you can control, including the following eight tips. Here are ways to improve your archery skills.
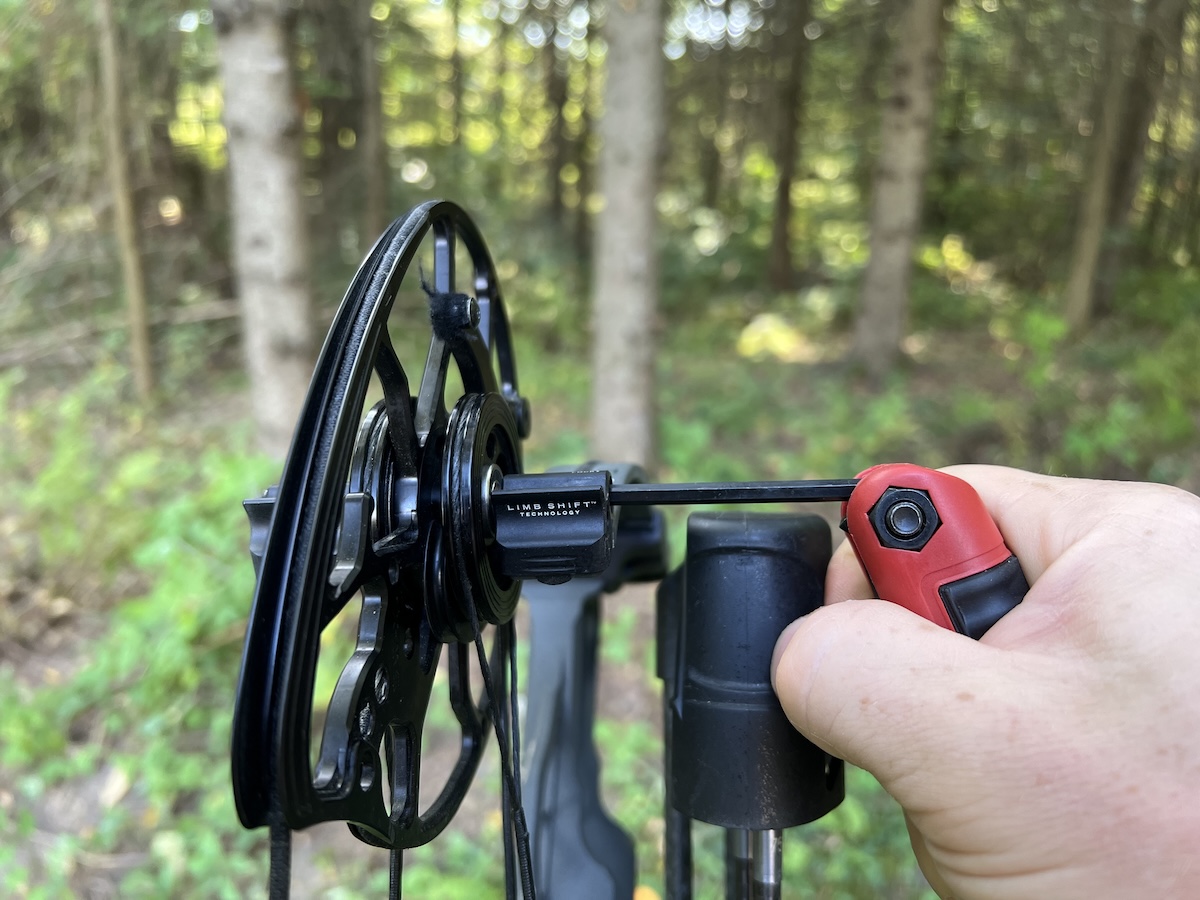
Even if your arrows are hitting where you want them to, there are so many merits to making sure your bow is properly tuned and producing true arrow flight.
1. Shoot Tuned Archery Equipment
When you shoot your bow, do you notice a slight flicker or fishtailing in your arrow flight? Even if you’re hitting where you’re aiming, shaky arrow flight is a cause for concern. It can worsen when you shoot with broadheads. It can decrease penetration. A crosswind can have a greater effect on the arrow. And, your arrow groups will be less consistent, especially when shooting at longer ranges.
That being said, either tune your bow or have a bow technician at an archery pro shop do it for you if you don’t know how to. Once it’s tuned, if you occasionally notice an arrow fishtailing in flight, it could be that you are torquing the bow grip, causing the arrow to leave the bow sloppily. Be mindful of how you grip the bow, and if you’re bow has a bulky grip, consider swapping it out for a slimmer aftermarket custom grip.
Crooked arrows can also instigate dubious arrow flight. Many archers misconceive that carbon arrows are either straight or broken, which isn’t true. Some arrows lose their straightness over time and with use, while others are simply not straight from the factory.
There are different arrow grades, so pay attention to the straightness tolerances. If your arrows have a +/- .006-inch straightness tolerance, a handful of the dozen could be substantially lacking in straightness. To achieve true flight from arrow to arrow, select arrows with a +/- .001-inch straightness tolerance, such as the BloodSport Evidence.
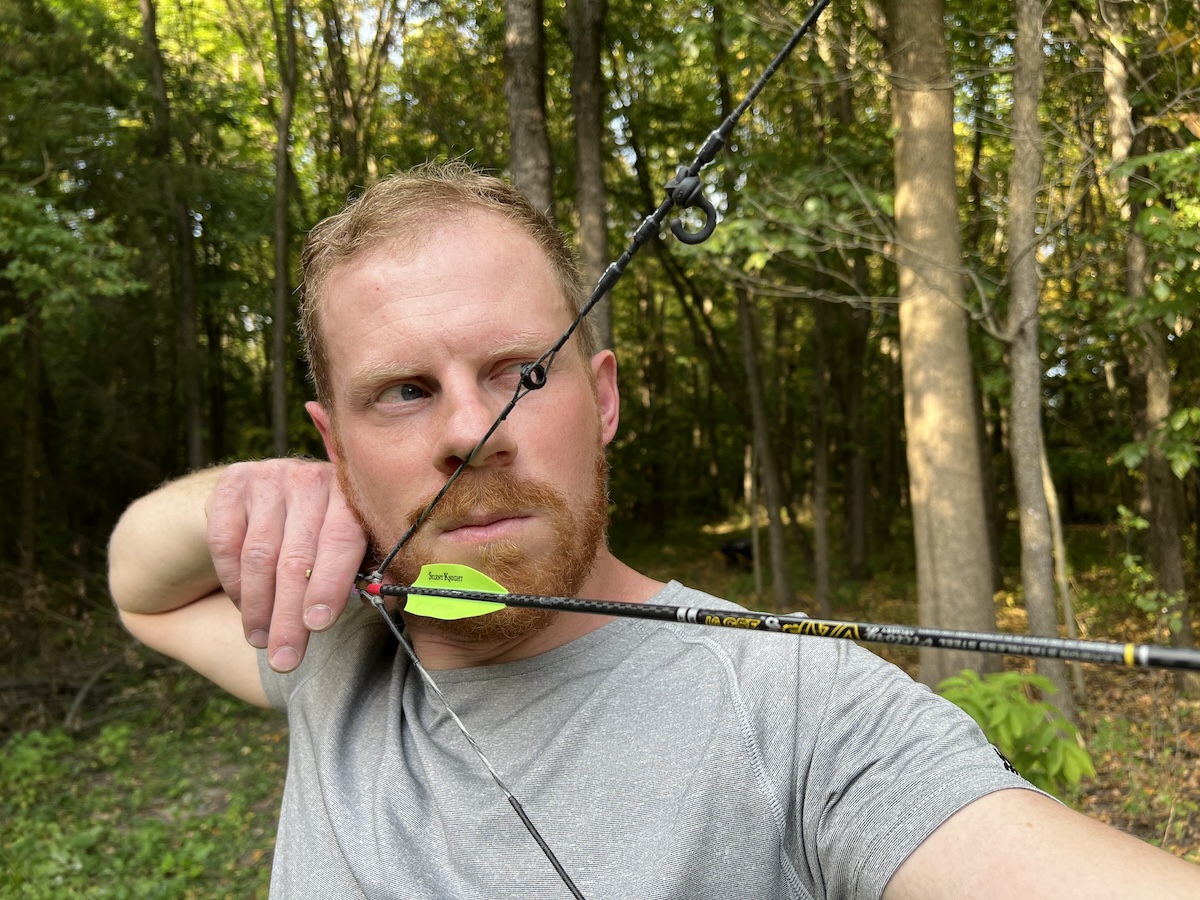
Muscle memory comes through consistent repetition, meaning you must embrace a practice routine if you want to become a better shot with your bow.
2. Develop Archery Muscle Memory
Good form yields consistent shot execution and arrow placement, and good form comes through repetition. A baseball player doesn’t automatically hit the baseball by swinging the bat. It takes an eye on the ball and a nice level swing. A good swing isn’t automatic. It takes practice and repetition to achieve one. Consistent training develops muscle memory, and muscle memory yields a consistent swing.
Archery is like that, too. Properly drawing a bow and shooting it with the right execution requires muscles and motions you don’t often use in other activities. Muscle memory is the product of routine and repetition, so you must develop a routine and shoot your bow often. If you have no rhyme or reason as to when you shoot your bow, you probably won’t develop muscle memory, and then your shot execution and accuracy will suffer.
Crossbow Hunting During the Rut (Plus Blood Trailing Tips and an Unexpected Surprise)
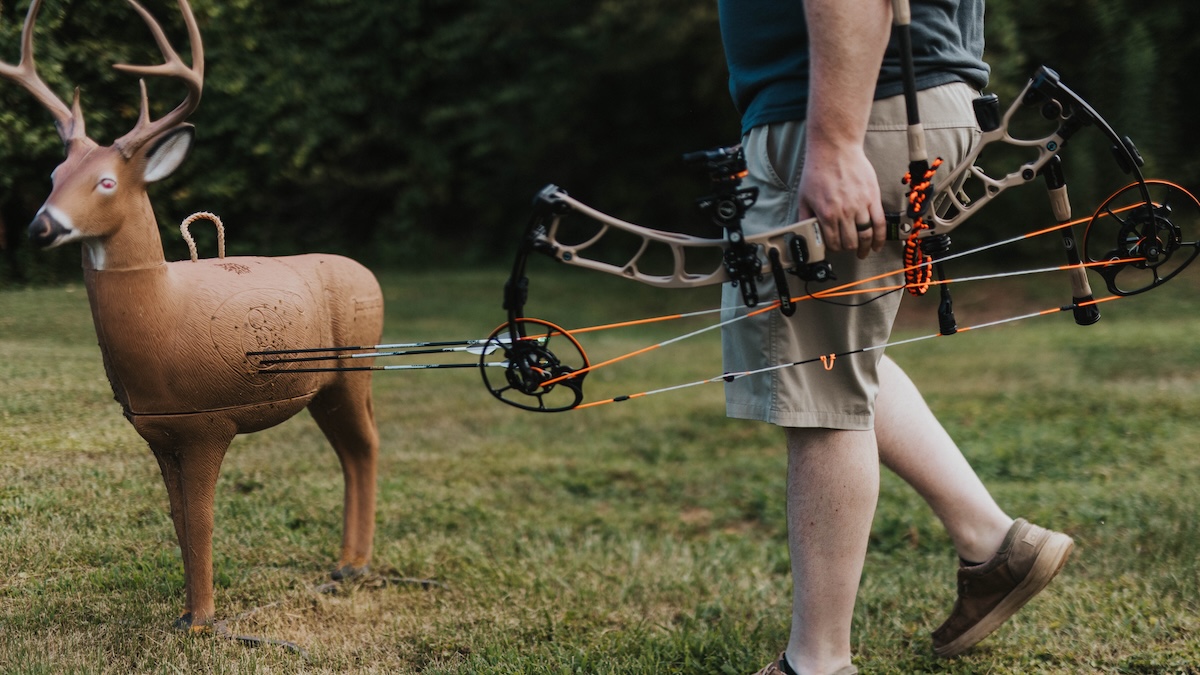
If you want to know how good a shot you really are, then don’t just shoot a backyard target from 20 yards wearing street clothes. Create realistic shooting challenges that are similar to what you’ll encounter while bowhunting.
3. Create Realistic Shot Challenges
Shooting at a deer target at the local archery range or in your backyard on level ground while wearing shorts and a T-shirt is good practice, but it doesn’t mirror a realistic hunting scenario. To see what you’re really capable of and identify any problems, you must practice like you hunt. Suit up in your camo apparel, climb into your elevated Hawk Rival Lite treestand (https://store.huntstand.com/rival-lite-hang-on-w-seat/) — don’t forget to wear your Hawk Elevate Pro Harness — and shoot at your deer target 33 yards away through a small opening in the branches.
Every bowhunter should also practice yardage estimation. You can either walk to random distances from your target, estimate the yardage, and then check your accuracy by ranging the target, or you can estimate the yardage and then take a shot. Sometimes, shot opportunities present themselves without time to range the animal, leaving you the option to estimate and shoot or pass the shot opportunity. Practicing yardage estimation will give you more confidence in taking a shot when ranging the animal isn’t possible.
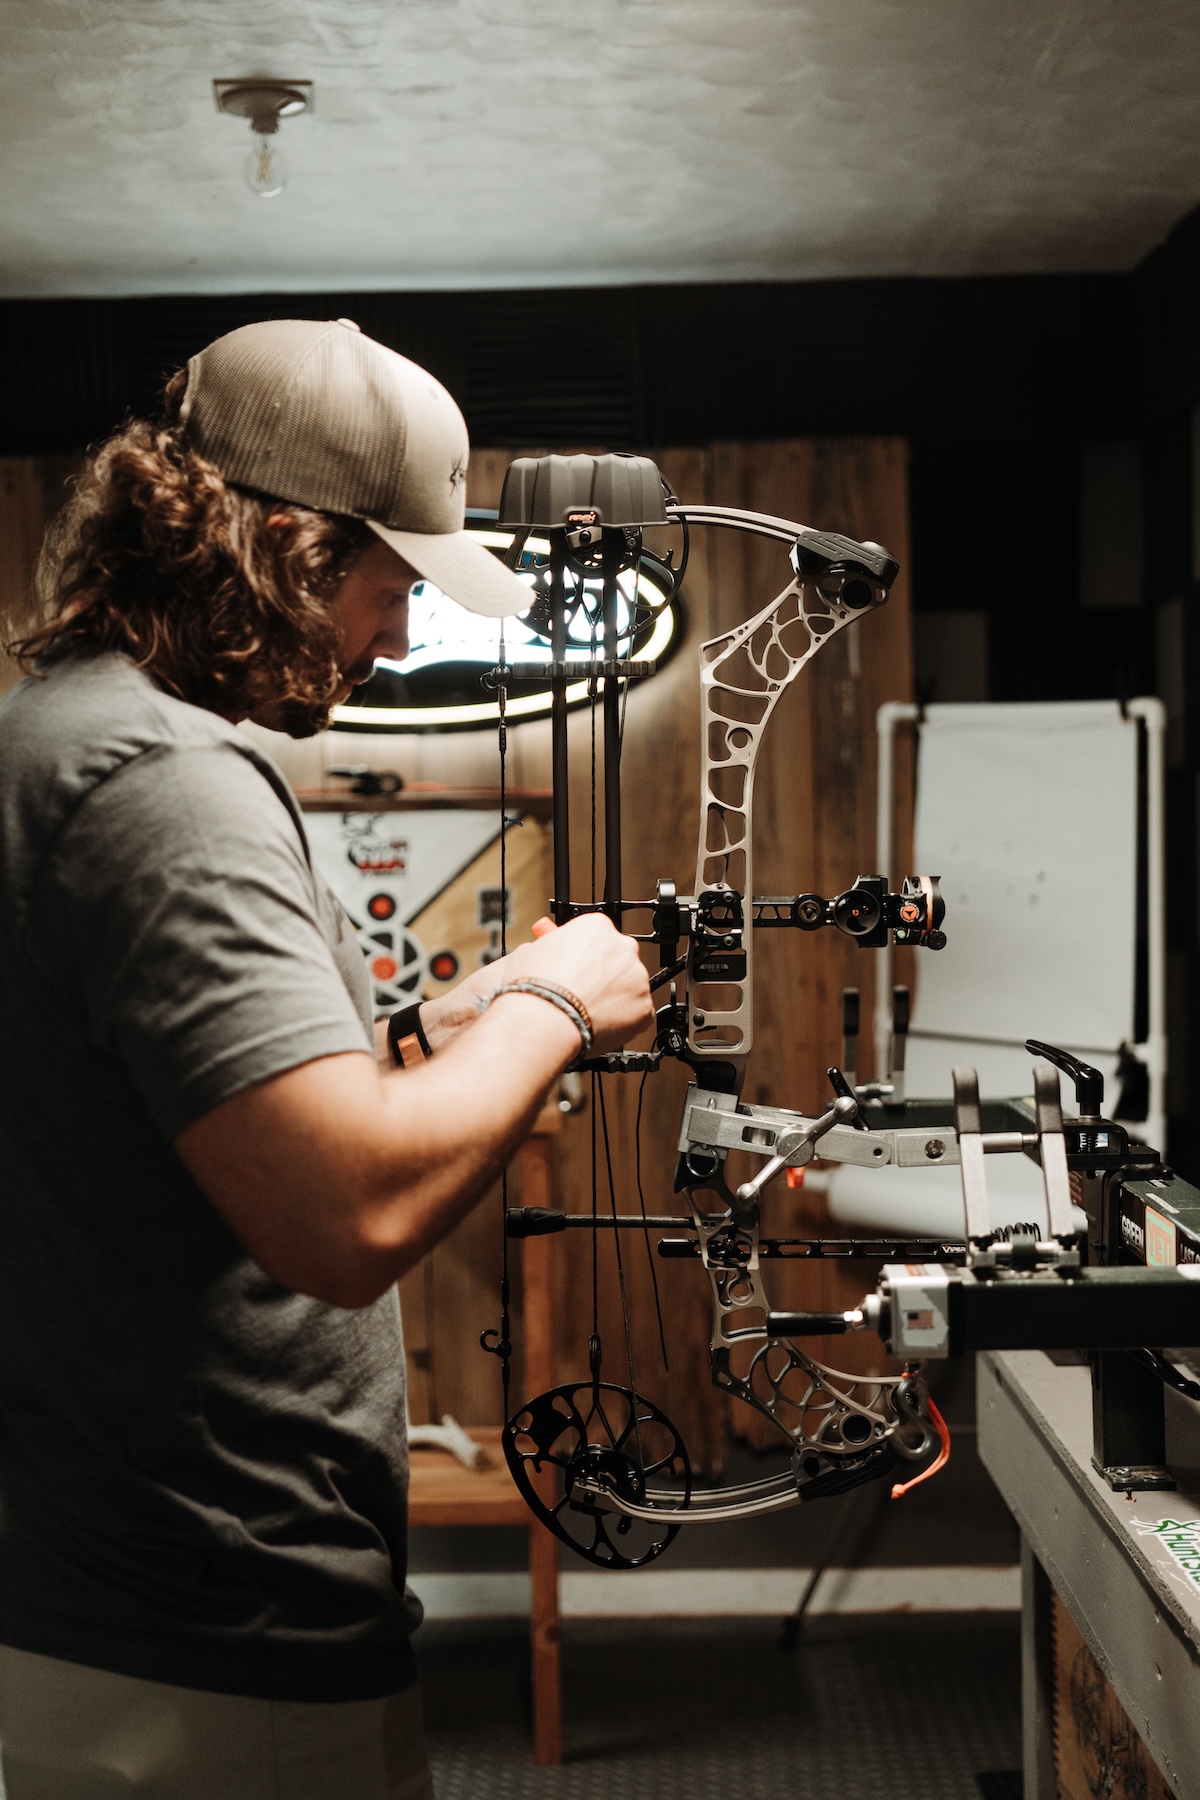
A peep sight that is too large or too small can yield an inconsistent anchor point, especially when shooting up or down from awkward positions. Fit your peep sight to your sight housing, and you’ll find it easier to achieve a consistent anchor point.
4. Use the Right Peep Size
When you hit full draw and acquire your sight housing in your peep sight, how much of the housing’s bright ring can you see? If you cannot see all of it, the peep sight is too small. If you can see beyond the housing ring, your peep sight is too large. You should be able to fit the housing ring perfectly in your peep sight. This helps you to keep a consistent anchor point, and a consistent anchor point tightens up your groups. Another way to fit your peep sight to your sight housing is to adjust your sight bar away or toward you until the housing fits the peep perfectly at full draw.
Want Better Bowhunting Accuracy? Build Your Own Arrows.

Practice at longer distances to make closer shots easier to execute.
5. Practice Long-Range Shots
Today’s compound bows are more accurate than we humans are capable of shooting them. Quite a few archers who have slider sights can shoot and hit targets at 100 yards and beyond, and some archers can group quite well at surplus yardages. Of course, shooting at an animal at such ranges is unethical, no matter how well you shoot. The time it takes for an arrow to cut that much distance gives the animal plenty of time to react; even a well-executed shot can yield a poor hit.
That being said, practicing at surplus ranges — even double the distance that you plan to shoot while bowhunting — can boost your confidence for shorter hunting shots. The other thing is that sometimes, your first shot at an animal can miss the mark, requiring a follow-up shot. Once you’ve arrowed an animal, it’s your responsibility to finish the job as fast as possible. If the animal stops and offers you another opportunity, you’d better take it if you have a pin for the yardage or your sight adjusts to it.
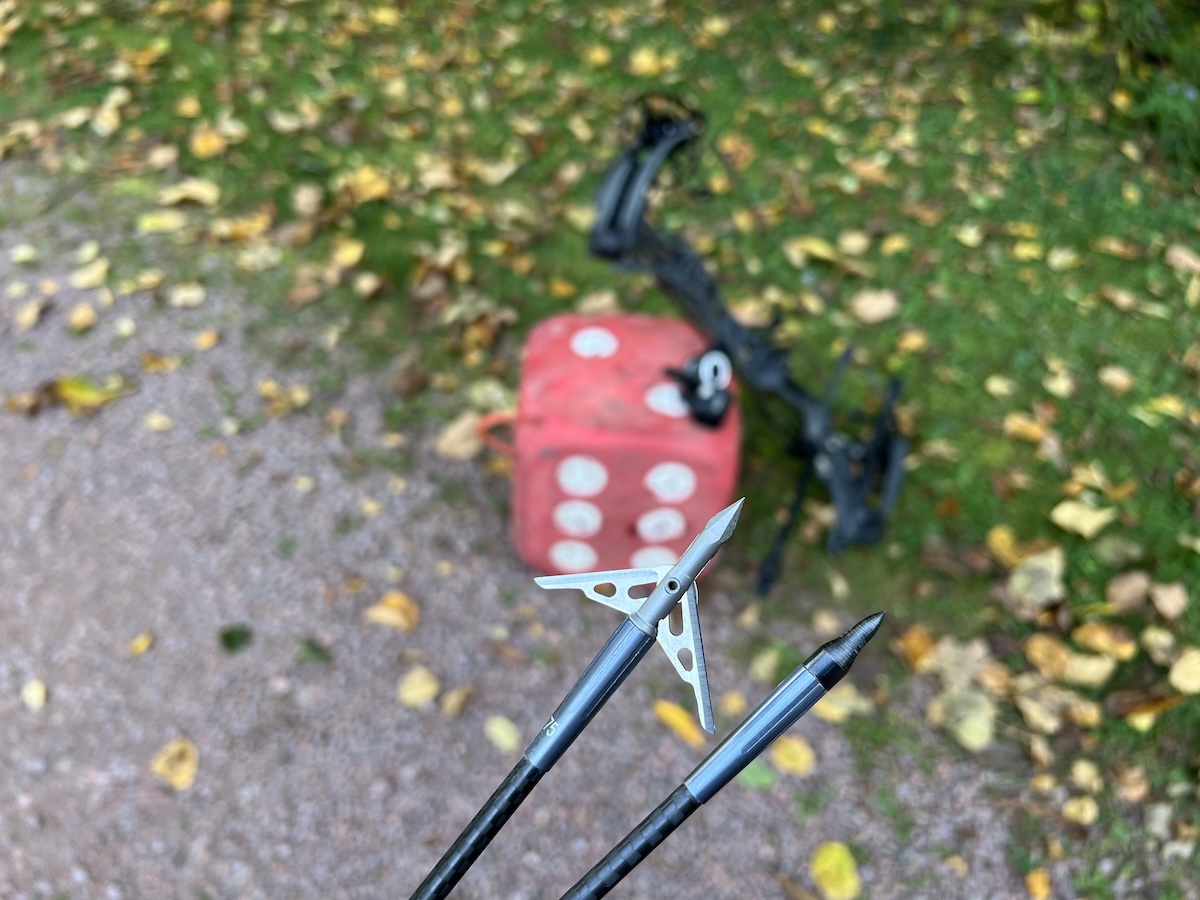
Broadheads don’t always fly exactly like field points, so be sure to practice with them to identify any flight discrepancies.
6. Practice With Your Broadheads
Most bowhunters know that their broadhead weight must match their field-point weight. However, many hunters thread their broadheads in and go hunting without testing them. Buy a foam broadhead target and practice with the broadhead you intend to hunt with at all yardages you would shoot in a hunting scenario. Seek to identify any flight discrepancies. Poor broadhead flight can be due to a poor broadhead design, a poorly tuned bow, a wobbly arrow, and more. You owe it to the animals you pursue to be as deadly as possible, and that means checking broadhead flight before hunting.
Bowhunting Deer from the Ground
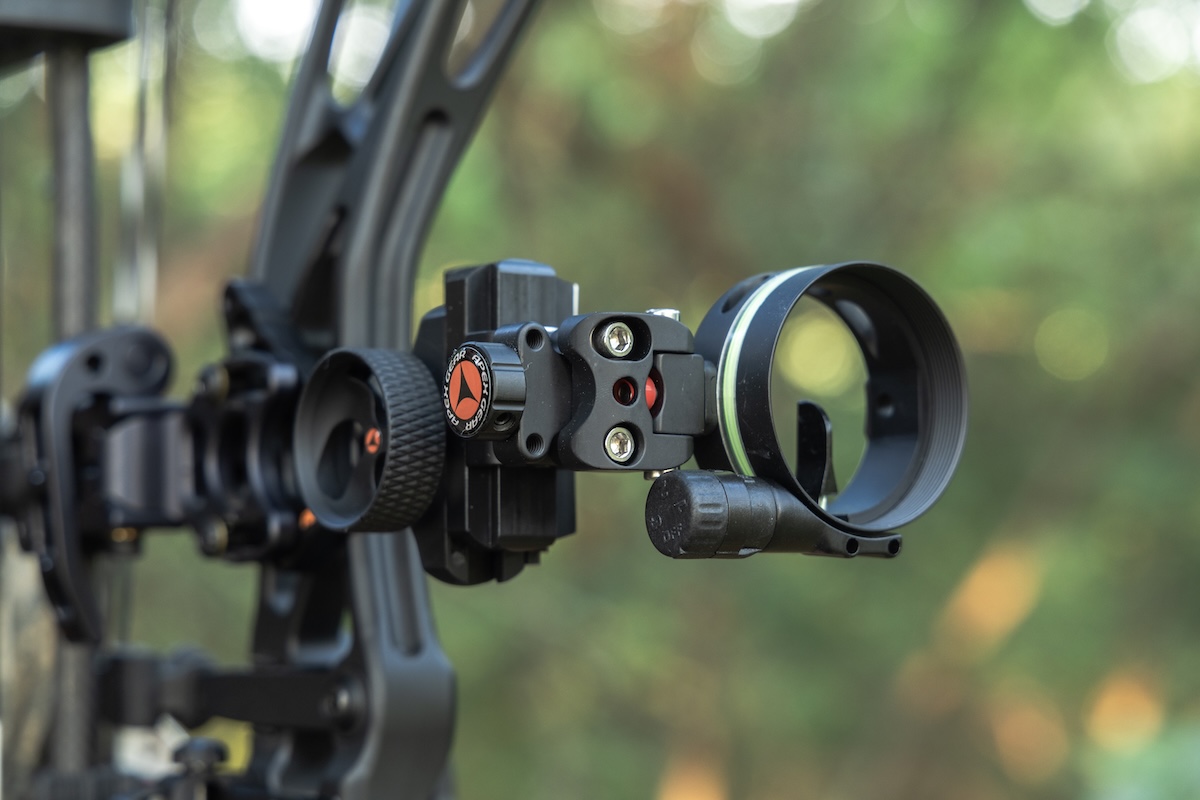
Many bowhunters practice diligently before the bow opener but fail to keep the routine going strong during hunting season. If you budge on your routine, your muscle memory and confidence will likely suffer.
7. Keep Practicing During Bow Season
Consistent performance requires consistent practice. We touched on that earlier when discussing muscle memory. Some bowhunters get this right during their pre-season preparations, but then their consistency slips when bow season opens and they decrease their practice. You must continue practicing with your bow throughout the season to not only maintain your muscle memory and equipment familiarity, but also to boost your confidence.
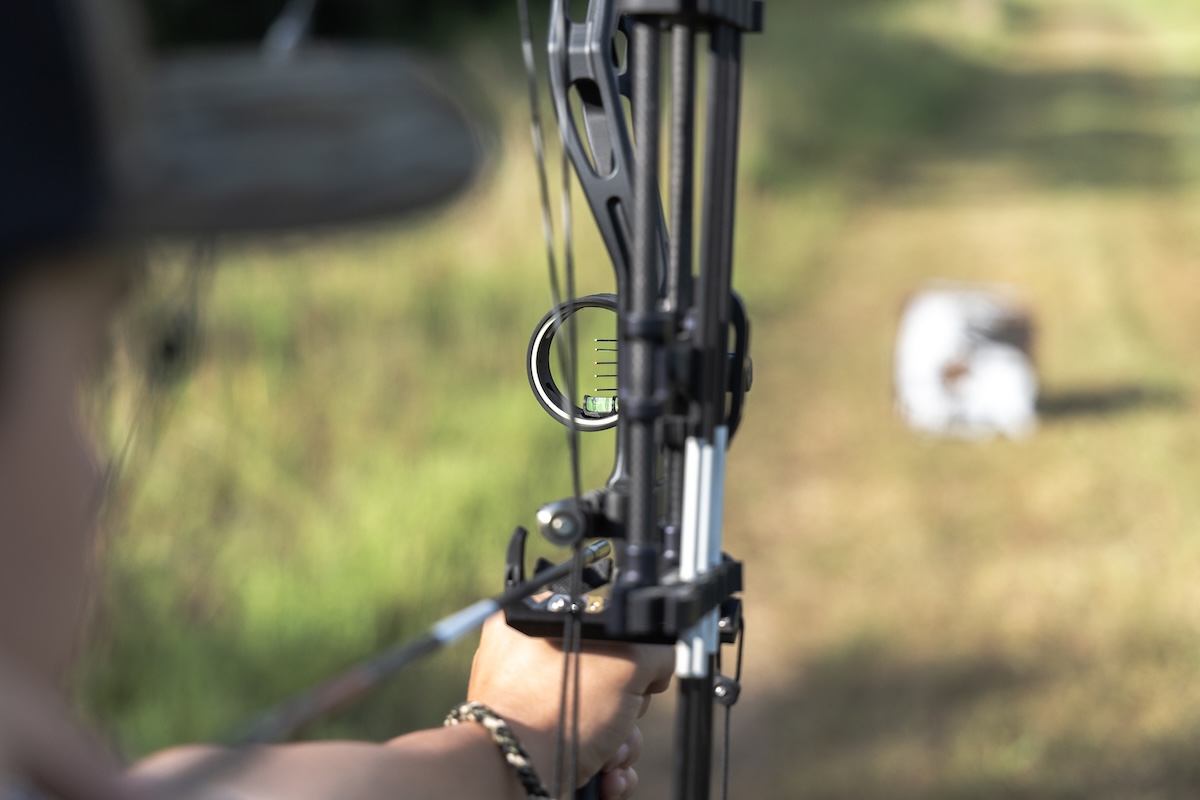
Practice in different ways on the range. But, once in the field, take reasonable shot opportunities.
8. Take Shots You Know You Can Make
When a moment like the one at the beginning of the article presents itself, only shoot if you know you can make the shot. Some bowhunters get so wrapped up in the moment and crazed with adrenaline that they forsake common sense.
Think: A 37-yard shot at a giant buck that you’ve been hunting for three seasons is a lot different than a 37-yard shot at a backyard deer target. Consider the conditions and how your body is handling the big moment. Does doubt outweigh confidence? If so, leave your arrow on the string. The only thing worse than watching an animal walk away without releasing an arrow is to make a poor hit because you took a shot without having a high level of confidence. Keep ethics at the forefront of your mind every time you prepare to take a shot at an animal.
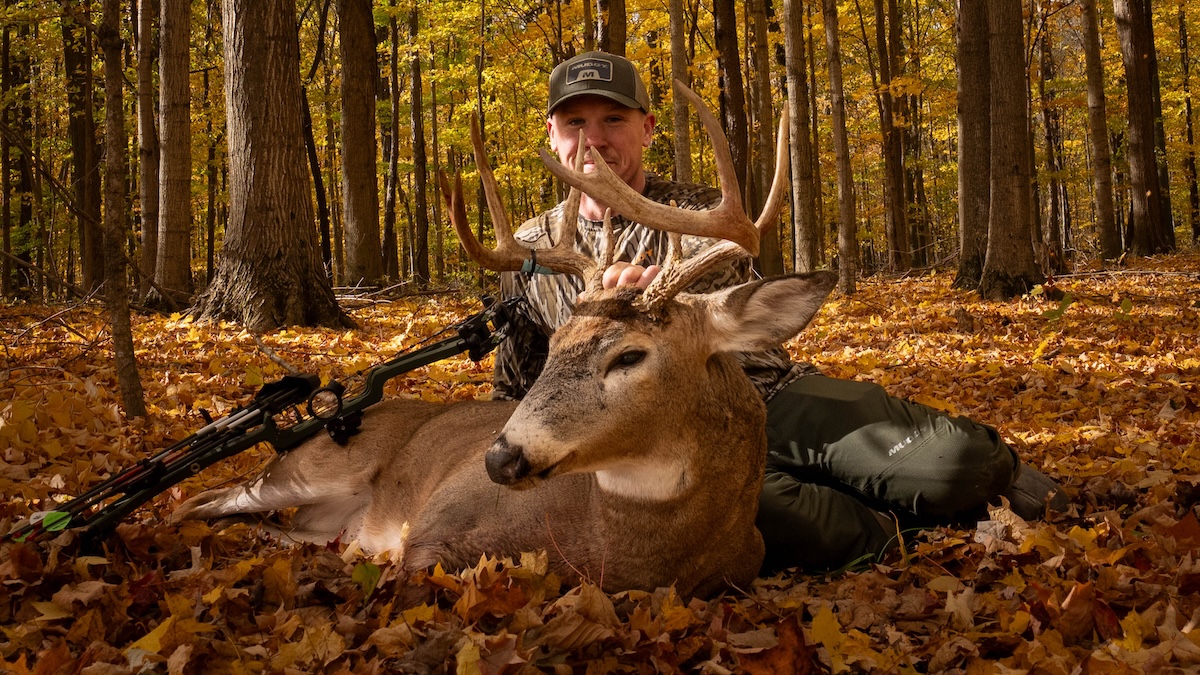
Level up your archery game and enjoy a more successful deer season.
Conclusion
A lot more variables can govern the outcome of an arrow than a bullet. Many of those variables are beyond your control, but many are within your control. Dial in your archery game by following these eight principles, and you’ll be in way better shape to make a great hit when that big buck walks into your shooting lane.
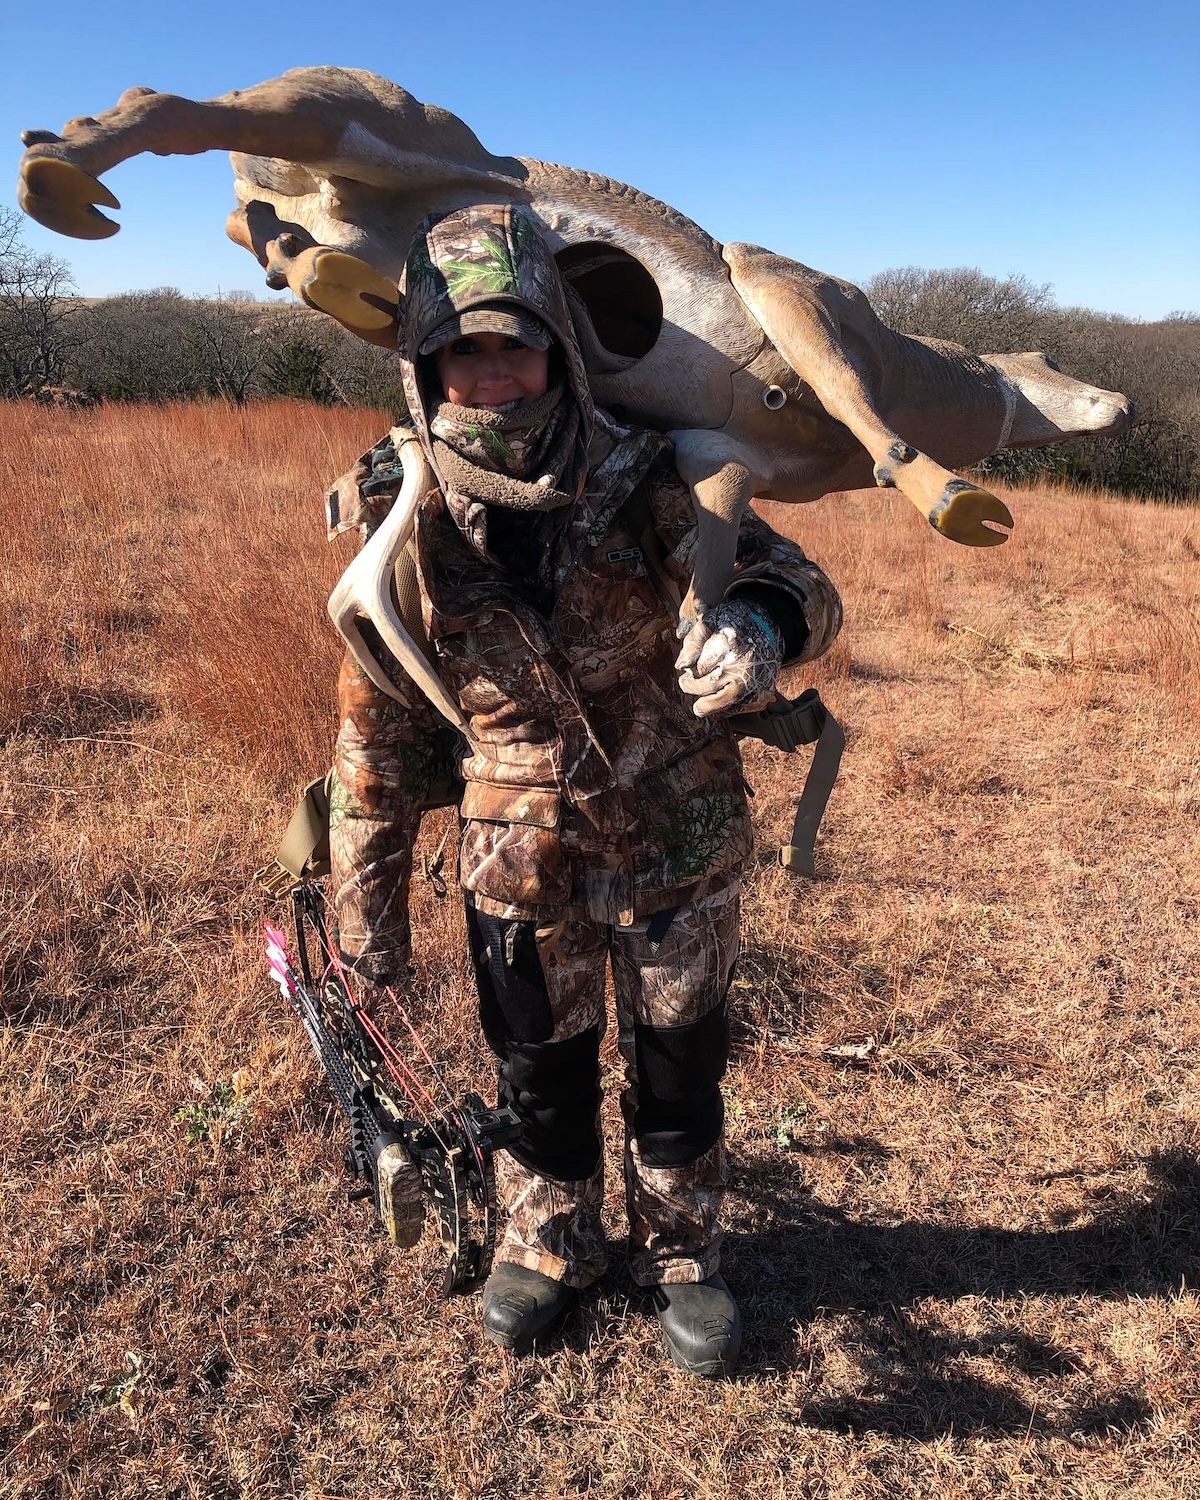
Decoying mature white-tailed bucks during the rut is one of the most exciting ways to hunt, but you have to follow some details for it to work out.
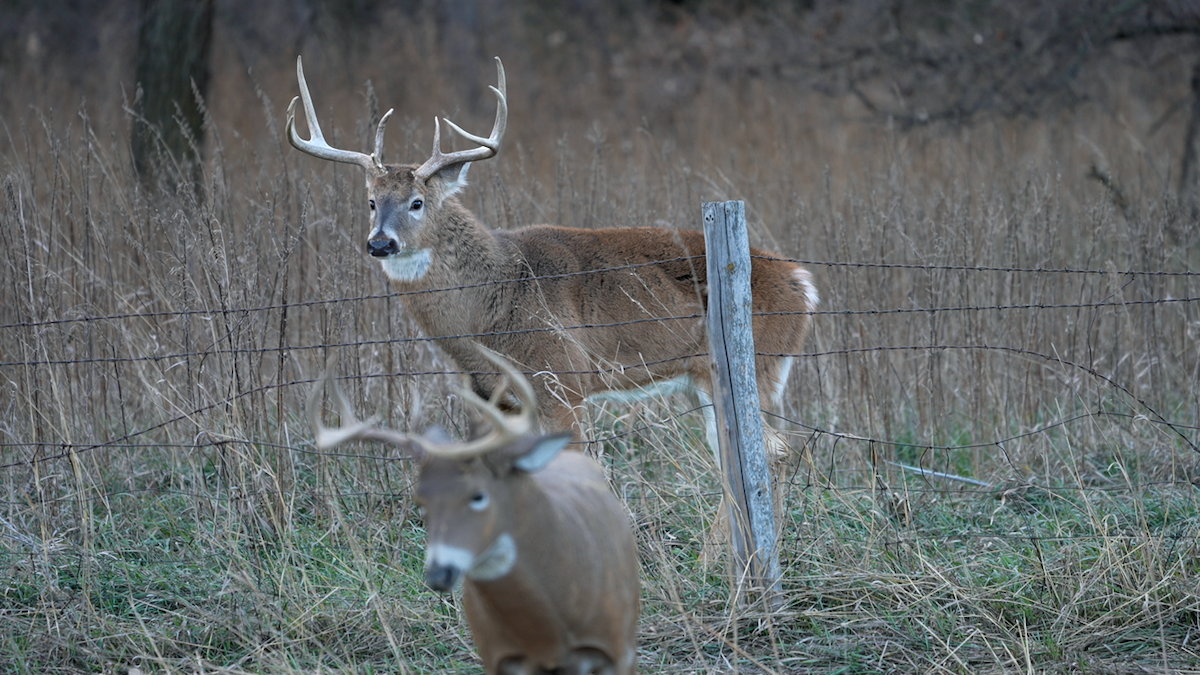
Decoying is most effective during the rut, and especially the pre-rut, as bucks have the increasing urge to fight and breed.
Imagine: You’re sitting in a treestand, overlooking a recently cut cornfield, with a buck decoy set 18 yards away. It’s early November; time to shake things up. After issuing a few grunts, you reach for your rattling antlers, banging them together with force. After 30 seconds, you exchange the antlers for your bow, brimming with anticipation.
A few moments later, you hear a deer walking in the crunchy leaves. Your heart leaps into your throat. The moment the buck pops out of the timber, he’s clearly the one you want. With his ears pinned back, eyes squinted, and hair bristled, he marches with stiff legs toward your decoy. Carefully, you draw your bow, and he turns broadside several yards from the decoy. You bury your top pin on his ribs, and your arrow instantly flashes through him, driving into the dirt on his opposite side. The buck flees, crashing just inside the timber.
Hunts like these only happen on outdoor TV and YouTube, right? Not exactly. Decoying doesn’t always produce encounters like the one above, but with attention to the key details, even an average whitetail hunter can experience a heart-throbbing decoy hunt. And when you do, it will be one of the most adrenaline-packed deer encounters you’ve ever had with a bow in your hands.
That said, here are some of the important details to consider if you’re ready to give decoying a whirl.
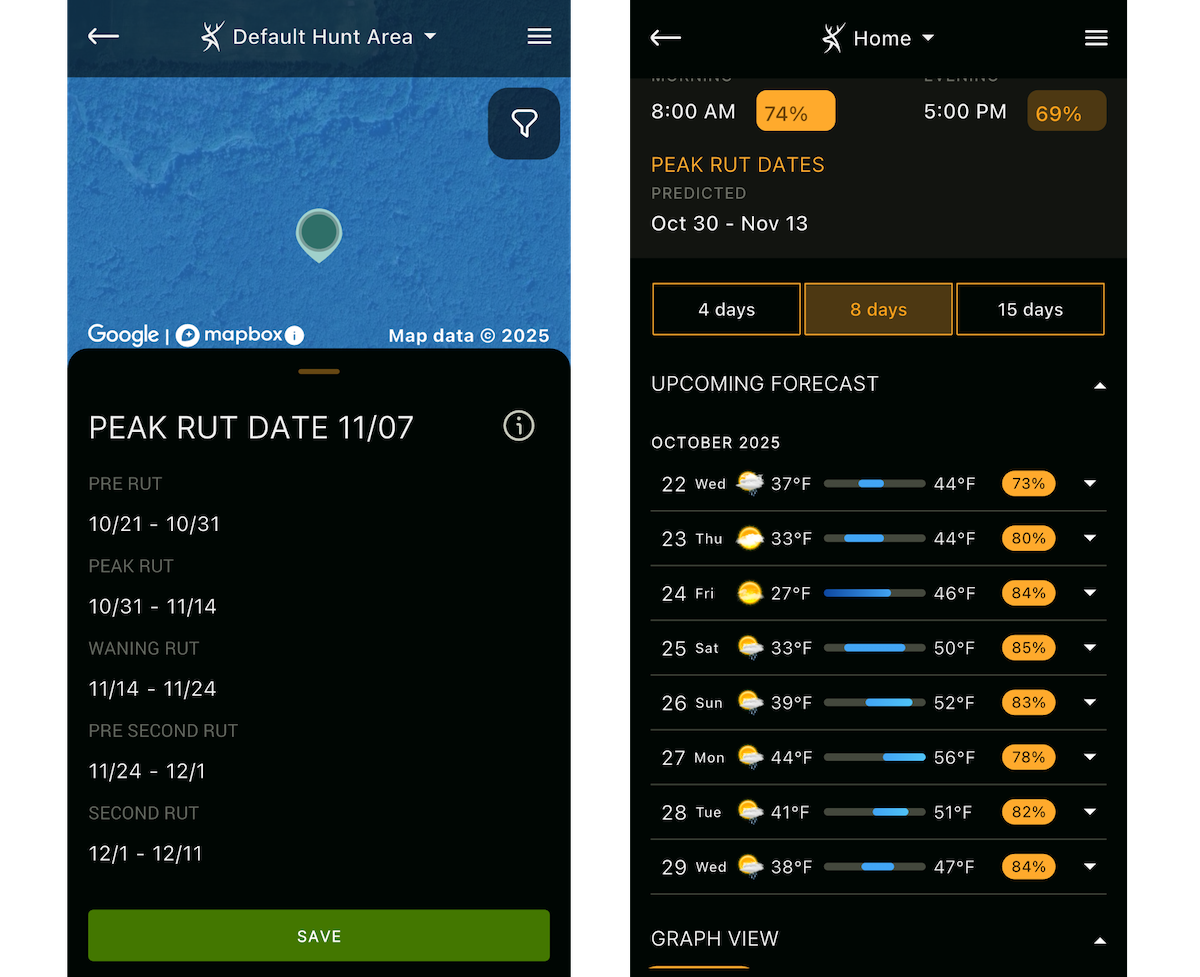
The Whitetail Rut Map provides site-specific dates for all phases of the rut, which can inform when you should break out the decoy.
1. Timing Your Deer Hunts
Decoying can be effective from the time that bucks shed their velvet until they shed their antlers. Anytime bucks are hard-horned, they tend to fight or spar with other bucks. However, the most effective time to decoy is from the late pre-rut (late October through early November in most regions) through the waning rut. To narrow things down even more, the late pre-rut is generally the unequivocal best window for using a buck decoy, as bucks are doing lots of fighting right up until they get on the trail of estrous does.
This is when I decoyed in a big public-land Kansas buck to 12 yards. The date was November 1, 2024. I’d seen the buck come out of a bedding area the evening prior, and I moved in tight that following afternoon. Placing a buck decoy and hiding in a cedar behind a bow-mounted doe decoy, I rattled, and the buck came out and walked right in for a point-blank shot.
Things can slow down a little bit during peak breeding, as bucks lock down with does for 24-48 hours and move minimally. Not only are you less likely to see a buck, but if you do, he might be following a doe and be unwilling to leave the doe to come fight. During this window, the open country is a prime place to hunt for the active ground hunter. Find a locked-down pair, move within 80 yards, present a 2-D buck decoy, and grunt to challenge the buck. Lots of prairie bucks are killed this way.
During the waning rut, anything can happen. Bucks are still in the mood to breed and fight, and a buck or doe decoy can be a great option during this time. With the weather cooling down (winter is just around the corner) and the rut fading, bucks often can be susceptible to food sources, where they can replenish lost calories but also mine for any remaining unbred does.
One of HuntStand Ultimate’s most useful tools is the Whitetail Rut Map. With this overlay engaged, you can click on your Hunt Area, and a window will open that provides dates for the different rut phases. Consider this data with the suggestions above, and you’ll know when it’s time to bust out the decoy.
If you have limited time to hunt, watch HuntStand’s Whitetail Activity Forecast like the daily news. When the percentage-based movement score is high during the rut, grab your decoy and get out there.
2. Choosing the Right Stand Location
Decoying is most effective in specific settings. Visibility is the key. The most effective decoy setups are where bucks are liable to travel through a distance from the stand or blind location. Think large fields, power-line lanes, brush-country senderos, wide-open hardwoods, and other settings with 100-plus-yard visibility — these are easily distinguishable in the Hybrid or Satellite base maps. Bucks typically like to size up their opponents before committing to a fight. If you put a decoy 20 yards from where you believe a buck will walk, you could surprise and spook it. Plus, 20 yards is in bow range anyway.
If you’re doing a hang-and-hunt mission in an area you’ve never been to and would like to use a decoy, it can help to use HuntStand’s distance measurement tool beforehand. Measure from a perceived stand location to the anticipated buck movement. Again, 100-yard-or-better visibility allows most approaching bucks to study your decoy, size it up, and commit to a fight.
HuntStand pro-staffer, Melissa Bachman, provided some further considerations regarding decoying locations.
“I like locations where bucks cruise all day long,” she shared. “You want them to see my decoy from a distance. I also prefer to set up in areas where bucks feel comfortable. For example, around a food source, bucks typically cruise the downwind fringe to scent-check does. Try to get your decoy where he’ll see it as he works the wind. If you put a decoy where bucks are less comfortable approaching, they’ll sometimes study it from a distance without coming in.”
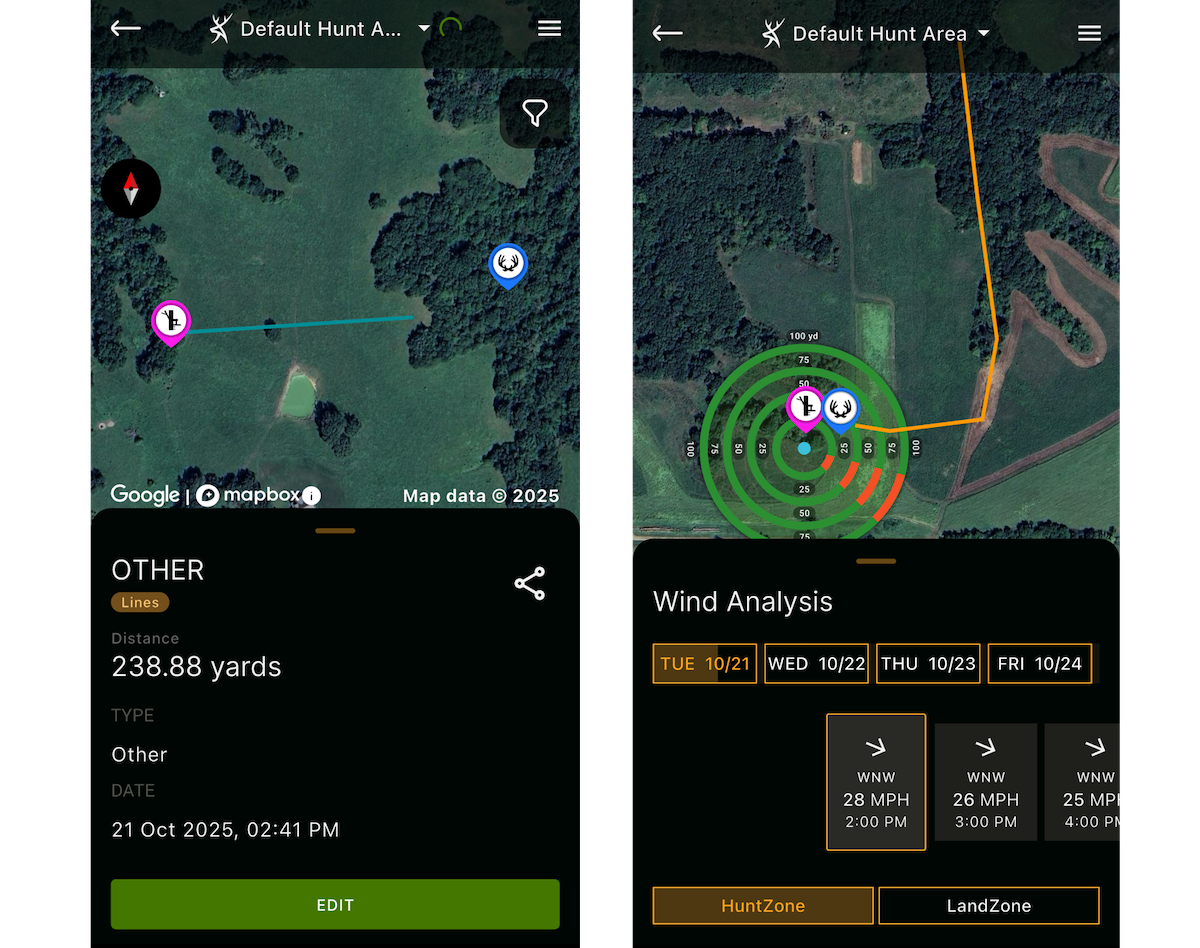
Areas with 100-yard-or-farther visibility, especially places where bucks are coming and going throughout the day, make great decoying sites.
3. Deer Hunting with a Crosswind
Mature bucks are pretty picky about how they move in accord with the wind. Often, the best setups for decoying are when the wind is just barely right for the setup. If the decoy is straight upwind, which is ideal for the hunter, the buck might stand and stare but not commit. Or he might make a wide circle to the downwind side and fail to present a shot opportunity.
In contrast, when the wind is just missing the buck, he’s liable to come marching in without reservation because he’s confident that he can smell everything upwind of his location. For this reason, shifting your decoy placement from straight upwind to perpendicular with the crosswind can make the decoy feel more approachable to bucks, as they don’t have to swing downwind before approaching.
HuntZone is an irreplaceable tool for every single deer hunt, but it especially comes in handy when decoying. The feature shows the wind direction and your scent cone (how the wind will disperse your scent the farther it blows from your location). Before placing your decoy, reference HuntZone. Make sure that the perceived buck movement will miss your scent cone and then set your decoy in the crosswind rather than directly upwind.
Again, bucks are more likely to approach a decoy that gives them at least most of the wind advantage. But, make sure that where they come out and their anticipated route that the decoy is never in line with your downwind airstream.
Bachman added a detail regarding wind strategy. “Bucks often circle the decoy close to 360 degrees, so always plan for that when setting up so that they don’t catch your wind,” she suggested.
How to Find Killer Deer Hunting Funnels
4. Adding Scent Around Deer Decoys
Deer lures can spark realism to your decoy setup. Buck urine and doe estrous can be combined to elicit the best results. But wait! Don’t dump the scents directly onto the decoy. There are two reasons why this is taboo.
First, the scent will remain on the decoy, and then it will lose its freshness as it breaks down. In other words, it could smell a bit off on future hunts and alarm deer.
Second, you’ll likely get the scent on your person as you haul the decoy out of the field. This means you could welcome bucks to follow you and potentially pose a threat to your personal safety. The cleanest and best application for scent is around and beneath the decoy.
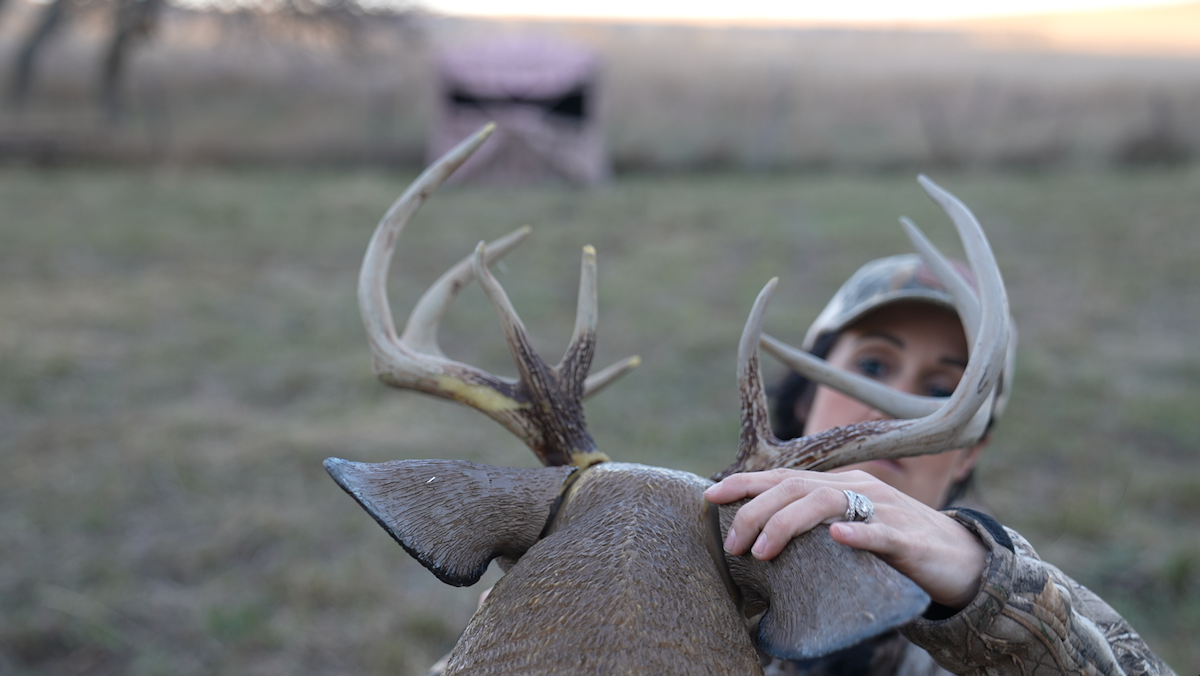
Set the decoy facing toward your blind or stand. Bucks most often approach opponents head-on, which means they’ll swing broadside to make the final approach, giving you a shot opportunity.
5. Setting Up a Close Shot
When setting up your decoy, don’t needlessly lengthen your shot distance by setting the decoy 30 yards or farther from your stand or blind. When a buck commits to a decoy, he’s usually locked in, and you can typically get away with the movement of drawing your bow without a problem. Set up for a slam-dunk shot. Around 15-22 yards is usually the sweet spot that allows for a no-brainer top-pin shot.
Another thing, always set your decoy head-on to your stand or blind. Bucks fight with their antlers, meaning a buck will almost always approach a decoy by circling to address it head-on. This means the buck will have to turn and expose its shoulder before knocking over the decoy, thus giving you a shot.
On some occasions, a buck that isn’t in full-on fight mode might walk back and forth within 20-30 yards of the decoy, and then eventually walk in from behind to smell the decoy. The goal is to smell the opponent’s tarsal glands and confirm that it is a real buck. In this scenario, the buck will still generally offer a broadside shot at some point, even if the decoy is facing you.
“Depending on the terrain, I generally put the decoy about 20 yards away,” Bachman said. “If a buck swings out a little wider, say 30 or 40 yards, he’s still within my effective range. But if he comes right in, it’ll be an easy shot. Also, bucks usually approach the decoy head-on. Knowing that, I position it so that I’ll get a broadside shot opportunity before he hits the decoy.
“When you’re hunting over a decoy and immature bucks come in that don’t give you a shot, you need to move the decoy as soon as they leave,” she continued. “When the wind stays consistent all day, I’ve noticed all bucks basically do the same thing. You don’t want to miss an opportunity when a big buck comes in, so adjust if necessary.”
Wind is imperative to decoy success. Although a decoy set upwind of the hunter’s location makes sense, sometimes a wind that is just barely right for the hunter is a better setup, as bucks tend to approach more confidently when the wind is mostly in their favor. Always reference HuntZone prior to setting up.
6. Dousing the Decoy with Scent Eliminator
Human scent can quickly foil an otherwise perfect decoy setup. You’ll inevitably have to touch the decoy while carrying it to your stand location and setting it up. Regardless of your scent-control efforts, this will introduce some human scent to the decoy. Always douse the decoy liberally with a scent eliminator before scuttling back to your setup. Douse the ground where you were standing and kneeling while setting it up, too. There are lots of ways to ruin a decoy hunt, and human scent tops the list.
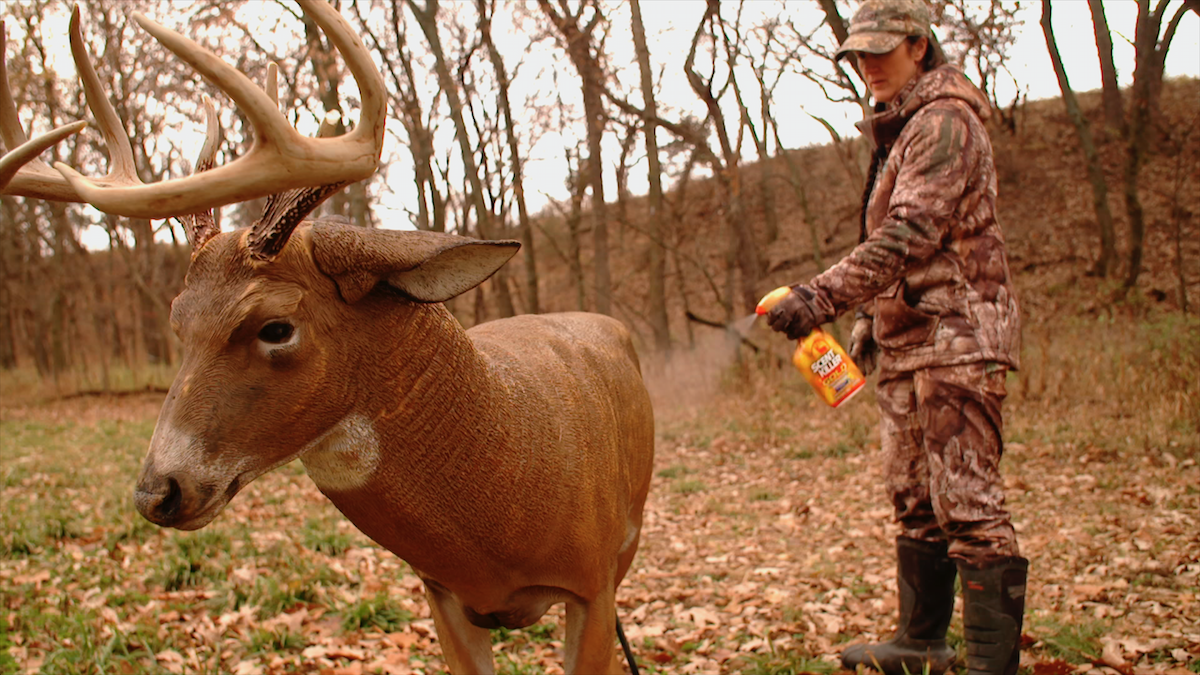
Hauling a decoy in and out of the field introduces it to human odors. For that reason, always douse it liberally with a scent-eliminator after setting it up.
7. Deer Hunting All Day
Anytime in November, especially when hunting the fringe of a bedding area, hunt as many hours as possible, and when the wind direction is ideal for the spot. Bucks often move between 10 a.m. and 2 p.m. You’ll potentially miss out on bucks if you aren’t out there all day. Yes, there will be many hours of inactivity, but it just takes one cruising buck to have a successful decoy hunt.
To that end, utilize HuntStand’s Whitetail Activity Forecast to put your time in when it counts the most. This feature considers many components that influence deer movement, and algorithms calculate movement scores. When the score is at least in the mid-70s, it’s a good time to hunt, and when it’s in the 80s or higher during any of the rut phases, you’d best park your butt out there with a decoy 20 yards away.
How to Hunt the Phases of the Whitetail Rut
8. Spice Things Up
From late October through November, you’ll generally hurt nothing by rattling, grunting, and snort-wheezing. This is a great way to pull bucks in where they can see the decoy. Then the decoy can finish them into bow range. Also, when a buck is sizing up your decoy, a grunt can tip him over the edge and bring him in. Whitetails expect other whitetails to communicate through grunting, rattling, and snort-wheezing. So don’t be afraid to try it.
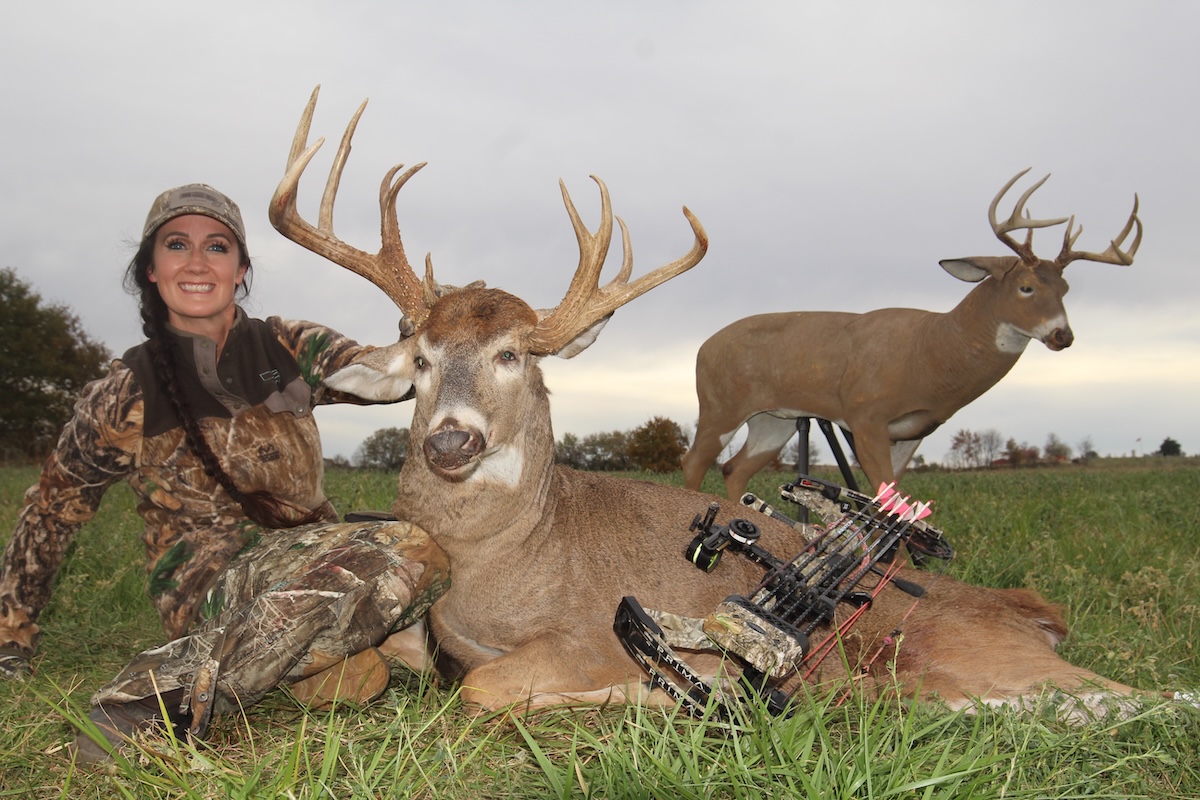
HuntStand pro-staffer, Melissa Bachman, has had loads of success with decoying big whitetails, including this ancient Illinois bruiser.
Final Notes
Now, if an immature buck comes in and topples the decoy over, Bachman said that she walks out and repositions it as soon as that buck leaves. Then, she reassumes her ambush and rattles, which can take an otherwise disruptive situation and make it alluring to any other bucks within earshot.
“Often, hunters ask me, ‘What if I’m after a specific buck, but he’s afraid of my decoy?’” she continued. “That does happen. Sometimes, I’ll remove one antler. When I do, I expect the bucks to approach that side; it’s the decoy’s weak side. Make sure to set up accordingly.”
There’s more to the decoy story, which you’ll learn through trial and error. Every scenario plays out a little bit differently. But the combination of elementary and advanced tips we’ve discussed here will help you get started on the right foot. And who knows? Maybe you’ll have the encounter of your life as a mature buck marches toward your decoy.
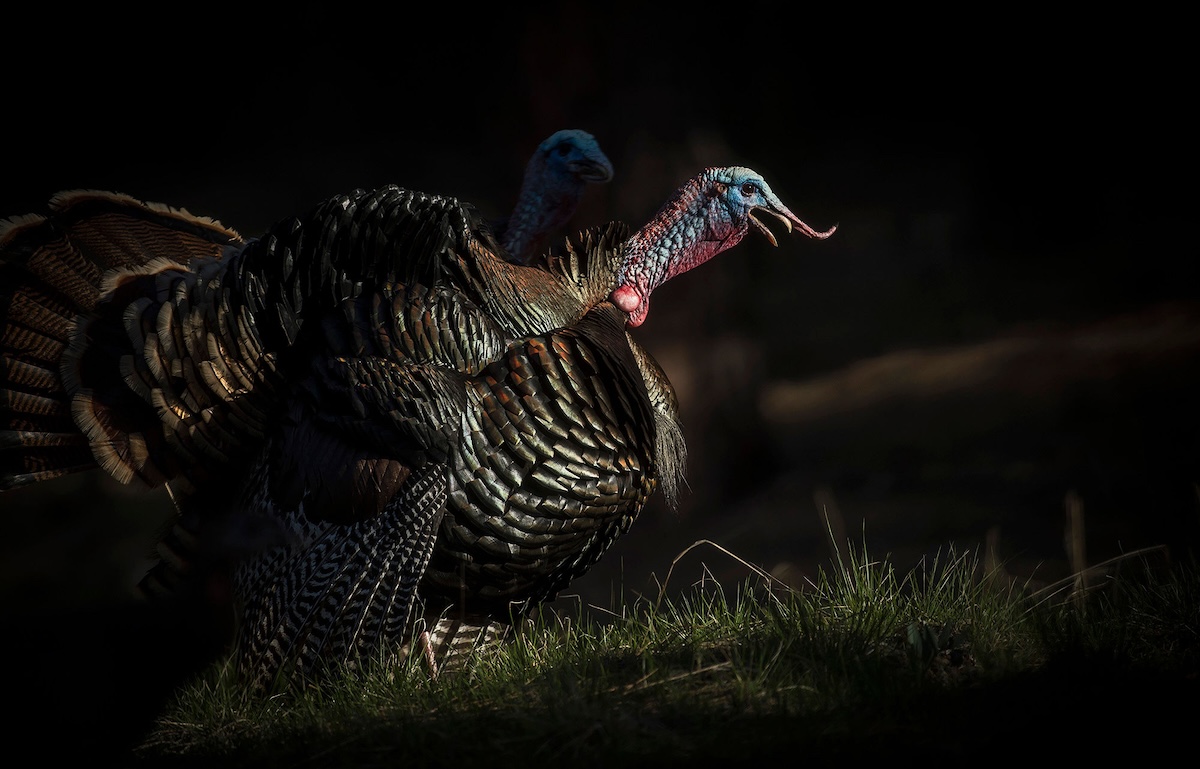
Midwestern turkeys offer unique adventures.
The Midwest: It harbors some of the country’s finest and most eco-diverse wildlife habitats. Often acclaimed as the world’s premier trophy whitetail destination, the Midwest also teems with wild turkeys and diverse opportunities to hunt them.
For example, the Great Plains states of North Dakota, South Dakota, Nebraska, and Kansas offer different birds and hunting opportunities than the more classic Midwest turkey states of Missouri, Iowa, Minnesota, Wisconsin, Illinois, Indiana, Ohio, and Michigan. In other words, there are several different flavors to choose from without leaving the Midwest.
Regardless of where you plan to chase Midwestern turkeys, this article is designed to expand your knowledge of the region, the turkeys that roam it, and the ways of success. From the different turkey subspecies to habitats to hunting tactics, and more, we’ll cover all things wild turkey hunting in the Midwest right here, right now.
- How to Hunt Northern Turkeys
- How to Hunt Southern Turkeys
- How to Hunt Western Turkeys
- How to Hunt Midwestern Turkeys
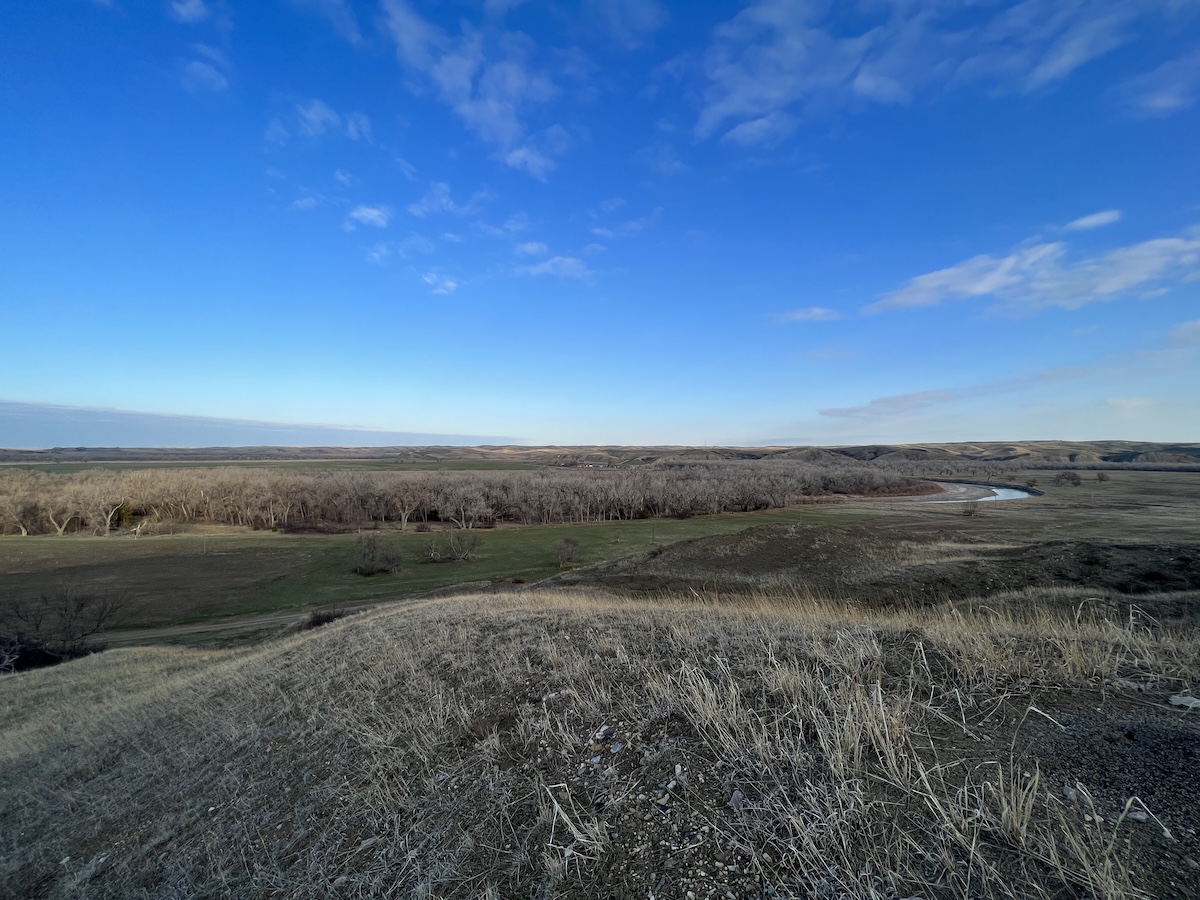
The Midwestern terrain is optimized for turkey hunting.
Turkey Subspecies in the Midwest
Most hunters associate Midwestern turkey hunting with big Eastern gobblers in the Illinois or Wisconsin timber, but other subspecies and habitats across the Midwest offer unique hunts. Clayton Lenk, a district biologist with the NWTF who covers several Midwestern states, said, “In the Midwest, we have Easterns, Rio Grandes, Merriam’s, and Hybrids between those three.”
Lenk shared an NWTF article that denotes each subspecies’ characteristics and a distribution map depicting their geographic whereabouts. We can draw the following summaries from those two resources.
Easterns inhabit a sliver of South Dakota, parts of North Dakota, eastern Kansas, Missouri, Iowa, Minnesota, Wisconsin, Illinois, Indiana, Ohio, and Michigan. This is the Midwest’s most sought-after subspecies because it dominates the region, and because the Midwest’s largest human populations overlap the Eastern’s range.
Easterns have the loudest gobbles and the longest beards of all the subspecies. Their wings sport white and black barring, and the tail-feather tips are Chestnut brown. Average Eastern gobblers weigh about 20-22 pounds, some heavier. Gobblers 3 years old or older typically have 1-1.5-inch spurs.
According to the NWTF subspecies distribution map, Rio Grande turkeys in the Midwest are concentrated in central and western Kansas and a few small pockets in South Dakota. Rios have weaker gobbles and shorter beards and spurs than Easterns. A Rio’s most distinguishing feature is his tan-tipped fan.
Merriam’s turkeys — arguably the Midwest’s prettiest subspecies — flaunt stunning white-tipped fans. Their weak gobbles resemble those of domesticated turkeys, and their beards and spurs are the shortest of all the different subspecies. In the Midwest, they’re most prevalent in South Dakota, west of the iconic Missouri River and in the Black Hills. They also roam north-central and western Nebraska and a small swatch of southwest North Dakota. These prairie and mountain dwellers weigh 18-22 pounds on average, but birds as heavy as 30 pounds exist. I once arrowed a 24-pounder in Cherry County, Nebraska.
Hybrids are crosses between Easterns, Merriam’s, and Rio Grandes. They dominate Nebraska’s northeastern and southwestern regions. Kansas also has Hybrid territory dividing its Eastern and Rio Grande populations. Western North Dakota also has Hybrid populations. Hybrid turkeys’ beards, spurs, gobbles, and body weights vary but are often comparable to the Merriam’s and Rio Grande, and fan colors vary from creamy orange to off-white.
Biggest Threats to the Wild Turkey
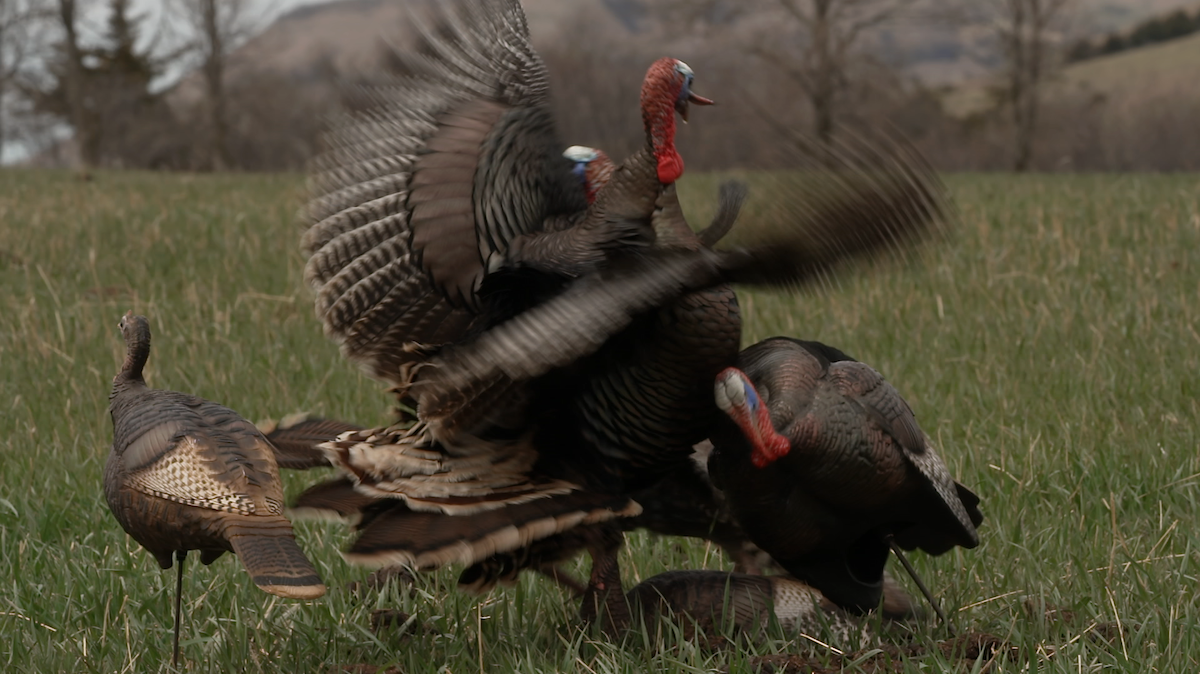
These Midwestern birds tend to have plenty of attitude.
Behavioral Tendencies of Midwestern Turkeys
The Eastern subspecies can be the most difficult to entice with calls, likely due to intense hunting pressure, particularly east of the Mississippi River. But, when one comes to the calls and decoys, he often does so with a purpose, making for a thrilling hunt. Most Easterns roam relatively small home ranges, as distances between daily necessities are short. This makes their roosting and feeding habits fairly predictable. Weather seems to depict their moods and behaviors in many instances.
Early spring flocks of Rios, Merriam’s, and Hybrids can range from 25-200 birds or more, and these are some of the mouthiest birds, even in snowy, unseasonably cold weather. Calling them in early in the season can be difficult, but they become quite receptive by mid-spring. Unlike Easterns, Merriam’s, Rios, and Hybrids are roamers and often cover miles daily to reach necessities, which are quite spread out on the Great Plains.
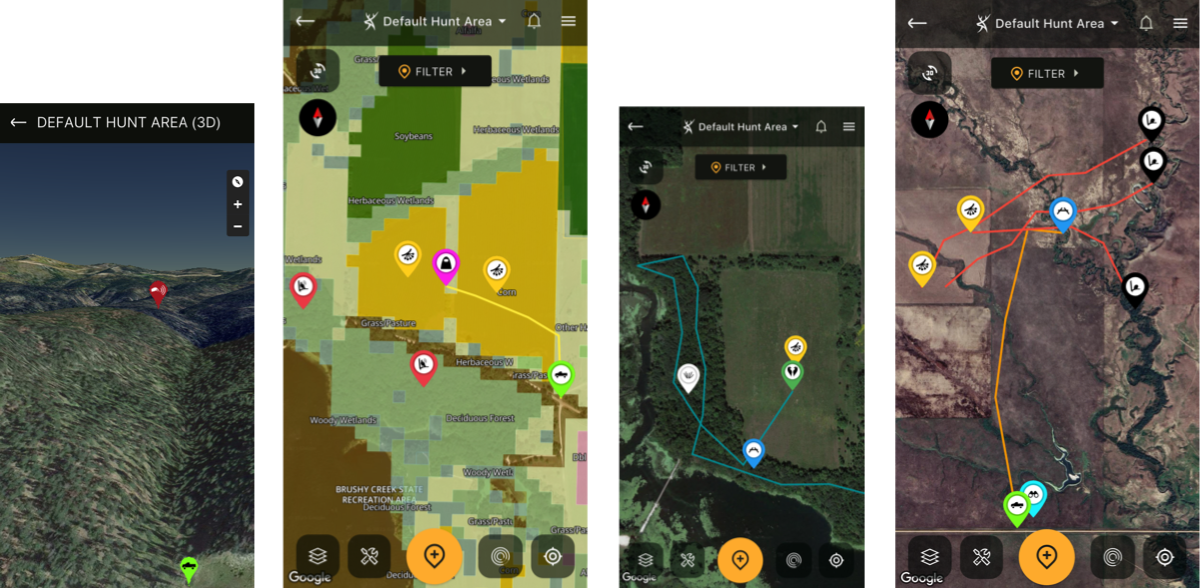
Use HuntStand before and during the hunt.
Midwestern Turkey Hunting Terrain
The bulk of the Eastern turkey’s range consists of timber, farmland, and riparian habitats. As for terrain, most is rolling, but some areas are pancake-flat, and then areas such as Minnesota’s Driftless Area feature wicked-steep bluffs. Prairie birds inhabit the flat plains, rolling prairies, badlands, and South Dakota’s cliffy Black Hills.
Utilize a few different HuntStand base maps and overlays to map your hunting area’s features. First, pay attention to agriculture, if present. In the Hybrid base map, engage the Crop History overlay to view color-coded shading over all agriculture. Click the “advanced” tab to see what crops were planted where in recent years. Turkeys love corn and soybean stubble, but they’ll rove through any open fields — even freshly tilled dirt — to strut and pick at clover, alfalfa, and bugs.
Next, gauge the terrain by switching over to the Terrain or Quad Topo base maps. In more extreme topography such as the Ozarks, the 3D map best represents the terrain you’re up against and will reveal high ridges from which to locate birds. Contour is a worthwhile overlay that displays typographical lines.
Riparian habitats, including creeks, rivers, and reservoirs, are easiest to identify in the Natural Atlas, Quad Topo, or Outdoor base maps, and these areas are often hot bets because of the water, roosting trees, and adjacent food sources.
Suitable turkey habitat is limited on the Great Plains, so engage the Tree Cover overlay to map out trees. Yes, turkeys will maraud the open prairies for bugs, but they must have suitable roosting trees. Although riparian areas are typically the most productive, small tree pockets amidst the otherwise open prairies can be dynamite. For example, I have taken several prairie turkeys in areas with so few trees that most hunters would drive right by.
Best Ways to Improve Your Land for Wild Turkeys
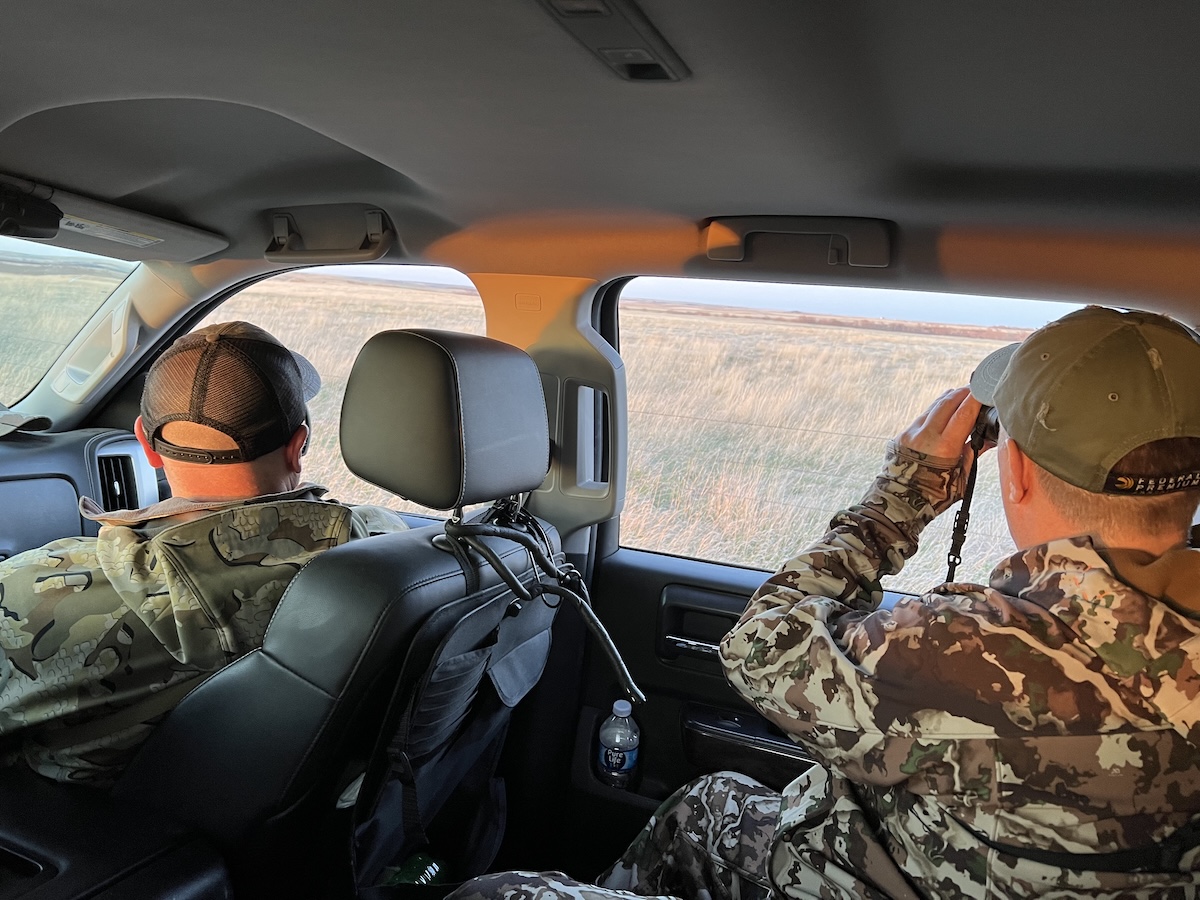
Glass wide-open areas for wild turkeys.
Scouting Midwestern Turkeys
The most consistent Midwestern turkey hunters scout thoroughly before hunting. While you can’t replace on-foot scouting, HuntStand Pro can inform your next steps.
We touched on habitat in the previous section, but let’s dive a bit deeper. Turkey survival requires three necessities: food, water, and roosting trees. This looks a lot different in western South Dakota than it does in Michigan, so let’s divide scouting into east versus west.
On normal spring days, Eastern turkeys are fairly predictable. They’ll roost in mature timber, feed in open or agricultural areas, then retreat to cool, shaded timber and a water source during the midday heat. As the heat subsides, they usually feed in open agricultural areas before slipping back to the roost. In HuntStand’s Hybrid base map, identify all fields and openings where turkeys might feed and drop appropriate markers, then determine adjacent mature timber and drop roosted turkey markers there as prospects. Then, mark nearby water sources. It’s that simple to peg a potential daily routine or several, which can inform your on-foot scouting.
When you head afield to scout, minimize your impact. Some of the most informative scouting entails listening at dawn 200-300 yards from potential roosting trees — remember, you marked these locations in the app. If birds aren’t gobbling, blow a boisterous crow call, hoot like an owl, or shake a gobble call. This can prompt a shock gobble, which discloses a gobbler’s location. A roosted tom’s gobble is an audible confirmation as to where he roosts. Make some calculated assumptions as to where he and his flock will feed once they fly down based on the agricultural areas you marked in HuntStand. Avoid walking around in open fields to scout. Instead, observe from a distance with optics to decrease your impact.
A lack of gobbling at dawn doesn’t necessarily mean that gobblers aren’t using the property (whether public or private) you intend to hunt. Even though Eastern turkeys roam a fairly small daily range, the terrain and timber density can squelch gobbling. Toms might be roosted not far away and will end up where you hunt later in the morning or midday. You can confirm that by searching the timber for droppings and strewn leaves. Study muddy trails and roads or sand bars and creek banks for tracks. Mark all signs you find in the app so that you can re-find it easily.
Hybrids, Rio Grandes, and Merriam’s turkeys demand a different scouting approach. Given the open habitat, binoculars and a spotting scope are essential. The Terrain and 3D maps can inform you of solid glassing points and knobs with commanding visibility. The tall prairies above cottonwood-lined creeks and rivers, for example, can help you peg a western flock’s morning and evening routines without intrusion. Even one morning or evening of long-distance glassing can hugely impact the following morning’s hunt.
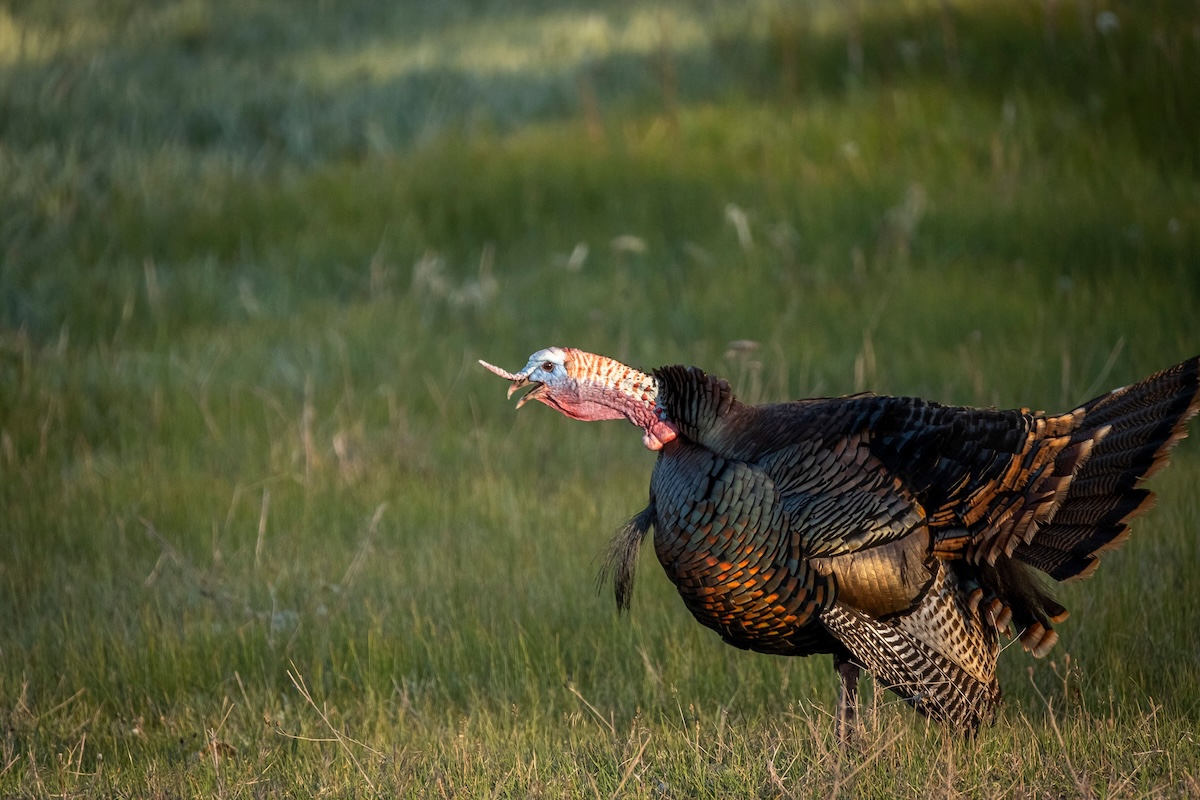
Get that bird to gobbling, and enjoy the show.
Calling Midwestern Turkeys
Because Eastern gobblers can be finicky based on weather and hunting pressure, conservative calling is often best. It becomes tempting to call incessantly when they’re rattling their heads off on the roost, but a few tree yelps usually suffice.
When they fly down, they’ll often come looking. If they don’t but are still gobbling hard, call more. If they’re responding but not coming in, call on and off for a minute or two, and then shut up. Often, their curiosity will build, and they’ll come looking. If not, resort to tossing leaves (if present) if the gobbler is within earshot. This is one of the deadliest calls for cagey old Easterns.
Mouth calls are some of the most effective for the Midwest’s tightest setups. Often, a bird coming and looking for you in the timber will hang up close by but just out of view or directly behind you. Reaching for a slate or box call will spook the bird, but a mouth call will allow you to coax him those final few steps without moving.
Of Minnesota birds, Lenk said, “Call enough to keep the gobbler’s attention but not so much that it makes him nervous or suspicious. The nice thing about turkey calling is that you don’t have to be an expert. A little practice goes a long way, and even a simple yelp is a great start for novice hunters.”
Prairie birds can be more receptive to aggressive calling. Due to windy conditions, loud calls, such as mouth and box calls, are typically the most effective. If a Merriam’s, Rio Grande, or Hybrid hangs up, you can almost always work the terrain and try a subsequent calling setup. Also, be attentive to hens responding to your calls. Get a hen talking, and then mimic her calls. Tick her off, and she’ll likely come in aggressively with a strutter following.
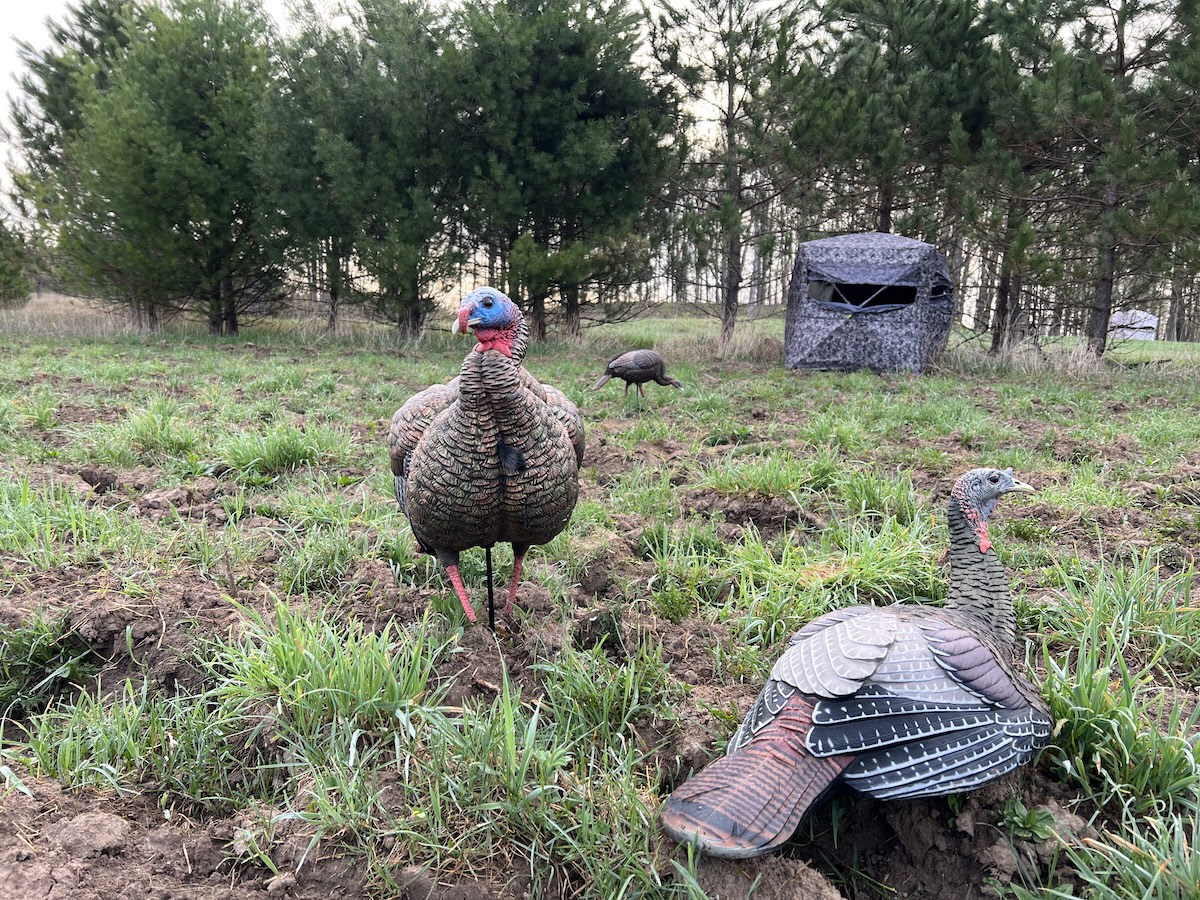
Use high-quality decoys to increase success.
Decoying Midwestern Turkeys
I use the same two or three decoys regardless if hunting the Wisconsin timber or the Nebraska prairies. I often pairs the Avian-X HDR Jake with the HDR Feeding Hen and/or the LCD Laydown Hen. The HDR Jake’s realism and posture spurs aggressive responses from even the most heavily hunted gobblers.
Likewise, Lenk suggests that hunters, especially new ones, keep decoying simple. “You don’t need a dozen decoys,” he explained. “I usually only use one, two, or none at all in denser areas with limited visibility.”
If my first two hunting attempts in a particular area reveal that the gobblers aren’t looking to fight — this was the case during a recent South Dakota river bottom hunt — I pull the HDR Jake and go with the aforementioned two hen decoys. Whether by curiosity or dominance, I routinely find that hens are more likely to approach a hen-only decoy spread and drag the toms in with them.
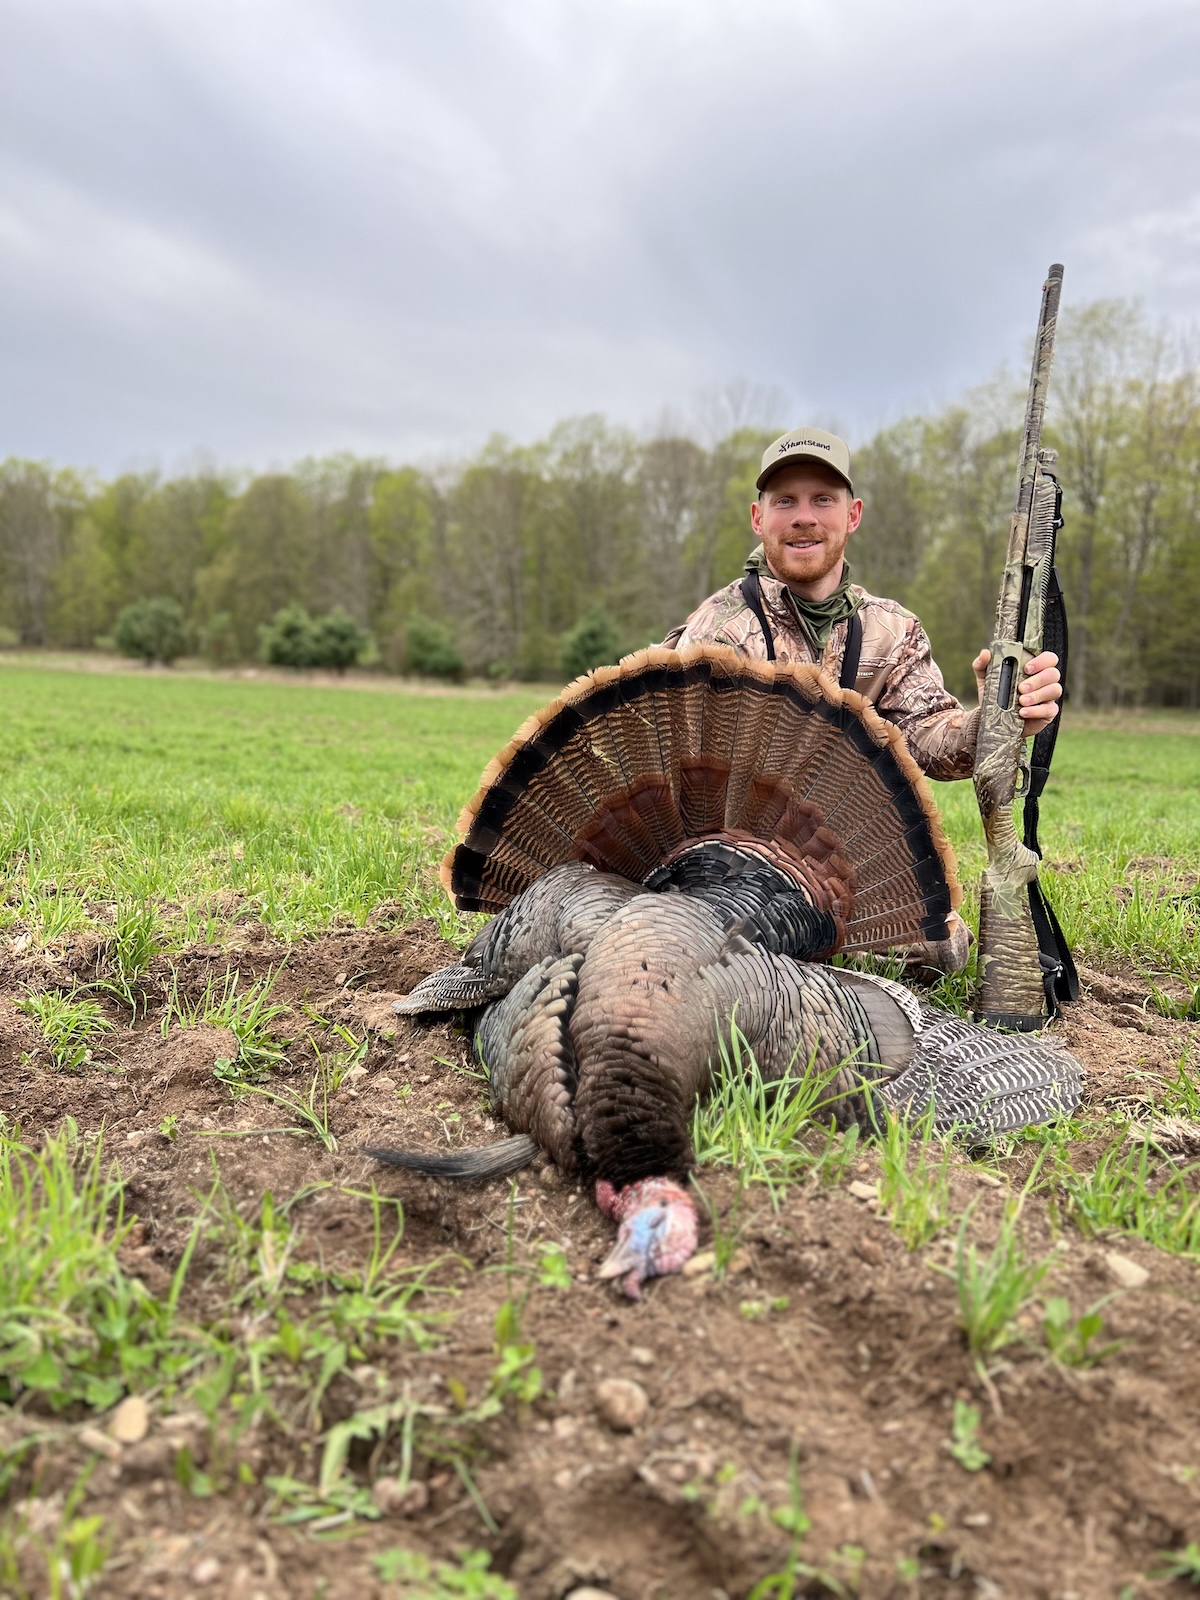
The author poses with a great Midwestern turkey.
Basic Tactics for Midwestern Turkeys
Fundamentally, anyone with camo, a shotgun, required tags/licenses/stamps, and a positive attitude can easily enjoy a good time hunting turkeys from Ohio to North Dakota. The most productive hunting approach on morning hunts is to set up within 150 yards of a roosted gobbler before daylight, then try to call and/or decoy him within range once he flies down.
If he goes the other way, keep hunting. You don’t necessarily have to stay in one spot until legal shooting time ends. Move around and use the terrain to stay on birds, with HuntStand Pro informing your moves. The best time of the day to kill a bird that was henned-up in the morning is midday.
Although it is somewhat controversial, an effective way to target late-afternoon toms (in states where it is legal) is to hunt near a roosting area. Avoid hunting too close to the roost trees, though, as exiting the area if the birds roost without giving you a shot opportunity is dicey.
Most shotgun hunting is done by suiting up in camo from head to toe and sitting up against a tree or some other object that disguises your outline. A ground blind such as Ameristep’s Banshee Wide Bottom Extreme provides solid concealment and the room to stretch your legs in between encounters without being detected.
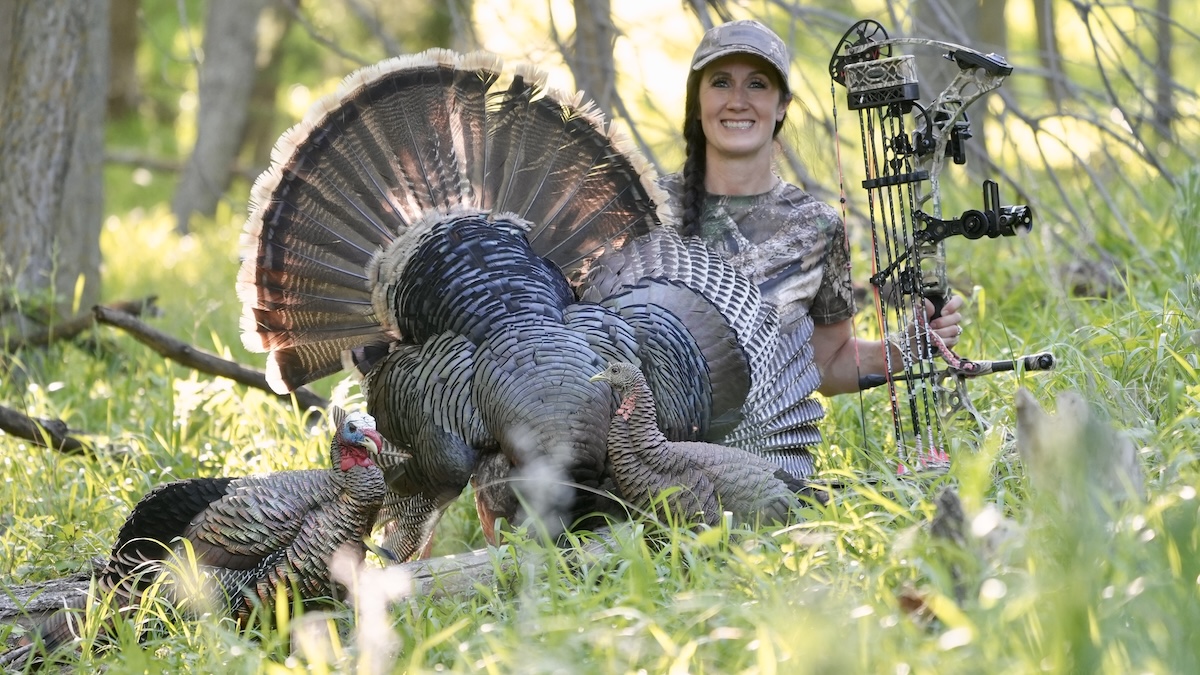
Melissa Bachman arrowed this fine bird.
Advanced Tactics for Midwestern Turkeys
While the basics discussed above will get you started, let’s dive deeper with HuntStand pro, Melissa Bachman. She says that hunting turkeys like whitetails has served her well.
“It’s funny to think about patterning turkeys like you would whitetails, but putting in the extra time up front helps you hunt the right areas,” she began. “Pre-hunt scouting and especially e-scouting with HuntStand is invaluable. I rely heavily on pre-hunt scouting. I know where the turkeys roost, I know where they go and what they do, and I’ve gotten them on my trail cameras. If I notice that birds aren’t sticking around on the property I hunt, I use one of the app’s satellite base maps to get a bird’s-eye view of the area and determine where they might be going. I’m also attentive to major habitat changes — fires, flooding, and timber cutting — that can affect turkey patterns. Monthly Satellite Imagery helps with that.”
When Bachman hunts in Illinois, where legal shooting hours end at 1 p.m., she likes to park on a food source that birds frequent throughout the morning. “I get out there really early in case birds are roosted over the field, and I usually set up on fields in ground blinds,” Bachman said. “Yes, I’ll call and use decoys, but I know they’re coming to the fields I hunt, regardless, based on my scouting efforts. These classic Midwestern birds in Illinois have pretty set patterns, so a stationary ambush on agriculture is my go-to strategy, especially if I’m bowhunting.”
In contrast, Bachman rarely starts her South Dakota and Nebraska turkey hunts before mid-morning, and she often covers some ground. “My family doesn’t do a lot of super-early morning hunts because we’re able to hunt all day in these states,” she explained. “You can wear yourself out by being out from dark to dark, day after day. Plus, I firmly believe that turkey hunting has to be fun.
“When hunting prairie birds, we like to get up on a high point and put a few calls out there to see if we can hear gobbling or see birds,” she continued. “If I hear or see a gobbler, we cut some distance before setting up to call. If there is minimal cover, we’ll hold a fan up to disguise our approach.”
Everybody wants to hunt early birds, but from Minnesota to South Dakota’s Black Hills, Lenk commented, “Hunting later in the season can be just as fruitful as the early season. Birds may be a little more ‘street smart’ from hunting pressure, but with most hens nesting or incubating by then (depending on the state), the remaining males get a little more desperate for attention and become susceptible.”
The Best Turkey Hunting Spots (and How HuntStand Pro Finds Them)

Hunt the Midwest for turkeys this season.
Turkey Hunting in the Midwest
As we close, we’ll leave you with some little info nuggets relative to the Midwest’s different states. In Wisconsin, some less-publicized public hunting opportunities occur on private lands enrolled in a timber-management program called Managed Forest Law (MFL). Not all enrolled parcels are open to public recreation, so be sure to reference the MFL map on the Wisconsin DNR website. MFL lands aren’t decorated with signs like state-owned parcels and therefore draw less hunting attention.
A reputable Minnesota resident once said that certain parts of the state, particularly away from population centers, can be busy during the first half of the season but nearly vacant of hunters toward the end. This, coupled with nesting or incubating hens, can make for some excellent calling responsiveness.
In Michigan, there are vast federal and state forests with abundant turkey habitat. Dig into your HuntStand app with the Public Lands overlay and identify the areas farthest from roads and trails to find birds that haven’t been pressured. You’ll have room to roam, so be prepared to hike and call for as many miles as it takes to strike up a receptive gobbler.
In the Dakotas and Nebraska, riparian areas attract the most hunter attention, so don’t overlook the prairies. It only takes a small roost-tree cluster to hold a group of Merriam’s or Hybrids, so long as food and water are nearby. It’s really easy to drive right by such hotspots.
In Ohio, Indiana, Illinois, and Iowa, especially regions where agriculture outweighs the timber, spend the hot midday hours in the limited timber when other hunters hang it up, especially along creeks or rivers. At some point during the day, if you put in the time, gobblers will seek shelter from heat and hunting pressure in the limited timber, and your hunt can go from zero to hero quickly.
In Kansas, focus your public land efforts on a state wildlife area with a reservoir, lake, or river, but be sure to scope out adjacent Walk-In Hunting Areas. All of these are visible in the HuntStand Pro app with the Hunting Lands overlay engaged. These smaller satellite properties are often overlooked, and you might find a small flock all to yourself, especially in central or western Kansas where there are fewer hunters.
Finally, the Missouri Department of Conservation’s Wild Turkey Harvest and Population Status Report notes that the Ozarks West and Lindley Breaks Regions have increasing turkey populations based on the recent five-year trend. Because some of Missouri’s other regions have seen declining numbers, you might want to focus on these two regions.
There are many nuances to hunting wild turkeys in the Midwest. This deep-dive article provides you with more than enough information to have a fun hunt. Now, all that’s left to do is embark on a turkey hunt in North America’s heartland, the good ol’ Midwest. There is no place like it.
Bowhunting deer from the ground is a challenging task. Being eye-level with the deer you’re hunting makes it more difficult. It adds several layers of challenges to overcome. Join HuntStand Pro Contributor Darron McDougal as he shares his top bowhunting tips and tactics for successfully bowhunting deer from the ground.
15 Best Strategies for Hunting Big Deer (With HuntStand Pro Whitetail)
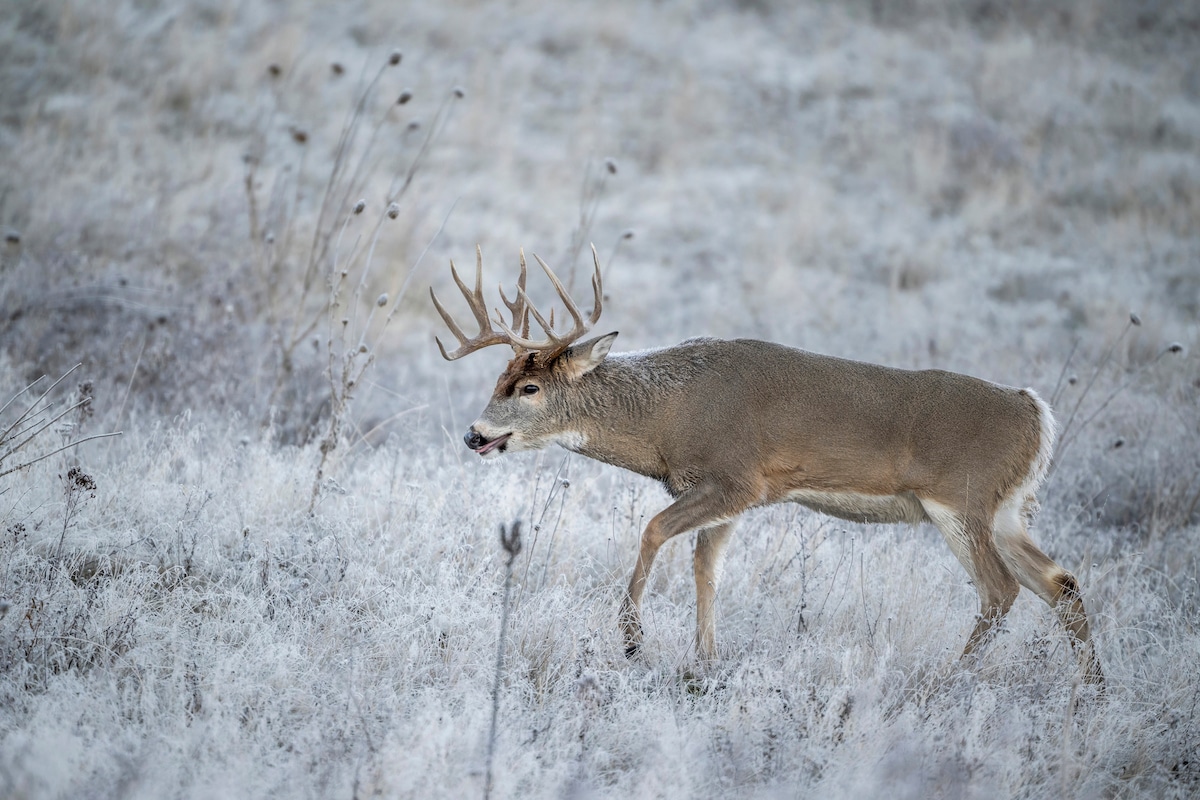
Many persistent hunters have lots of success during the late season. Give up early, and you’ll have tag soup. Keep going, and you might get your opportunity before time runs out.
Many hunters have had an unbelievable deer season, but for others, it’s been nothing but a grind with not a scrap of venison to show for the hours logged, miles driven and hiked, and sacrifices made. Is that you? Despite the constant big-buck photos flurrying social media newsfeeds, understand that others are struggling, too.
In fact, I was until just a few days ago when a mature post-rut buck finally gave me an opportunity after I’d hunted early season and the entire rut. So, good things can still happen, but you have to keep your head in the game.
There’s still a lot of time left in many states. Yes, the rut is over across most of the whitetail’s range, and bucks are no longer running around in the middle of the day. They’re more predictable now that they’re starving and have little else but food in mind.
Despite the predictability, taking a mature deer — doe or buck — during the late season is a tall order in most places. Deer have been pestered for 2-3 months straight, and they’re worn from the rut. For those reasons, encountering them in the daytime is just shy of impossible. And when you do, they’ll typically be extremely wary. There isn’t room for mistakes.
To that end, following are a handful of tips that can enhance your late-season game. Some are related to weaving HuntStand Utimate throughout your strategy, and some are more general. Regardless, let’s dive in.
Bucks have to eat a lot following the rut to prepare for a long winter. Jump on a food source when the wind and weather are ideal, but also use trail cameras (where legal) to track buck movement so that you can strike when the time is right.
Map the Food
If you have any version of HuntStand, then you should be very familiar with the satellite features such as Hybrid or Property Info. These provide excellent high-res overviews of the area/property you intend to hunt. Of course, property owners, managers, and lessees typically know exactly what crops exist. But, for those of us who live hours away, it’s difficult to know what’s left for deer to eat. Are the corn and soybean fields you hunted earlier in the season still standing? Good question.
While it’s not possible to definitively tell what deer have left to eat, you can make some calculated assumptions. Open Monthly Satellite Imagery and pan around your intended hunting area. I always do this before heading out on late-season hunts hours away. With or without snow cover, study ag fields in the vicinity.
How to Scout Deer in Winter
Those that are gold are typically corn. Although the Monthly feature’s imagery is lower in resolution than the primary satellite features, in some instances, you get enough detail to see if the corn is standing and if the field was disced or tilled. Soybean fields appear slightly browner. It’s tough to tell if they’re standing or harvested, but you should be able to tell if the field in question was tilled or not. Corn and beans are dynamite in the Midwest, East, and even in some plains states.
Of course, pay attention to green food sources, too, such as alfalfa and winter wheat in drier regions where corn and beans aren’t present. Green fields will stand out like sore thumbs in Monthly Satellite Imagery. These are usually very productive to hunt down in the South because acorns are usually mostly gobbled up by late season. And for the public-land hunter, winter wheat is often what state wildlife agencies plant on state-owned public parcels, so it’s primarily what deer eat when they’re on public dirt.
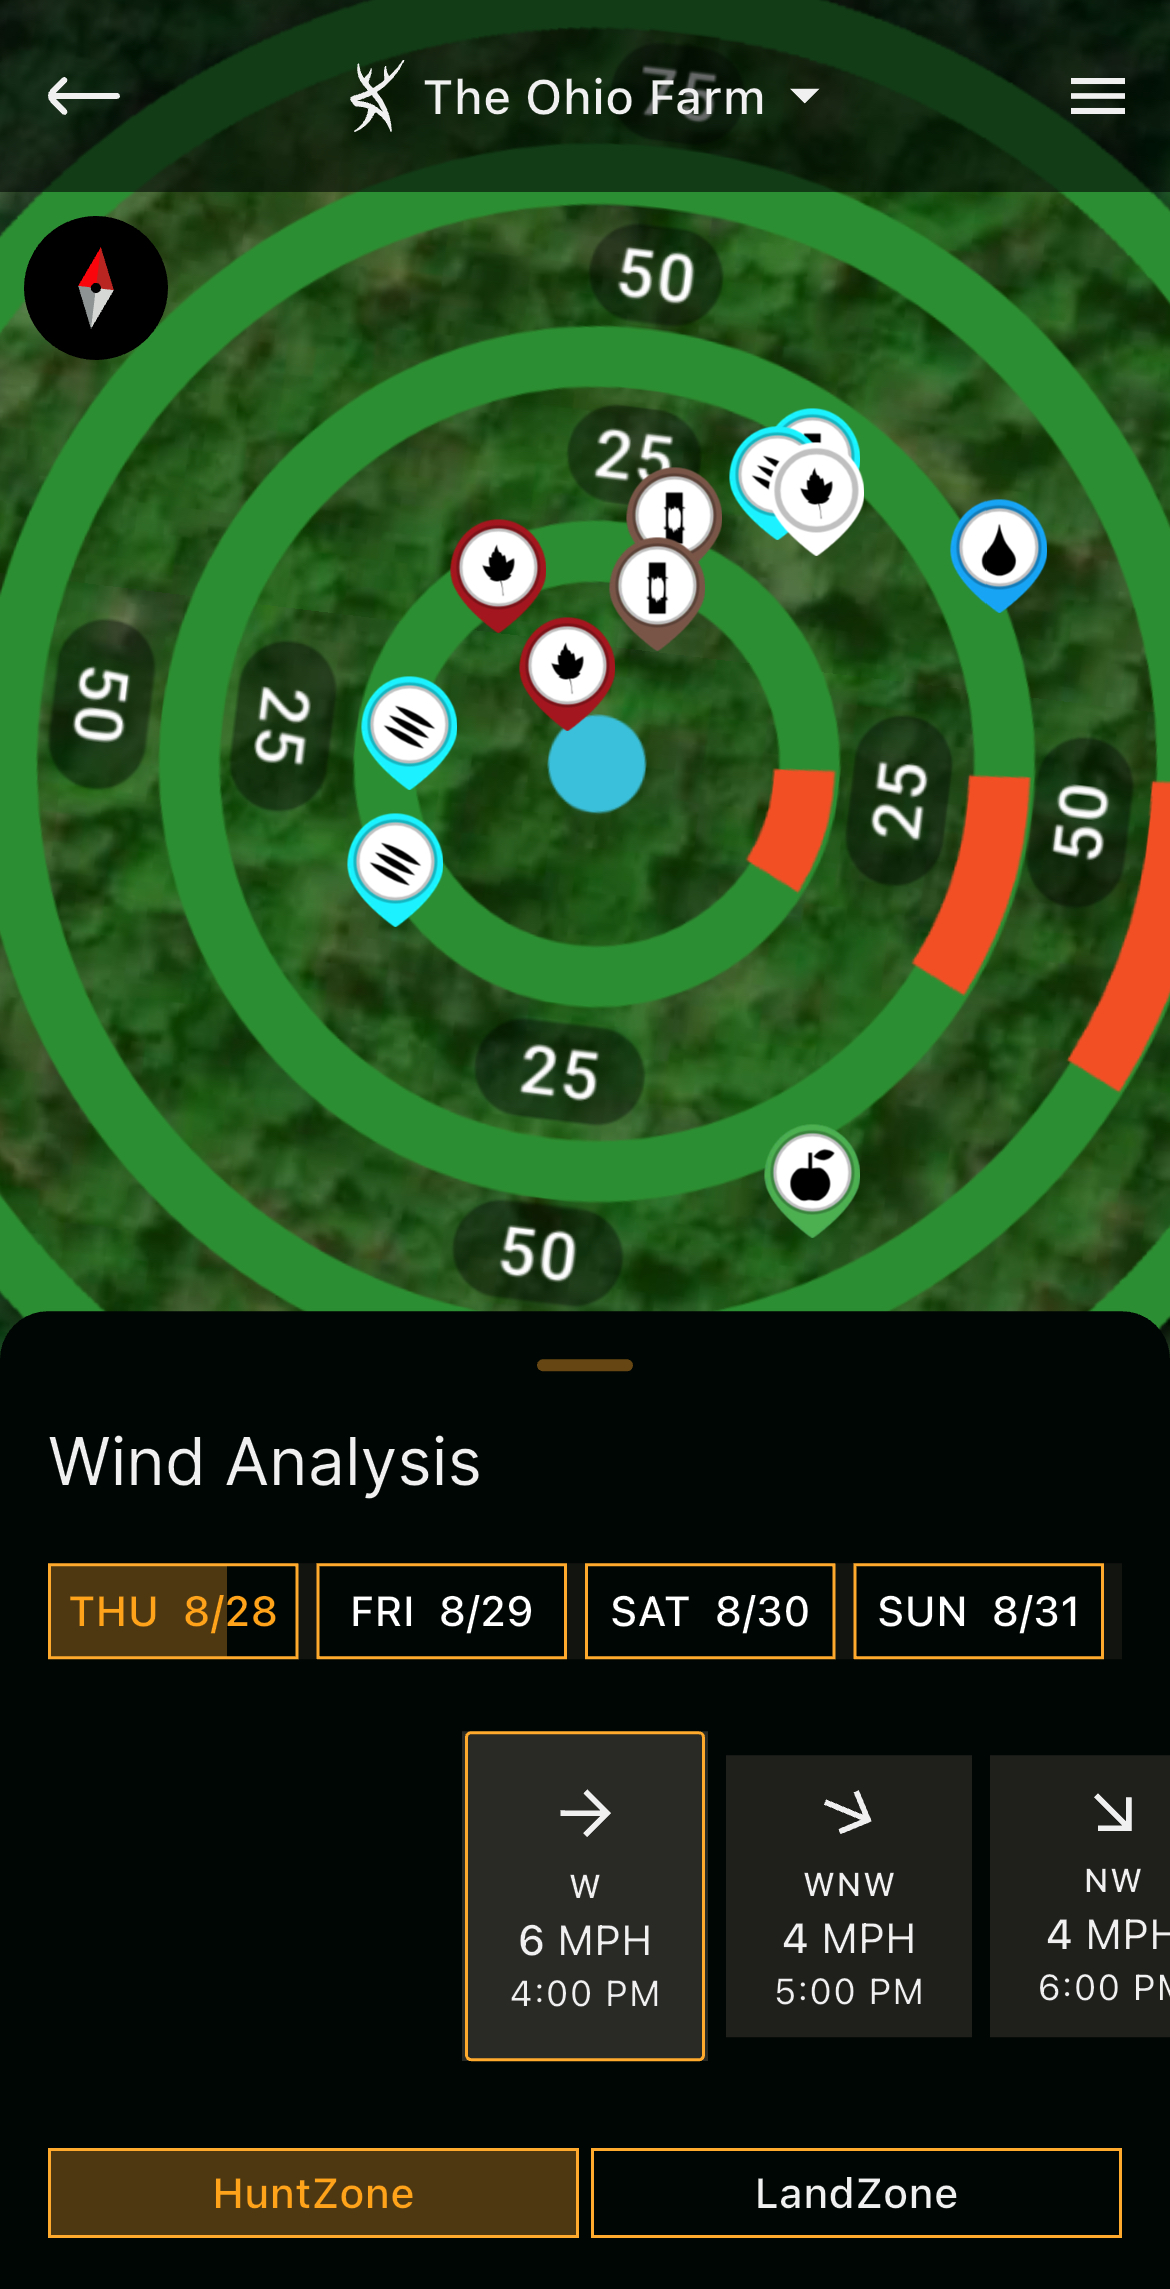
Wind is the No. 1 consideration for going up against wary late-season whitetails. HuntZone can show you how your scent will disperse at your hunting area, as well as along the route to and from your stand or blind.
Monitor Wind and Access
As I said earlier, late-season whitetails are the elite. There’s no room for mistakes, and wind is the No. 1 detail a hunter must consider. Open the HuntZone feature so that you know what your wind is doing, both where you’ll be hunting and on your access route to that location. Be mindful of potential bedding areas along the way. HuntZone displays how your scent will disperse from any given location. Check it often.
As a side note, brutal conditions can cause deer to bed closer to a food source — sometimes even right in it — to conserve energy they’d otherwise use if they were bedding farther away. Last December in North Dakota, brutal snow drifting rendered shelter belts and cattail sloughs non-navigable. So, deer were much closer to food sources — even right in them — and that influenced how I approached to scout and hunt.
Next, dial in your exit strategy, especially if you’re hunting directly over a food source. When you don’t harvest a deer, deer will likely be feeding nearby as darkness settles in. The best-case scenario is to have someone drive out to pick you up with a tractor or vehicle. But, if you have to walk out, choose the least disruptive exit path and one that won’t let deer smell you. It’s less than ideal, but as a last resort, you can clear the field by snorting like a deer, barking like a dog, or howling like a coyote. Do everything in your power to avoid human detection.
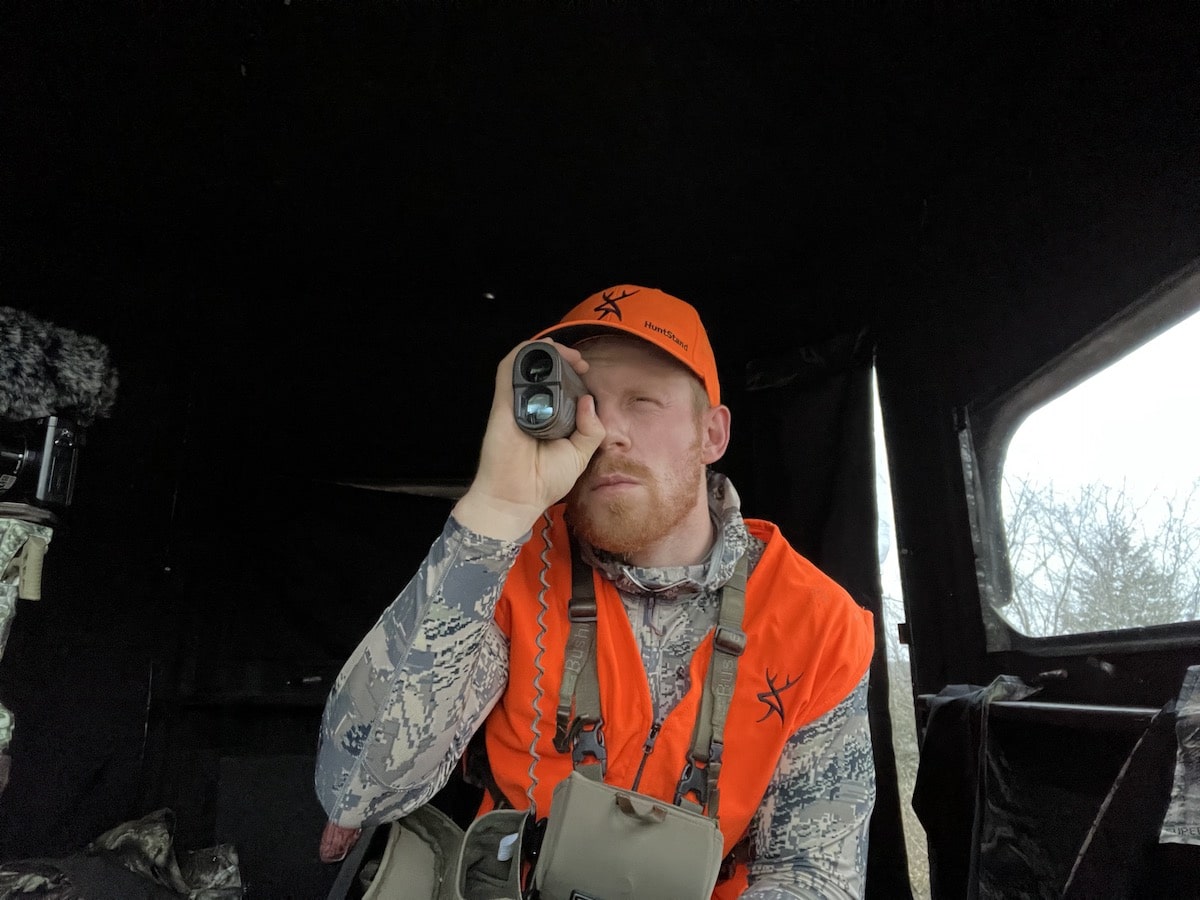
Hunting for the entire season without a single opportunity can be taxing on the mind and body, but just know that at any second, your luck could turn around. Don’t give up.
Focus on Afternoons
As far as the best time to hunt, every situation is a little bit different. But, in general, afternoons are usually the safest and best. The morning movement window is generally very tight, especially with mature bucks. Unless you know that you can catch a buck coming off a food source on his way to bed down, hunting in the mornings is risky. Hunting right over a food source usually isn’t an option unless you’re hunting with an extended-range weapon, such as a muzzleloader or rifle that doesn’t require you to get extremely close. Even then, bumping deer is likely, and transition areas closer to the bedding area can even be difficult to access without bumping deer. Most deer leave food sources before daylight, at least in pressured areas.
That said, afternoons give you a great chance to reach food sources, or transition areas between food sources and bedding areas, with a much lower chance of spooking deer. But a word of caution: Remember, deer are extremely cagey at this point in the season. So, if you’re after one specific buck, it’s best to use a mix of strategies to determine when to hunt rather than hunt as often as possible. You might get one or two afternoons when he’ll appear in daylight throughout the entire late season, and hunting the area repeatedly when the conditions aren’t ideal will hinder a daylight encounter.
How to Find Missing Late-Season Bucks
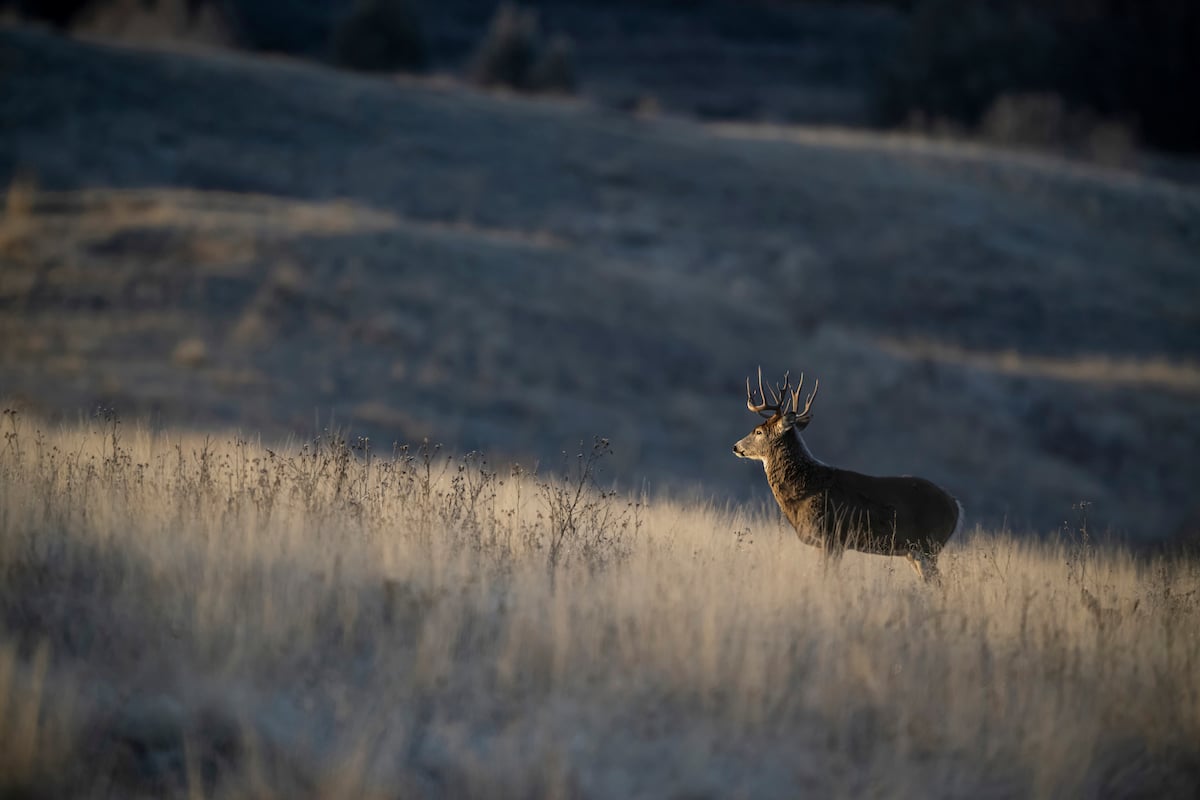
While deer are cagey during the late season, they often congregate near remaining food sources and can be pretty predictable in their feeding patterns.
So, jump on the Whitetail Activity Forecast to determine good times to hunt. Movement in the 70-plus-percent range are usually ideal, and if you’re hunting a good location, you can expect to see deer if you have the wind advantage. Trail cameras are ideal to track movement and identify a pattern, too. Bucks immediately coming off the rut are liable to grab a bite at any time of the day.
Other great conditions? Extremely overcast and gloomy skies with rain or snow forecasted later at night, and through mid-morning the following day, can be good. And to that point, watch HuntStand’s weather feature. Incoming and outgoing weather events can prompt deer to move earlier than normal.
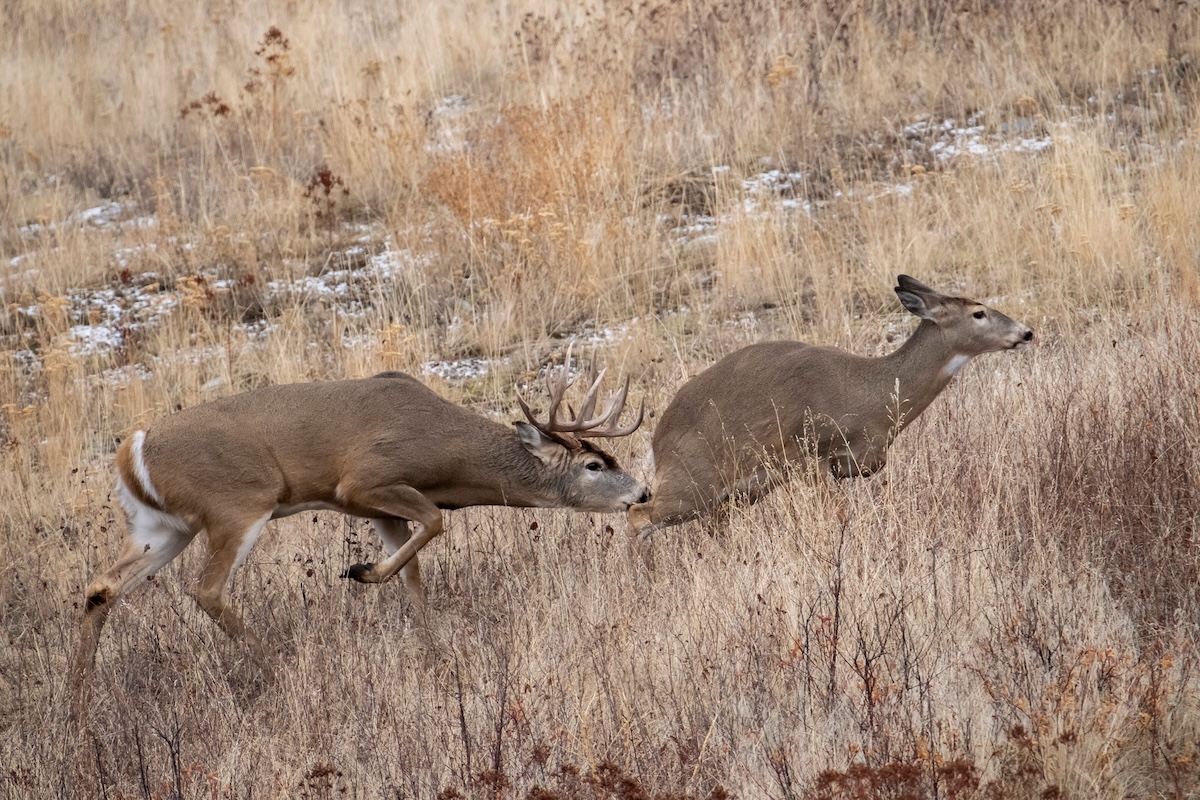
The second rut gets its share of press, but the main thing you need to know is that rut funnels won’t likely be active all day as they were during the primary rut. Instead, focus on doe-rich food sources during the second rut dates.
Time the Second Rut
In the HuntStand Ultimate Version, you have access to the Whitetail Rut Map. It details pre-second rut and second rut dates for every county of every state. While most does were already bred during the primary rut, some weren’t and will enter a second estrus cycle. Plus, doe fawns can potentially go into estrus. According to an article by the National Deer Association’s Kip Adams, this happens when southern doe fawns reach approximately 70 pounds and northern doe fawns reach approximately 80 pounds.
So, what does this mean for hunting strategies? Well, in my opinion, the Whitetail Rut Map’s second rut dates simply align with when bucks will most likely be susceptible to a daylight encounter around a food source that does are frequenting. Yes, breeding happens in December and January, but the intensity doesn’t nearly compare to that of the primary rut. So, hunting rut funnels all day will be of little help. Be on the lookout for a doe-rich food source and try your buck luck during the second rut dates for your area noted in the Whitetail Rut Map.
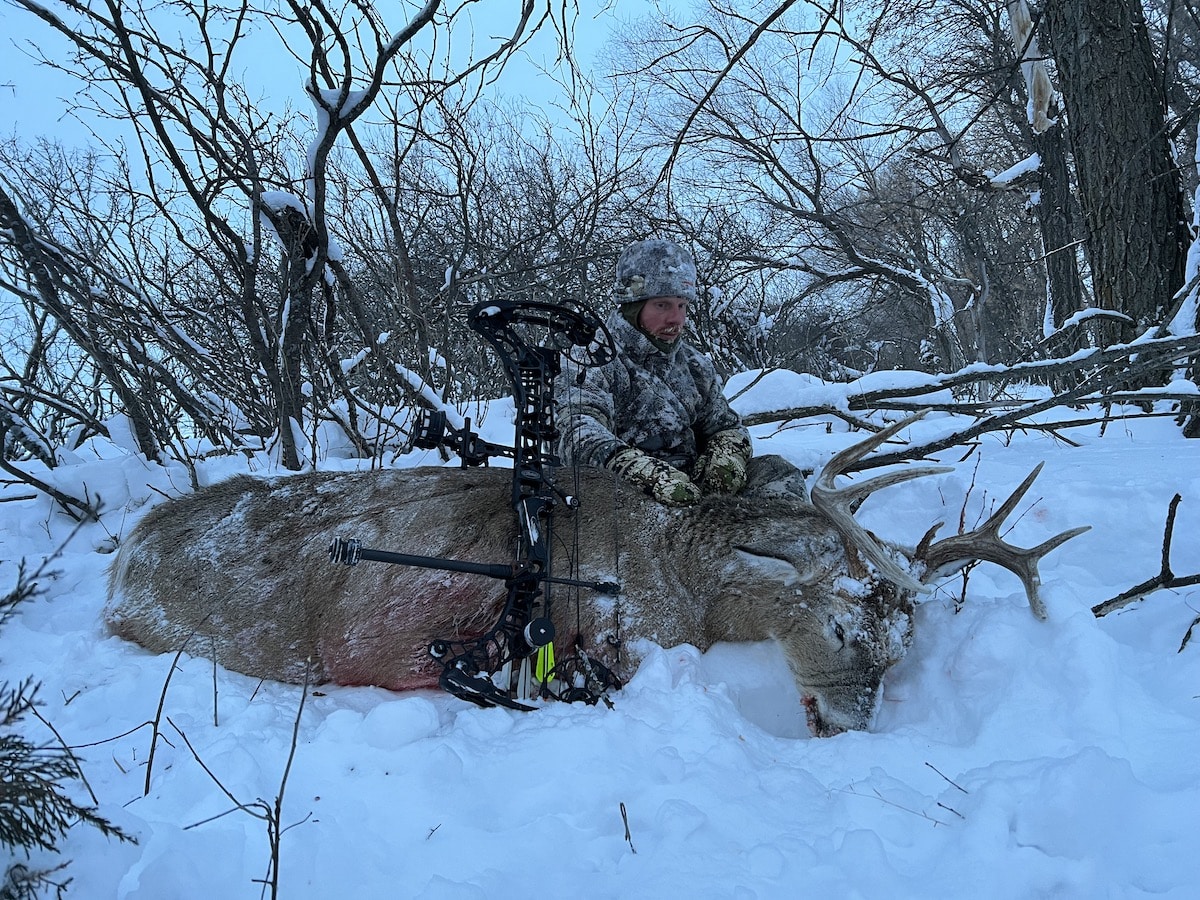
Arrowing this late-season buck was the result of heavy HuntStand Ultimate use. Features such as Monthly Satellite Imagery, HuntZone, and Whitetail Activity Forecast played a major role in the success.
Bag That Buck
Late-season hunting isn’t as glamorous as a balmy September afternoon when you have a target buck patterned. It’s not as attractive as the rut when simply cracking the rattling antlers together could spark a point-blank encounter with the buck of your dreams. However, the late season has the advantage of a major let-off in hunting pressure, as most folks have either filled their tags or given up. It can be a great time to capitalize, as deer need to feed.
I’ve personally killed late-season bucks in the last three seasons, proving that a season can be redeemed when it’s least expected. Utilize the tips outlined herein, and you have a shot at punching that tag that’s been burning a hole in your pocket.
5 Deadly Late-Season Deer Hunting Tips
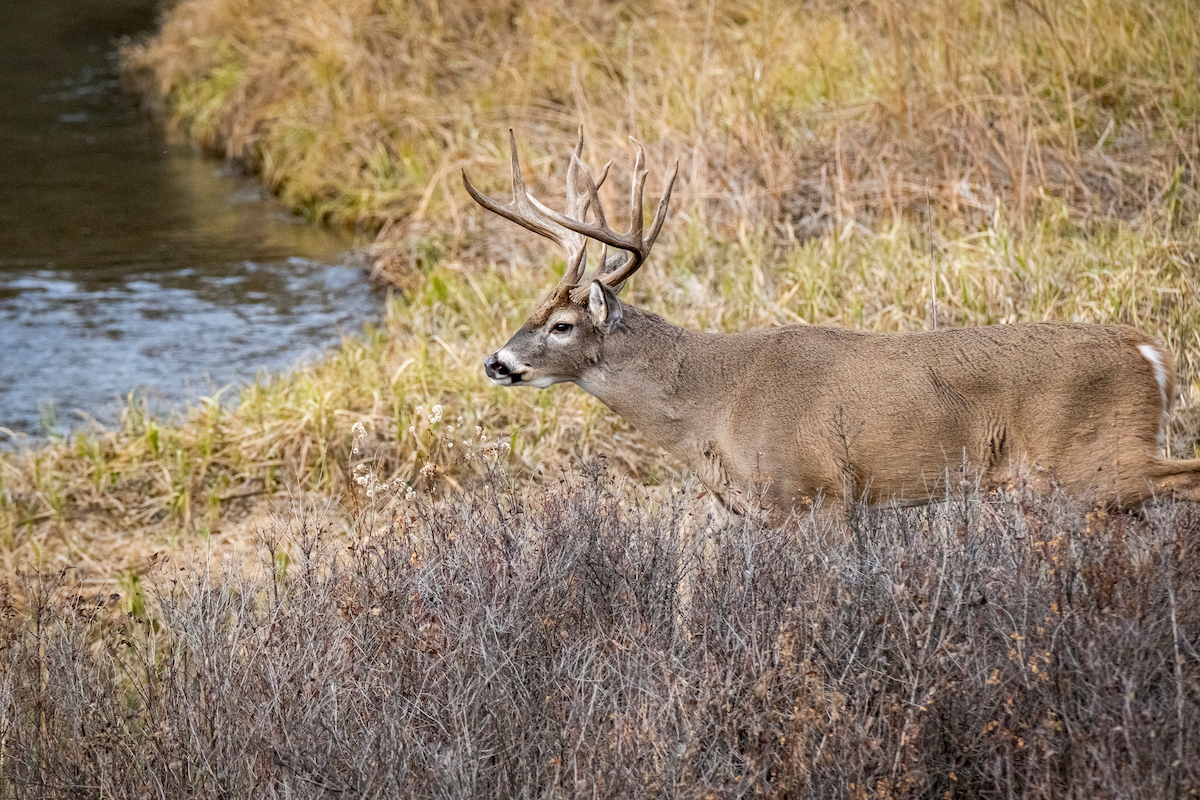
A stand along a creek corridor might be great during the morning and midday when bucks are cruising, but don’t be afraid to switch to a food source at around 2 p.m.
A high percentage of deer hunters hunt only mornings and afternoons. Those are productive times to hunt, and they’re when the primary deer movements usually transpire, even during the rut. But have you ever wondered what you’re missing by skipping all-day sits in the deer woods? Tremendous bucks are annually killed between 10 a.m. and 2 p.m. In fact, I shot my largest whitetail ever right at noon. Yes, you could be missing big-buck encounters by leaving your tree stand.
Do you think you’re ready to give all-day hunts a whirl and see what you’ve been missing? Here are some considerations to guide you. Let’s review.
Hunting for 10 or more hours, especially from a treestand, takes grit and willpower, but the rewards can be great.
Option 1: Hot Days
Since the rut is ahead of us, I feel it’s important to highlight all-day sits as they relate to the rut. But what about the early season? Not too many bucks are killed during the middle of the day during the early season when temperatures are warm, and deer aren’t in estrus. However, hot and dry conditions require deer to drink.
Out west, I’ve encountered deer on water sources at noon and around mid-afternoon while hunting over secluded water sources close to bedding areas. If the wind is ideal, you’re doing no harm by climbing into the stand several hours early. You might get lucky on a midday buck, but if not, you can still take advantage of the before-dark movements.
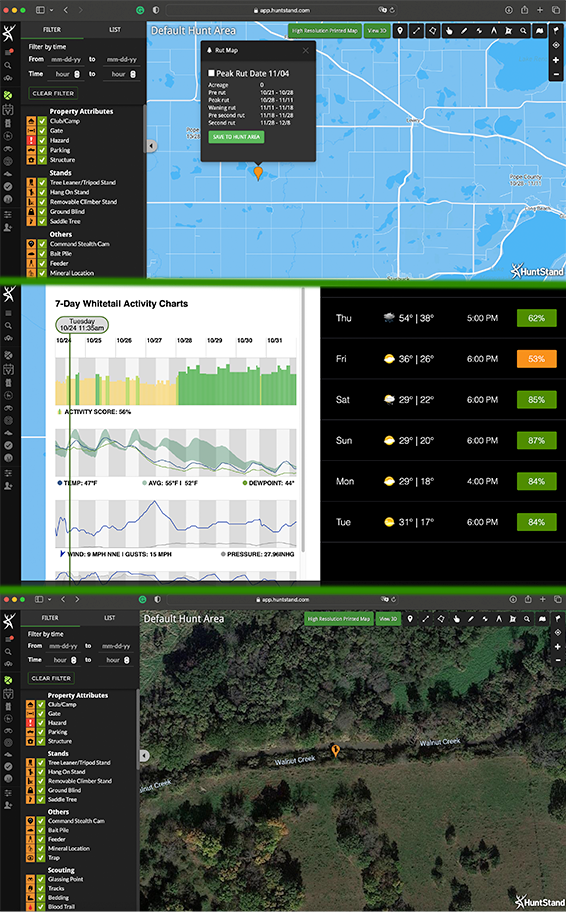
The peak rut and waning rut mark the most productive times of the season to sit all day. Use the Nationwide Rut Map to determine those dates for your area. Then, use other HuntStand tools and layers to plan the hunt.
Option 2: The Rut
Of course, the rut is naturally a great time to hunt all day. But, when is the actual rut? Well, in the HuntStand App with Whitetail Pro, you can utilize the Nationwide Rut Map to not only learn about rut dates for your specific county but also identify dates for the rut’s different stages.
Zone in on the peak-rut and waning-rut dates. These are the most productive rut phases for all-day hunts, even if conditions don’t look great. All it takes to have a buck 20 yards away is for a hot doe to do something erratic and pull a buck past you. During the waning rut, bucks are usually running around frantically in broad daylight, especially after breeding a doe. It’s a free-for-all to find another willing doe.
Many hunters call it quits around 9-10 a.m., but during certain parts of the rut, the deer movement is just getting started at this time.
Option 3: Gun Days
The midday hours of 10 a.m. to 2 p.m. are commonly less productive during the pre-rut and post-rut, but as I said earlier, gun season can make midday hunting productive during the post-rut due to the hunting-pressure influx. Hunters walking in and out midday can push deer onto escape routes and right toward your setup.
States like Kansas, Iowa, and Ohio have firearms seasons that unfold during the post-rut when midday movement isn’t as high as during the peak rut. Regardless, the flurry of hunter activity will displace deer and move them around. In other words, a dead morning hunt can transition to lots of deer activity around midday as hunters make pushes or simply leave the woods to warm up and have lunch. Hold tight and get ready for the movement.
Stand locations along travel corridors, such as this river bottom, can be productive all day long during the peak- and waning-rut dates.
Option 4: Track High-Percentage Activity Days
Outside of specific times of year, certain conditions call for it, too. Open your HuntStand Pro Whitetail app and study the Whitetail Activity Forecast. The Whitetail Activity Forecast provides both a table and graph depicting peak movement days and times using percentage-based activity scores. Whenever the activity score rises above 70% during the midday hours, it’s a good idea to be in the woods.
There are instances when the activity score is more or less at the same percentage throughout the day. That means the midday could be equally productive to the usual morning and afternoon missions, thereby warranting an all-dayer. There are other instances when the activity score is lower during the morning and higher during midday.
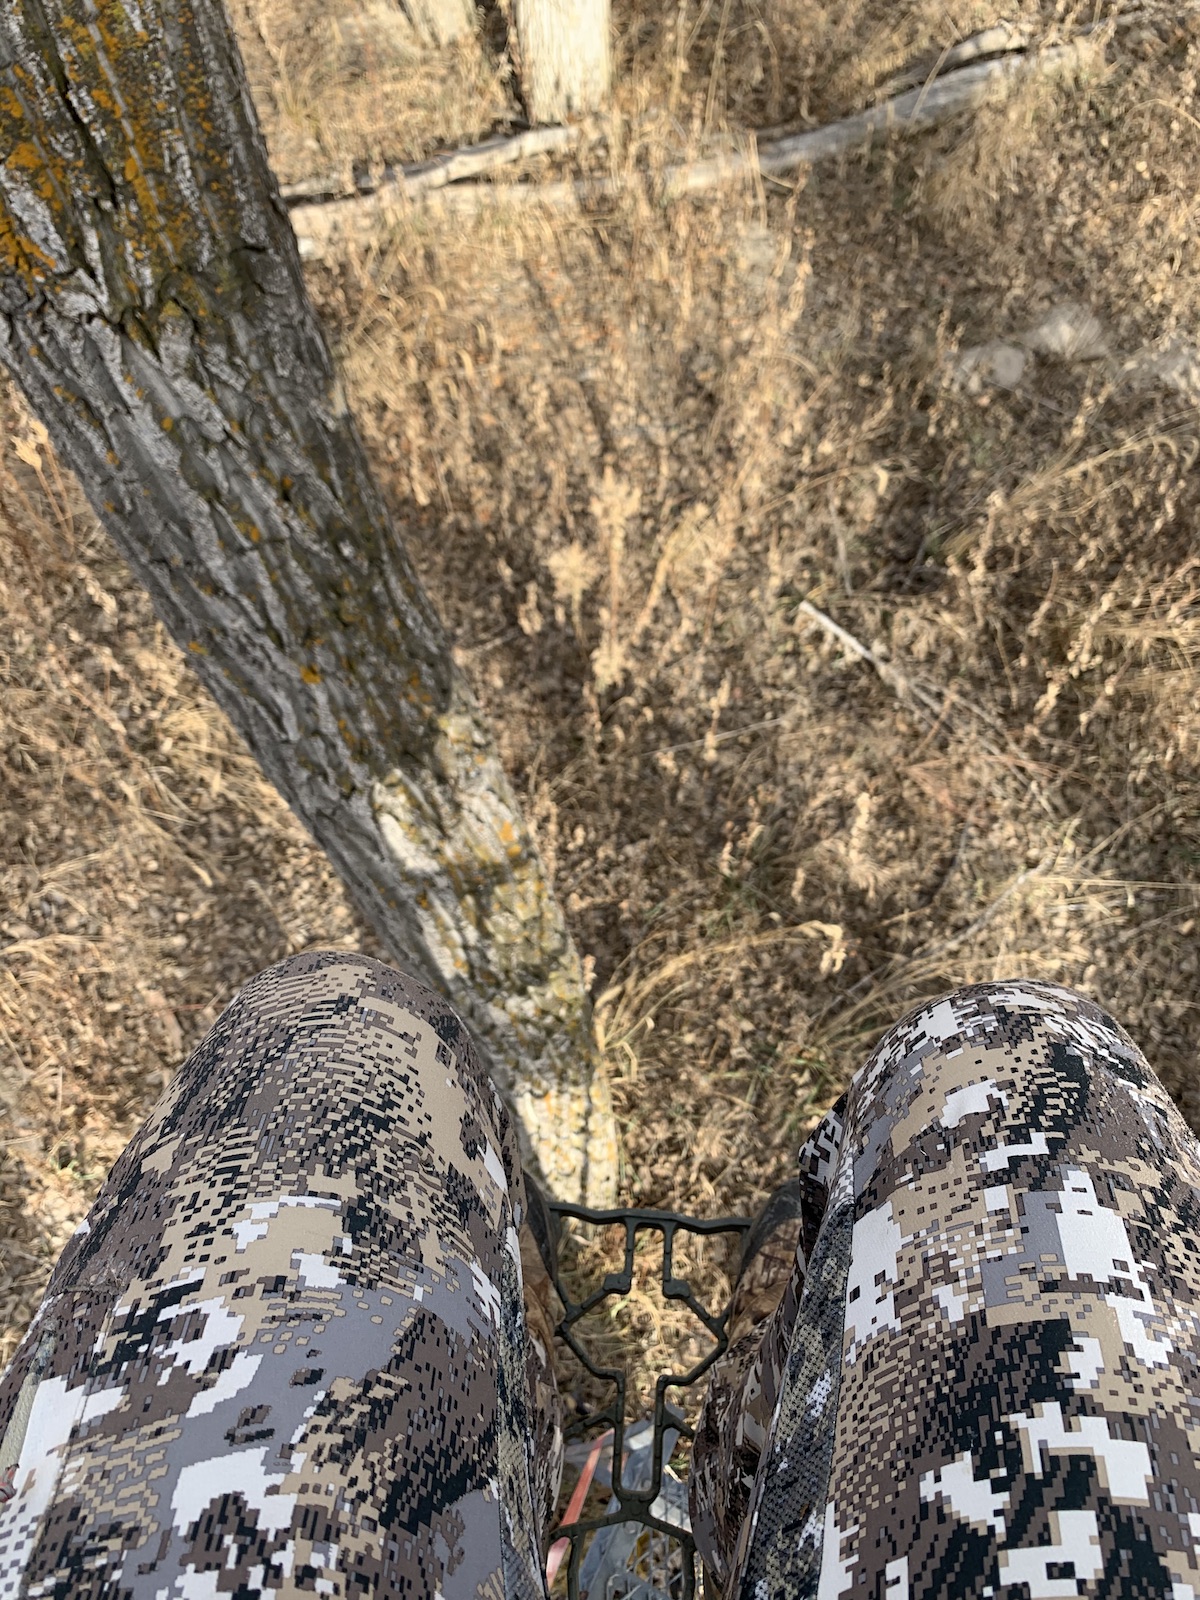
Alternate between standing and sitting to stay limber and keep your blood circulating.
Option 5: When You Can Stay Comfortable
Discomforts often drive hunters from the woods. Nothing is more frustrating than when your stomach is growling, your fingertips are freezing, or the need to go No. 2 strikes. Fortunately, there are some suggestions to combat the discomfort.
Snack Throughout the Day
On a normal non-hunting day, most folks eat regular meals. To thrive during an all-day sit, I suggest having different types of snacks. Pack a sandwich or two, but also take a protein bar, some nuts, dried fruit, jerky, etc. Ration your snacks to last throughout the day.
Invest in Heated Gear
Do you have trouble staying warm? Perhaps you’ve had poor luck with hand, foot, and body warmers? If so, take it to the next level and purchase heated hunting gear. If you love to hunt and want to sit all day, but struggle to stay warm, it’s a worthwhile investment.
Rut Riot: Whitetail Rut Biology and Tactics [HuntClass]
Know How to Take Care of Business
When nature calls, have some accommodations figured out. Obviously, you’ll need toilet paper. The safest and lowest-impact option for No. 2 is to climb down, walk downwind from your stand or blind, and then do your business quickly. If the ground isn’t frozen, use a stick to dig a hole. After you finish going, use that stick to cover the hole with dirt and leaves. This will minimize scent dispersal.
As for peeing, pee from the stand, or carefully climb down and walk downwind of the stand to make it happen.
Change Positions
Finally, alternate between standing and sitting. This not only helps with blood circulation but also keeps your muscles loose, too. Look around and make sure that no deer are coming. Then, safely do a series of movements that stretch the muscles and get your heart rate up. If you’re in a blind, you have a lot more latitude to make movements unseen, but the disadvantage, at least with most pop-up ground blinds, is that you cannot fully stand unless you’re shorter than the blind roof.
Even with the best-laid plan, hunting all day is no simple task. But having quality hunting gear makes it much simpler. Whether in a blind or treestand, choose options that make those all-day marathons easier to tackle.
Best Hunting Stands & Blinds for All-Day Hunting
Discover our recommended hunting treestands and blinds for your all-day sits to ensure maximum comfort and coverage.
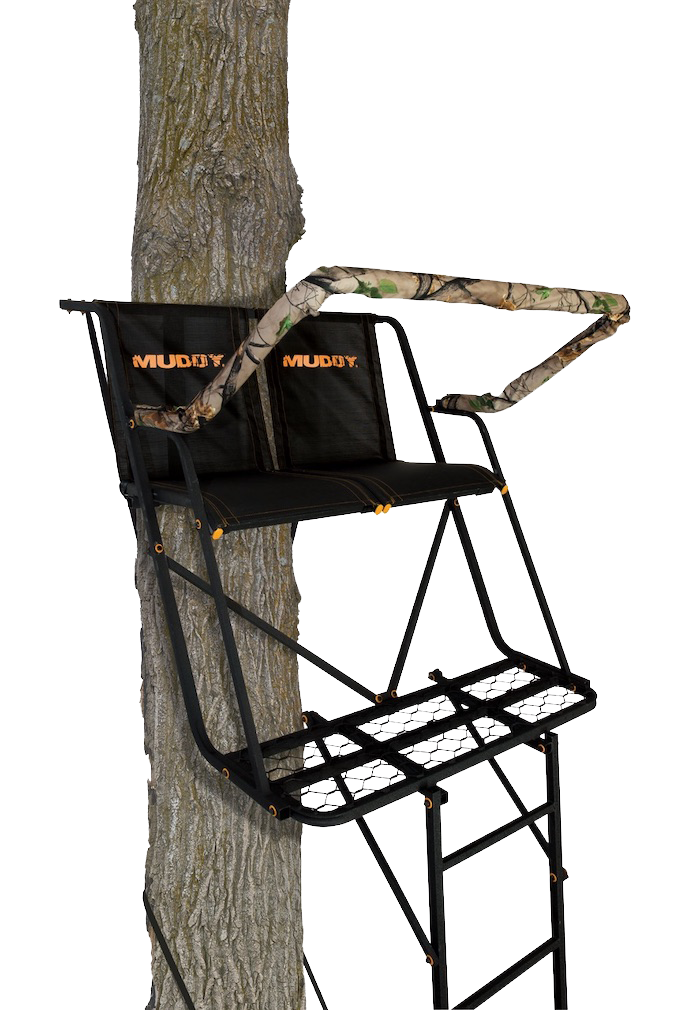
Ladder Stand: If hunting where your stand doesn’t need to be removed at the end of the day, go for a roomy two-person ladder stand, such as Muddy’s Maxim. When you’re hunting alone, the Maxim provides enough room to move around and stretch. If you prefer a smaller option, go with the one-person Odyssey XTL, which has nicely padded armrests and a comfy seat.
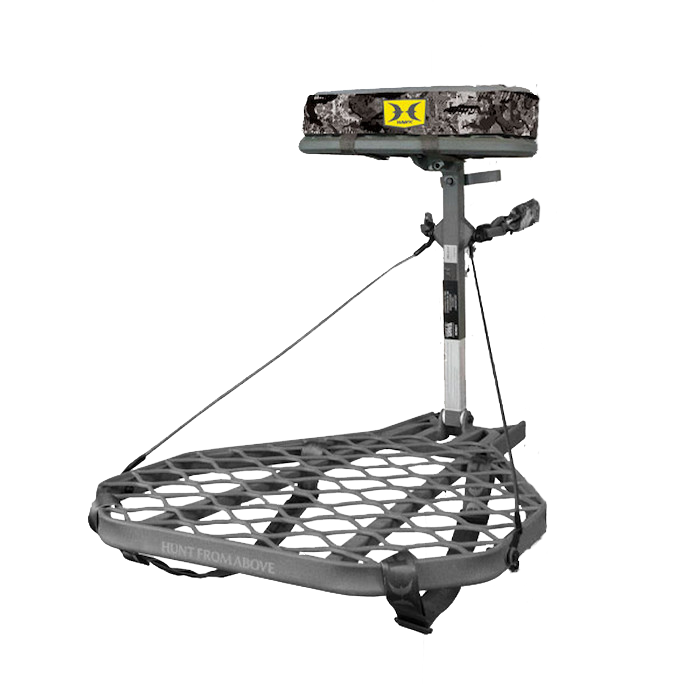
Portable Stand: If hunting on public land where your gear must be removed daily, consider Hawk’s Helium XL Hang-On. It has a nicely cushioned seat and a roomy 24×30-inch platform, but it weighs only 12 pounds and won’t weigh you down as you hike to the public parcel’s deepest reaches.
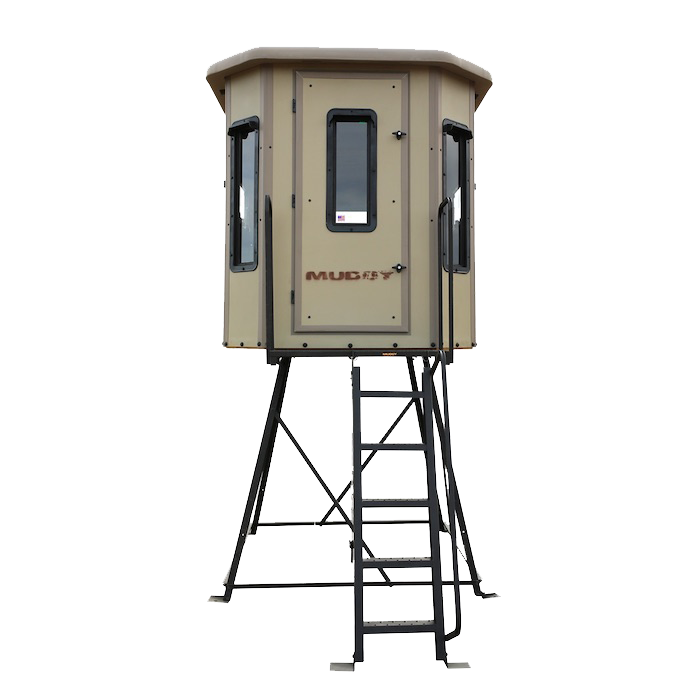
Box Blind: For colder conditions on private land, you’ll do well to park Muddy’s Bull Box Blind in your favorite location for an all-day patrol. The Therma-Tek insulated walls will provide shelter from the elements, and you’ll have plenty of room to stretch to keep your blood circulating and your muscles loose. Most hunters have the option to stand or sit with the 6 ½-foot-high ceiling, and the large windows provide excellent shooting coverage.

Pop-Up Blind: Hawk’s Reveal pops up in seconds and features durable 600-denier material to withstand seasons of use. No one likes to stare through a small port all day long, so the see-thru window panels are welcome attributes that enhance visibility. Large enough for up to three hunters, the Reveal is nice and roomy when hunting alone with one partner.

Blind Chair: Whether you’re hunting from a box blind or pop-up ground blind, a cheap chair will cut off circulation and make it difficult to see 360 degrees. Boost comfort and visibility with Ameristep’s 360 Silent Swivel Chair as you scan for a midday buck. The legs even telescope to level the chair on uneven ground.
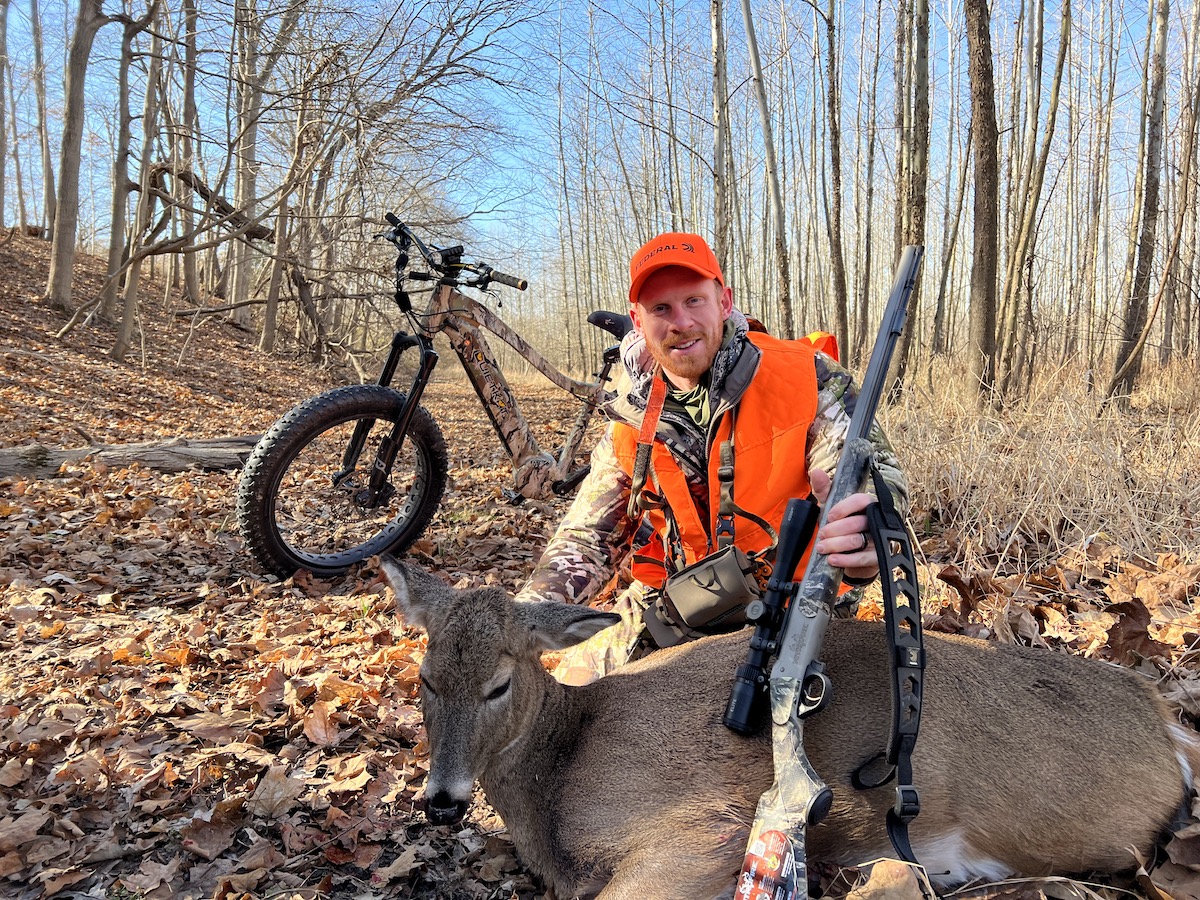
HuntStand’s Whitetail Activity Forecast predicted late-morning movement last year during the author’s December Illinois gun hunt. While he didn’t see a monster buck, he was rewarded with an opportunity to take a doe at 11 a.m. on the last day of his hunt.
When to Leave Your Hunting Spot
Now, there are times in which leaving your stand is better than sitting all day, even during the rut. Weather is mostly predictable, but we’ve all had instances on stand in which the wind is perfect but suddenly switches to dead wrong. Sure, bucks are somewhat less attentive to danger during the rut, but they’ll still usually smell you if the wind is wrong. If not, the doe probably will. So, you can either roll the dice and use an Ozonics ozone generator, or you can pull out and head for a stand where the wind will be better.
Another time to leave the stand is when you’re hunting terrain funnels that are productive in the morning and midday but less productive during the late afternoon. Hunt them up until 2 p.m., but then get out and quickly move to a food source that is being frequented. You’ll still be hunting virtually all day long aside from the time it takes to move to the subsequent location, but you’ll be putting yourself in a more productive afternoon setup for the final daylight hours.
Plan Ahead for Your All-Day Sits with the HuntStand App & Gear Store
Tremendous whitetail kills are the products of all-day hunts. Those hours between 10 a.m. and 2 p.m., at least during the peak rut and waning rut dates, can be ultra-productive. Follow the tips outlined herein to pull off some all-day sits this season.
Plan your all-day hunting sit even further with the HuntStand App, and upgrade to HuntStand Pro White Tail to see full metrics on deer movement and conditions. Check out the HuntStand gear store for quality comfort and camouflage to make your day of hunting comfortable and warm.
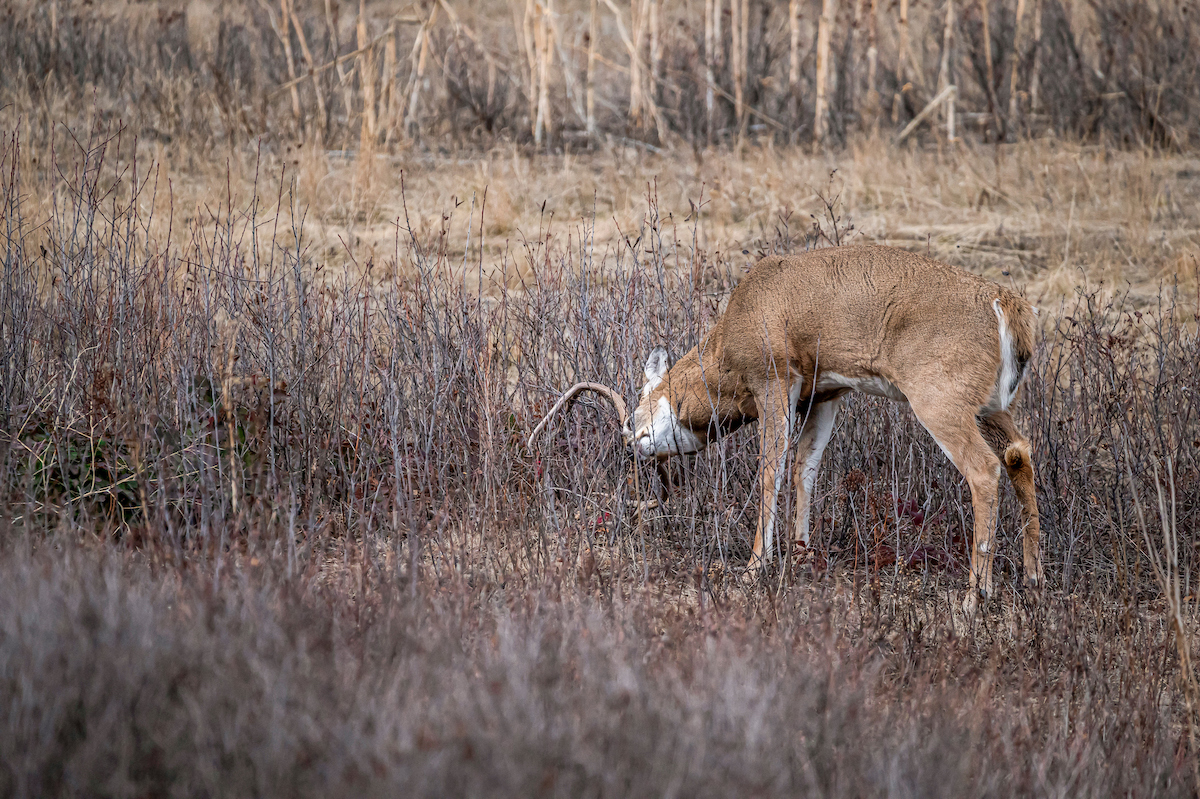
HuntStand Pro's Property Info layer can help solve numerous challenges in the deer woods.
In our current technological age, it’s practically laughable to recall how mapping looked when I started hunting 22 years ago. I vividly recall thumbing through a plat book obtained from the local courthouse where I grew up in Wisconsin. It displayed roads, property lines, and land ownership, but it only covered one county, and each village and township within the county had its own dedicated page.
I could identify state and county lands open for public hunting, not to mention private lands enrolled in Wisconsin’s MFL program (open for public hunting). And, if I wanted to ask a private landowner for hunting permission, the cumbersome book was my sole resource for identifying the landowner so that I could look up his/her landline number in the local phone book.
Times have changed. HuntStand’s Pro and Pro Whitetail versions of the app offer nationwide landowner info in the Property Info layer. The app does so much more than that, but for this article, we’re going to focus solely on practical uses for this most fundamental feature. Whether you hunt on your own 5-acre property, or a multi-thousand-acre block of National Forest, HuntStand Pro’s Property Info layer is a must-have tool for all hunters. Here are four reasons why.
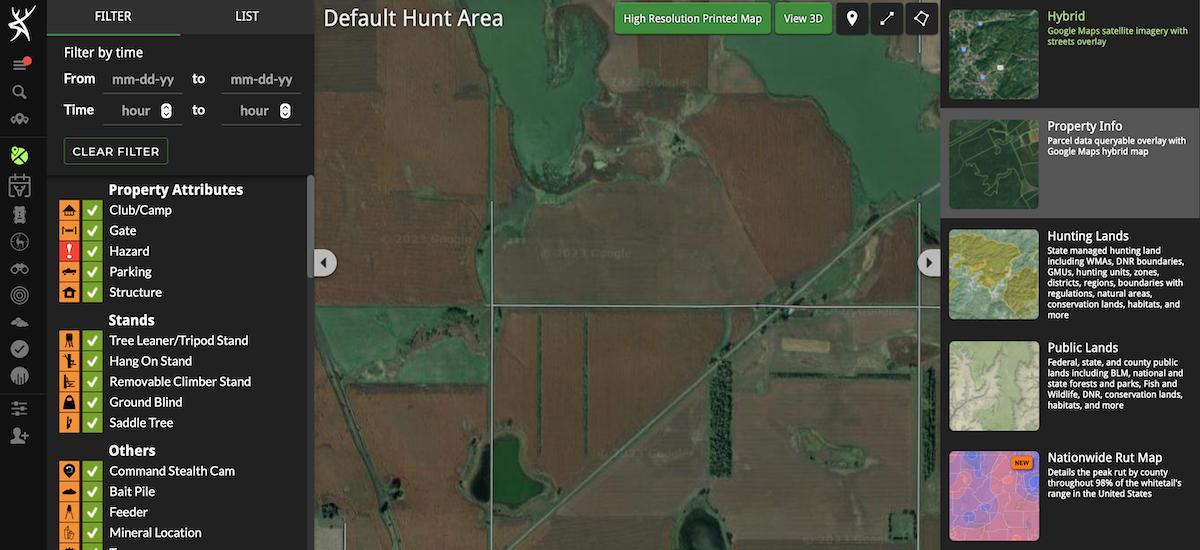
Property Info is easy to identify and navigate within HuntStand Pro and Pro Whitetail.
1. Learn Who to Contact for Hunting Permission
Countless times I’ve spotted deer, antelope, turkeys and even elk from roadways. Rather than view an animal on private land that I don’t have permission to hunt as “off-limits,” I consider it a potential opportunity. I immediately pull up HuntStand Pro’s Property Info layer and determine who owns the land.
Once I do that, I pan around the property to see if any structures are on it. If not, I search for the landowner’s phone number on whitepages.com. Then, if there are visible structures, I drive along the road to see if it looks like anyone is home. If so, I carefully pull into the driveway. This can go a lot of different ways, but I’ve had mostly positive interactions with landowners. I’m genuine and courteous, and regardless of if I’m granted permission to hunt or not, the landowner usually walks away feeling good about the interaction with me.
How to Find Deer with Topo Maps
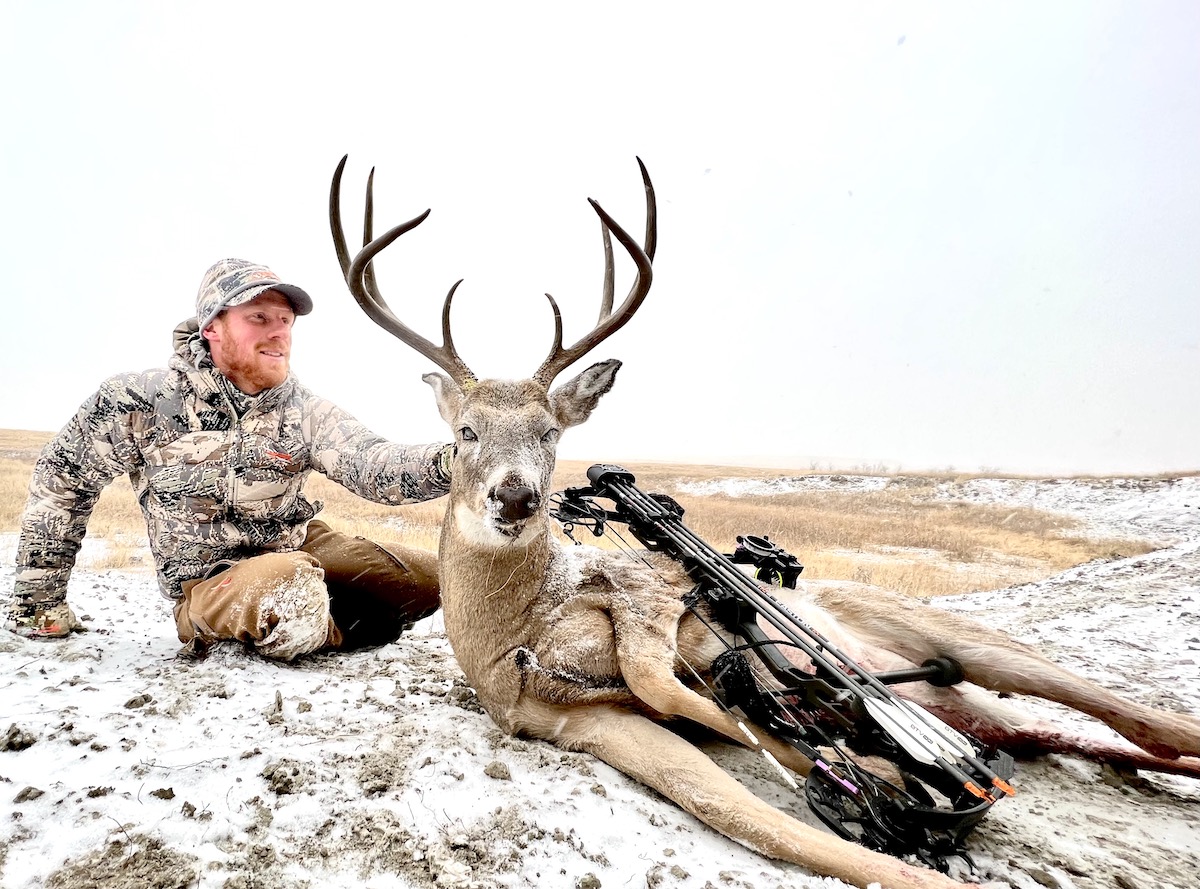
Author Darron McDougal made a marginal shot on this buck as a result of the South Dakota winds. He returned the following morning to track the animal and found that it expired on land he didn’t have permission to hunt. HuntStand Pro’s Property Info layer helped him track down the landowner and get permission to retrieve the buck.
Last December, while hunting in North Dakota, the Property Info layer came in handy for getting permission to hunt a private parcel. I found a lot of deer sign along the southern border of a public parcel. Given the north and northwest winds forecasted for the coming days, I was unable to effectively hunt over all of the sign while staying on the public land. With the Property Info layer activated, I could see the landowner’s name on that parcel. I tapped on the parcel, and a window revealing the owner’s mailing address opened. This made it simple to search the address and learned that the landowner’s home was just around the corner.
I drove up and knocked on the door. The landowner’s daughter greeted me at the door and said that her father wasn’t home, so she gave me his cell phone number. Just a few minutes later, he answered my phone call, and I was granted permission to hunt just off the public land on his parcel. Within a couple of days, I shot a very mature 8-pointer missing a brow tine. Could I have connected all of the dots without Property Info? Nope.
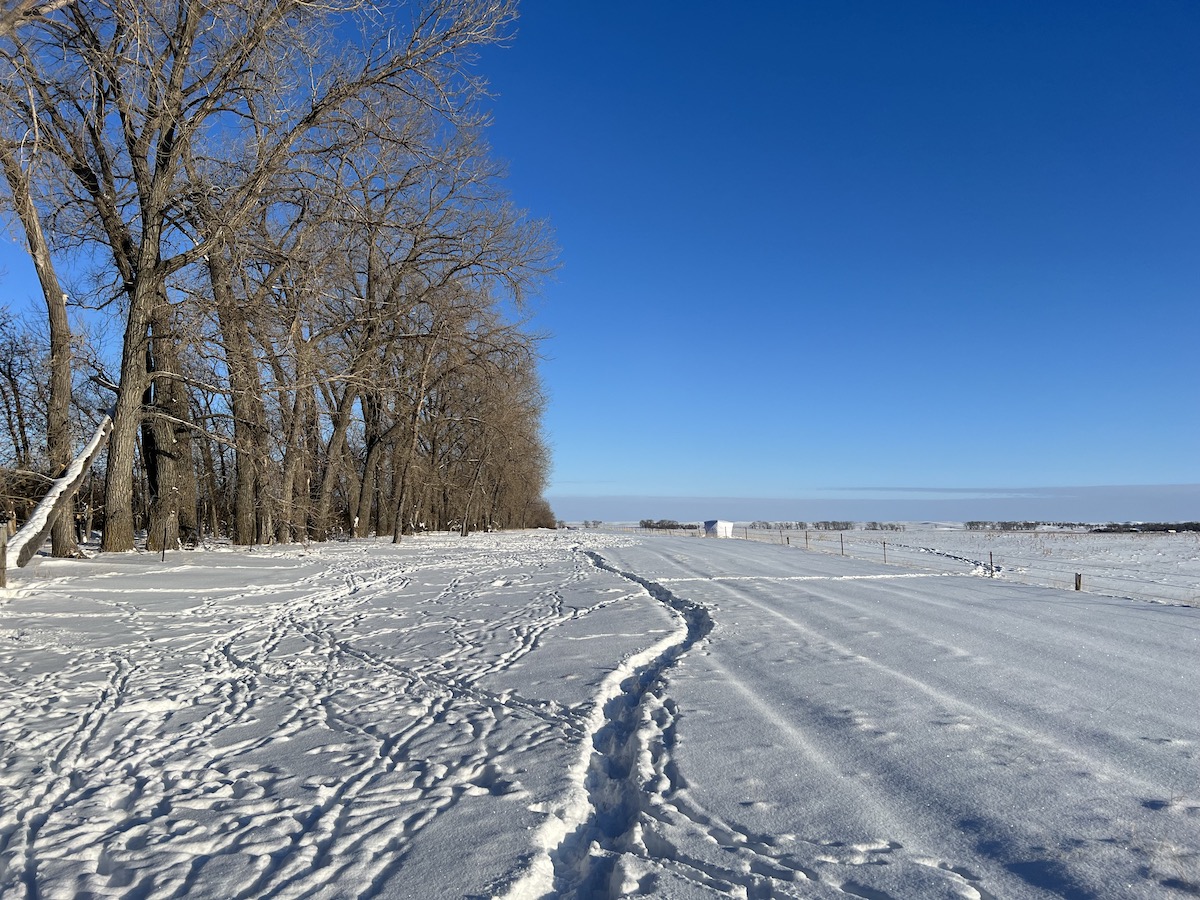
McDougal found all of the deer sign pictured on the left side of the fence on public land but was unable to hunt it based on the wind direction. So, he got permission from the adjacent landowner with help from Property Info to position his ground blind downwind of the obvious deer thoroughfare.
2. Discussing Management Plans with Your Neighbors
Whether you recently purchased or leased a hunting property, it’s wise to get to know the neighboring landowners. Learn who they are in the Property Info layer, then try to make contact. Connecting with adjacent landowners is important for a few reasons.
First, you can discuss hunting and management plans. It’s great to have commonalities in management — when possible — as everyone can be on the same page. You might learn that your neighbors are passing up bucks that are 3 1/2 years old or younger, informing you that you can do the same to boost the area’s buck age class. Or, you might decide on a healthy collective doe harvest between your properties. Being open with the neighbors can help you to form common goals and improve the area’s hunting potential through wise management practices.
HuntStand’s Whitetail Activity Forecast Tool
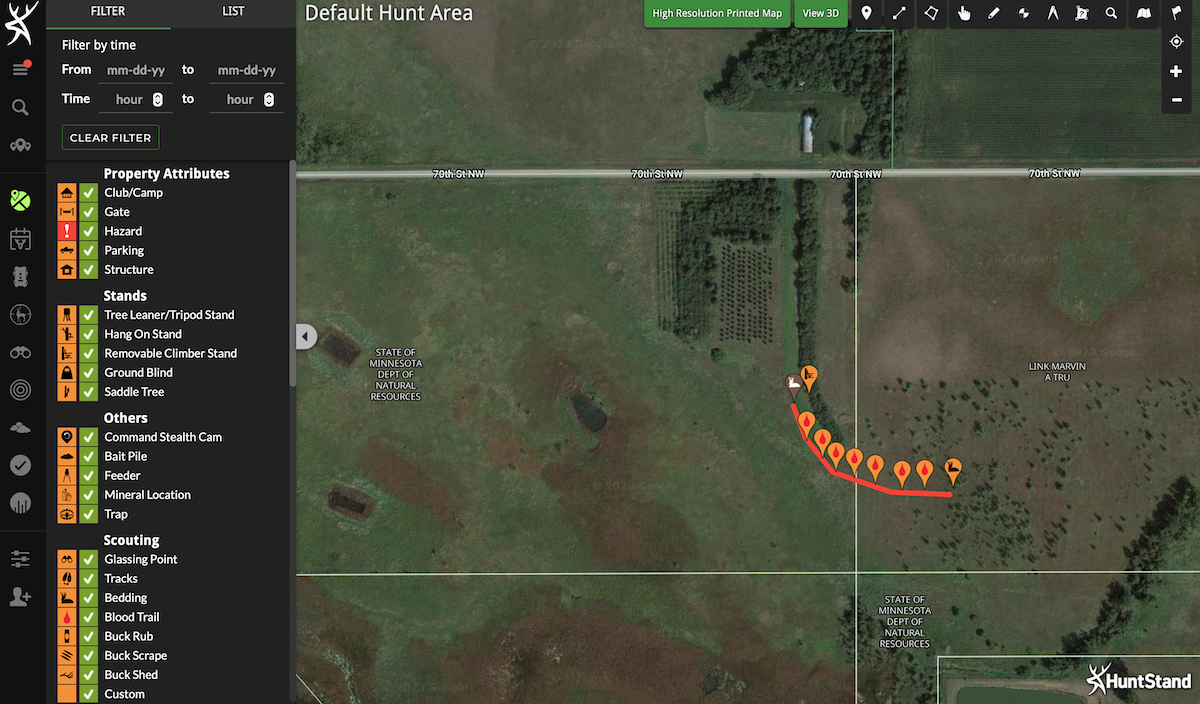
If an animal you shoot runs off the property you’re hunting, Property Info can help you track down the landowner so that you can ask for permission to retrieve it. Either stop in at the landowner’s residence or look up their phone number on Whitepages.com.
Now, I completely understand that some of you are thinking, “Yeah right,” because your neighbors are greedy and think they own all of the deer. What I mentioned in the previous paragraph isn’t workable in all situations, so just use your judgment on what to do if your neighbors aren’t friendly types. However, sometimes a positive face-to-face interaction can soften up stubborn people. Keep a cool head and just be genuine and friendly.
Again, communication with your neighbors is a good thing for many reasons. HuntStand Pro’s Property Info makes it easy to learn who your neighbors are so that you can try to connect with them.
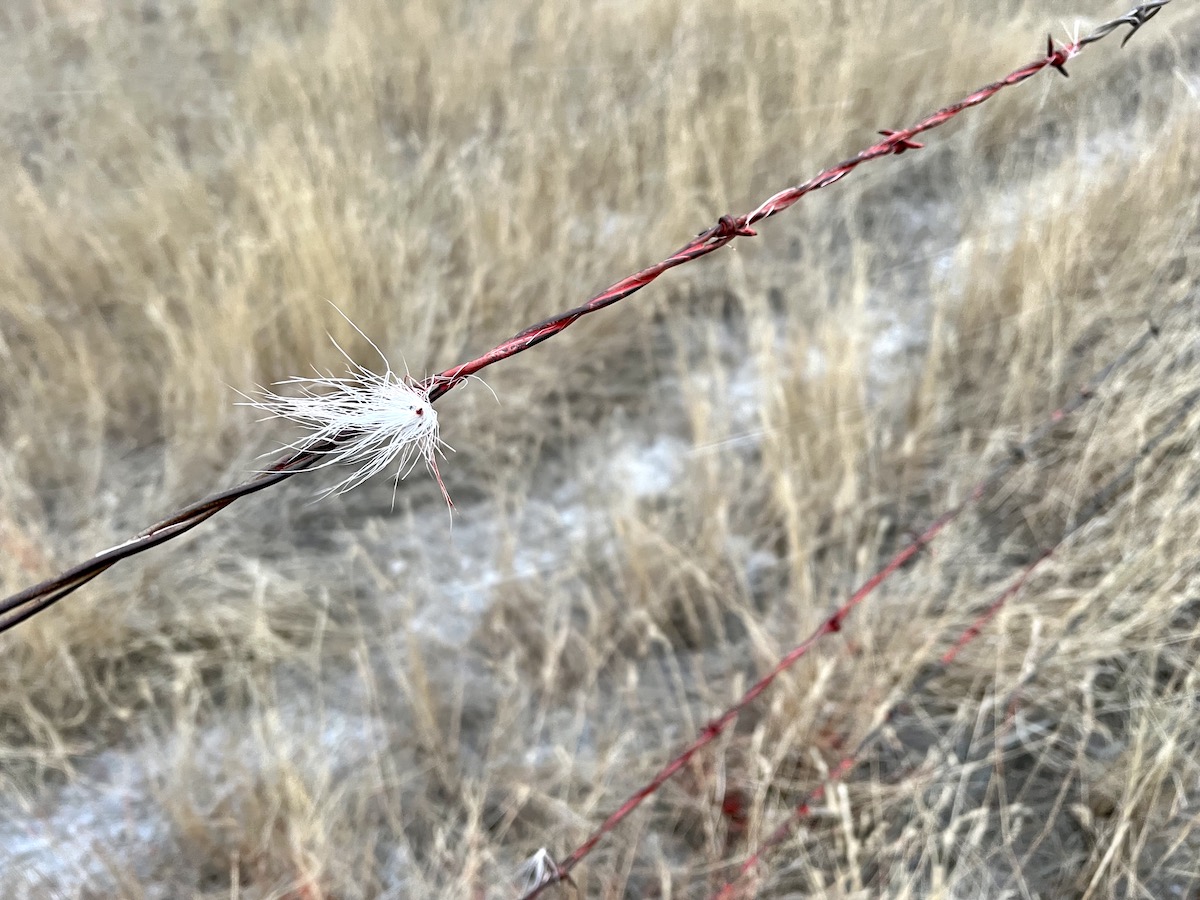
Sometimes an animal makes it off the property you’re hunting following the hit. In that moment, few things are more valuable than land ownership info at your fingertips in the HuntStand Pro app.
3. Getting Permission to Track a Wounded Animal That Crossed a Property Line
If you hunt long enough, you’ll eventually hit an animal less than perfectly. When you do, it’s possible that the animal will travel off the property you are hunting, rendering it unrecoverable until you obtain the landowner’s permission to track it. Having the Property Info layer on your phone is incredibly beneficial if you’re unsure who owns the property.
This happened to me last fall in South Dakota. I arrowed a dandy 4×4 whitetail in the afternoon, and my shot was low and slightly too far back. After leaving the animal overnight, my wife and I returned the following morning and found the blood trail leading up to the boundary of the Walk-In land where I’d shot the buck. About 150 yards beyond the fence, we could plainly see my buck and that it had expired. I became anxious, knowing that the landowner could potentially deny me permission to retrieve the buck.
I used the Property Info layer and then contacted the owner of the Walk-In land to ask if he knew anything about the neighbor and if he could connect me with him. He supplied a phone number for the ranch manager of that adjacent property, and soon my anxiety lifted, for the manager of the property told me to go get my buck and text him a picture.
Whitetail Rut Map : A HuntStand Exclusive Feature
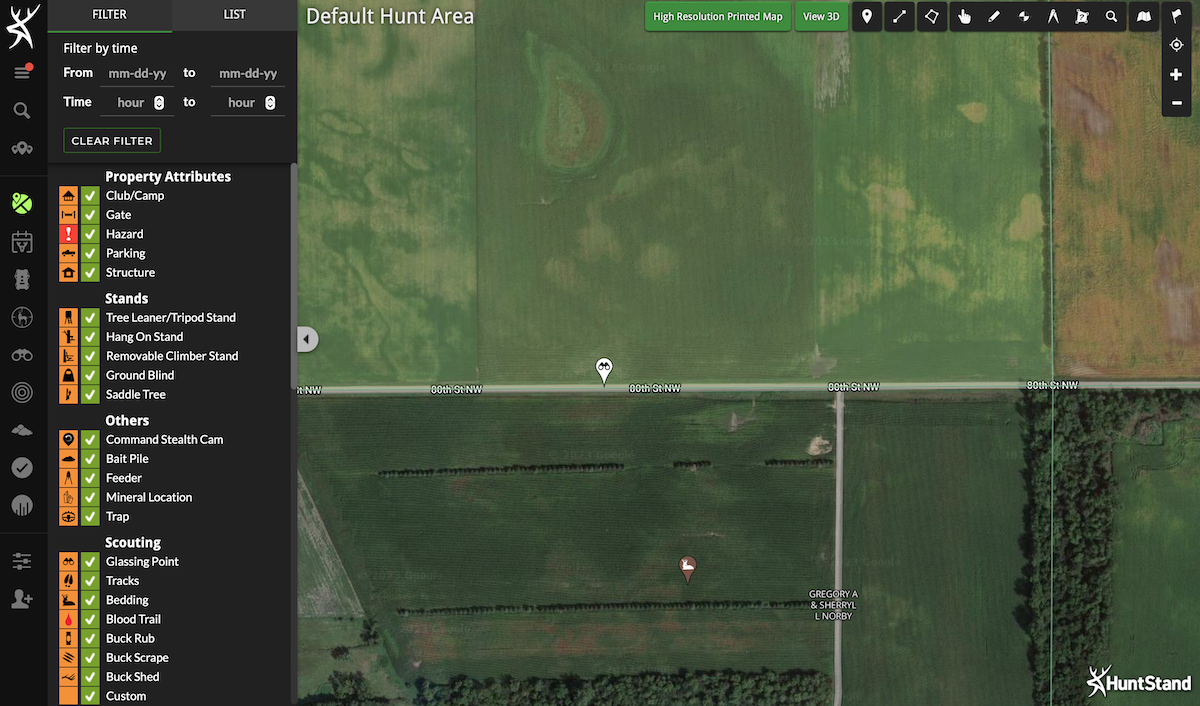
If you spot an animal you’d like to pursue on private land, Property Info makes it easy to see who owns the land so that you can contact the landowner and ask for hunting permission.
A similar situation happened during Wisconsin’s spring turkey season. I arrowed a tom on land that I have permission to hunt. It ran off the field into the timber, which is owned by someone else. Property Info to the rescue! Given the layout of that adjacent property, there would have been no way to determine how to contact the landowner. I looked up his number, and when I called it, it was a disconnected number. But, with the satellite view of the property, I could see a home tucked away in the woods at the end of a very long driveway.
I drove down that long driveway, which brought me to the home. After knocking on the door, an old fella came to the door. I explained the situation, and he said that I wasn’t allowed to do any hunting on his property other than retrieve my turkey. And retrieve it I did. Property Info played a major role in getting to collect my gobbler.
UPGRADE TO HUNTSTAND PRO WHITETAIL
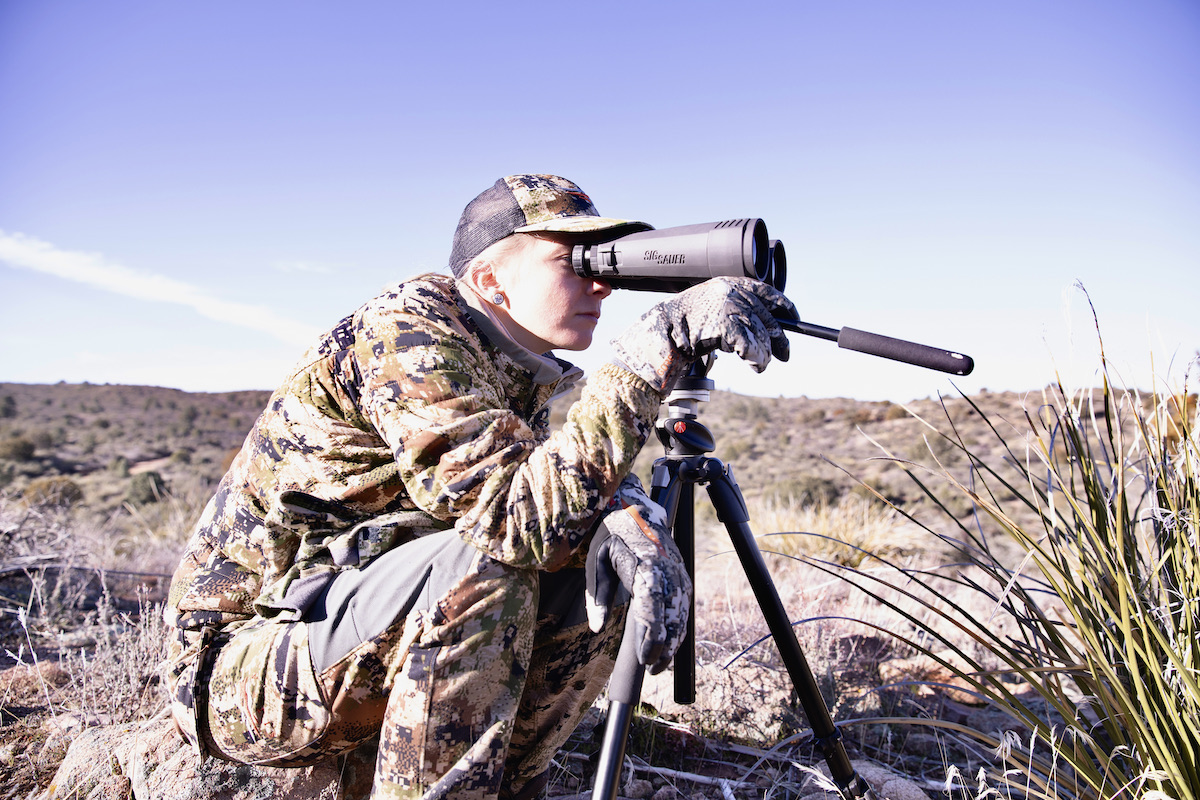
When you spot an animal on a property you don’t have permission to hunt on, reference Property Info. The animal could easily go from off-limits to fair game with a simple phone call.
4. Know Where You Are
One final use for Property Info that we’ll discuss is knowing where you are. Old fence lines aren’t reliable property boundaries. Always reference Property Info whenever you’ll be walking near a property boundary to make sure that you haven’t overstepped the bounds of the property you intend to be on.
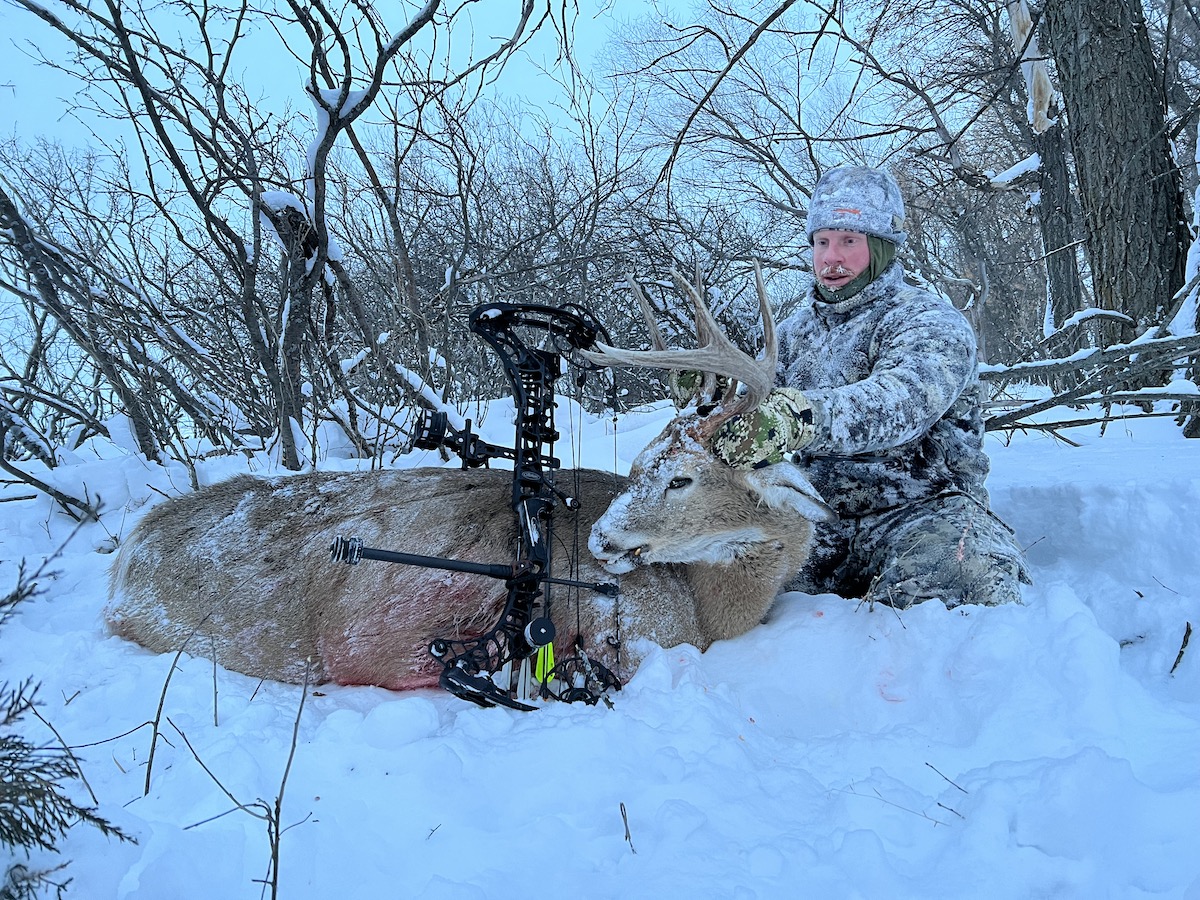
This mature buck was the result of finding deer sign on public land, but then using Property Info to identify adjacent land ownership and ultimately get permission to hunt from the private side and shoot toward the public to capitalize on the wind.
Of course, we all hunt differently. Some of us travel from state to state and hunt on public lands, occasionally knocking on doors or making calls when a potential opportunity exists on private lands. Some hunters focus on their own 10 acres and hunt when it’s convenient after work or on the weekends. Others have multiple leased properties scattered across several counties or states. There are many different situations, but almost all warrant the need for HuntStand Pro’s Property Info layer, as the uses noted in this article confirm. Don’t wait until you’re in a pinch and need it. Upgrade to the Pro or Pro Whitetail version today so that you’re prepared for any circumstance with nationwide landowner info.